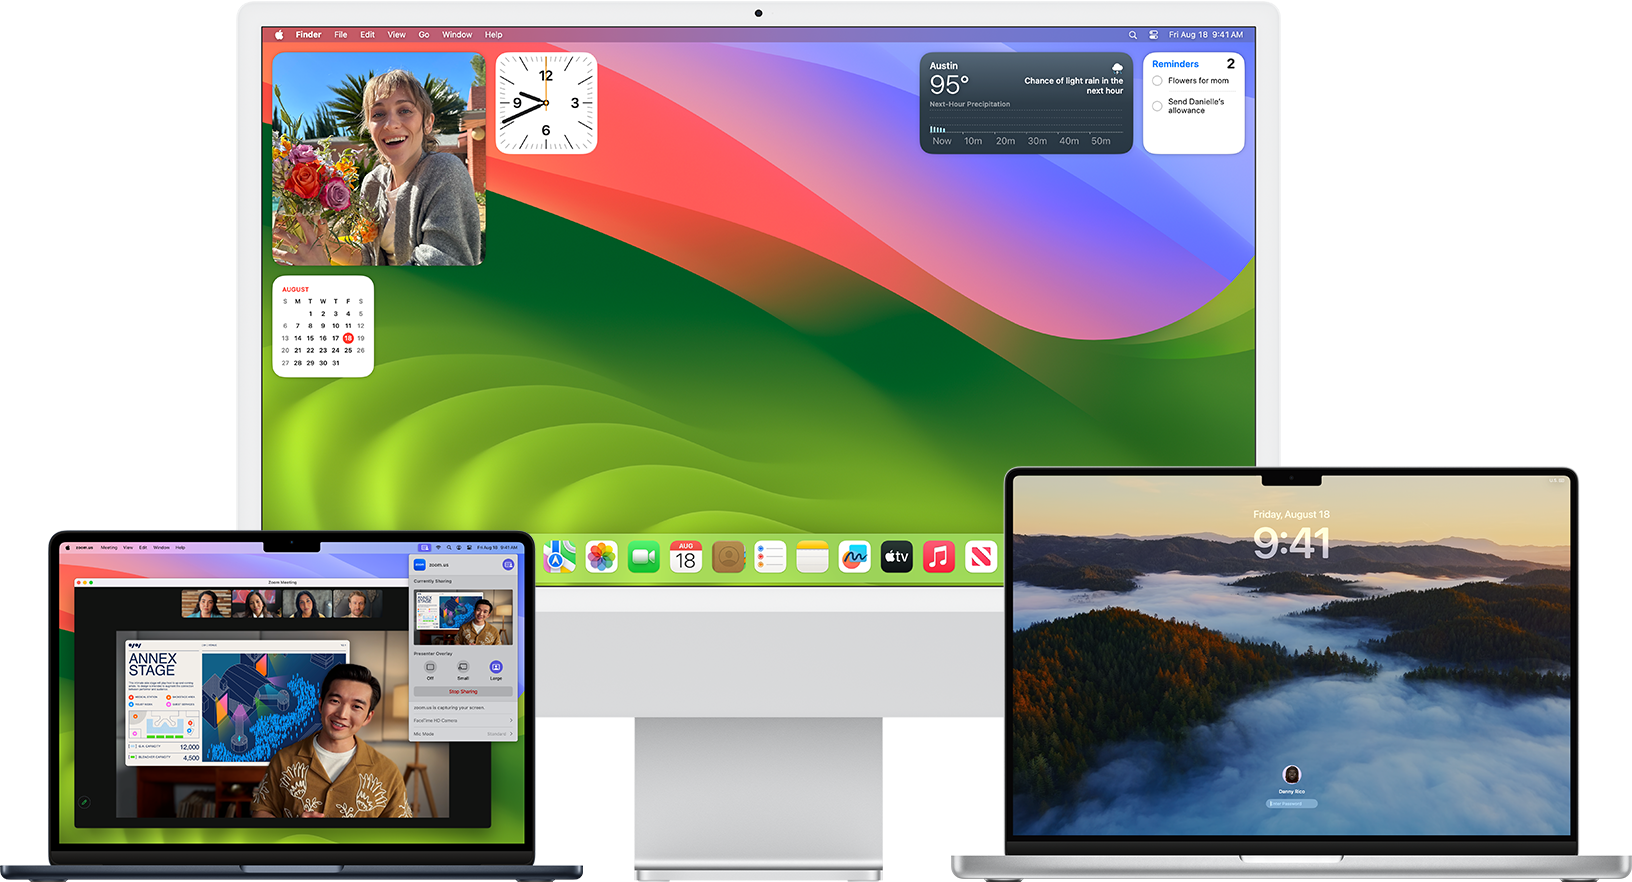
Released in September 2023, the newest macOS 14 update has generated a lot of buzz. Named Sonoma, the OS comes with exciting new features designed to improve performance, boost your productivity, and increase your safety.
However, you shouldn't jump straight into upgrading to the newest macOS without a second thought. You'll first want to ensure your device's compatibility with the operating system, back up your data, and more.
Learn how to prepare for updating your OS and find out how to upgrade MacOS Sonoma without issues.
In this article
What Are the Benefits of Upgrading to macOS Sonoma?
As a general rule of thumb, updating your OS is critical if you want to keep all systems running smoothly. Upgrading, on the other hand, can be beneficial but not absolutely necessary – most commonly, it's simply a matter of preference.
So, should you choose to upgrade to macOS Sonoma or not? Is the OS stable and reliable, or are older versions better?
To put it plainly, if you have a device that meets all system requirements, upgrading is probably your best course of action. Sonoma has proven to be one of the most stable macOS versions upon its launch, delivering smooth, seamless performance and excellent speeds.
Moreover, it comes with numerous features and benefits designed to wow users and improve the overall experience:
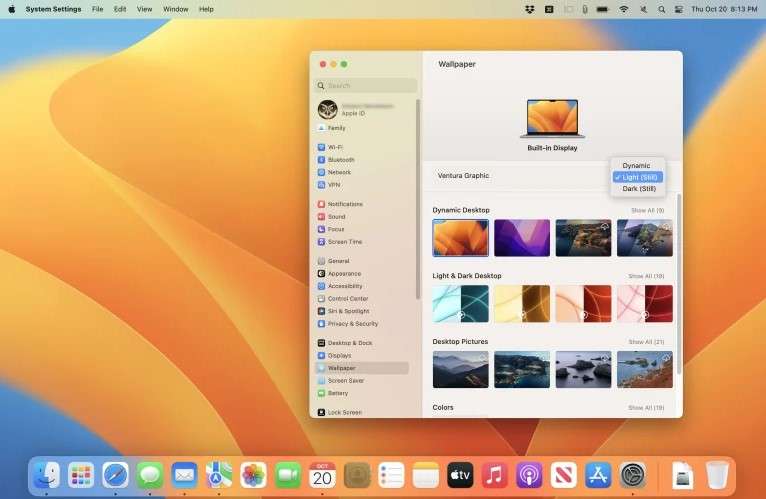
- Updated system settings navigation;
- Safari profiles;
- iPhone widgets;
- Interactive widgets;
- Personalized text prediction;
- URL tracking prevention;
- Game mode;
- Communication safety;
- Spotlight search improvements;
- Improved video conferencing options;
- Keyboard improvements;
- Notse improvements;
- Improved accessibility;
- Advanced safety and security.
These are just some of the new features introduced with macOS Sonoma. If you want to enjoy them after getting to know these features in detail, you should definitely upgrade your OS.
Things to Do Before You Upgrade Your macOS to Sonoma

Before you go in to upgrade the OS on your Mac, you'll need to prepare your device. There are just a few things you'll need to do, take a look.
Check if Your Device Meets System Requirements
First and foremost, you'll need to check whether your device is compatible with the new upgrade. Unfortunately, Sonoma isn't suitable for all Macs, and you could encounter an array of issues if you try to install it on a device that's not compatible with it. You'll likely encounter errors and could even lose all your data and irreparably damage your device.
Therefore, checking if the device meets system requirements is a must!
The following is a list of devices that Sonoma is compatible with:
- MacBook Pro (2018 or later);
- MacBook Air (2018 or later);
- Mac Mini (2018 or later);
- iMac (2019 or later);
- iMac Pro;
- Mac Studio (2022 or later);
- Mac Pro (2019 or later).
If you have an older device, you unfortunately won't be able to install Sonoma OS.
Update all the applications
Your next step should be updating all your apps – that means every single one! Having outdated apps before an OS upgrade can cause unnecessary problems.
You might encounter performance issues, glitches, and problems such as system crashes if you skip this step.
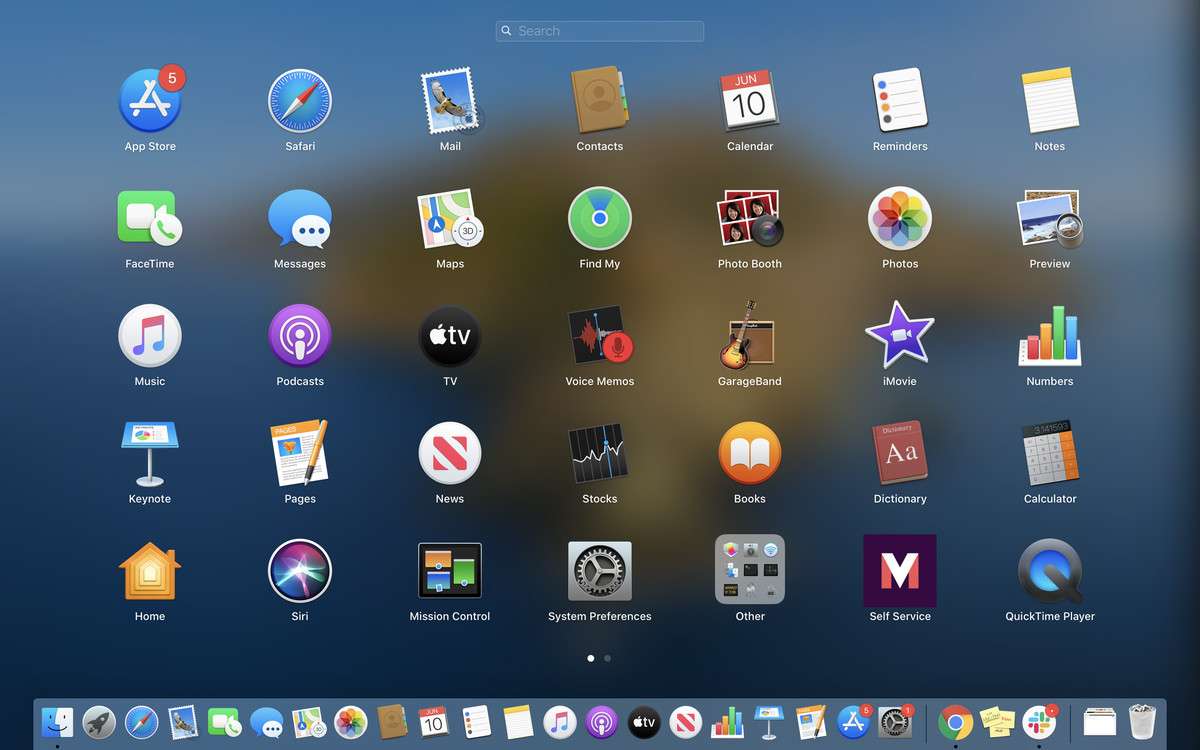
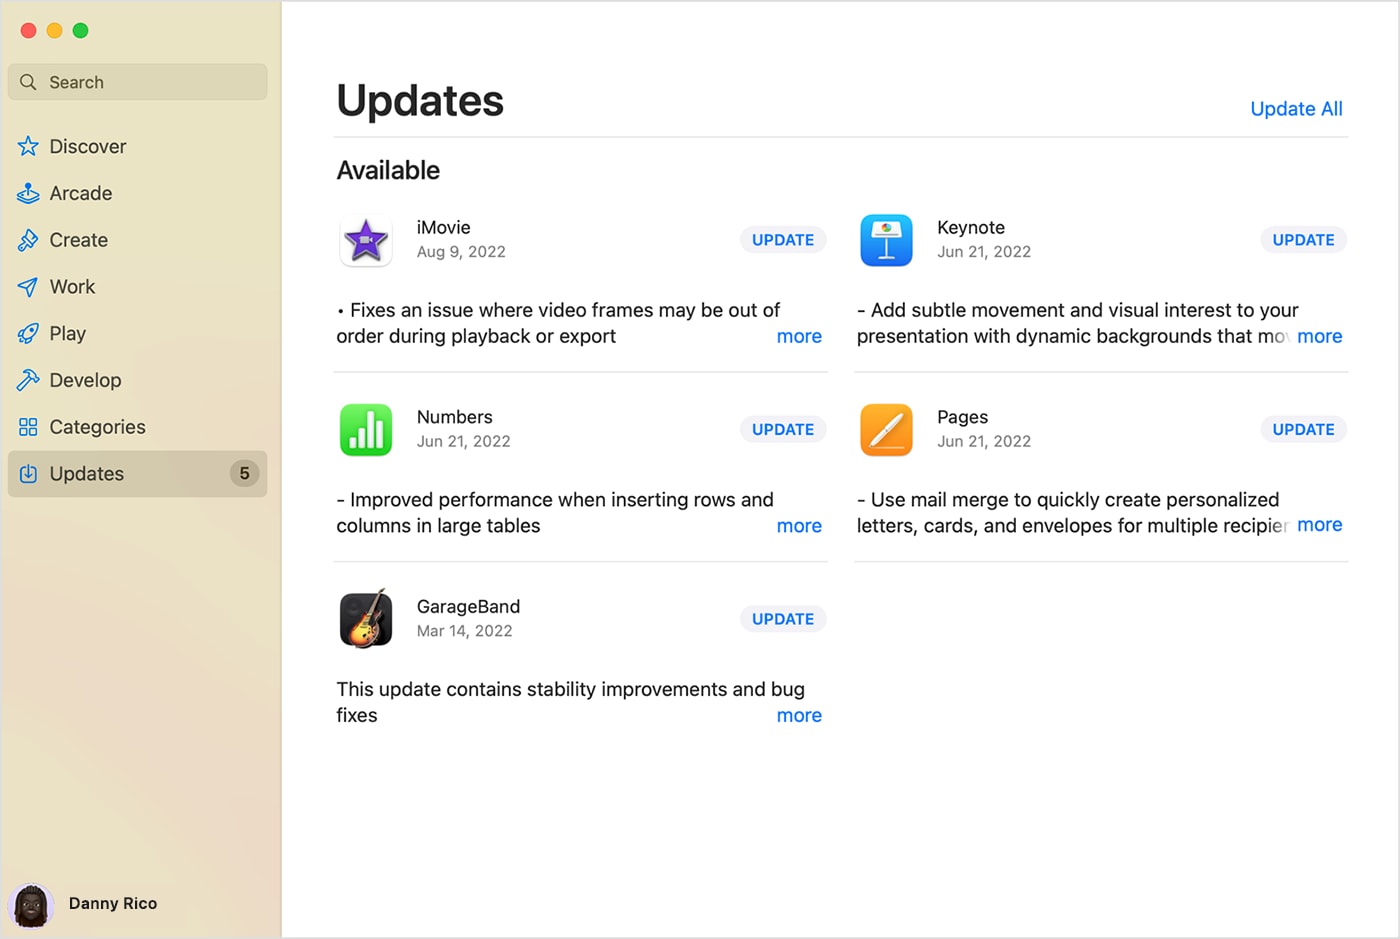
To update the apps you've downloaded from the App Store, follow these steps:
- Click on the Apple logo > App Store;

- Click on Updates in the sidebar;
- Select Update All.
If any of your apps didn't come directly from the App Store, you'll likely need to manually update them. Check the developer's website to see if any updates are available, and follow their guidelines on updating your apps.
Backup Your Data Before Your Upgrade to macOS 14 Sonoma
Upgrading to a new OS should never result in any data loss. The upgrade should affect only the operating system (and any related programs), not your personal data, such as videos, images, and more.
With this in mind, it's still a good idea to back up all your data just to be safe. While the risk of encountering issues during the upgrade is small, there's still some risk. The only way to eliminate the risk in its entirety is by creating a backup.
You can use Time Machine backup for your files or professional solutions like Wondershare's UBackit. UBackit is a one-stop shop for all your data backup needs. It offers file backup, disc, partition, NAS, Outlook backup, and more. You can even use it to create one-time, incremental, or scheduled backups to ensure you never lose important data again.
Ensure You Have Enough Space for the macOS Upgrade
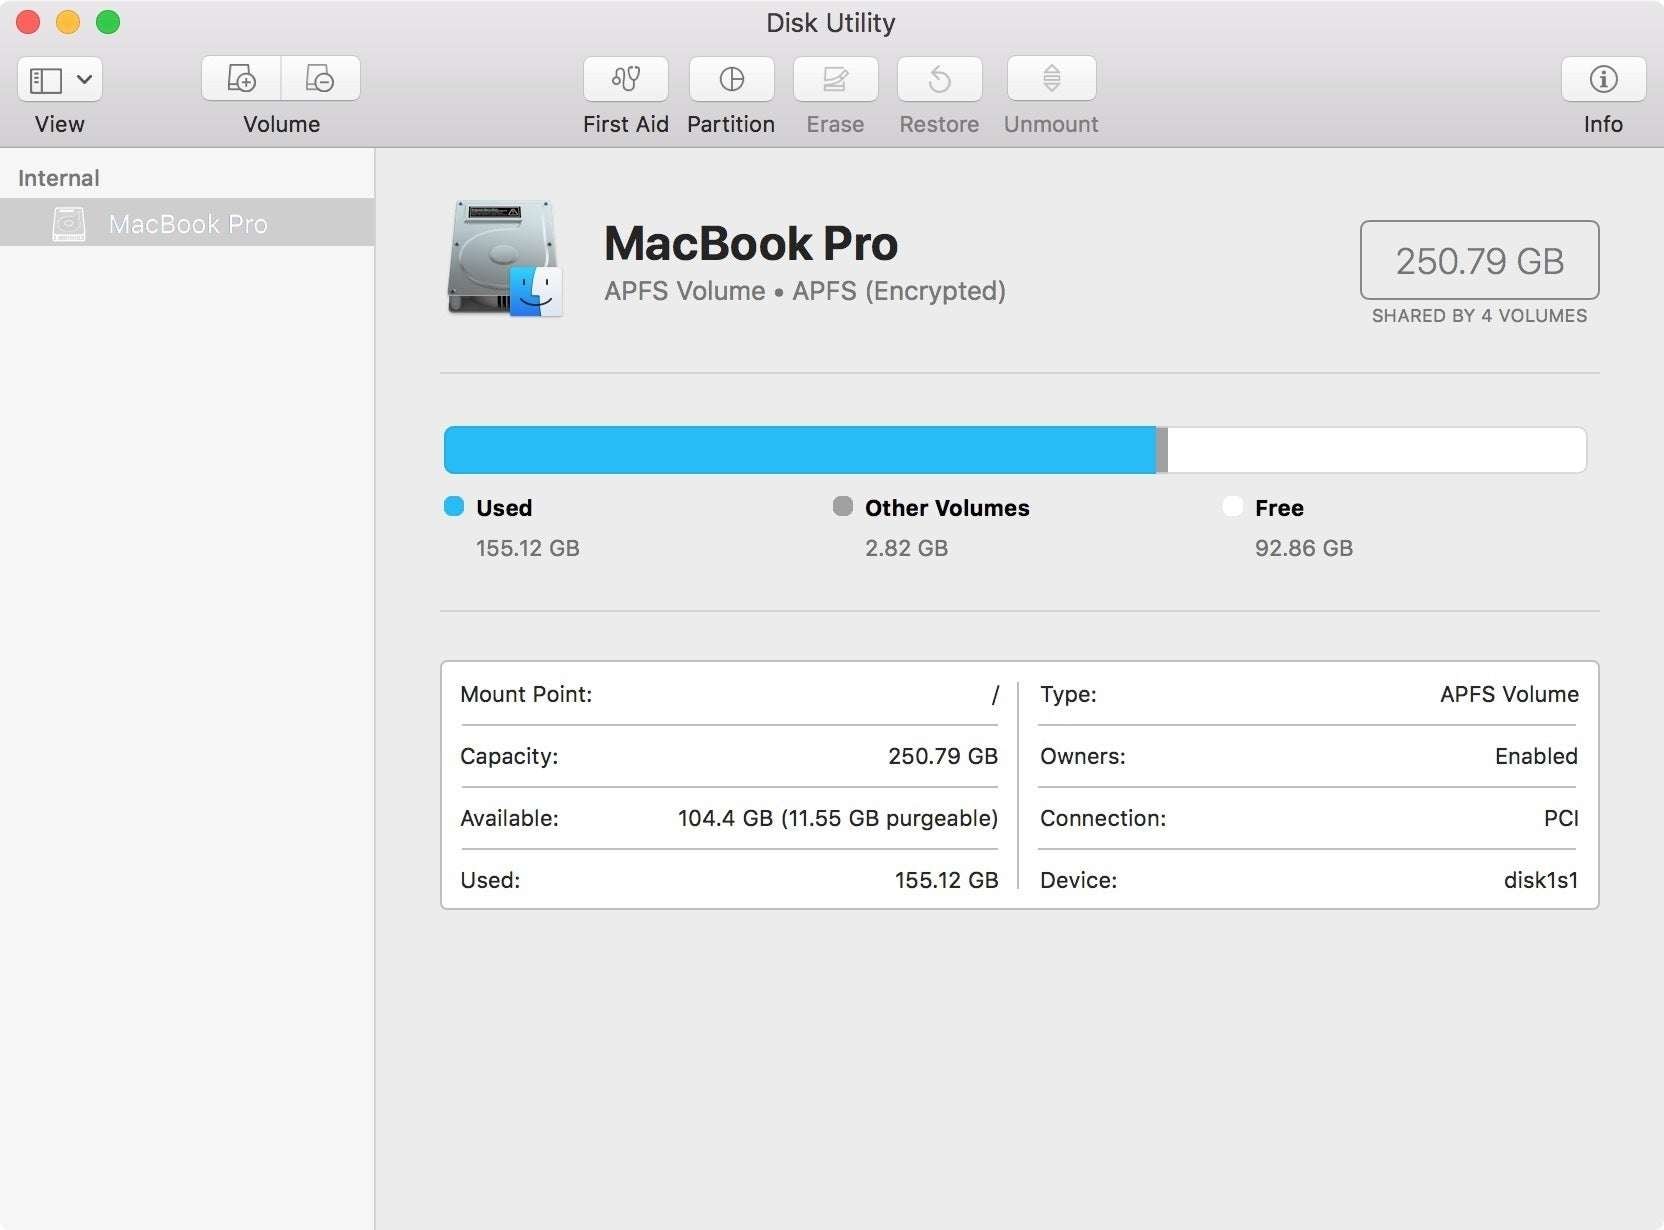
Once you've backed up all your data, it's time to check whether you have enough free space on your disc for the Sonoma OS. The new macOS requires at least 20 to 25 GB of free space, but it's always in your best interest to free up as much space as possible. Otherwise, you could encounter issues during your installation.
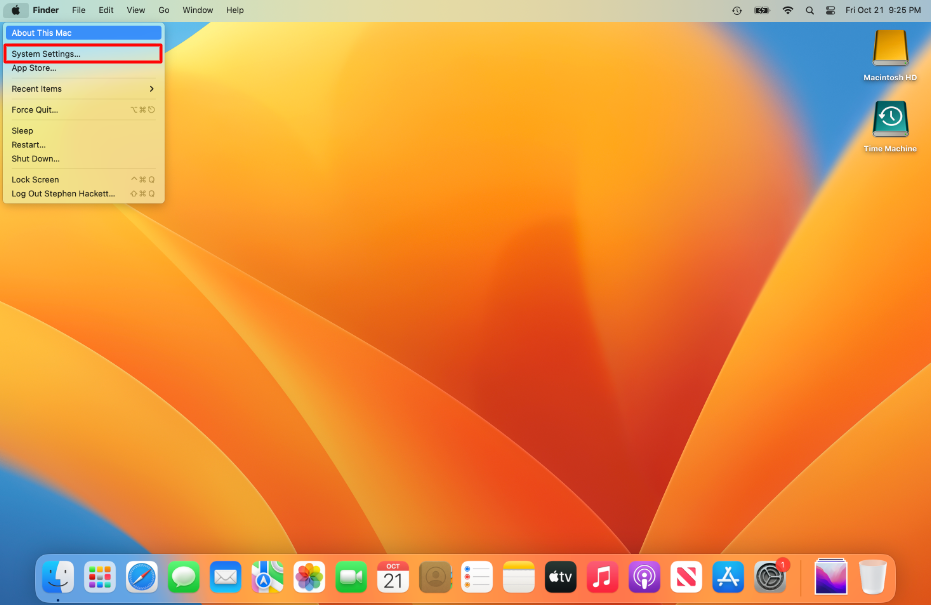
To check how much free space your device has, follow these steps:
- Click on the Apple logo > About This Mac;
- In the toolbar, select Storage.
You'll have a clear overview of the available storage, and you'll even see the types of files that are taking up too much space. Try to leave at the very least some 30 GB of free space for the upgrade, and, if necessary, delete some of your apps or files that you don't need.
Ensure a good internet connection
OS upgrades tend to be quite heavy, with the Sonoma installer being around 13 GB. Of course, before you can install any upgrades, your device must first download the necessary files, which requires a stable internet connection.
Interruptions during downloads could damage some of the data and result in errors during and after the installation process. Therefore, you'll want to check your connection before starting.
Just to stay on the safe side, restart your router and then check your connection:
- Click on the Apple logo > System Settings;
- Click Network.
To avoid any issues, it's in your best interest to use an ethernet cable instead of WiFi while downloading the new Sonoma OS.
Charge your Mac
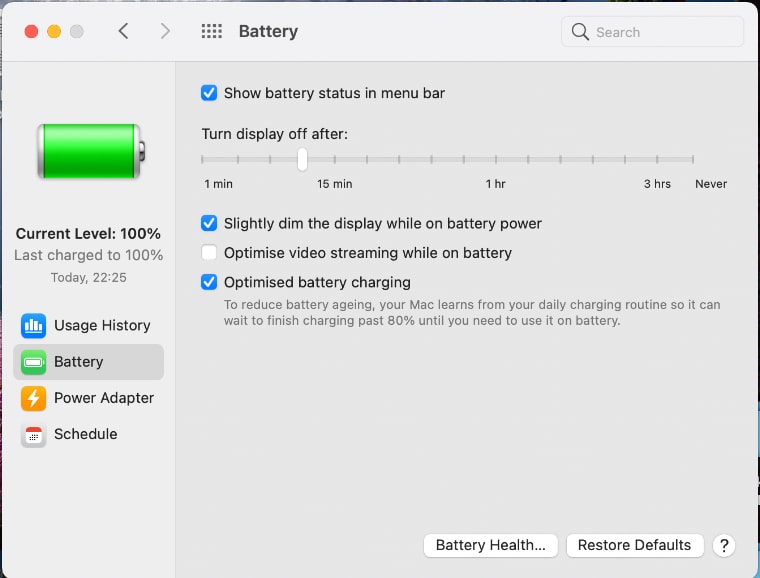
Finally, you should ensure that your Mac's battery is fully charged before you start the process of upgrading your macOS. The upgrade could take a few hours and drain system resources, so a fully charged battery is necessary.
To check your battery percentage, follow these steps:
- Click on the Apple logo > System Settings;
- Go to the Control Center;
- Go to Battery.
How to Install macOS Sonoma
Now, without further ado, it's time to learn how to upgrade your macOS to Sonoma. The process is simple, but as mentioned, it could take quite some time. Depending on your device and the previous macOS you have installed, it could take anywhere from a few minutes up to a few hours.
It's in your best interest to install the new upgrade when you have plenty of time since you'll want to stay by your Mac just in case of any issues.
Once you're ready, here's how to upgrade your OS to Sonoma:
- Click on the Apple logo > System Settings;
- Select General;
- Next to macOS Sonoma, click Upgrade Now.

Keep an eye on the progress while macOS Sonoma is downloading and installing. If you have enough space and your device is fully compatible, you shouldn't expect any issues.
What to Do if Things Go Wrong
If your Sonoma upgrade is taking too long, there could be a few issues at play. Primarily, you'll want to re-check your available space and internet connection. Those two are the most common culprits when your upgrades are misbehaving.
If you are certain that your connection is stable and that you have plenty of space for the upgrade, the problem could lie in the Apple servers. When there are too many users trying to access the servers at the same time and download software upgrades, the whole system could lag, and your installation could freeze or move along at a snail's pace.
Whatever the case is, it's usually enough to simply give it some time. Try to be patient and not interrupt the process unless absolutely necessary.
However, things will be trickier if you lose your data during Sonoma installation. If you haven't created a backup of your data, you'll need to use professional data restoration software like Wondershare Recoverit.
- Manages over 500 data loss situations, such as deletion, formatting, and disk corruption.
- The user-friendly interface allows you to recover data in just a few clicks.

It works with all file types and supports all data loss scenarios, so you should be able to get your data back in no time. Once you've installed the new Sonoma OS, download Wondershare Recoverit to your Mac and follow these steps to retrieve your data:
- Launch Wondershare Recoverit and select the location to start recovery;

- Wondershare Recoverit will automatically start scanning your Mac;
- Preview the files you want to recover and click Recover.

Wondershare Recoverit has a 95% success rate, so you should be able to get all your files back without much fuss.
Can You Downgrade macOS Sonoma to the Previous Version?
If you aren't satisfied with macOS Sonoma, there could be a way for you to get your old operating system back. However, that depends entirely on the device you're using.
If you bought a new Mac with Sonoma, you won't be able to downgrade. If you upgraded from an OS like Ventura, you'll be able to downgrade with Time Machine if you've created a backup:
- Connect a disc with your Time Machine backup to your Mac;
- Start your Mac in Recovery Mode;
- Select Options > Continue;
- Under macOS Utilities, select Restore from Time Machine Backup;
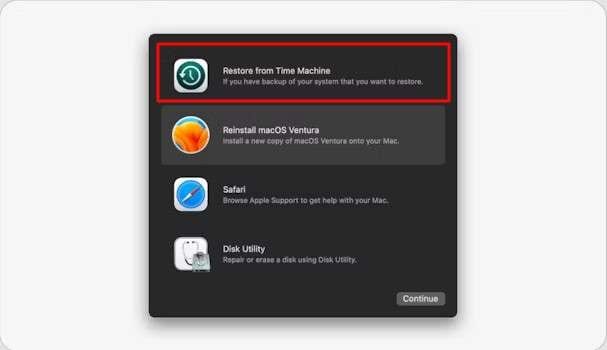
- Click Continue > Continue;
- Under Restore Source, select the disc with your Time Machine Backup;
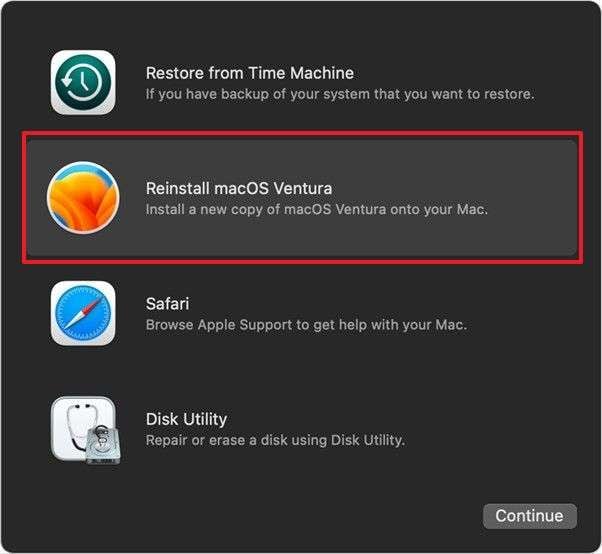
- Select Reinstall macOS Ventura > Continue.
a. Intel-based Macs – turn on Mac and press and hold Command +R keys;
b. Apple silicon Macs – press and hold the Power button;
Give your device time to restore to its previous operating system. Like any OS update, it could take a while, so be patient and let your device handle it.
Conclusion
Installing the new macOS Sonoma could offer an array of benefits. It introduces new features and capabilities, delivers exceptional performance, and allows you to fully personalize your device.
While you shouldn't expect any issues with the installation if your device meets system requirements, make sure to back up your data using Wondershare UBackit. If you lose any data post-upgrade, you can rely on Wondershare Recoverit to get it back.
FAQ
Should I upgrade now or upgrade later?
If you're interested in what macOS Sonoma has to offer, you should consider upgrading to it now. The initial rush during its launch has died down by now, so Apple servers should be operating at peak capacity, making it easy for you to upgrade if you meet system requirements.The Sonoma installation is taking too long. What should I do?
OS upgrades can take a few hours, depending on your device and its previous OS. Just have some patience and let your device handle it. Check your internet connection, make sure that your device is fully charged and that it has enough space for the new OS.I've lost my data after installing Sonoma. How can I get it back?
If the new Sonoma upgrade has resulted in some data loss, you can restore it using professional solutions like Wondershare Recoverit. It has a 95% success rate and works with virtually all file types, so you should be able to get your data back without issues.