Want to install Windows 11 easily? Creating a Windows 11 bootable USB can help. It’s a great way to install or reinstall Windows 11 on your PC. With this USB, you can have the latest version of Windows 11 right at your fingertips.
In this guide, we will explain what a Windows 11 bootable USB is, how to create Windows 11 bootable USB, and what you need to get started.
In this article
Part 1: What is a Windows 11 Bootable USB?
A Windows 11 bootable USB is a USB drive that has the Windows 11 installation files on it. This allows you to install or reinstall Windows 11 on any compatible computer. It’s a handy tool for when you need to set up a new PC or fix a problem with your current one.
Unlike a regular USB drive, a bootable USB can start your computer and run the Windows 11 setup program. This makes it easy to install the operating system without needing a CD or DVD.
Part 2: Can I Create Windows 11 Bootable USB?
Absolutely! Creating a Windows 11 bootable USB is straightforward and can be done using a few simple tools. You don't need any special technical skills to get started. Just follow the provided steps, and you'll have your bootable USB drive ready in no time. This makes it easy for anyone to prepare and install Windows 11 on their PC.
Part 3: Windows 11 Bootable USB: What You'll Need?
- A PC: To download the necessary files and create the bootable USB.
- USB Drive: Make sure it has at least 8GB of storage space.
- Windows 11 ISO File: The installation file for Windows 11, which you can download from the official Microsoft website.
- Windows Media Creation Tool: This tool helps you create the bootable USB with ease.
- Rufus: An alternative software to make the bootable USB, known for its reliability and speed.
- Command Prompt: Use Diskpart commands if you prefer a more manual method to create the bootable USB.
- Stable Internet Connection: To download the ISO file and any necessary tools.
- Backup Storage: Optional but recommended, to save any important data from the USB drive before formatting it.
Having these items ready will make the process of creating a Windows 11 bootable USB smooth and efficient.
Part 4: How to Create Windows 11 Bootable USB
Want to set up Windows 11 on your PC using a USB drive? Creating a Windows 11 bootable USB is simple and straightforward. Follow these easy steps to get started!
Method 1: Use the Windows Media Installation Tool
The Windows Media Creation Tool is an official and straightforward tool provided by Microsoft to help you create a Windows 11 bootable USB. It's specifically designed for this purpose, ensuring that you get a genuine and unaltered copy of Windows 11. This tool guides you through the entire process step-by-step, making it easy for anyone to use.
Whether you're upgrading your current system or setting up a new one, the Windows Media Creation Tool ensures that the process is smooth and hassle-free.
Here’s how to use it:
Step 1: Go to the Microsoft website. From there, download the Windows Media Creation Tool. Open the tool and select "Create installation media for another PC."

Step 2: Select the language, edition, and architecture (32-bit or 64-bit). Choose your USB drive from the list.

The tool will download the Windows 11 files and create the bootable USB.
Method 2: Use Rufus to Create Windows 11 Bootable USB
Rufus is a reliable and fast tool specifically designed for creating bootable media like USB drives. It supports a wide range of ISO files and can handle various partition schemes, making it suitable for both MBR and GPT configurations. Rufus is particularly known for its speed and efficiency, often completing the process faster than other similar tools. Its user-friendly interface ensures that even those with little technical knowledge can easily create a Windows 11 bootable USB.
Whether you’re setting up a new operating system or creating a rescue drive, Rufus makes the process straightforward. Here’s how to use it:
Step 1: Get Rufus from its official website and install it. Connect your USB drive to the computer. Select your USB drive from the "Device" dropdown. Hir the "SELECT" button. Now choose the Windows 11 ISO file.

Step 2: Click "START" to begin creating the bootable USB.
Method 3: How to Make a Windows 11 Bootable USB Using Command Prompt
Using Command Prompt is a powerful way to create a Windows 11 bootable USB without the need for additional software. This method utilizes built-in Windows commands to manually set up the USB drive. It’s a great option for those who prefer using native Windows tools and want more control over the process. Command Prompt is pre-installed on all Windows systems, making it readily accessible.
This approach involves using the Diskpart command to format and prepare the USB drive for booting.
Follow these steps:
Step 1: Open Command Prompt on PC, as an administrator. Type diskpart and press Enter. Type list disk and press Enter. Enter select disk X (where X is your USB drive number) and press Enter.

Step 2: Type clean and press Enter. Type create partition primary and press Enter. Type format fs=ntfs quick and press Enter. Type assign and press Enter.
Copy the Windows 11 ISO files to the USB drive.
Part 5: Lost Data on USB Drive? Use the Recoverit Data Recovery Tool
If you lose data on your USB drive while creating the Windows 11 bootable USB, Recoverit can help. Recoverit is a powerful tool designed to recover lost data from USB drives that are formatted, corrupted, or otherwise inaccessible.
Whether you accidentally deleted files during the setup or experienced a drive error, Recoverit can find and restore your lost data.
Why Use Recoverit?
- Supports Multiple Formats: Recovers data from NTFS, FAT32, and more.
- Deep Scan Technology: Finds and recovers lost data.
- User-Friendly Interface: Easy to use.
- Preview Functionality: Lets you preview files before recovery.
- High Recovery Rate: Known for successful data recovery.
- Wide Compatibility: Works on Windows and macOS.
Steps to Recover Lost Data Using Recoverit:
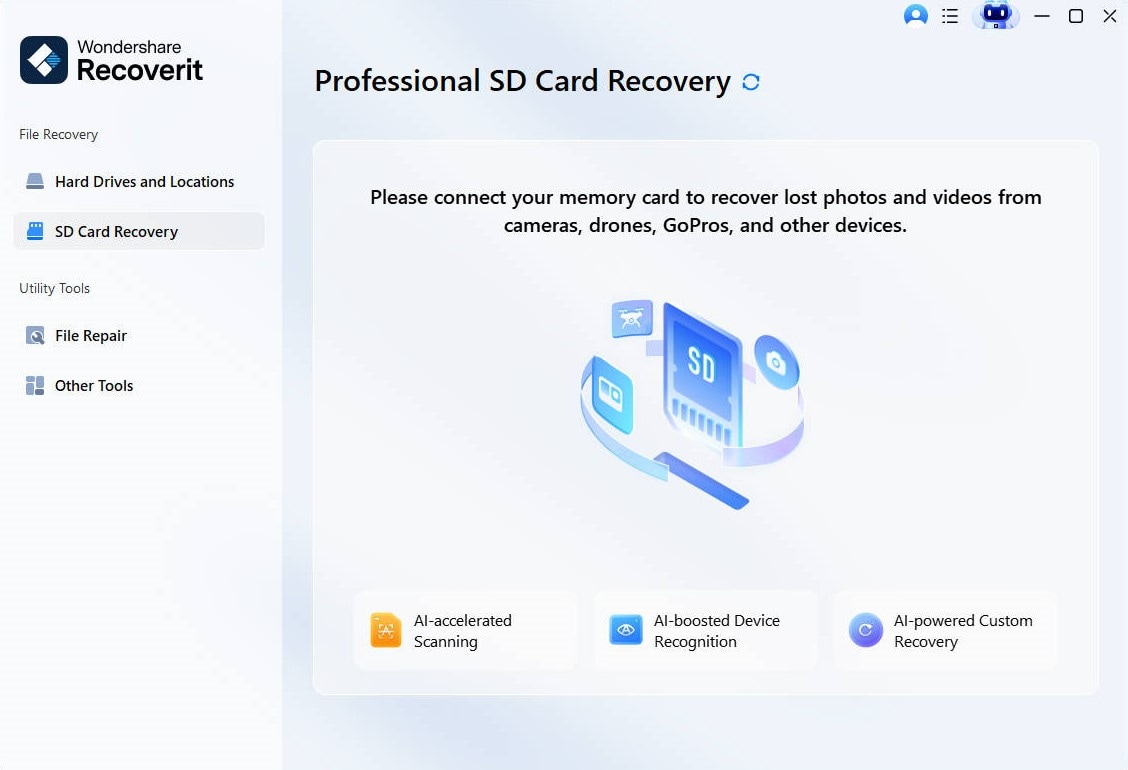
Step 1: Install Recoverit on your PC. Open Recoverit on your PC.

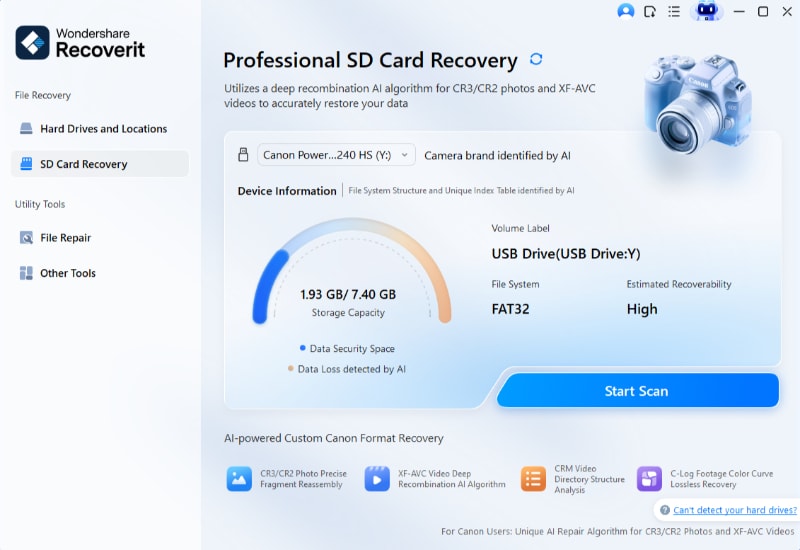
Step 2: Choose your USB drive and click "Start" to scan.

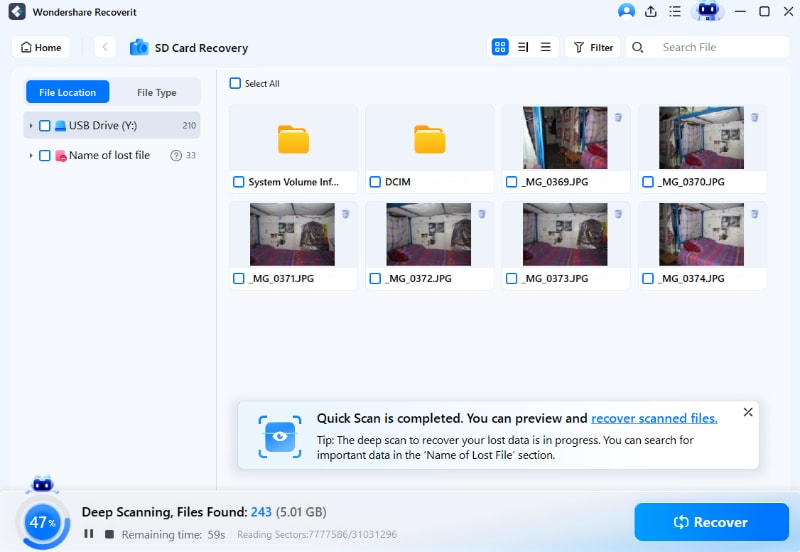
Step 3: Let Recoverit scan for lost data.

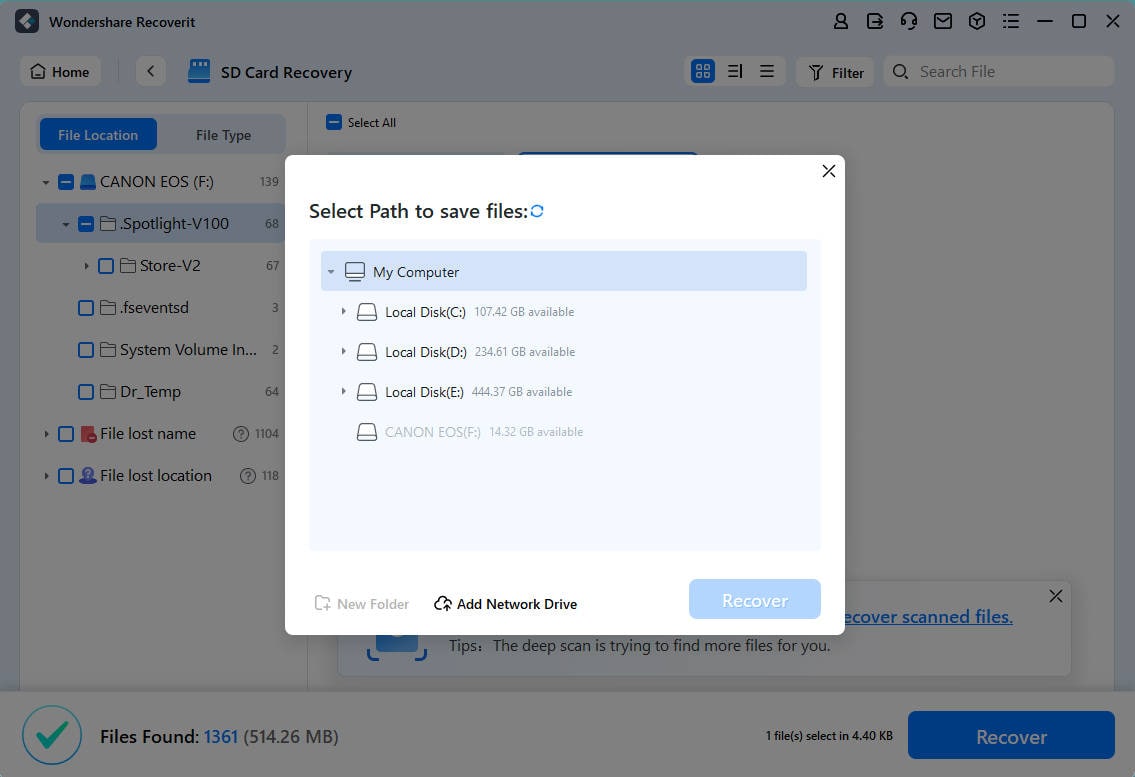
Step 4: Preview the files and click "Recover" to save them.

Learn more >>:
How to Fix Invalid Partition Table?
How to Format SPYPOINT SD Card?
How to Fix Issue "Removing USB without Ejecting Safely"?
How to Fix Windows Boot Manager Failed?
Part 6: Tips to Make a Windows 11 Bootable USB
Here are some additional tips to help you create a Windows 11 bootable USB:
- Choose the Right File System: When formatting your USB drive, select the appropriate file system (usually NTFS) to ensure compatibility with the Windows 11 setup.
- Check USB Drive for Errors: Before starting the process, run a check on your USB drive to ensure there are no existing errors or bad sectors that could cause issues.
- Ensure Sufficient Power Supply: Make sure your computer is plugged in or has enough battery life to complete the download and creation process without interruptions.
- Disable Antivirus Temporarily: Sometimes, antivirus software can interfere with the creation process. Consider disabling it temporarily while creating the bootable USB, but remember to enable it again afterward.
- Set BIOS/UEFI to Boot from USB: Before using the bootable USB, ensure that your computer's BIOS or UEFI settings are configured to boot from the USB drive first.
- Use a High-Speed USB Port: If available, use a USB 3.0 port on your computer to speed up the process of creating the bootable USB.
- Keep a Backup USB Drive: If possible, create a second bootable USB drive as a backup in case the first one fails or gets corrupted.
- Stay Patient: The process can take some time, especially if you're downloading large files. Be patient and let the tools do their work.
- Follow Up with Windows Updates: After installing Windows 11 from the USB, check for and install any available Windows updates to ensure your system is up-to-date.
By keeping these tips in mind, you can create a Windows 11 bootable USB smoothly and effectively, ensuring a hassle-free installation experience.
Conclusion
Creating a Windows 11 bootable USB is a simple and effective way to install or reinstall Windows 11. By following the methods and tips provided, you can easily create your own bootable USB. If you encounter any data loss, Recoverit is there to help you recover your files.
Related Video Tutorial: How to Create a Bootable USB Drive for Windows 11?
A bootable USB ensures you have the latest version of Windows 11 ready to go whenever you need it.
Try Wondershare Recoverit to Perform Data Recovery

FAQ
-
Q1: What is a Windows 11 bootable USB?
A Windows 11 bootable USB is a USB drive that contains the Windows 11 installation files. It allows you to install or reinstall Windows 11 on any compatible computer. This is useful for setting up a new PC or fixing issues with your current system. Unlike a regular USB drive, a bootable USB can start your computer and run the Windows 11 setup program, making the installation process straightforward and efficient. -
Q2: Can I create a Windows 11 bootable USB easily?
Yes, you can create a Windows 11 bootable USB easily. There are several methods available, including using the Windows Media Creation Tool, Rufus, or Command Prompt. These tools guide you through the process, making it simple even for those who aren't very tech-savvy. By following the provided steps, you'll have your bootable USB ready in no time. -
Q3: What do I need to create a Windows 11 bootable USB?
To create a Windows 11 bootable USB, you'll need a computer, a USB drive with at least 8GB of space, the Windows 11 ISO file, and a tool like the Windows Media Creation Tool, Rufus, or Command Prompt. It's also recommended to back up any important data on the USB drive before starting, as the process will erase all existing files on the drive. -
Q4: How long does it take to create a Windows 11 bootable USB?
The time it takes to create a Windows 11 bootable USB varies based on factors like the speed of your USB drive, your computer's performance, and the method you choose. Generally, the process can take between 15 to 30 minutes. Downloading the ISO file might take additional time depending on your internet speed.


 ChatGPT
 Perplexity
 Google AI Mode
 Grok
Grok


