How to Delete Files and Folders on Mac
The largest hard drive your Mac can handle runs into terabytes, but that doesn't mean you can't fill it up with files over-time. The simple truth of the matter is, there is never enough space for your Mac.
As technology grows, the size of the file also grows. For instance, with the introduction of 4K technology, a single movie can be as large as 32GB or more; 10 years ago, that movie would have been 700mb or less.
This all means you need to know how to delete files and folders on your Mac. Refer to the steps below to go about doing just that.
Part 1: How to Delete Files and Folders on Mac
Life is better when it's easy, wouldn't you say? Apple clearly understands this, which is why the American tech giant made their Mac so easy and convenient to use.
You might argue this is not always the case because certainly, the making of any Mac system is a complex process, but using it completely belies all that because you can achieve so much in so little time with just the click of a few buttons and push of a few keys. Deleting files and folders on your Mac is a breeze. You can easily get rid of gigabytes or even terabytes of data in mere seconds; at worst, minutes. Keep reading and you'll see how.
Solution 1: Trash
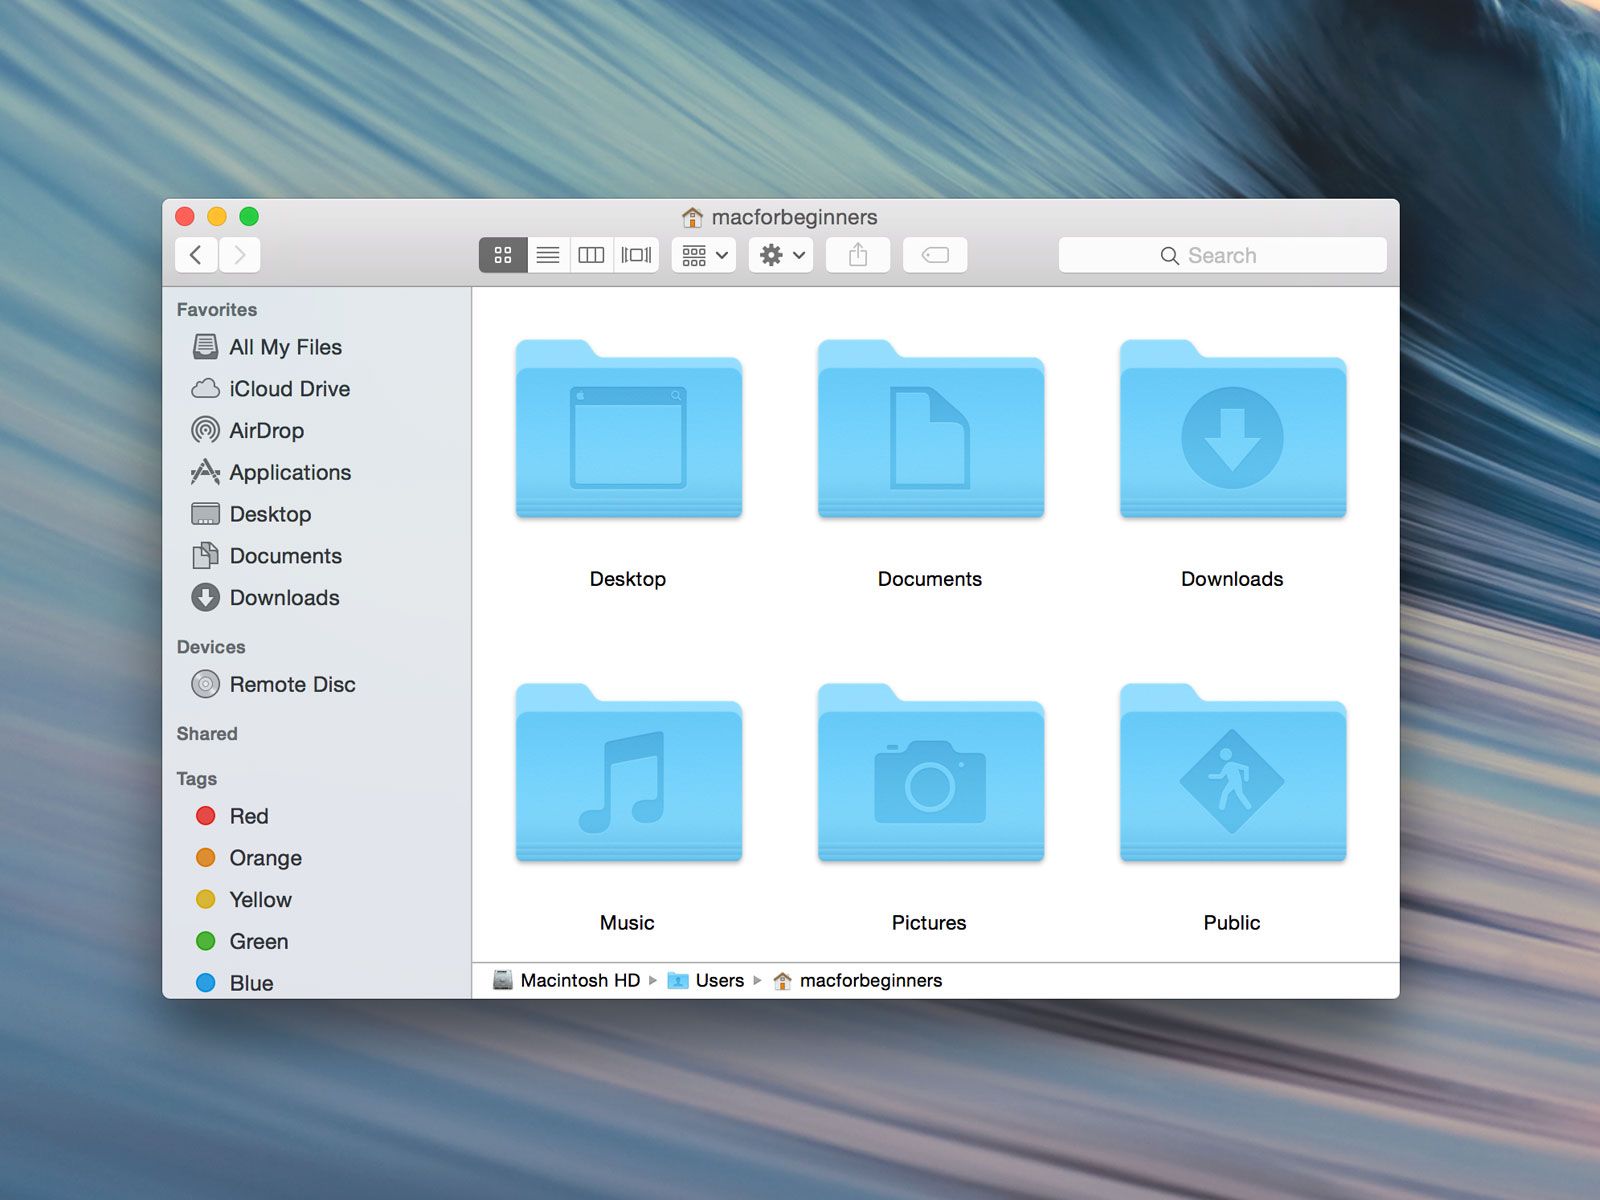
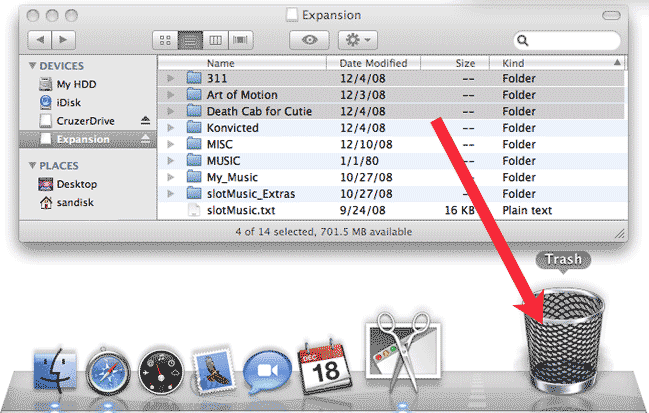
1. Navigate to where the files or folders to be deleted are. It doesn't matter if they're in your Mac's "Downloads" folder or your desktop or anywhere else. The process is still the same, but don't open the folders or files.
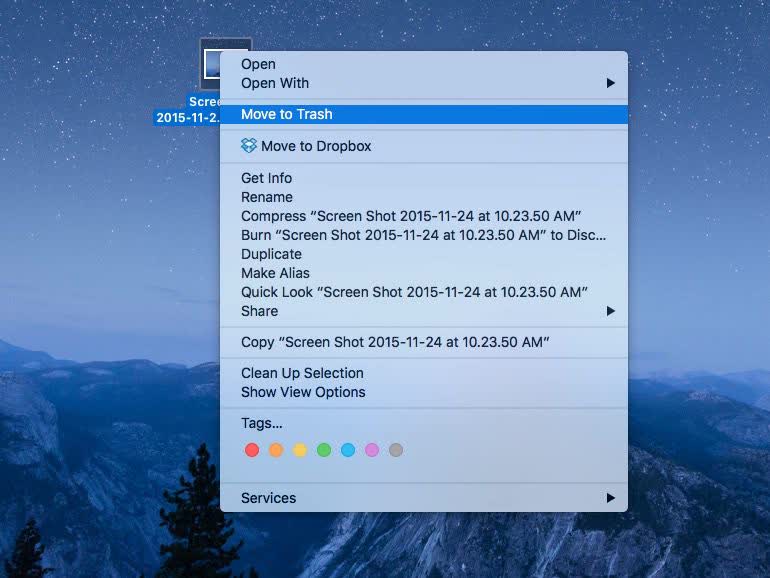
2. Right-click on the files or folders which you want to delete from your Mac.
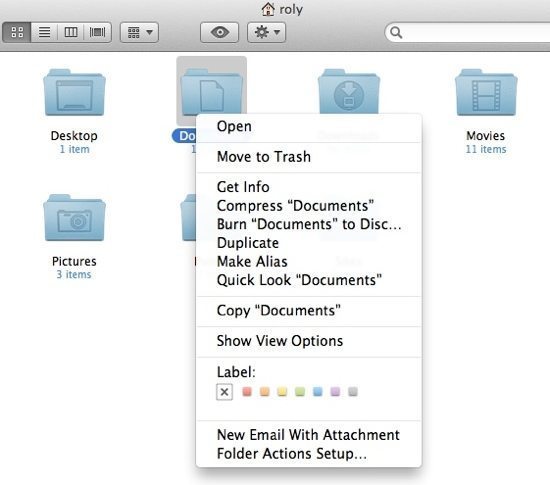
3. In the drop-down menu you see, click on "Move to Trash." And that's that. All done.
Solution 2: Keyboard Shortcut
1. Once more, highlight or select all the files and folders to be deleted.
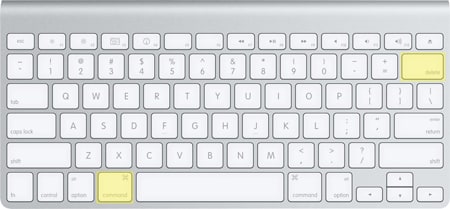
2. Press these keys at once: "Command" + "Delete." The files will go poof and disappear from the Mac. To confirm this, just listen out for the crunching noise your Mac makes when files are moved to the Trash.
Solution 3: Access "Delete Immediately" from the Finder
1. Highlight the files and folders to be removed from your Mac.
2. Press the "Option" key and leave your finger on it.
3. Move your cursor to your Mac's menu bar and click on "File."
4. In the drop-down menu which appears, select "Delete Immediately…"
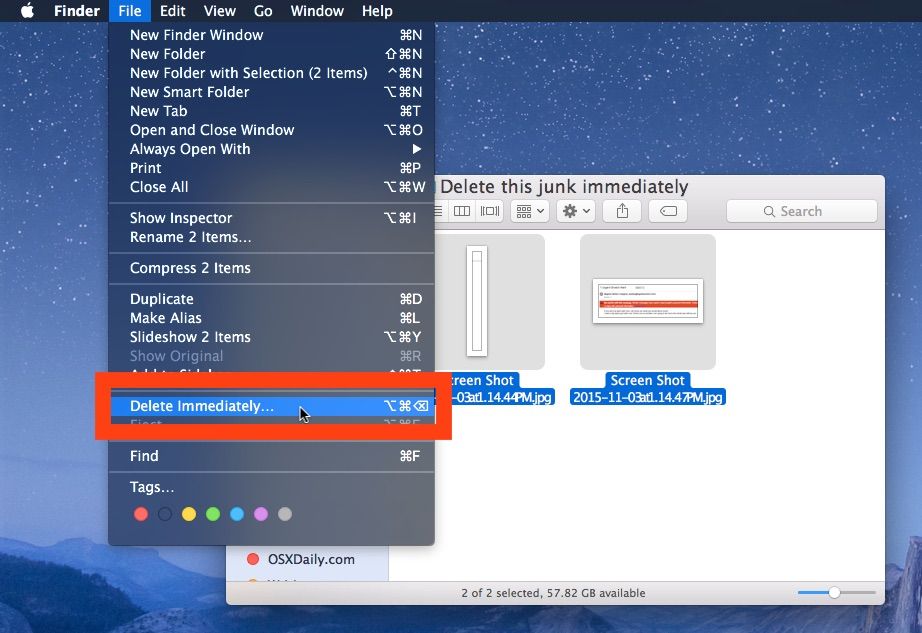
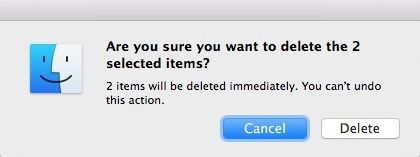
5. Click "Delete" to confirm your selection in the next dialogue box to open up.
Part 2: How to Permanently Delete Files on Mac
Sometimes, don't you feel as if you want to delete all files and folders for good? Going to your Mac's Trash and emptying it manually is a waste of time and effort (or, maybe you're just lazy). And permanently deleting the files and folders saves you time too, because it's very quick and efficient.
Your macOS has such an option for your convenience. But make sure you really want the files permanently gone because once you input the commands and your macOS gets rid f them, they're well and truly gone for good.
So, heed this advice and always check the contents of the folders to be deleted. It's possible there could be something in there that's important.
Deleting files permanently using Finder was already discussed in Part 1, so the only options left now are via Keyboard Shortcut and Mac's Terminal. Proceed to the next step:
Solution 1: Keyboard Shortcut
1. Highlight or select all the files or folders you want to delete.
2. Press these keys simultaneously: "Option" + "Command" + "Delete."
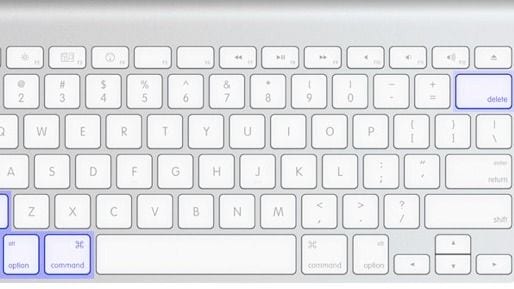
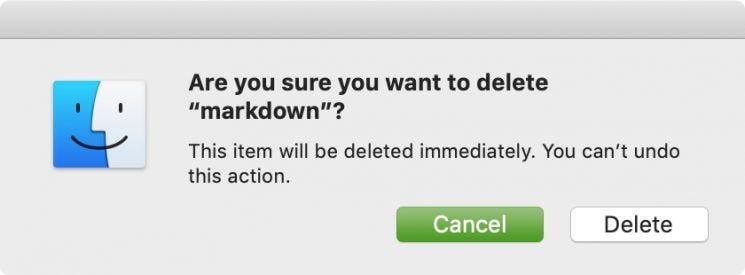
3. A pop-up message will ask you if you wish to confirm. Click on "Delete" and your files will be securely deleted.
Solution 2: Mac Terminal
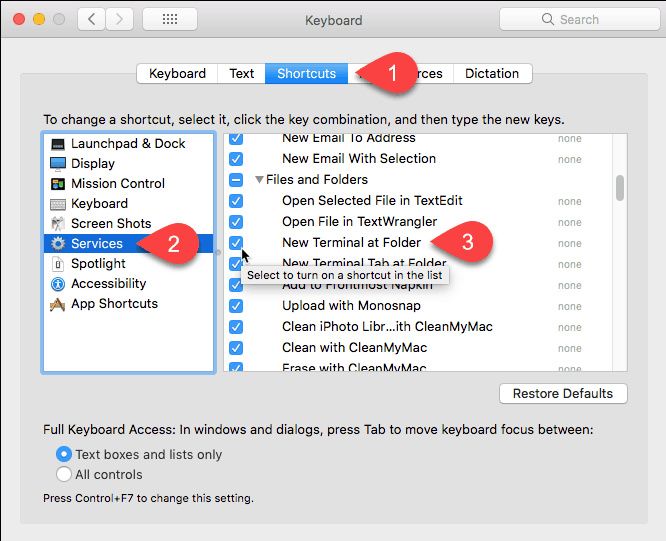
1. Click on your "Apple" menu > "System Preferences" > "Keyboard".
2. Click on "Shortcuts" atop the dialogue window and then "Services" on the left-hand pane.
3. If "New Terminal at Folder" under the "Services" category is not ticked, make sure you tick it (it's located in the central part of the "Keyboard" dialogue window).
4. Open your Mac's "Finder". Go to the folder with the files to be permanently deleted.
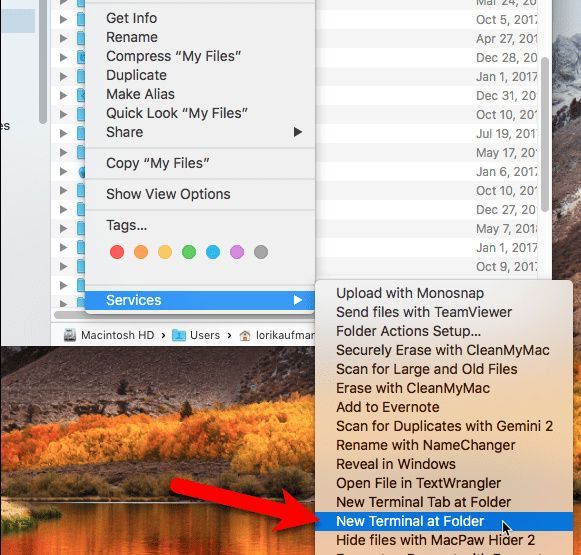
5. Right-click on the chosen folder (make sure you don't enter it, though). Click "Services" found the below the drop-down menu which appears.
6. Another drop-down window will appear. Click on "New Terminal at Folder."
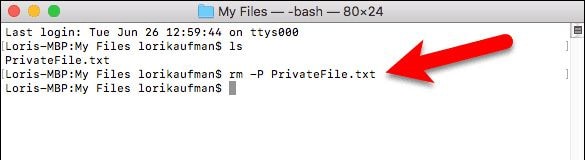
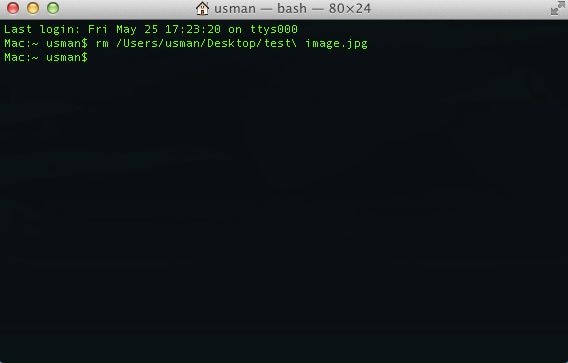
7. The Terminal window will open up. Type this command into it: rm -P PrivateFile.txt (In the example above, "PrivateFile" is the name of the file to be deleted. When you wish to use Terminal to delete your file, type in the same command preceding "PrivateFile" but replace it with the name of the file you want to delete).
Part 3: How to Delete Locked Files on Mac
This one will be a bit tricky, as you might suspect. It's perfectly understandable why you would want to lock your files, though. A personal computer is supposed to extremely secure and locking your files is one way to guarantee that.
But what happens when the locked files have exhausted their use and you want o get rid of them? You have three options to choose from. Each is as effective as the next, so the choice is yours.
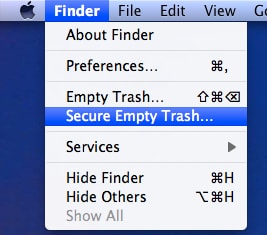
Solution 1: Secure Empty Trash.
1. There is a difference between "Trash" and "Secure Empty Trash". You should be aware of that. Drag the locked file or files into "Trash" on your Mac's application dock.
2. Open the "Trash" in Finder. Click on "File".
3. In the drop-down menu you see, click on "Secure Empty Trash." The locked file should now be deleted.
Solution 2: Altering File Permissions
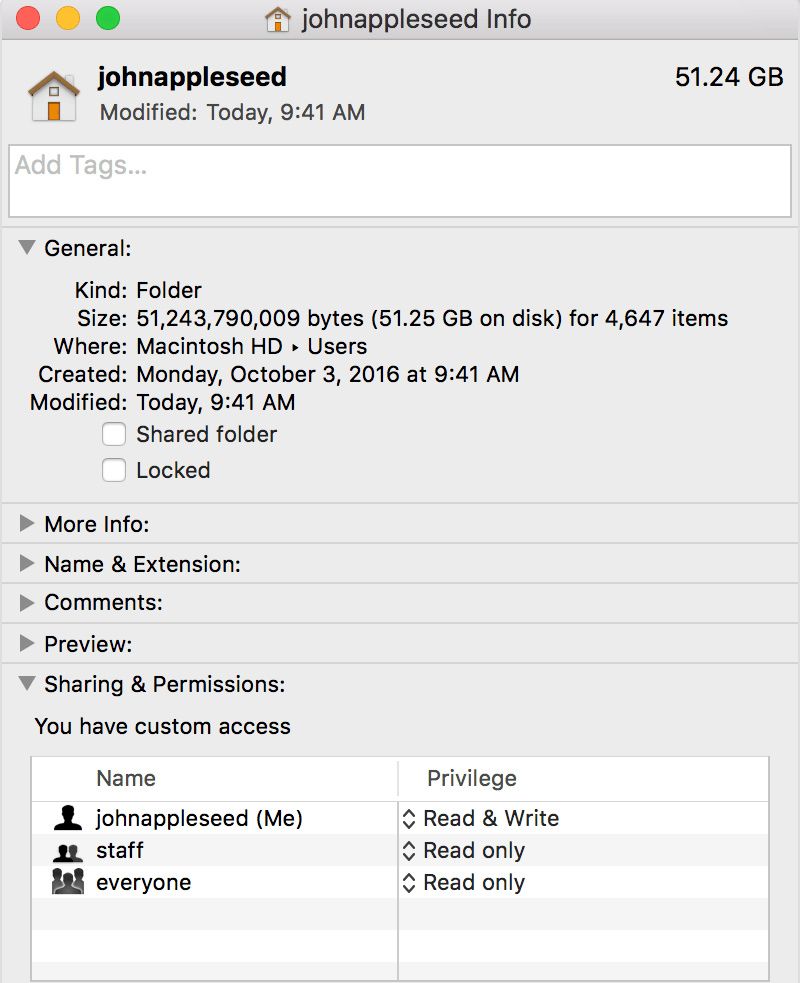
1. Right-click on the locked file. In the drop-down menu, click on "Get Info."
2. You will see a checkbox with the word "Locked" in front of it. If the checkbox is not greyed out, untick it and attempt to delete the file. If, on the other hand, it is greyed out, that's an indication that you lack the proper permission to be able to access or modify the file.
3. Press and leave your finger on the "Option" key. Go to your "Apple" menu and click on "File". In the drop-down menu, click on "Show Inspector".
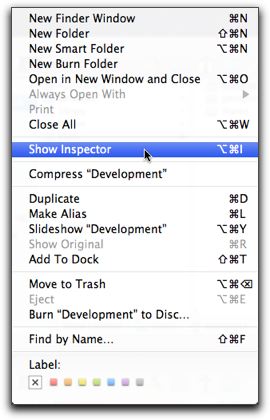
4. In the next menu, you see, there is a triangle adjacent to "Ownership and Permissions." Click on the triangle to expand.
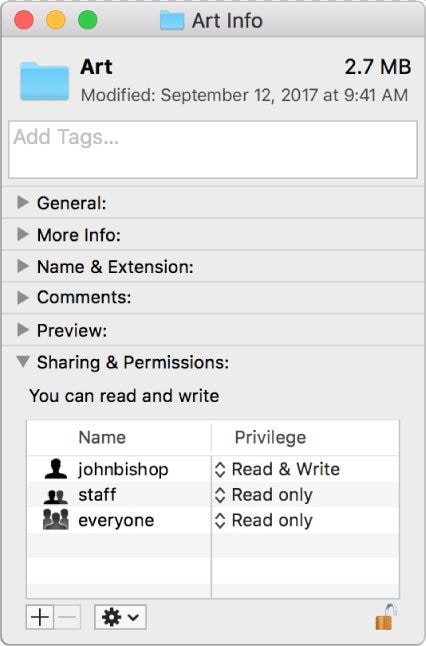
5. You now have better access and can view the file permissions. Changing them entails you press the "Lock" icon. You will then be asked for your administrator password. Input it.
6. Click on "You Can" > "Read & Write"
7. The checkbox adjacent to "Locked" will no longer be greyed out, meaning it is now accessible. Untick the checkbox and delete the files as you would normally. Presto! You're done. You can say good-bye to your locked files.
Solution 3: Terminal
1. Open up your "Applications" > "Utilities" > "Terminal".
2. Type this command in Terminal and press "Enter/Return": sudo chflags nouchg [path to the file] (The "path to file" in the command above is the path to the directory of the locked file).
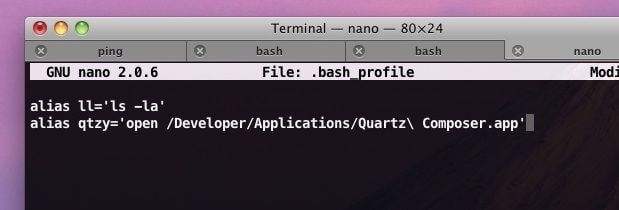
For example, if you want to delete a doc file that's located in the Microsoft Word folder within your Applications folder, this will be the command you type in Terminal:
sudo chflags nouchg ~/Applications/Microsoft Word/test.doc
Alternatively, you can drag and dump the locked file in your Mac's Terminal window to automatically input the file path.
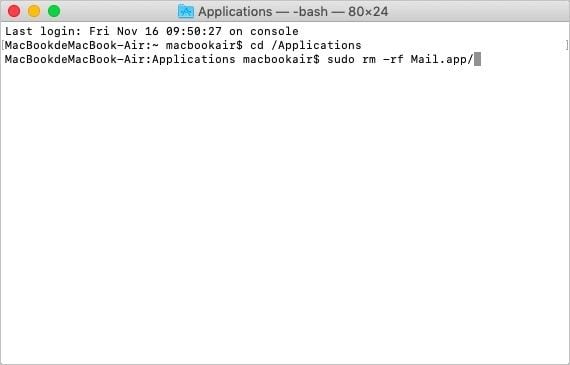
3. If the command up there doesn't get the job done, there's another that definitely will. Think of it as a brute force attack because it "force deletes" the file. Type this command in Terminal and press "Enter/Return": sudo rm -r [path to the file]
Part 4: How to Recover Deleted Files on Mac
Do you consider yourself the most cautious individual on the planet? You could be, but as cautious and careful as you are, a day will still come when you delete files that are important to you. And you'll only realize your blunder the moment you empty your Trash.
The reason isn't always clear why attempts are often made to recover files that were intentionally deleted. Yes, the deed could have been done by way of an accident; or maybe you simply forgot the just-deleted files contained important documents.
Whatever your excuse, Recoverit Data Recovery will pull you out of hot water. This powerful software not only recovers all deleted files and folders, but it does so with little stress placed on your system's memory and with the utmost speed.
You don't need any complicated instructions or a manual on how to use Recoverit. Just follow the three simple steps below.
Step 1: Choose a Location
Start your Recoverit and select a drive under the "Hard Disk Drives" category for scanning. Choose the drive where the files and folders were deleted from. Click "Start."

Step 2: Scan the Location
The scan should start and be done in no time. A window will pop up and show you a preview of the files and folders you deleted from your Mac.
As you can imagine, they will be much in number, but Recoverit foresaw that. The software gives you a choice of utilizing filters to narrow down and hasten the search.
"File Type" or "File Path" are two of the options available for you to play around with. You can also stop or pause the search midway, and that's a feature that can come in quite handy when you're engaged with other activities.

Step 3: Preview & Recover Deleted Files
A window will pop up. In it will be a preview of the deleted files and folders. Click "Recover". Your files and folders will be recovered and kept safely on your Mac.
A word of caution: Neither keep nor save the recovered files in the same hard drive the search was run on. You can save it in any other drive without worries about anything going wrong.

Recoverit Mac Data Recovery is great data recovery software not just in name. It's a tried and true data recovery software for your Mac that never fails to achieve the results you want.
Part 5: Tips for Deleting Files and Folder on Mac
It's possible you may have come across some of these tips or not, but that doesn't mean you shouldn't be reminded of them now, does it? A few, simple tips can go a long way in making life easier, and the same applies to delete files and folders on your Mac.
- You can easily delete files or folders but pressing "Command" + "Z" undoes the action and takes your files back to their directories. But this only works if you press the keys immediately after deleting the files/folders.
- Open up your Trash and check the contents before emptying it. You never know whether you'll see a file or folder that could still be of some use to you.
- The "Option" + "Command" + "Delete" keys only work when you're on Finder. If you're running another app and you press the keys, you'll just receive a warning notification, so take note of that.
- You can disable the feature that asks you for a "yes" confirmation each time you want to empty Trash to make the action faster. Go to your Finder menu and open up "Preferences", then select "Advanced" and untick the box which displays a warning each time Trash is to be emptied.
- You're better of deleting a few large files than tirelessly going through endless small-sized folders. It will save you time and effort.
Closing Words
Deleting files on your Mac is probably going to be an everyday action. It's safe to assume you use your Mac every day, and you'll likely be downloading or copying new files all the time, however small in size they may be.
If you allow these files and folders to keep taking up space in your Mac, you'll eventually have to delete some of them, but you won't know which because there are so many in number; sifting through them will be another time-consuming process too.
To avoid all this, delete files you don't need as often as possible. And if you err and delete something important, you only need to run Recoverit and let it resolve the problem. Simple, stress-free, and efficient: Those are the words underlying Recoverit's design.
What's Wrong with Mac
- Recover Your Mac
- Fix Your Mac
- Delete Your Mac
- Learn Mac Hacks


Sue Wayne
staff Editor