
 TL;DR:
Setting up Plex on a TrueNAS or TrueNAS Mini X system is done directly through the Apps dashboard by claiming a Plex token and mapping your host network and storage paths for media access.
● Retrieve a claim code from the official Plex website before configuring the app to seamlessly enable PlexPass and bypass manual login prompts.
● Ensure you correctly assign host paths for both the Data Volume and Plex Config mandatory fields during the storage configuration phase.
● If you are using TrueNAS Scale, the Plex application does not feature an automatic start option and must be manually restarted from the Installed Applications tab anytime the host system reboots.
Ask AI for a summary
 ChatGPT
 Perplexity
 Gemini
 Claude
 Grok
Grok

If you enjoy using Plex to stream your media, you’re probably wondering whether you can use it with TrueNAS Mini X. The answer is yes. While the TrueNAS Plex setup isn’t complicated, it still requires you to complete very specific steps.
Since you are already running and using TrueNAS, the installation should not be a problem. Below you can find a step-by-step guide on installing Plex on TrueNAS and discover all the benefits you’ll get if you decide to do so.
Part 1. Benefits of TrueNAS and Plex
There are many benefits of TrueNAS and Plex. Here are the most noteworthy ones that, as someone who likes to stream media on devices on the local network, you might find compelling to Plex setup on TrueNAS.
Easy Setup
Using Plex with TrueNAS is easy. You don’t have to be an expert or have experience using TrueNAS or Plex to complete the setup. Simply follow the step-by-step instructions below to have it up and running in a few minutes.
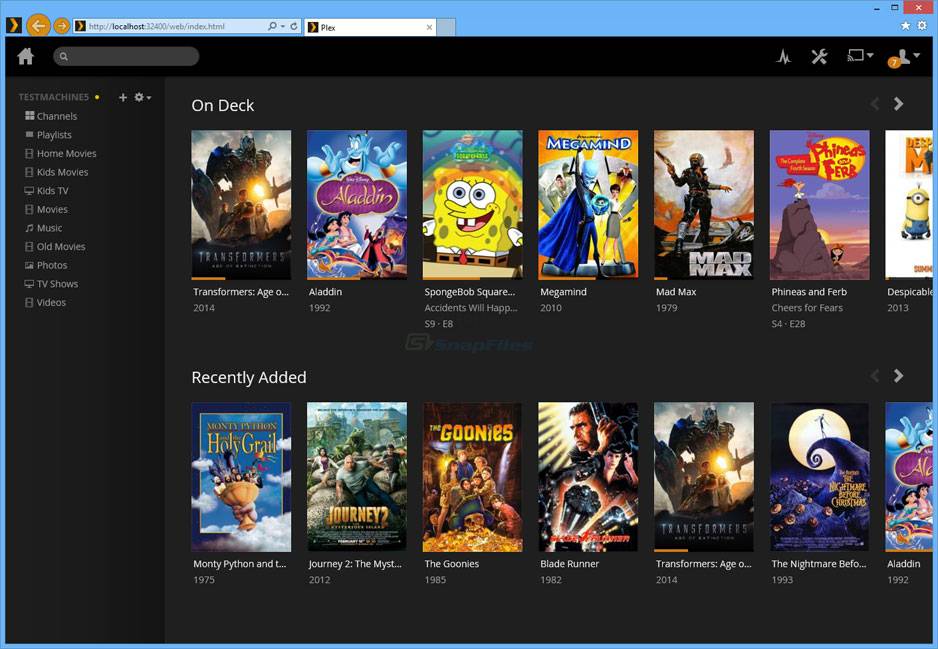
Get All Your Media in One Dashboard
Plex and TrueNAS allow you to create a centralized media library. You can have all your favorite Movies, TV Shows, Documentaries, Docu-Series, or Anime on one screen and accessible on your favorite device.
Keep Your Media Safe
When you run a Plex TrueNAS setup, you won’t have to worry about losing your favorite media. TrueNAS has powerful data recovery capabilities. Whether you accidentally delete files or have a change of heart, you will be able to perform TrueNAS data recovery.
Part 2. Performing a TrueNAS Plex Setup
Here is everything you need to do to install Plex on TrueNas and have the working TrueNAS Plex server up and running.
Step 1: Install Plex
First, you need to log in to TrueNas. From the dashboard screen, select “Apps”, located in the left-side menu.
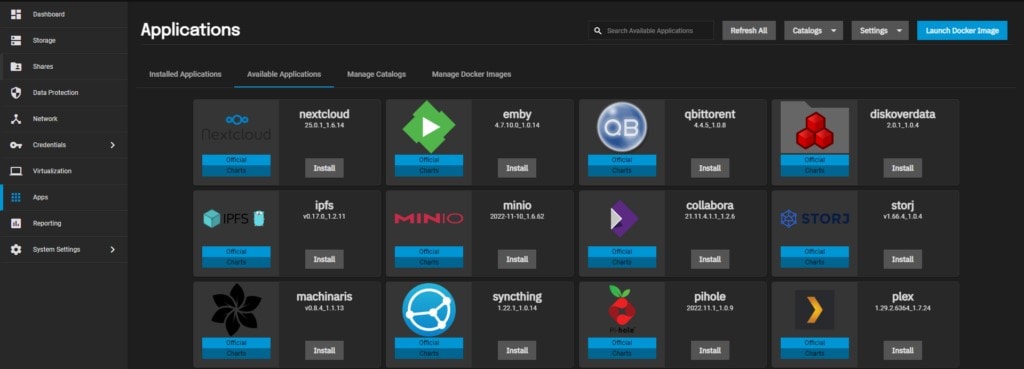
This action will open the create application windows. Enter the application name “plex” and click on the “Next” button.

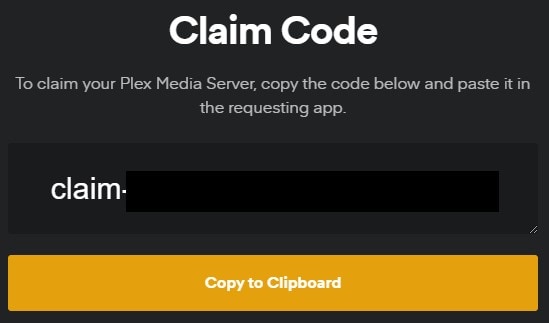
Now you should head to the official Plex website to claim your token so you can paste it during installation. It makes using Plex on TrueNAS more convenient, as you won’t have to log in whenever you want to stream media.
Step 2: Configuring Plex
Next, the “Plex Configuration” window will open. Here you have to do two things. First, enable the “Use PlexPass” checkbox if you have copied the Claim Code. If not, you can skip this step.

You should also select the right time zone in the “Plex container timezone” dropdown menu.
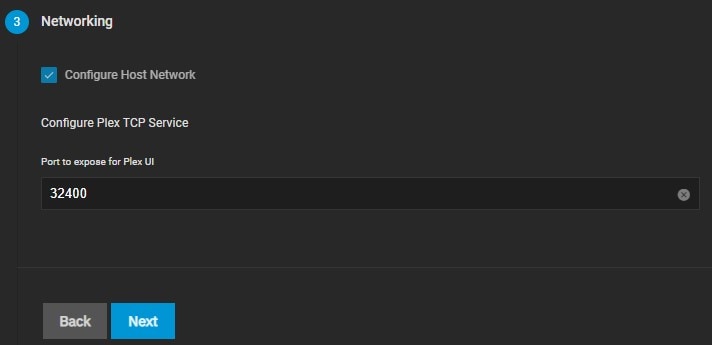
Now you need to Configure Host Network in the networking section.
Simply check the Configure Host Network Checkbox and click the “Next” button.
Finally, you need to configure the Storage section. Here, you must fill in the two mandatory fields – Data Volume and Plex Config. In the “Host Path for Plex Data Volume” section, select the host path(s) for your media and Plex Config.
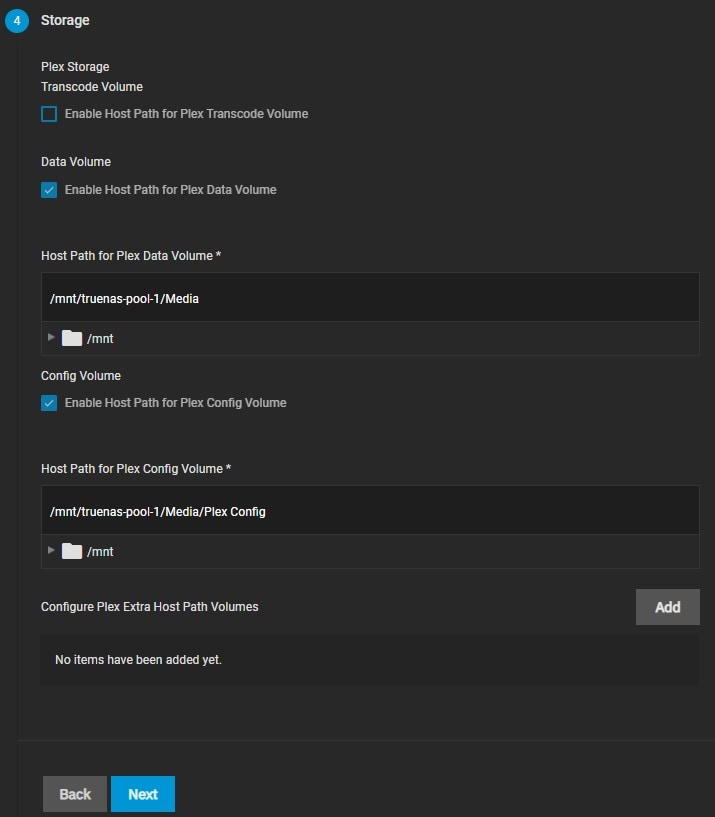
Leave all the other options to default and keep clicking the “Next” button to skip to the last “Confirmation Options” screen. Click the “Save” button.
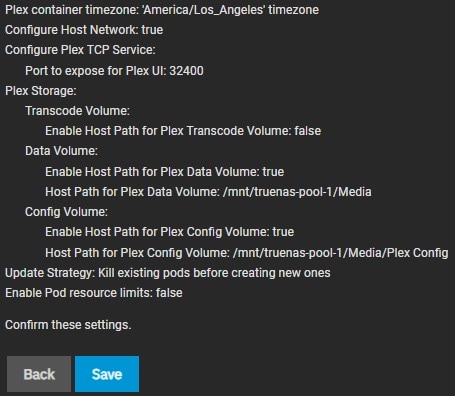
Once the TrueNAS Plex setup is complete, your application will be ready for use.
Step 3: Adding Automatic Start
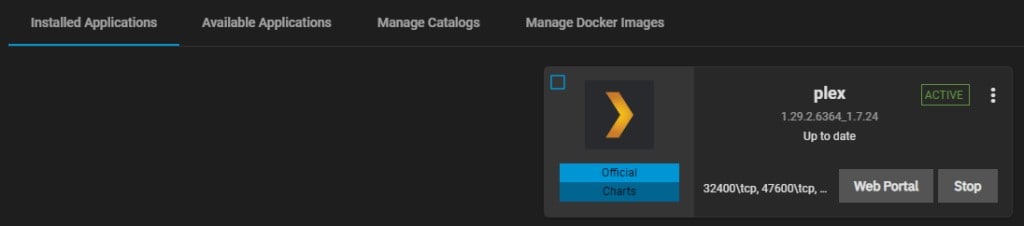
With TrueNAS Scale, you don’t have to add an automatic start. As long as your host is up and running, your app will also be running. If you restart your host for any reason, you must head back to Installed Applications and manually start your Plex.
Step 4: Accessing Web Interface
Accessing the web interface for Plex on TrueNAS is straightforward. Navigate to your TrueNAS Dashboard. Select apps from the left side menu and click on the “Installed Applications” tab in the middle of the screen. Find Plex and click on the “Web Portal” button.
Step 5: Updating to the Latest Version
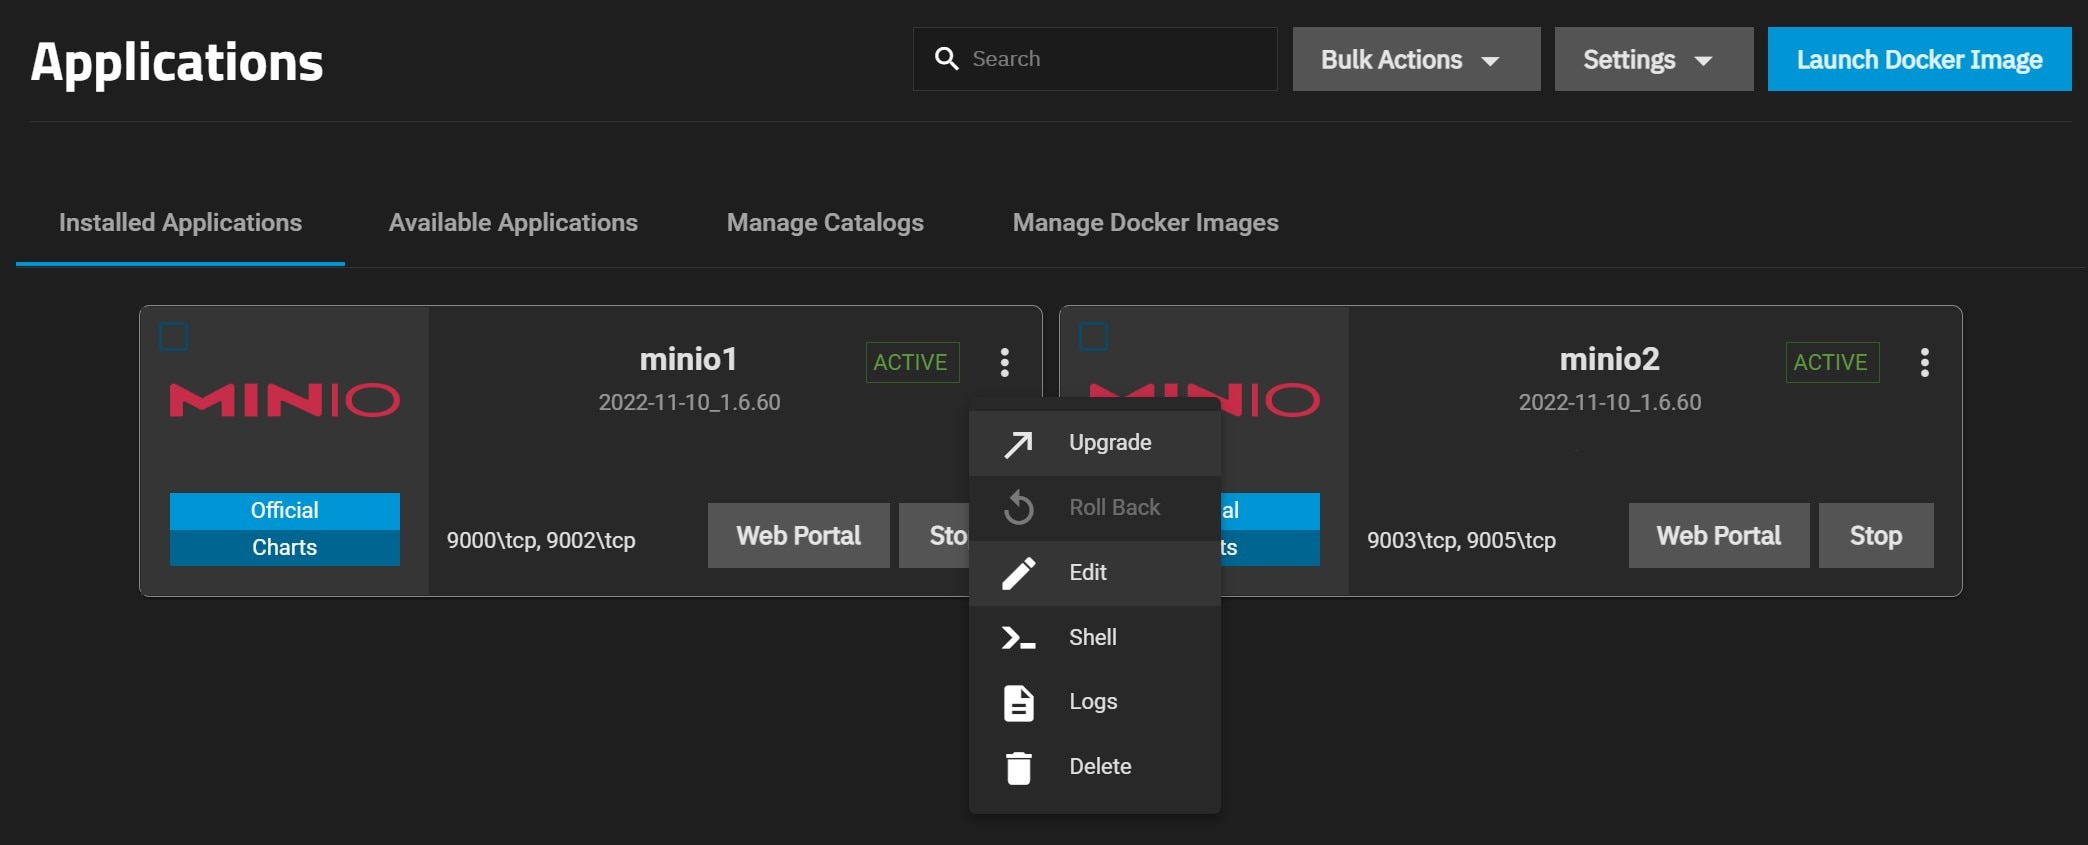
Updating all apps on TrueNAS is possible with a few simple clicks. The same applies to Plex, and it’s crucial to do so as it can receive important QOL changes and big-fixing updates. To upgrade Plex to the latest version, click the in-app widget to see the list of available app options. Select the Upgrade option to update Ple to the latest version.
Step 6: Additional Plex Configurations
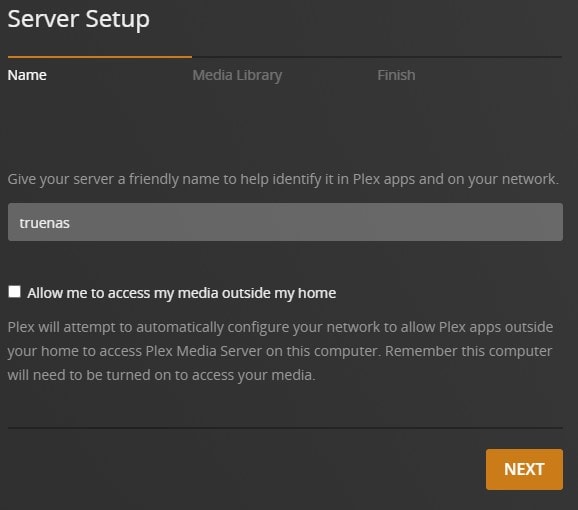
To access additional Plex configurations, such as media setup, you must access the Plex web interface, as explained in Step 4 of this guide. The Server Setup is straightforward. Simply add the name of your TrueNAS server. In this case, it’s “truenas.”
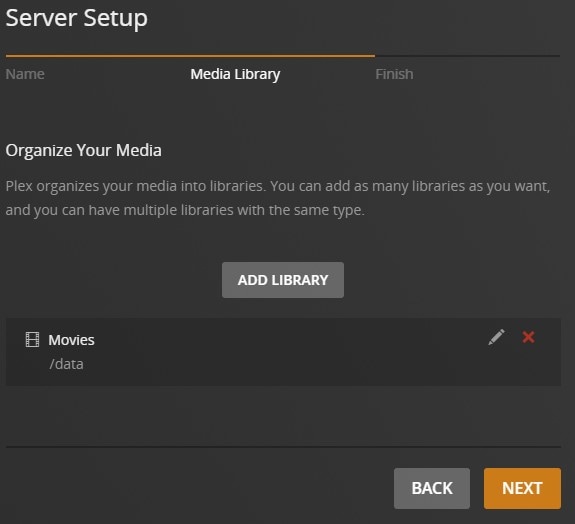
In the Media Library tab, select the content type you want to stream and the location of your media. Click Next once you complete this step.
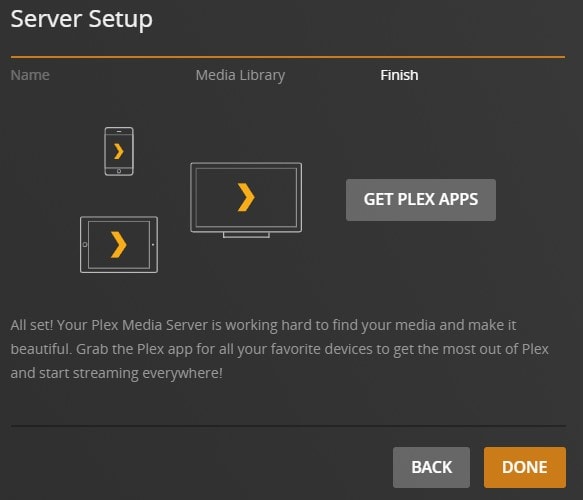
Click the “Done” button to complete the Server setup.
Conclusion
That’s pretty much it. As you can see, you can have a new TrueNAS Plex setup up and running in under a few minutes. Make sure to follow every step to complete the process correctly. Keep in mind that this allows you to access the web interface of your local Plex Media Server.
To do it through an app on your favorite devices, you will need to install and log in to a dedicated Plex app on your device.
For Windows XP/Vista/7/8/10/11
For macOS X 10.10 or later


