
 TL;DR:
You can install the Emby media server on a Synology NAS using either a lightweight Docker container or a direct manual package installation.
● The Docker installation method provides an efficient, easily updatable environment suited for users with technical knowledge, requiring you to download the latest stable Emby image directly from the Docker Registry.
● The non-Docker method offers a straightforward manual setup for beginners using a hardware-matched package downloaded from the Emby website, but it introduces potential performance instability and more difficult application management.
● Before beginning either installation process, you must secure your Synology NAS by creating a dedicated Emby user account with restricted access strictly limited to the required shared folders.
Ask AI for a summary
 ChatGPT
 Perplexity
 Gemini
 Claude
 Grok
Grok
Accidentally deleted important files on Synology NAS?
No worries. Recoverit NAS Data Recovery can get back your lost files within 3 steps. The ultimate and professional data recovery tool is totally reliable and 100% safe.
Have you ever wanted to view your media files but couldn’t access them from the device you were using? Well, you don’t have to worry about that anymore – Emby on Synology NAS is here to solve your problems.
After reading this guide, you’ll be able to install Emby on Synology NAS quickly and easily. You’ll know all about what Emby is, its advantages and disadvantages, and methods of installing it on Synology NAS. Most importantly, you’ll have a detailed step-by-step guide on installing Emby with or without Docker.
In this article
What Is Emby, and What Does It Do?
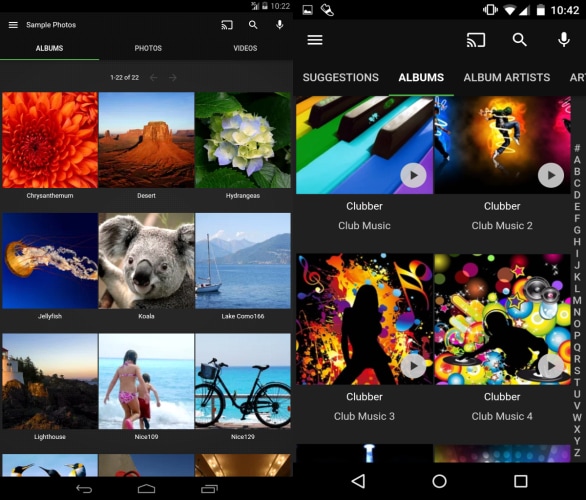
Defined as a media server software, Emby helps users manage and stream their media files across various devices and platforms. You can install it on several operating systems, including Windows, macOS, Linux, and NAS devices like Synology, QNAP, and more.
Emby supports various media formats, including music, videos, photos, and even live TV and DVR. Users can easily organize their media libraries and customize their server settings to suit their preferences. Emby also provides advanced features like parental controls, mobile sync, cloud sync, and more.
Advantages and Disadvantages of Using Emby on Synology NAS
One of the most significant advantages of Emby is its robust streaming capabilities. It supports streaming to a wide range of devices, including web browsers, smart TVs, gaming consoles, and mobile devices.
Moreover, Emby provides transcoding support, allowing users to stream their media files in various formats and resolutions based on their device’s specifications and internet connection.
In addition to its core features, Emby also provides several plugins and integrations that allow users to extend the application’s functionality. These include plugins for subtitle downloads, backup and restoring parental controls, and more.
However, one of its main disadvantages is the lack of data recovery capabilities. Therefore, it’s essential to back up your data regularly to prevent any data loss.
Methods of Installing Emby on Synology NAS
There are two primary methods for installing Emby on Synology NAS, with Docker and without it. Both methods have their advantages and disadvantages. Therefore, it’s up to users to choose the installation method that suits their needs and technical expertise.
With Docker
The primary advantage of installing Emby on Synology NAS with Docker is that it provides a lightweight and efficient way to run Emby and makes it easy to manage and update the application. However, setting up and configuring Docker can be complicated for novice users, as it requires some technical knowledge.
Without Docker
On the other hand, installing Emby without Docker is more straightforward and requires less technical knowledge. However, you may experience performance issues and instability, and it may be more challenging to manage and update the application.
Install and Set Up Your Synology NAS Before Starting
Before installing Emby on your Synology NAS, it’s essential to ensure that your NAS is set up correctly and meets the requirements. Then, install any necessary packages that are required to support Emby. For security reasons, it’s recommended to create a dedicated user for Emby. This user should have limited access to the NAS and the shared folders that Emby needs to access.
Once your Synology NAS is set up and ready to go, you can begin installing Emby using one of the methods outlined earlier. By properly setting up your NAS, you’ll ensure that Emby runs smoothly and efficiently and that your media files are secure and easily accessible.
How To Install Emby on Synology NAS With Docker?
First of all, Docker is a platform that developers and sysadmins use to build, ship, and run distributed applications. It offers a simple yet effective way for users to install and run Emby on Synology NAS.
Now, let’s get to the steps for installing Emby using Docker.
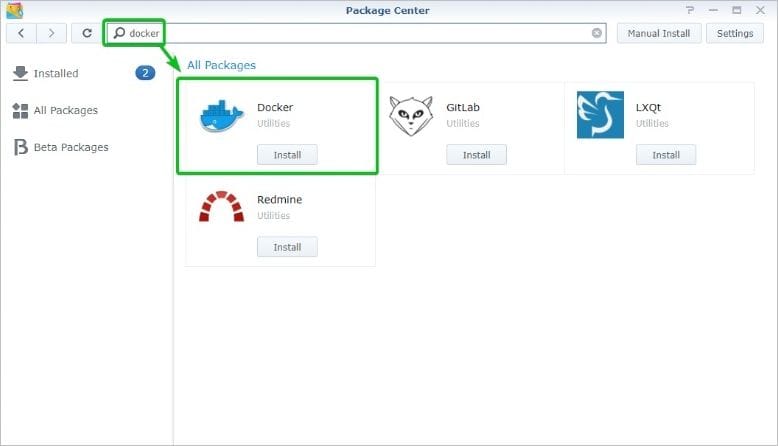
Step 1Install Docker on Synology
Before you can install Emby, you need to install Docker on your Synology NAS. You can install Docker by going to the Package Center, searching for "Docker," and clicking Install.
Step 2Search for Emby in Docker
Once Docker is installed, open it from the Synology web interface or the app menu on your NAS. In Docker, click on the Registry tab, and search for "Emby" in the search bar. You should see a list of Emby images in the results.

Step 3Download the Emby image
Select the Emby image that you want to use and click Download, or you can double-click the image to start the download process. It’s recommended to use the latest stable version of Emby.

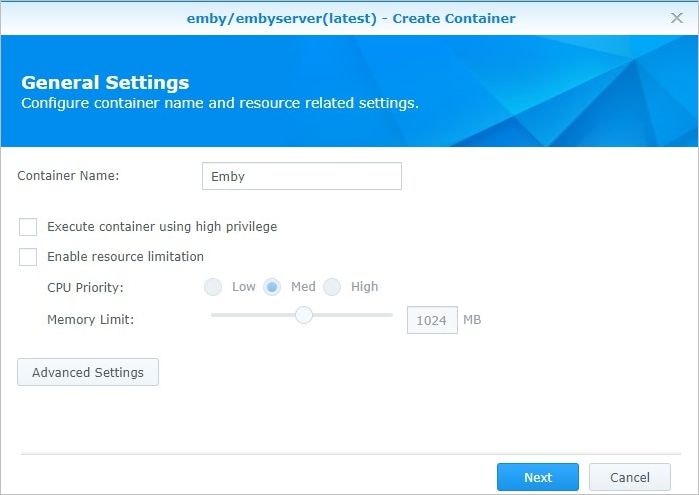
Step 4Launch Emby
After downloading the image, go to the Image tab, select the Emby image, and click Launch to open the container creation wizard.
Step 5Configure the Emby container
Follow the prompts in the container creation wizard to configure the Emby container. You can choose the name of the container, the network settings, and other options – and you’re ready to go.
How To Install Emby on Synology NAS Without Docker
Installing Emby without Docker is more straightforward and requires less technical knowledge. On the other hand, you may experience performance issues and instability, making it more challenging to manage and update the application.
If this option is better for you, let’s see how you can install Emby for Synology NAS without Docker.
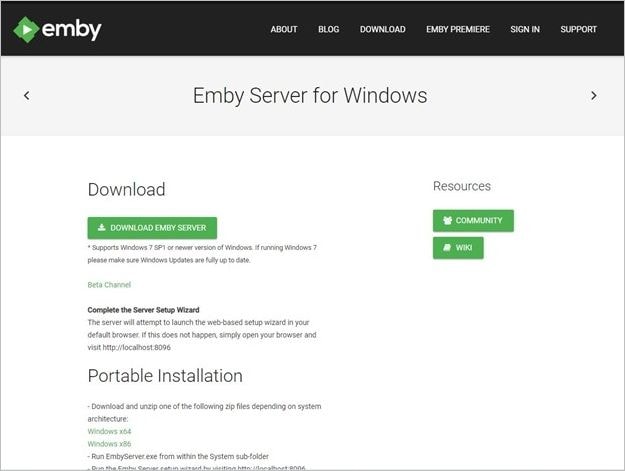
Step 1Download the Emby Package
Go to the Emby website and download the package for Synology NAS. You should download the package that matches your Synology NAS model.
Step 2Install the Emby Package
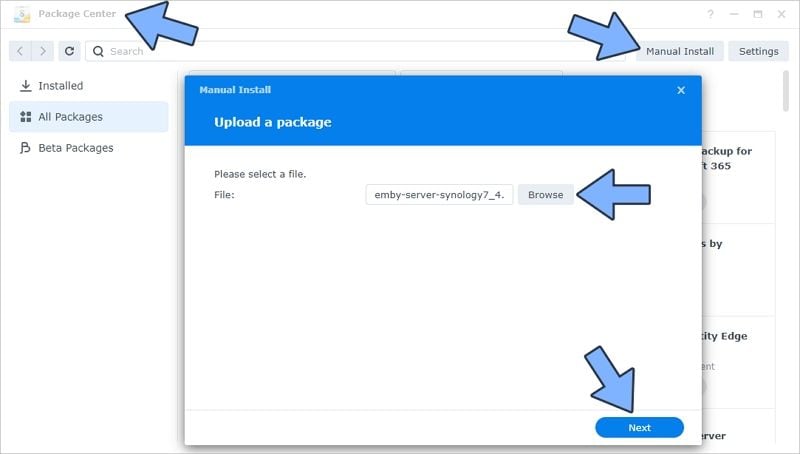
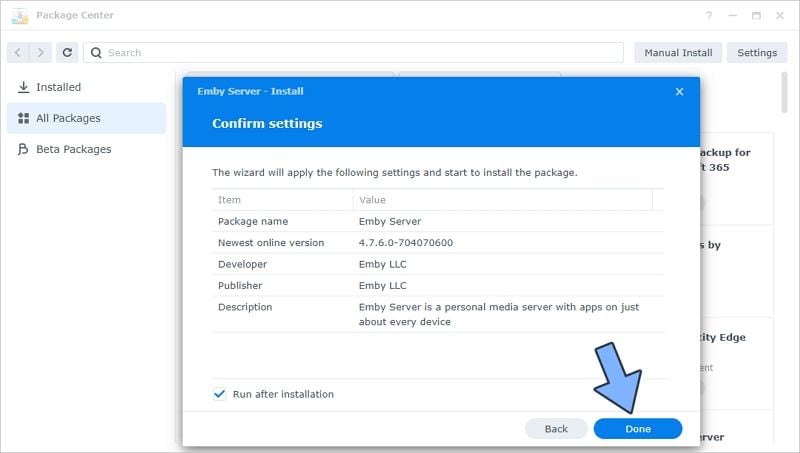
Open the Synology Package Center and click on the Manual Install button. Browse for the Emby package that you downloaded in the previous step and click Next to start the installation process.
Step 3Set Up the Emby Package
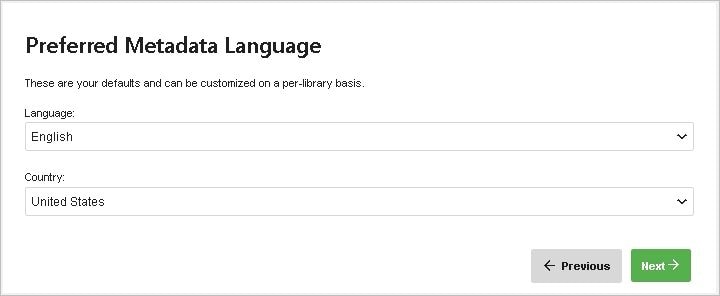
Follow the prompts to set up the Emby package. You will need to accept the terms of service, choose a location for the Emby server data, and create an admin account for Emby.
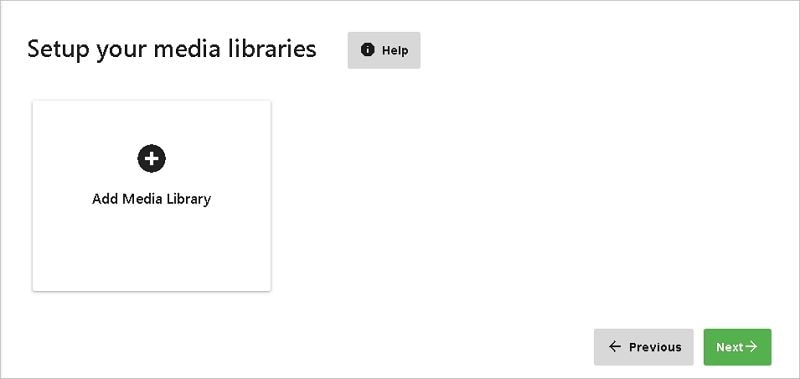
Step 4Add Media Files to Emby
Once the installation process is complete, you can add your media files to Emby by clicking on the Emby icon in the Synology web interface. You should see a prompt to Add Media Library.
Step 5Configure Emby’s Settings
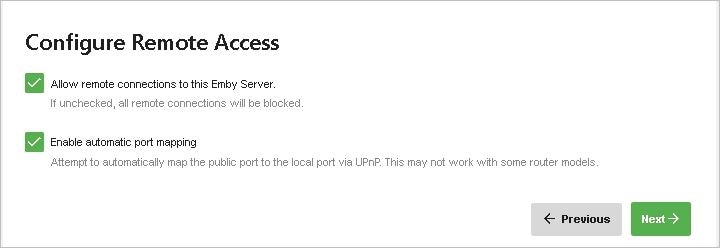
You can configure Emby’s settings by going to the Emby dashboard in the Synology web interface. Here, you can change the server name, set up users, and change other settings.
That’s it! You have now successfully installed Emby on your Synology NAS without using Docker. From here, you can start using Emby to stream your media files to other devices in your home network. In case you lose some important media files due to accidental deletion, disk corruption, power outage, or virus attack, there are several ways to recover deleted files from Synology NAS.
Conclusion
Emby is a versatile and powerful media server that you can install on Synology NAS using Docker or without Docker. Each method has its advantages and disadvantages, so choose whichever suits your needs best. Remember to back up your data regularly to prevent any data loss. Enjoy using Emby for Synology!
For Windows XP/Vista/7/8/10/11
For macOS X 10.10 or later


