Tutorial Guide to Turn Normal Hard Drive into NAS
"I wanted to have NAS storage. But, I am very low on budget. Can I turn the external Hard Drive into NAS? My friend told me that you could turn a portable Hard Drive into NAS. But I have no clue how to do that?" -User question on the internet.
Are you also looking for a much cheaper way to get NAS storage? Do you wish to turn an old Hard Drive into NAS? If Yes, then you have come to the right article.
The popularity of NAS storage is booming. Therefore, you need to know how to turn a USB hard drive into NAS. This article will help you understand the prerequisites of turning any hard drive into a NAS. It will also help you with a step-by-step guide to turn your normal Hard Drives into a NAS device.
Can I Turn My External Hard Drive into NAS?
A need to turn your external Hard Drives into NAS for better storage and sharing purposes is justified. But the big question here is whether it even possible to turn external Hard Drives into NAS.
The answer to your question is, YES, you can turn your external Hard Drives into NAS. Although the conversion process might seem tricky to you, the goal of this article is to help you turn your external Hard Drives into NAS in more manageable steps.
To turn an external Hard Drive into NAS, you need to have a Wireless Router and a NAS Adapter. You will learn the process of conversion in the subsequent sections.
Principle of Turning External Hard Drive into NAS
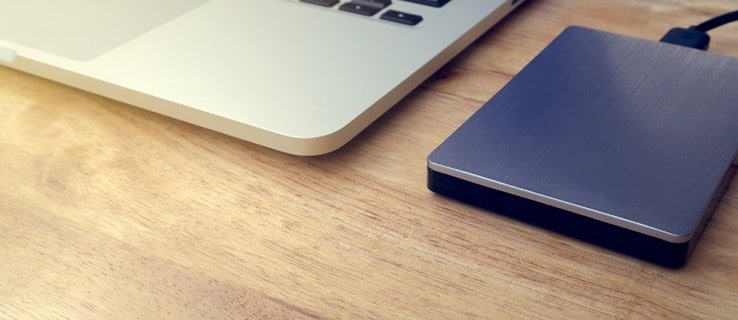
Since you know that you can turn your regular Hard Drives into a NAS device, but you must be wondering how this whole complicated-looking process works.
Making or building your own NAS setup is a straightforward process. First of all, the process is simple. A NAS (Network Attached Storage) is nothing but your storage drives shared over a network. All you have to do is connect all your external Hard Drives to a computer. Once they are connected, share those Hard Drives using any network-sharing facility provided by your computer.
Necessities Before Starting
Before you are introduced to the steps needed to turn your Hard Drive into NAS, you must know some perquisites for the whole process. Below are a few things that you need to begin turning your Hard Drive into a NAS system.
1. Wireless Router

One essential item to turn your external Hard Drive into NAS is a Wireless Router. You probably have one with you right now. A Wireless Router (Wi-Fi router) with a USB port is necessary for the process.
All you have to do is plug your external hard drive into the Wireless Router's USB port. Your external hard drive is available to everyone attached to the network created by your Wireless router. A pretty simple way to convert your USB Hard Drive into NAS, isn't it?
2. NAS Adapter
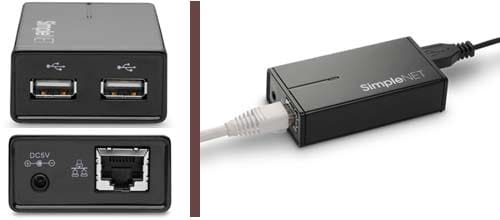
If your Wireless Router does not come with an in-built USB port connection, a NAS adapter solves that limitation. NAS Adapter helps connect your computer system (with storage devices) to your Wireless Router to begin the storage sharing.
Consequently, A NAS adapter helps to set up your NAS system successfully. But, make sure you have an excellent NAS adapter. See the below list to find some of our recommended NAS adapters that you can buy yourself.
Recommend 1: Addonics NAS 3.0 Adapter (NAS30U2)
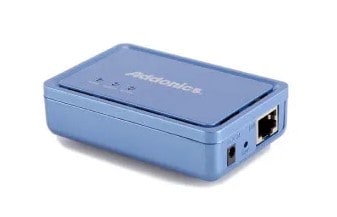
Addonics NAS 3.0 adapter is one of the most efficient NAS adapters out there. It can handle a tremendous amount of storage. Not just can it help you with NAS; it also provides other features such as FTP, multimedia streaming, and BitTorrent management. It has a robust steel interface which makes it resistant to external damage. Its purchase starts at $65.
Buy Addonics Now | Amazon
Recommend 2: Seagate FreeAgent DockStar Network Adapter

Seagate is a famous storage device manufacturer. Their FreeAgent DockStar is one of the easiest to set up and useable NAS adapters. It is auto-connect, so it figures out all the IP settings itself. It has a simple web-based interface to manage manual settings and create NAS users. Seagate FreeAgent DockStar comes at a meager price of $15.
Buy Seagate FreeAgent DockStar Now | Amazon
Recommend 3: Cirago NUS1000 Network USB Storage Link
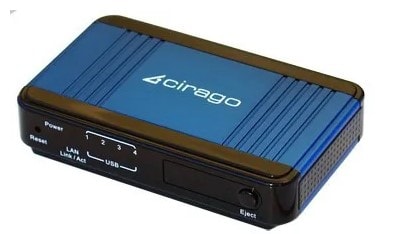
Another top NAS USB Adapter in our list is Cirago NUS1000 Network USB Storage Link. It allows for a more straightforward NAS setup. You share and access USB Hard Drives, and even USB Flash Drives over a shared network connection. It supports mainly all of the file systems. The best thing about this adapter is that it comes with a built-in BitTorrent client for direct download. It comes with a price range of $59.99-$69.99, which makes it a bit high compared to other NAS USB adapters.
Buy Cirago NUS1000 Network USB Storage Link Now | Amazon
Recommend 4: Iomega iConnect Wireless Data Station
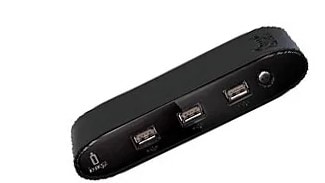
Iomega iConnect is the leading wireless USB NAS adapter. You can access it wirelessly with your computer.
It has a very decent web interface for its configuration and usage. What makes it stand out over other NAS adapters is its ability for wireless connection.
However, some users have felt that it performs a bit slower with file transfer operation on a wireless connection than wired. But, with its price and features, it undoubtedly stands out to be much competition to other wireless NAS adapters in the competition. It comes with a retail price of $99.99.
Buy Cirago NUS1000 Network USB Storage Link Now | Amazon
These are a few of the market-leading recommended NAS USB adapters. You can buy one according to your needs. But buying one is necessary if you wish to turn your Hard Drive into NAS. Along with a NAS USB adapter, you must have a Wi-Fi router as well.
Step-by-step Guide to Turn Normal Hard Drive into NAS
Finally, you are all set to start the process to turn your standard Hard Drive into NAS. Before you begin, make sure you have the necessities. The essential prerequisite for conversion is a Wireless Router and a NAS adapter. If you have got both of them, then you are all set.
Also, to turn your external USB Hard Drive into NAS, you need to follow the basic procedure. Our article will help you quickly understand and perform it. The steps include setting up your NAS connections, logging into your NAS adapter, and creating users who can access your NAS storage. Once they are made, the users can log in and access your NAS setup.
Step 1. Set up Your NAS
- It is time to set up your NAS. To begin, first, start with your NAS adapter. Your NAS adapter will have a USB port on one end and an ethernet port on the other end. Apart from these two ports, it will also have a power adapter cable.
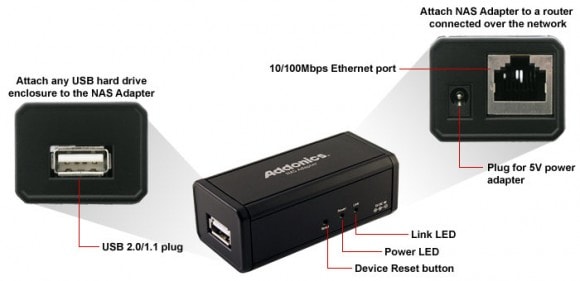
- Plug your NAS adapter power cable into the power port. After that, connect your USB external hard drive into your NAS adapter USB port.
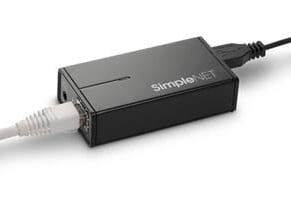
- Now, connect your router with your NAS adapter using the ethernet cable.
- Turn the power on, and you will see the light on your NAS adapter.
Step 2. Logging into the NAS Adapter
After successfully setting up your NAS, you now have to log in with your NAS adapter.
- Power up your computer system.
- Once your computer is powered up, your NAS adapter will automatically detect its IP address. In most cases, it does, but if it does not, just read the manual given guide to set it up.
- After the IP addresses are read by the NAS adapter, open the browser on your computer and type "storage" in your browser's search bar.
- Typing "storage" will ask for a username and password. Try entering "admin" as both the username and password. Usually, admin is the default-set username and password for NAS adapters. If it is not, then see the user manual.
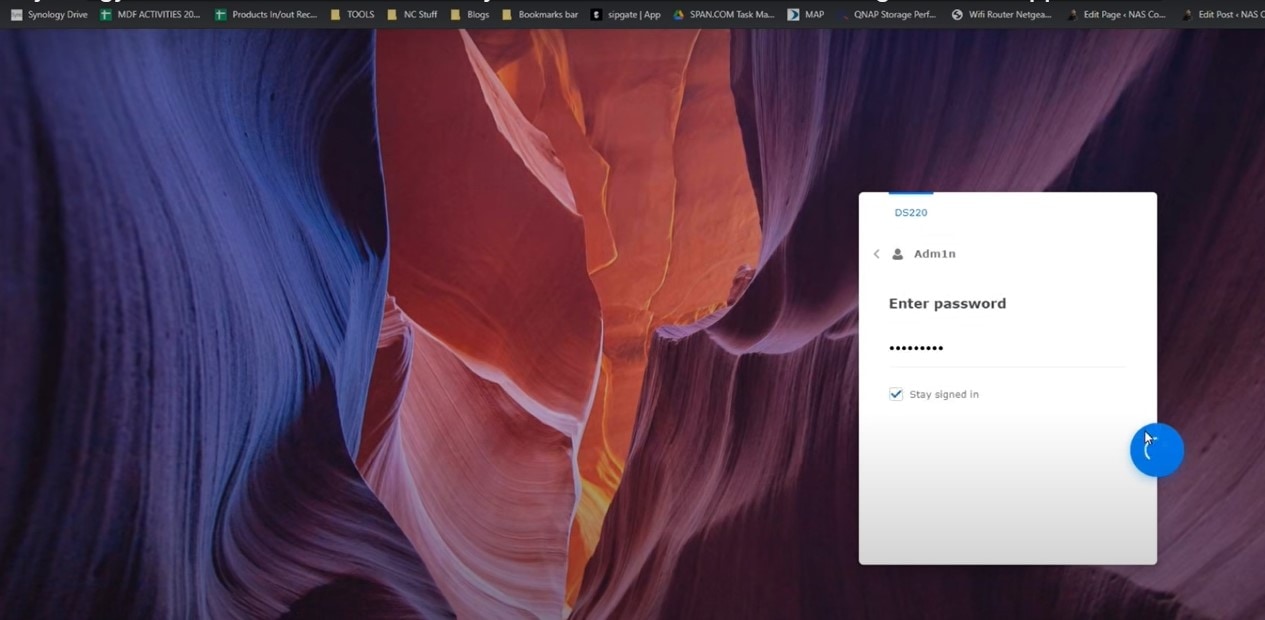
- After entering the credentials, you will be successfully logged in with your NAS adapter. You can change the password from default now.
Step 3. Creating a New User
The primary purpose of the NAS system is to have shared storage; so other people on the network can use similar storage for reading/writing operations. The other people are called users that you have to create. Once the users are created, they can access your NAS setup.
- Login to your NAS adapter.
- Click the "Add" button.
- Upon clicking the "Add" button, give the user a name and allocate a password. A new user will be created.
- To give them access, click on the "Modify" button and the newly created user to your NAS network. Doing this will provide them with access to the sharing list.
Step 4. Logging into Your NAS
After creating the users, they can now log in with your NAS. For them to log in, make sure you share their username and password with them. Also, it is highly recommended that you change your default admin's username and password before giving access to your NAS to any user. Most users know the default password and hence can exploit your NAS server.
- After sharing the username and password with the users, ask them to open Run Window by pressing "WinKey + R."
- In the run-popup, ask the users to type "" followed by your admin IP Address.
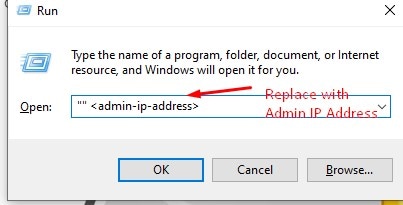
- The new users will now have to enter their username and password. Upon entering the credentials, they will be able to access your NAS.
Bonus Tip: How to Recover Data from NAS Hard Drive?
- Recover all of your data from NAS system due to various reasons like Malware attacks, corruption, accidental deletes, damage, etc.
- Recover data from all kinds of storage drives like USB drives, SD cards, SSDs, HDDs, Floppy Disks, Pen drives, etc.
- Preview files before recovering.
- Pause and Resume the scanning process.
Detailed picture tutorials are all included in this article: Best Way to Recover Lost Data from WD My Book Live
Conclusion
Data storage, expansion, sharing, and backup are the ultimate needs in the internet world. NAS provides a top solution to all these. A powerful NAS setup helps people with private data sharing and even businesses to work with big data.
Unfortunately, buying a NAS device is not easy for everyone. The cost and complex configuration settings associated with it are not everyone's cup of tea. So, in my opinion, for personal home usage and minimal office use, turning your old USB hard drives into NAS is a much easier and cheaper solution. Turning your Hard Drive to NAS is easy; all you need is a router and a NAS adapter.
What's Wrong with Mac
- Recover Your Mac
- Fix Your Mac
- Delete Your Mac
- Learn Mac Hacks


 ChatGPT
 Perplexity
 Google AI Mode
 Grok
Grok


Theo Lucia
chief Editor