

 TL;DR:
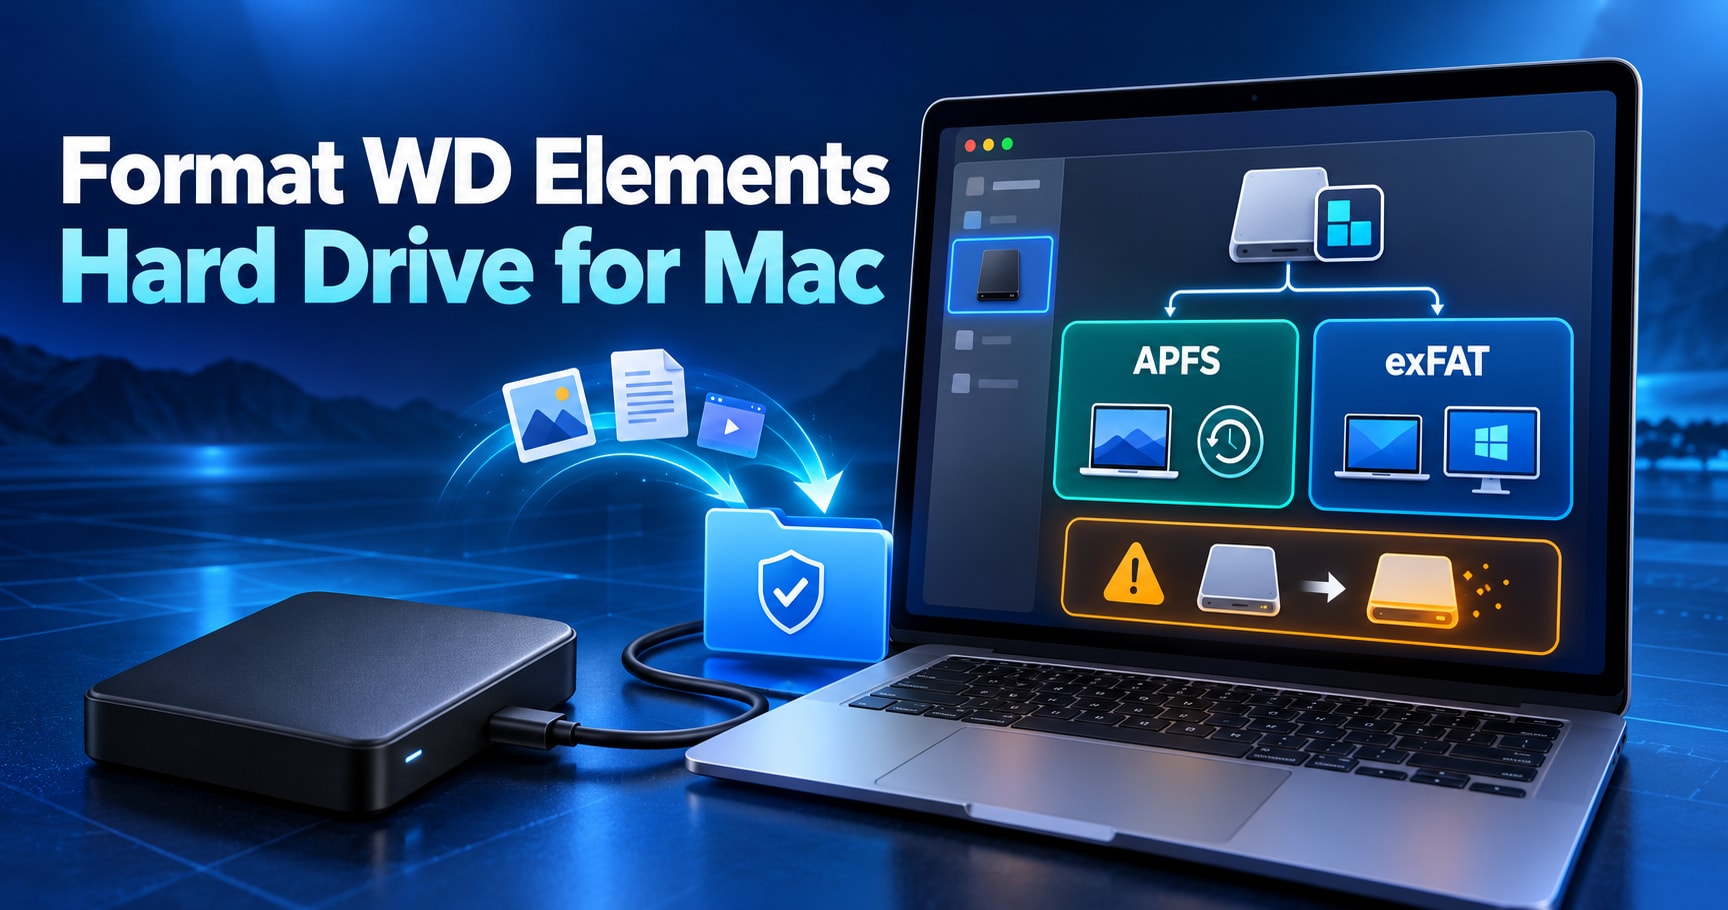
To safely format a WD Elements hard drive for a Mac, secure your data first, open Disk Utility, select the physical drive, choose the GUID Partition Map scheme, and erase the disk as APFS for macOS or exFAT for dual-platform use.
● Verify your exact WD Elements model before erasing, as USB-C and Portable drives (such as WDBDTV and WDBNSY) ship factory-formatted as exFAT and natively support Mac and Windows read/write access, whereas Desktop models (WDBWLG and WDBBKG) ship as NTFS and require reformatting for native Mac write access.
● Select APFS if the drive will be used exclusively for macOS 10.13 or later storage or as a new Time Machine backup destination, but choose exFAT if you need to move large files between Mac and Windows.
● If the Scheme menu is missing during formatting, click View > Show All Devices in Disk Utility to select the physical hardware rather than a child volume, and if the erase fails, run First Aid in a bottom-up order only after recovering accessible files.
Ask AI for a summary
 ChatGPT
 Perplexity
 Gemini
 Claude
 Grok
Grok
If you want to know how to format a WD Elements hard drive for Mac, the safest method is to use Disk Utility, select the physical WD drive, choose GUID Partition Map, and format it as APFS for modern Mac-only use or exFAT when you need to use the drive with both Mac and Windows. Formatting erases the selected drive, so protect any files you still need before you click Erase.
One important detail is often missed: not every WD Elements model ships with the same file system. Some current WD Elements models arrive as NTFS, while others ship as exFAT. That means you should check the drive you actually own before deciding whether it needs to be reformatted at all.
In This Article
Part 1. Does WD Elements Need Formatting for Mac?
Before you erase anything, first confirm whether your specific WD Elements drive is already writable on your Mac. The answer depends on the model and the file system it shipped with.
Check the WD Elements Model and Current Format
Western Digital's current default file system reference shows that the WD Elements family is not uniform. For example, WD Elements Desktop models such as WDBWLG and WDBBKG are listed as NTFS, while WD Elements USB-C models WDBDTV and WDBLSS and WD Elements Portable Drive WDBNSY are listed as exFAT.
| WD Elements Type | Typical Current Factory Format | What It Means on Mac |
| WD Elements Desktop | NTFS on listed WDBWLG/WDBBKG models | macOS can normally read the drive but does not provide native NTFS write access |
| WD Elements Portable | Varies by model: NTFS on WDBHJS, exFAT on WDBNSY | An exFAT model may already support Mac read/write use without reformatting |
| WD Elements USB-C | exFAT on listed WDBDTV/WDBLSS models | Designed for read/write use on both Mac and Windows without another format change |
To check your own drive, connect it to the Mac, select the drive in Finder, and choose File > Get Info. Look for the Format field. You can also see the file system in Disk Utility.
When Reformatting Is Actually Necessary
Once you know the current file system, decide whether reformatting solves a real compatibility need. You do not need to erase an exFAT WD Elements drive just because you are using it on a Mac.
- Reformat an NTFS drive when: You need native macOS read/write access and do not want to rely on an NTFS driver.
- Reformat to APFS when: The drive will be used only with modern Macs or as a new Time Machine backup destination.
- Reformat to exFAT when: You need to move files between macOS and Windows.
- Do not format just because the drive is missing: If WD Elements does not appear in Finder or Disk Utility, diagnose detection, power, cable, port, mounting, and hardware issues first.
If your problem is that the drive cannot be found rather than that it is read-only, use the dedicated WD Elements not showing up on Mac troubleshooting guide before considering any erase operation.
Part 2. Best Format for WD Elements on Mac
The best WD Elements format depends on where you will use the drive after the erase. Choosing the file system first prevents you from repeating a destructive format later.
Use APFS for Modern Mac-Only Storage
For a WD Elements drive that will stay in a current Mac workflow, APFS is the strongest default choice. Apple's current Disk Utility file system guide identifies APFS as the Mac file system used by macOS 10.13 or later. Apple notes that APFS is optimized for flash and SSD storage but is also supported on traditional hard drives and direct-attached external storage.
Choose standard APFS for general Mac-only storage. Choose APFS (Encrypted) if you specifically want the volume protected by encryption and you understand that losing the password can make the data inaccessible.
Use exFAT for Mac and Windows
If the same WD drive must work on both operating systems, exFAT is the more practical choice. Western Digital's current external-drive formatting guidance lists exFAT as read/write on both Windows and macOS, while NTFS is read-only on macOS without additional write support.
For photographers, editors, students, and office users moving large files between Mac and Windows, exFAT usually fits the task better than FAT32 because it avoids FAT32's restrictive per-file size limit.
When Mac OS Extended or NTFS Still Matters
Two older or platform-specific formats still appear on WD drives, but they should not be chosen automatically for a new modern Mac setup.
| Format | Mac Read/Write | Windows Read/Write | Best Use |
| APFS | Yes on macOS 10.13+ | No native support | Modern Mac-only storage and new Time Machine disks |
| exFAT | Yes | Yes | Shared Mac and Windows storage |
| Mac OS Extended (Journaled) | Yes | No native support | Legacy Mac workflows and existing older Mac backup disks |
| NTFS | Read-only natively | Yes | Windows-first use |
For most people searching how to reformat a WD Elements hard drive for Mac in 2026, the decision is therefore simple: APFS for Mac-only use, exFAT for Mac plus Windows.
Part 3. Protect Your Data Before You Reformat WD Elements
Formatting is not a harmless compatibility toggle. It replaces the file system and deletes the data on the selected device, so the safe workflow starts with the files, not the Erase button.
Copy Accessible Files Before Erasing
If the WD Elements drive opens normally and the files are readable, copy everything you want to keep to another healthy drive first. Open several copied files after the transfer to confirm that the backup is usable before you reformat the source.
Do not rely on the assumption that the drive is empty simply because Finder does not show the files you expected. Confirm the correct volume and check whether the drive is mounted before you erase it.
Recover Inaccessible Files Before Formatting
If files are already missing, deleted, or inaccessible but macOS still detects the WD drive, stop writing new data to it. Do not run erase, partition, or repeated repair operations first. Instead, recover important data to a different healthy drive before formatting.
For a logically damaged or accidentally formatted WD drive that is still detectable, follow the Recoverit external hard drive recovery on Mac guide. No recovery software can guarantee files that have already been overwritten, and a drive with clicking, grinding, repeated disconnects, liquid damage, or other physical-failure signs should be disconnected and assessed by a professional lab.

Part 4. How to Format WD Elements for Mac With Disk Utility
After your important data is safe and you have chosen the target file system, Disk Utility is the supported macOS tool for the actual reformat. The method below works for both APFS and exFAT; only the format choice changes.
Method 1. Reformat WD Elements With Disk Utility
This method formats the physical WD Elements device rather than only renaming or erasing one child volume. Double-check the device name and capacity before you confirm the erase.
Step 1. Connect the WD Elements hard drive directly to your Mac and wait for macOS to detect it.
Step 2. Open Disk Utility. You can find it in Applications > Utilities or by searching for Disk Utility with Spotlight.
Step 3. Choose View > Show All Devices. This matters because the Scheme menu is available when you select the physical storage device at the top of its hierarchy rather than only a volume beneath it.
Step 4. In the sidebar, select the physical WD Elements device. Confirm the model or capacity so you do not erase the wrong disk, then click Erase.
Step 5. Enter a drive name. Set Scheme to GUID Partition Map. Under Format, choose APFS for modern Mac-only use or exFAT for Mac and Windows.
Step 6. Click Erase, let Disk Utility finish, and then click Done. Apple's current erase and reformat instructions explicitly warn that erasing the storage device deletes everything on it.
Step 7. When the drive remounts, open it in Finder and copy a small test file to the drive. Eject it normally, reconnect it, and confirm that the test file opens.
Note: You usually do not need Terminal for this task. Disk Utility exposes the device, scheme, and file-system choices visually, which reduces the risk of erasing the wrong disk identifier with a mistyped command.
Part 5. What to Do If Disk Utility Cannot Erase WD Elements
If Disk Utility returns an erase error, do not immediately keep retrying or switch to forceful commands. First confirm that the data is already protected, then distinguish a file-system problem from a connection or hardware problem.
Method 2. Run First Aid After Your Data Is Safe
First Aid checks and can repair some file-system and directory-structure errors. Because repairs modify disk metadata, use it only after important files are copied or recovered when data loss is already a concern.
Step 1. Open Disk Utility and choose View > Show All Devices.
Step 2. Start with the lowest volume under WD Elements. Select it and click First Aid, then click Run.
Step 3. Repeat First Aid for each volume, then each container if present, and finally the physical WD storage device. This bottom-up order follows Apple's current Disk Utility First Aid procedure.
Step 4. If Disk Utility reports that the drive is OK or repaired, retry the format procedure in Part 4.
Step 5. If First Aid says the disk is about to fail, stop trying to format it. Replace the drive after protecting any data you can still access. If the drive has physical-failure symptoms, repeated software repair attempts can make recovery harder.
If WD Elements Does Not Appear in Disk Utility
A drive that is absent from Disk Utility is not simply a formatting problem. Reconnect it directly, check the USB cable and adapter, try another compatible port, confirm power on desktop models, and test the drive on another computer if possible. If macOS still cannot detect the hardware, there is no disk target for Disk Utility or recovery software to format or scan.
If the drive appears in Disk Utility but not Finder, it may be unmounted or have a file-system issue. That is different from a drive that is completely absent at the hardware detection layer.
Part 6. Using WD Elements for Time Machine
Some users reformat WD Elements specifically to turn it into a Mac backup disk. The format choice is different from a general cross-platform storage drive, so decide this use before you erase it.
Use APFS for a New Time Machine Backup Disk
For a new Time Machine disk on a current Mac, Apple lists APFS or APFS Encrypted as the preferred formats for Time Machine backup disks. If the WD Elements drive is currently NTFS or exFAT and you want it dedicated to Time Machine, protect any existing files first, then erase it as APFS or allow Time Machine to reformat the disk when prompted.
If you want the full setup flow after formatting, continue with the Recoverit guide on how to set up Time Machine on Mac. If you also need ordinary file storage on the same physical device, plan the APFS volumes before moving important data onto the drive.
Part 7. Verify the WD Drive After Formatting
A successful Erase message is not the final check. Verify that the drive behaves correctly for the job you formatted it for before you move a large archive or make it your only backup destination.
Check the Format, Mounting, and File Transfers
Use the short verification list below before you start relying on the newly formatted WD Elements drive.
- Confirm the file system: In Finder, select the drive and choose File > Get Info. Verify that the Format field shows APFS or exFAT as intended.
- Test write access: Copy a small file to the WD drive, rename it, and delete the test copy.
- Test remounting: Eject the drive properly, reconnect it, and confirm that it mounts again without an error.
- Test the second platform if using exFAT: Open the drive on Windows and confirm that a test file can be read and written there too.
- Keep a separate backup: Formatting a drive for Mac compatibility does not make a single external disk a complete backup strategy.
Conclusion
To format or reformat WD Elements for Mac, first check the exact model and current file system, because current WD Elements drives can ship as either NTFS or exFAT. If the drive needs a new format, protect your files, then use Disk Utility with GUID Partition Map. Choose APFS for a modern Mac-only or Time Machine workflow and exFAT for Mac and Windows. If Disk Utility fails, protect the data before using First Aid, and treat a completely undetected or physically failing drive as a different problem rather than repeatedly erasing it.
FAQ
-
How do I format a WD Elements hard drive for Mac?
Open Disk Utility, choose View > Show All Devices, select the physical WD Elements drive, click Erase, choose GUID Partition Map, then select APFS for modern Mac-only use or exFAT for Mac and Windows. Back up any files you need first because formatting erases the drive. -
Do I have to reformat WD Elements before using it on a Mac?
Not always. Some WD Elements models ship as exFAT and already support native read/write use on both macOS and Windows. Other WD Elements models ship as NTFS, which macOS normally mounts read-only. Check the actual Format field before erasing anything. -
Should I format WD Elements as APFS or exFAT?
Choose APFS if the drive will be used only with modern Macs or as a new Time Machine backup disk. Choose exFAT if you need native read/write access on both Mac and Windows. -
Why is my WD Elements read-only on Mac?
The drive may be formatted as NTFS. macOS normally reads NTFS volumes but does not provide native write access. If you no longer need to preserve the existing NTFS setup, copy your files elsewhere and reformat the drive as APFS or exFAT. -
Will formatting WD Elements delete everything?
Yes. Disk Utility's Erase operation deletes the data on the selected storage device. Copy accessible files first, or recover missing and inaccessible files before formatting when the drive is still detectable. -
What scheme should I use when reformatting WD Elements for Mac?
Use GUID Partition Map for a modern Mac setup. If the Scheme menu is missing in Disk Utility, choose View > Show All Devices and select the physical WD drive at the top of its hierarchy instead of only a volume beneath it. -
Can I use WD Elements for Time Machine?
Yes. For a new Time Machine backup disk on current macOS, APFS is the preferred format. Protect any files already on the WD drive before allowing Time Machine or Disk Utility to erase and reformat it.


