Western Digital Corporation markets and designs the My Cloud, a range of personal network-attached storage (NAS) devices and multipurpose servers. The NAS storage solutions connect directly to the home Wi-Fi router, allowing users to save their digital content in one central location.
Whether you want to store your photos, videos, or other files, the WD My Cloud Plex lets you easily access, upload, and share your content from anywhere with an internet connection. So, here’s a Plex setup guide with WD My Cloud Home app.
In this article
Before You Start
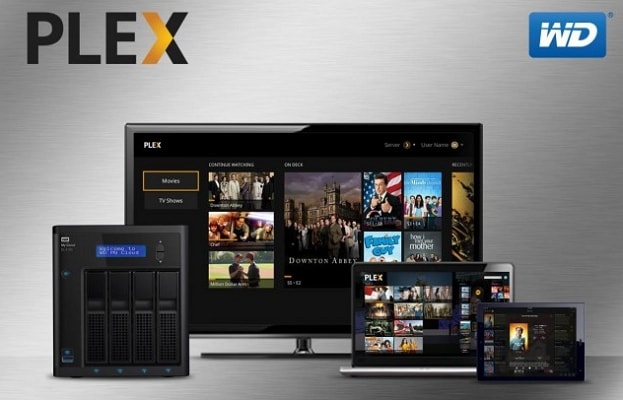
When setting up the Western Digital My Cloud Home, it is important to use the same subnet and local network as the device. It ensures that the device can communicate effectively with other devices on the network, enabling seamless data transfer and access to files.
In addition to using the same subnet and local network, it is also essential to create a Plex account to run the My Cloud Home server. Plex is a powerful media server platform that allows users to stream media files to different devices. By creating a Plex account, users can access their media library remotely, even when they are not connected to the network their My Cloud Home device is connected to.
Using the same subnet and local network, along with a Plex account, offers a more streamlined and user-friendly experience when using the Western Digital My Cloud Home device. It ensures that users can access and stream their media files seamlessly without any connectivity or security issues.
How To Set Up Plex With WD My Cloud Home?
Setting up My Cloud Home Plex is a straightforward process you can do by following the steps explained below.
Step 1Enable Plex Media Server
Firstly, enable the Plex Media Server on your WD My Cloud Home device. To do this, open the My Cloud Home web dashboard, navigate to the Apps section, and click on the Plex Media Server app to install it.
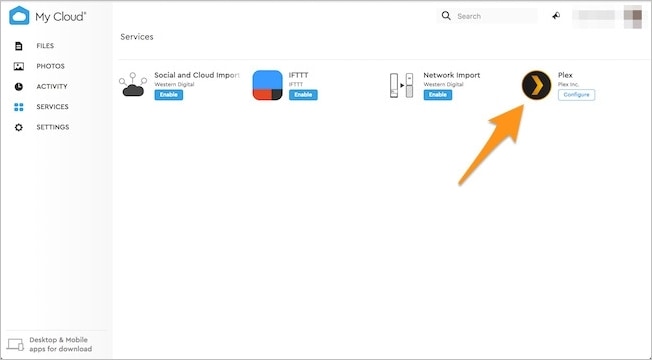
Step 2Launch Plex Web App
Once the installation is complete, launch the Plex web app from your preferred browser by typing in the IP address of your My Cloud Home device followed by “:32400/web.” It will take you to the Plex web app login page.
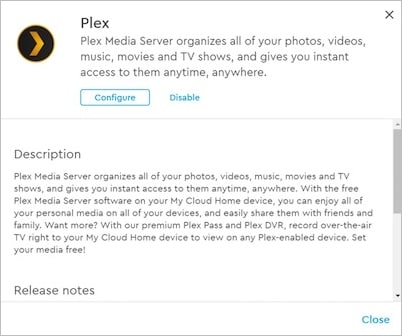
Step 3Go to Plex Folder
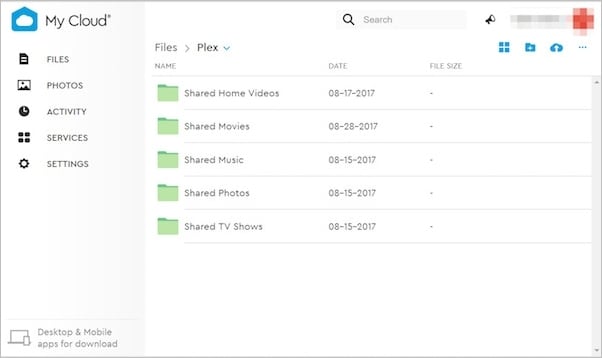
After logging in, go to the Settings section of the Plex web app and select the Library tab. From there, select the Add Library option and choose the folder where your media files are located.
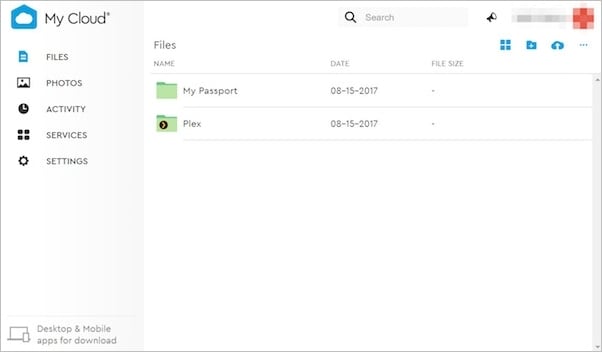
Step 4Move Media into Appropriate Subfolders
Once you have added your media library, it is essential to organize your media files into appropriate subfolders. Plex recommends that you organize your media files by type – movies, TV shows, music, and photos, to ensure optimal performance.
What To Do if You Lose Plex Media on Your WD Cloud
Although WD My Cloud Home Plex is a secure way to store files, data loss disasters can come in many forms, such as sudden power outages, accidental deletions, and virus attacks. Losing media on your WD Cloud can be a frustrating and stressful experience.
Fortunately, there’s a solution. Wondershare Recoverit NAS Data Recovery is a powerful data recovery solution, so recovering lost or deleted media files from your WD NAS won’t be a problem. Recoverit can help you restore your lost media files quickly and easily with the help of its key features. Some of them include:
- Real-time data recovery: Enjoy seamless data recovery without interrupting the work on your NAS server.
- Safe and secure recovery: Protect your NAS drive from damage by retrieving data without needing to unplug it.
- Simple and fast recovery process: Avoid the complexities of RAID rebuilding with an easy-to-use NAS recovery process. Find the files you need quickly using various filtering options and recover them in no time.
- Professional approach: Recoverit boasts 35 patents and a 95% recovery success rate, making it a reliable and professional data recovery solution for your NAS drive.
For Windows Vista/7/8/10/11
For macOS X 10.10 or later
So, if you’ve experienced data loss on your WD My Cloud Home Plex, don’t panic. Instead, consider using Wondershare Recoverit to recover your lost media files and get back to enjoying your digital content. You can do so by following the step-by-step guide below:
Step 1Choose the NAS Recovery Option
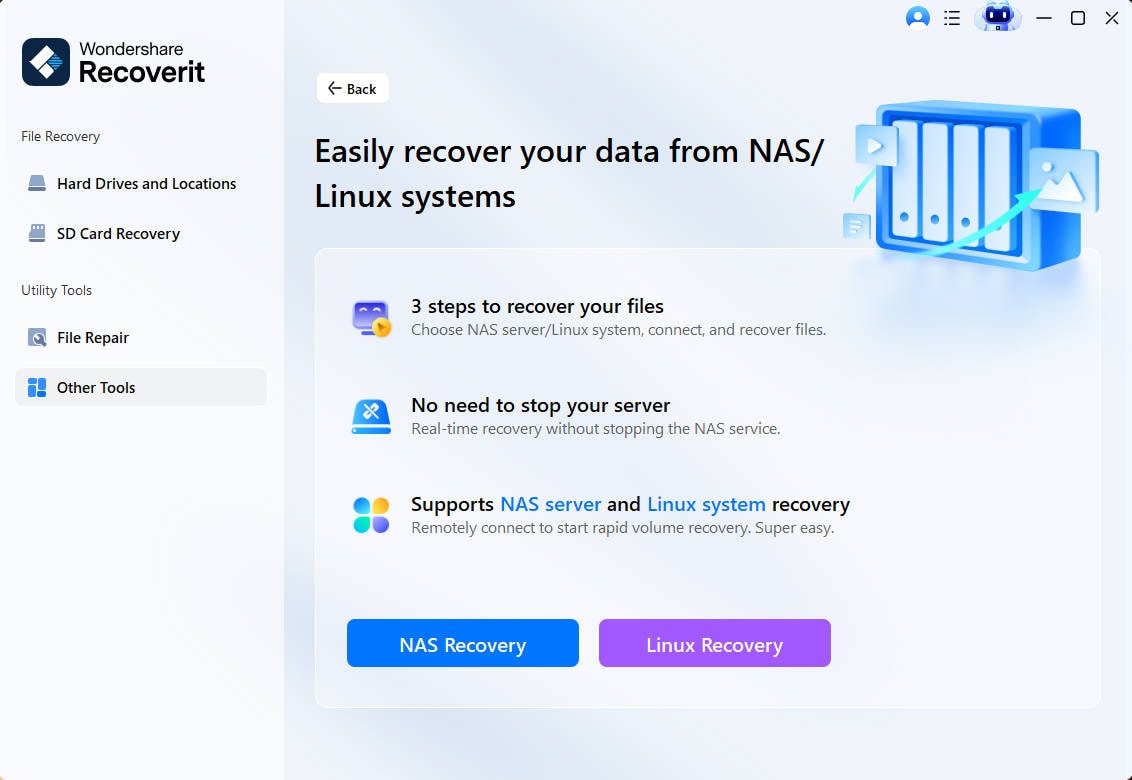
Download and install Wondershare Recoverit on your PC. Then, open the program and navigate to NAS and Linux > NAS Recovery.
Step 2Connect Your WD My Cloud
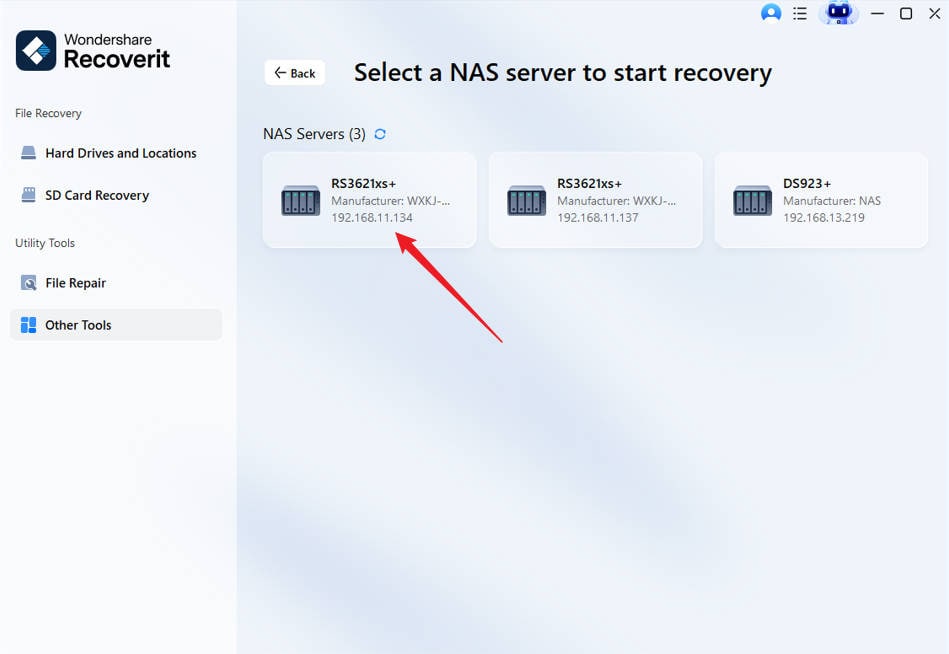
The NAS data recovery software will start searching for any available NAS devices. Browse the NAS detectable devices under NAS Servers and click on the desired device for scanning.
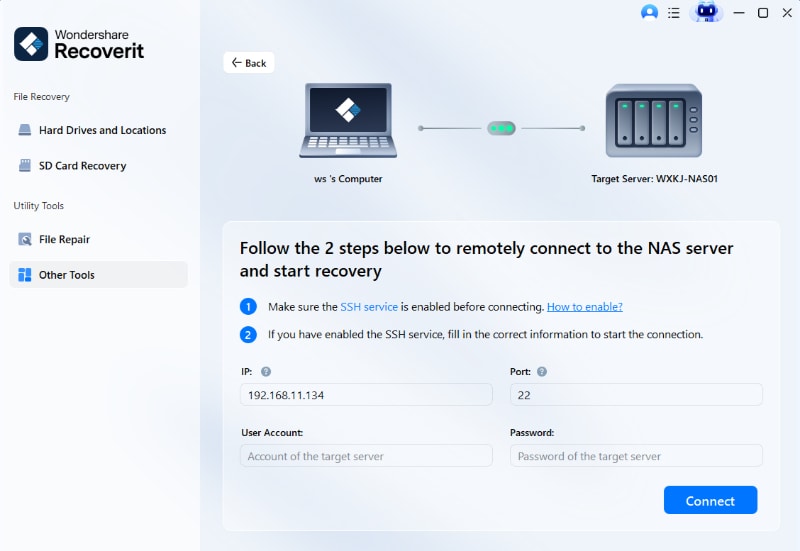
You will be asked to enter the IP, Port, User Account, and Password of your WD My Cloud Home to establish a remote connection.
Step 3Scan and Recover the Lost Files
Once the connection is successful, the program will start scanning for deleted or lost files in your WD MY Cloud NAS automatically.
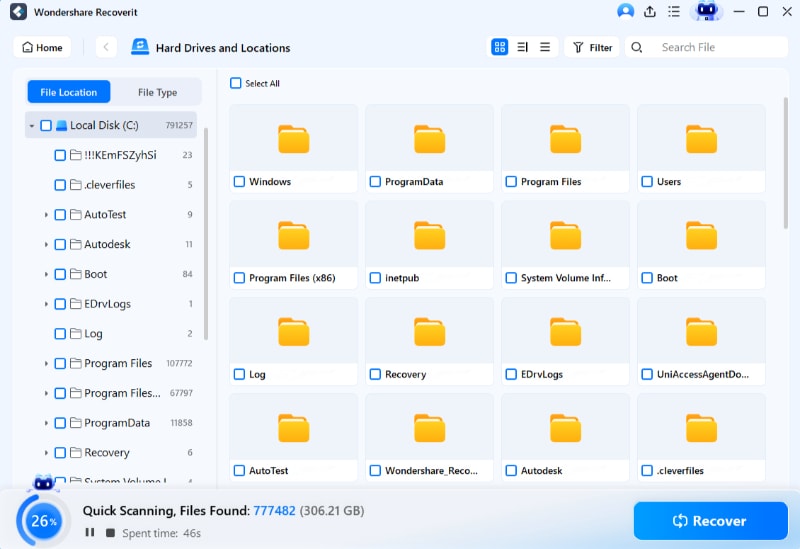
Wait for the program to finish the scanning process, or you can filter or preview the scanned files during the scanning. Once you find the desired ones, pick them and click on the Recover button to save them to a new location.
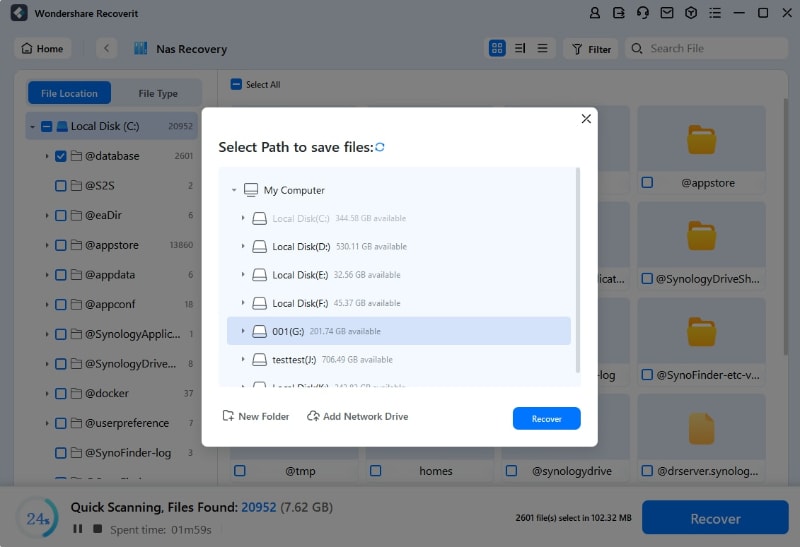
For Windows Vista/7/8/10/11
For macOS X 10.10 or later
Or, you can simply watch the video tutorial below. Either way, you’ll recover your files from your WD My Cloud with ease.
For Windows Vista/7/8/10/11
For macOS X 10.10 or later
Besides, it’s highly recommended to create a WD NAS cloud backup after the recovery to avoid losing critical files in the future.
Conclusion
In conclusion, setting up Plex with WD My Cloud Home is a straightforward process that’ll enhance your media streaming experience. By enabling the Plex Media Server and launching the Plex web app, you can easily access and organize your media files.
Whether you’re a casual user or a media enthusiast, using Plex with WD My Cloud Home is an excellent way to streamline your media storage and playback experience.

 ChatGPT
 Perplexity
 Google AI Mode
 Grok
Grok


