Fixing INACCESSIBLE_BOOT_DEVICE Error in Windows 11/10
Feb 05, 2026 • Filed to: Windows Computer Solutions • Proven solutions
Windows 11/10 is a more stable and efficient version of the Windows operating system, but it does not mean that the version is error-free. Just when you least expect it (or when you are in a hurry), errors like the Windows 11/10 inaccessible boot device can happen.
What Is the Inaccessible Boot Device Error
Major updates are pushed and installed automatically in Windows 11/10. Whenever a major upgrade rolls in, your computer starts the process of downloading and consequently running the installation thereafter. The INACCESSIBLE_BOOT_DEVICE error appears as a Blue Screen of Death (BSoD).
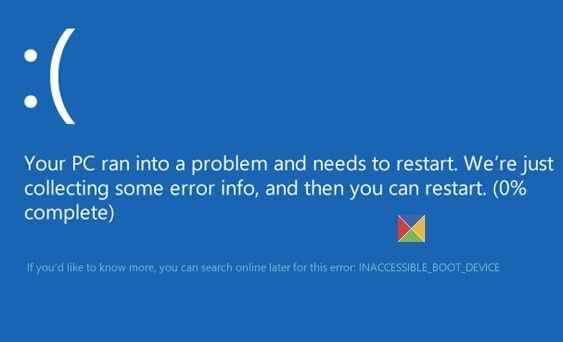
Some users encounter this error a few minutes after startup, or right after a reset or SSD upgrade. It could also happen on loop, where the PC tries to troubleshoot a few times but to no avail. In other words, the computer loses access to some system partition while starting up, causing itself to shut down to protect against data loss or damage.
What Causes this Inaccessible Boot Device Error?
- Corrupted file system
- Misbehaving, corrupted or missing filter drivers relating to a storage stack
- Transferring the hard drive into a different computer with a separate storage controller
- Changing the mode or settings of the storage controller in the BIOS
- Choosing a different storage controller rather than the default Windows driver
- Faulty hardware, most commonly on the motherboard or storage controller
- Component-based store corruption causing failure to install updates by TrustedInstaller service
- Corrupted files found in the boot system partition
- Malware
How to Fix Inaccessible Boot Device Error In Windows 11/10
Solution 1: Uninstall the Recently Installed Packages
If you have Windows automatic updates, new packages get pushed and installed without prompt. If one of the packages recently installed is causing the error, you can eliminate them using these steps:
- To make the Automatic Repair screen appear, press the Power to turn on and hold down five seconds to turn off. Repeat a few times up until the blue screen shows. (Note: if the blue screen shows as soon as you boot, skip this step.)
- Wait for a few minutes while Windows diagnoses the problem.
- When the Startup Repair window prompts, select Advanced options. This will redirect to Windows RE (Win Recovery Management) screen.
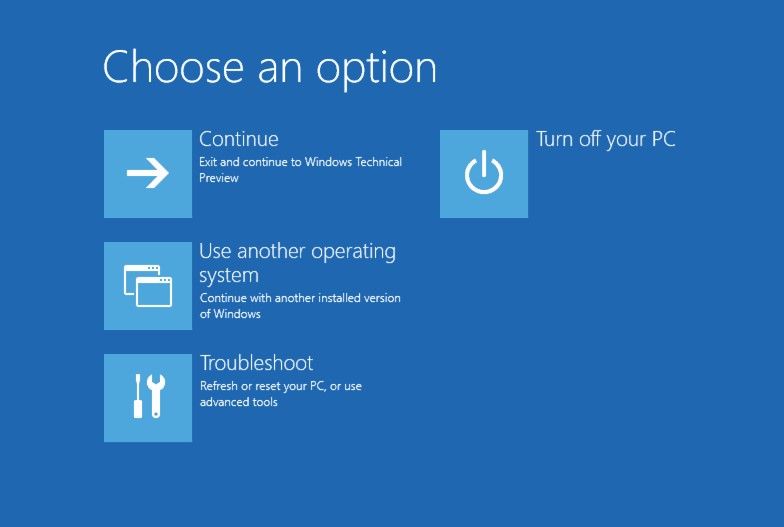
- Choose the Troubleshoot option, then Advanced options.
- Select Command Prompt.
- Type in dir in the command line to check the system drive where Windows 11/10 is installed. Skip this step if you know the drive already.
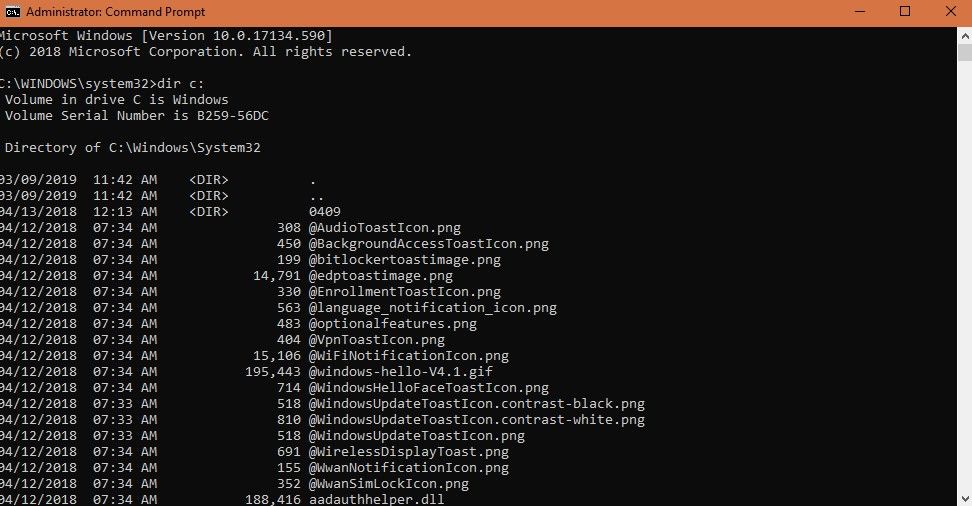
- Run the command Dism /Image:X:\ /Get-Packages to bring up the installed packages (note: replace X with the correct drive letter where packages are installed). Choose the recently installed packages basing on the date of installation if you are not sure which one causes the error.
- Run exe /image:<drive letter>:\/remove-package/packagename:<name of package>.
- Wait for the uninstalling process to compete, reboot the computer, and check if the issue is resolved.
Solution 2: Update Your Drivers
- Go to the driver manufacturer's website to look for and download all the latest drivers. Controller drivers such as IDE ATA/SATA most often cause the boot problem.
- You can also press Win + X and choose Device Manager. Expand "IDE ATA/SATA controller" found on the left pane and right-click Standard SATA AHCI Controller, and then choose Update Driver.
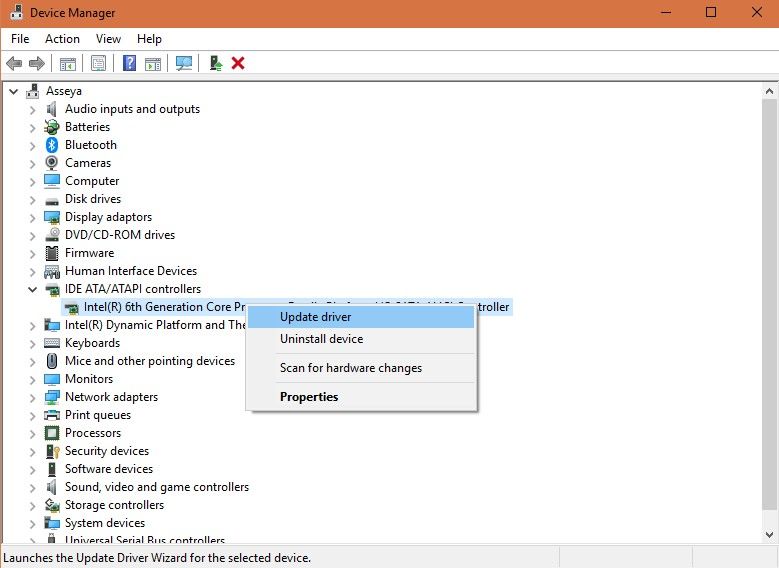
- Install the corresponding driver updates and check to see if the error is resolved.
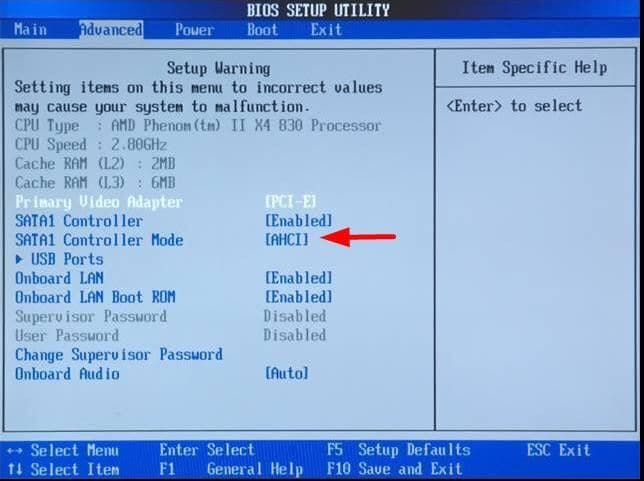
Solution 3: Toggle AHCI Mode Value in BIOS to Enabled
This solution lacks the standard set of steps because the BIOS menu differs from one manufacturer to another. The best tip is to check the motherboard manual to determine what key to press.
- When starting up, click the key as listed in the manufacturer's manual repeatedly to enter the BIOS menu.
- Open the BIOS Setup Utility.
- Head to Advanced Options, look for Set the AHCI Mode.
- Select Enabled and exit the BIOS menu.
Solution 4: Get Rid of "Update Pending" Packages
- On the search bar, type Update & Security and select
- Select Advanced Startup and then select Restart Now.
- Choose Troubleshoot from the options and click Advanced Options.
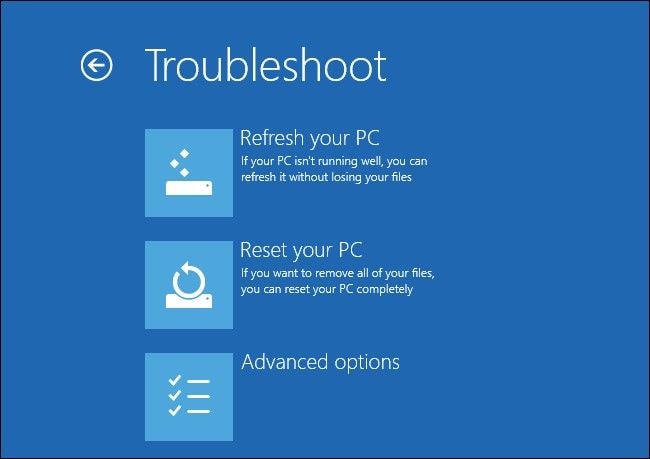
- Run Command Prompt.
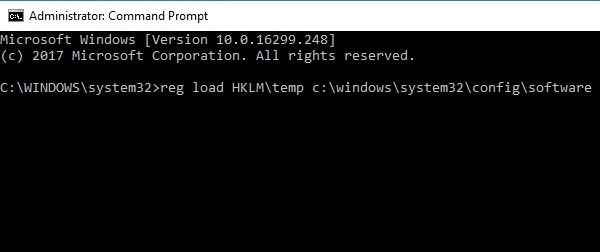
- Run these following commands one by one to remove registry key Sessions Pending:
- "reg delete HKLM\temp\Microsoft\Current Version\Component Based Server"
- "reg unload HKLM\temp"
- To move pending updates, make a temporary file by running "MKDIR c:\temp\packages" and hit Enter.
- Run "dism / image : c: \remove package / <package name>:/scratchdir:c: \temp׀" Replace <package name> with appropriate pending package label.
Solution 5: Check and Have all Corrupted Hard Drive Files Fixed
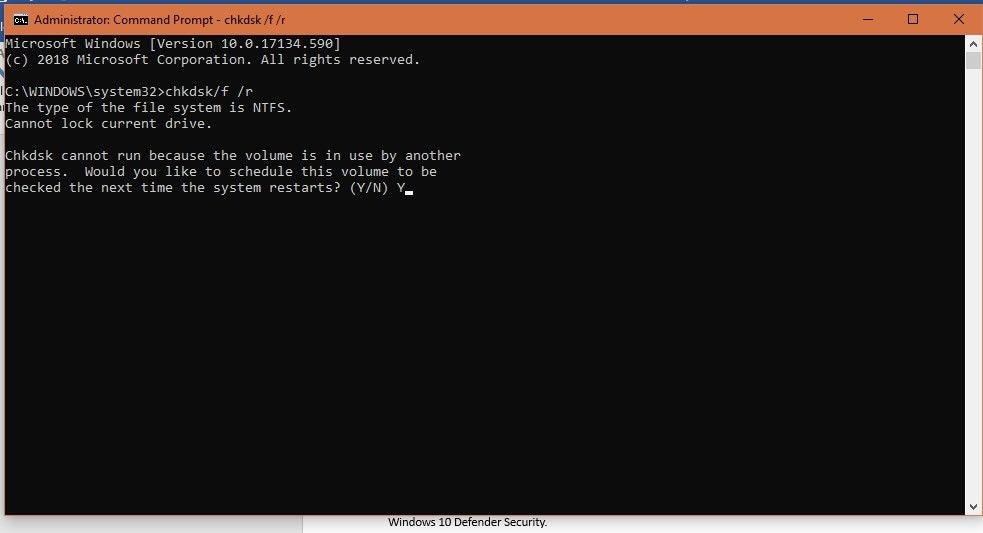
- Run Command Prompt as administrator.
- Type "chkdsk/f /r" then press the Enter
- Wait for the command to process and then type Y. Hit Enter.
- If Windows cannot boot, run the command in the recovery console by typing chkdsk/r C:.
Solution 6: Malware Scan
Malware frequently cause errors, including INACCESSIBLE_BOOT_DEVICE. You can solve this by downloading anti-malware that can scan your PC for malware and remove them. You can also use Windows 11/10 Defender Security.
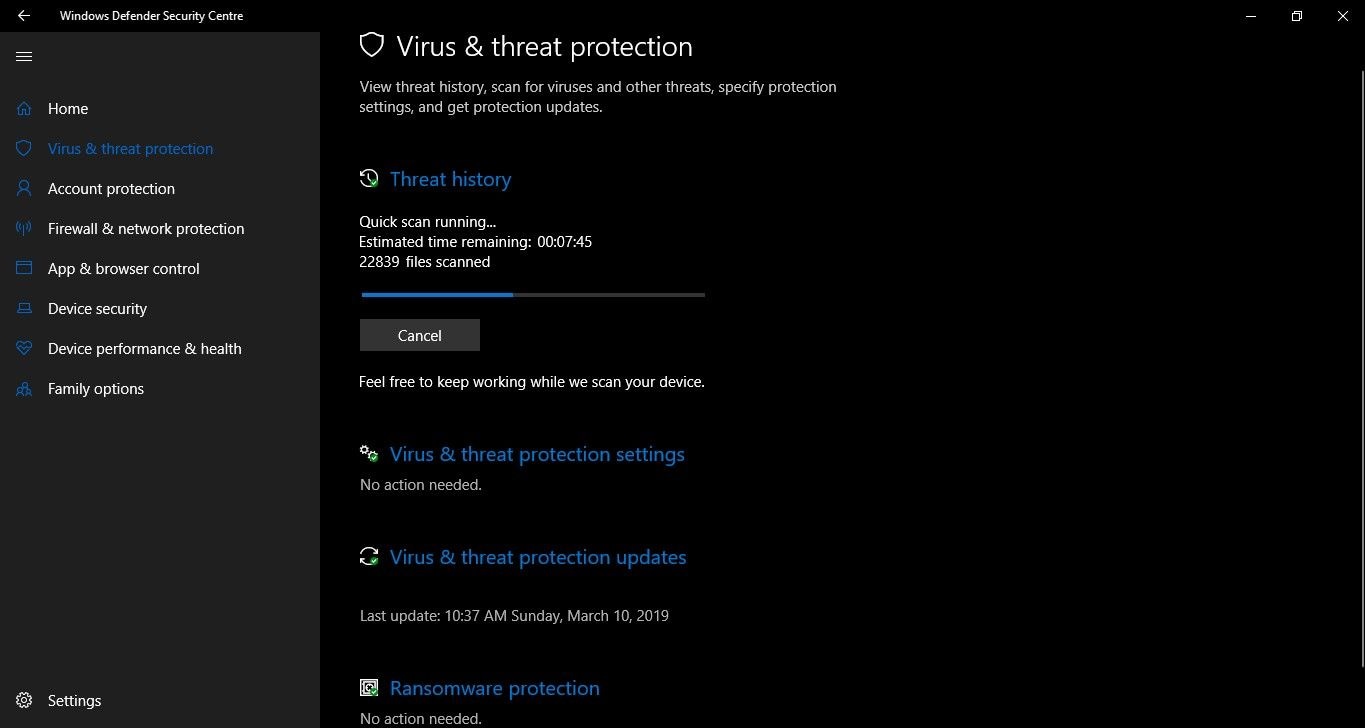
- Search Windows Defender Security Center on the search bar to launch it.
- Click Scan Now and wait until the scanning process is done.
- If malware is detected, the PC will then prompt the action needed to fix the problem.
It is a headache when you encounter the Inaccessible Boot Device problem. However, the many options to solve this error are enough to make sure that your PC does not suffer from this error. Give one a try as any of these will definitely work to resolve this type of BSOD. By the way, you can also learn to fix the BAD_SYSTEM_CONFIG_INFO error.
Recover Lost Data When the Above Solutions Failed to Fix the Issue
As usual, the issue can be solved by the above methods. However, under a few circumstances, the methods fail, even the computer fails to boot up. You have to resort to the professional data recovery software - Recoverit to get the inaccessible data back. Follow the below steps to make it.
Video tutorial: How to Recover Deleted Files on Windows 10/8/7 Easily?
1. Initiate the Recoverit software, choose your preferred data recovery mode and if you have any challenges with your Windows 11/10 not booting up, select the "Recover from Crash Computer" option. On the next pop up Windows notification, select "Start".
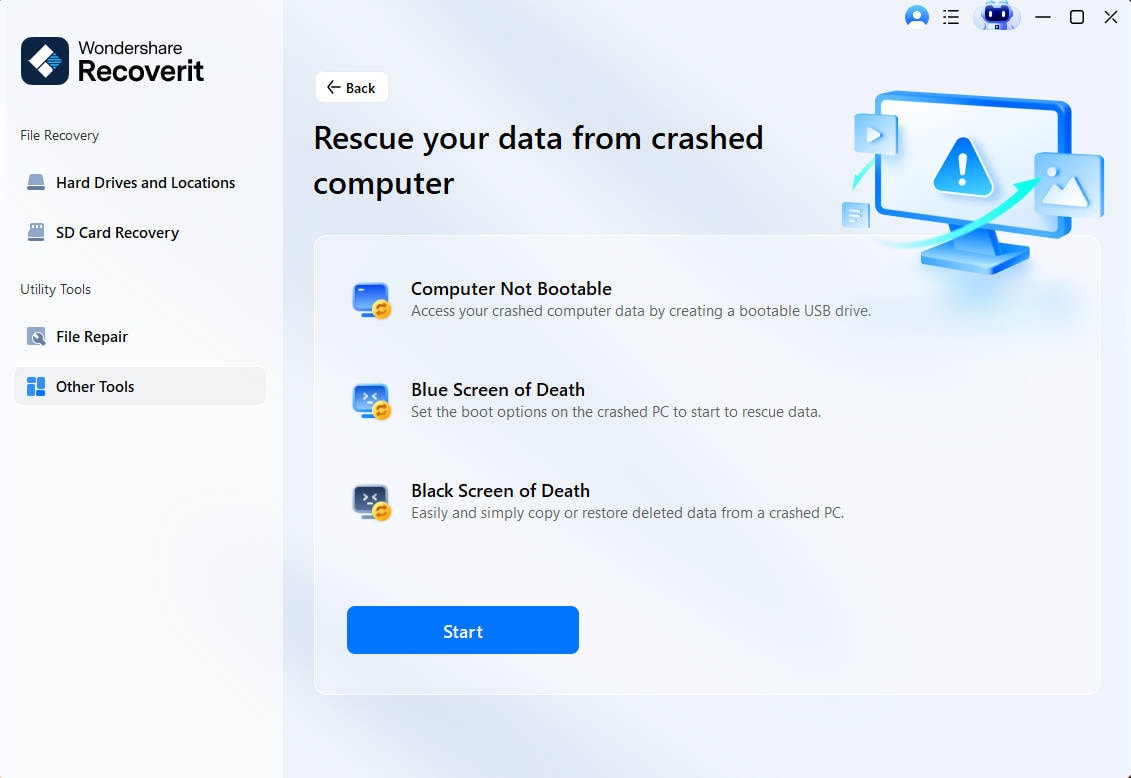
2. Choose a mode to help create a bootable drive; either the USB bootable drive can be selected or the CD/DVD bootable drive and click the "Create" button to begin the process.

3. The subsequent Windows notification will require you to format the USB so ensure to have those crucial data stored somewhere before proceeding. Then click the "Format" button to initiate the process.
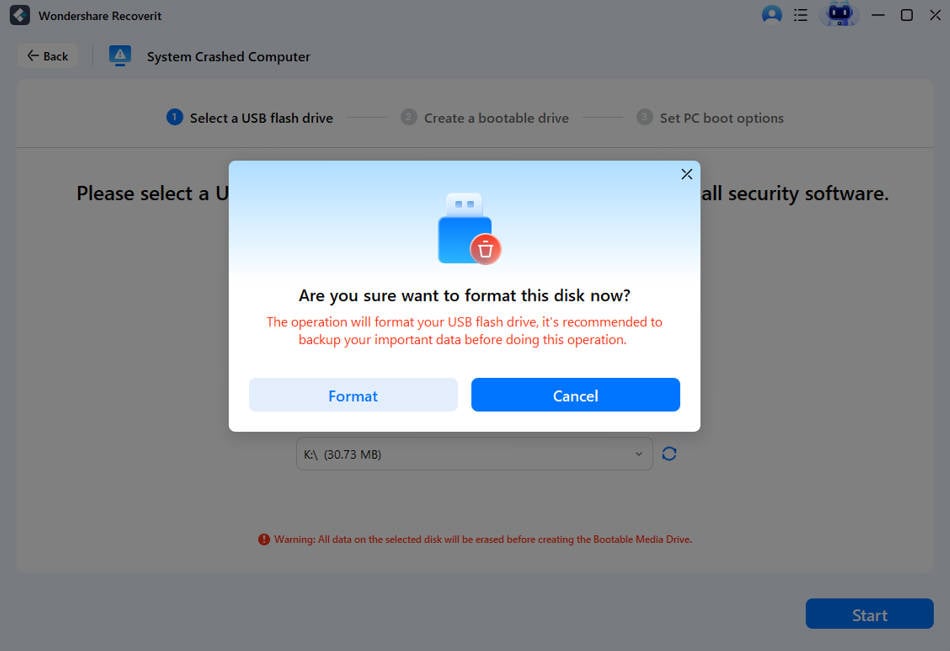
4. This will begin creating the bootable drive so try not to eject the USB flash drive during this process. Some steps on the next actions to take will ensue or you may choose to view the full guide to begin the data recovery process.
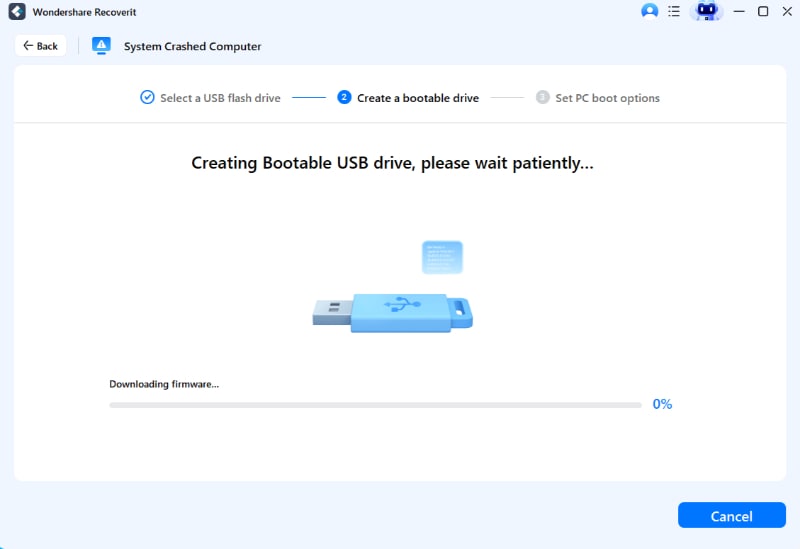
5. You may need to exercise some patience as creating bootable drive takes a while before getting the 3 easy techniques on the solution to data recovery.
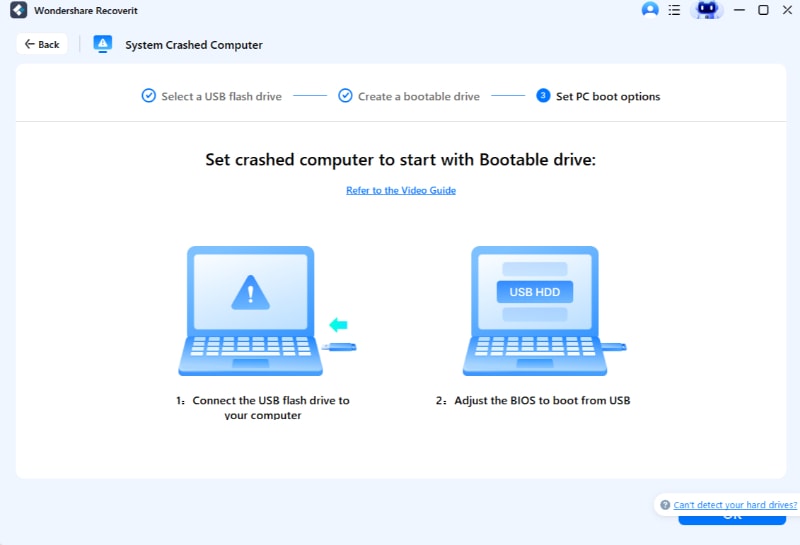
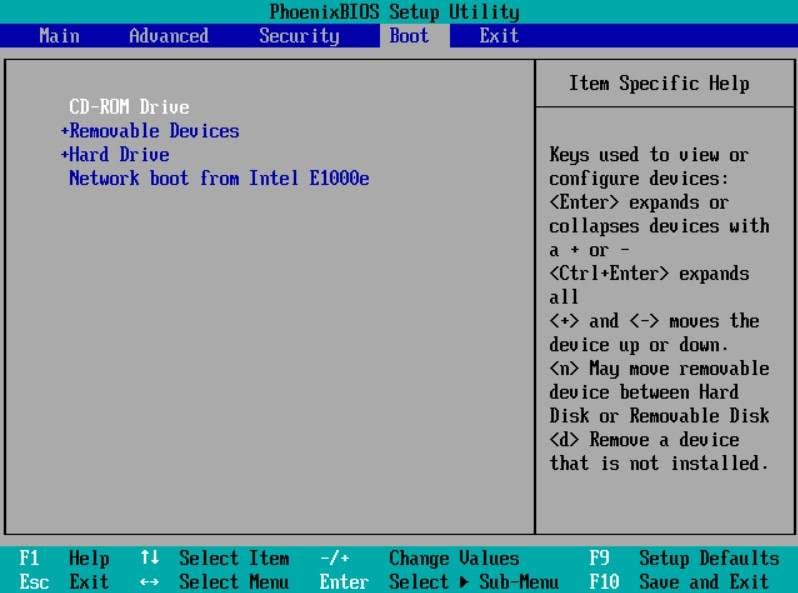
6. Prior to recovering your data from unbootable Windows 11/10, there may be a need to modify the computer boot sequence and set to boot directly from the bootable media that you have just created.
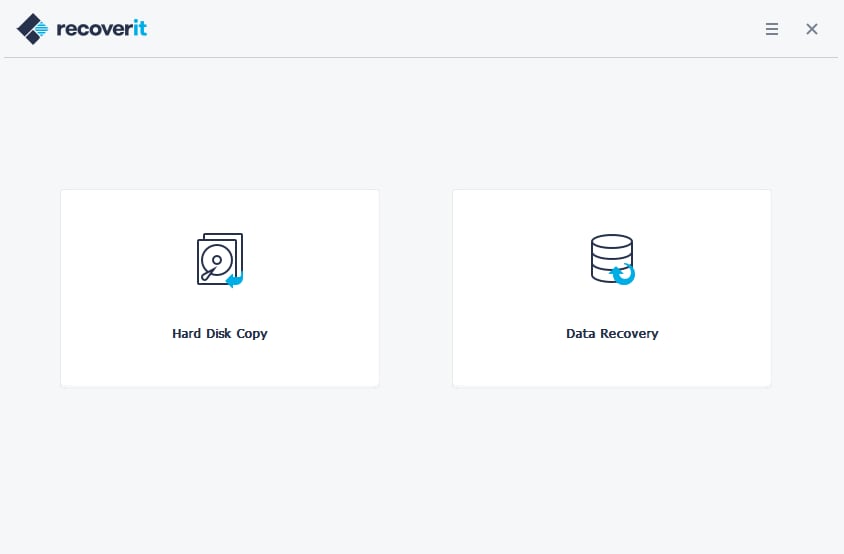
7. The Recoverit software will automatically launch after initiating the booting process from the bootable drive. Then, you can either copy data directly from the hard disk or just use your Windows 11/10 in recovering lost data. This guide has been developed to show you how to get your data from unbootable Windows 11/10 and fix all the possible hindrances.
Computer Troubleshooting
- Win System Crash
- Crack Bios Password
- Fix Run Dll Errors
- Fix Taskbar Disappeared Error
- Fix BootMGR Image Corrupt
- MBR Errors Fixed
- Windows Tips
- How to Edit DLL Files
- How to Test Hard Drive Speed
- Bootcamp Windows 10 No Sound Issue
- Download iCloud on PC
- Difference between File Systems
- Fix Computer Overheat
- Computer Problems
- Best Bad Sector Repair Tools
- Audio Not Working in Windows 10
- Fix Windows 10/11 Error Code 0xc000014c
- Fix Windows 10 Error Code 0xc0000034
- SMART Status Bad Error
- Fix Grub Loading Error
- Remove Admin Password
- Blue Screen Errors

 ChatGPT
 Perplexity
 Google AI Mode
 Grok
Grok


David Darlington
staff Editor