Ever tried to use File History on your Windows computer, only to find that it doesn't recognize your drive? It's a frustrating problem that many Windows users face.
You want to keep your files safe, but for some reason, File History just won't work with the drive you've chosen.
In this article, we'll explore how to fix the "File History does not recognize this drive" issue. We'll look at different solutions, from simple fixes to more advanced options. By the end, you'll have a better understanding of File History and how to make it work for you.
In this article
Part 1: Why File History Does Not Recognize This Drive
There are several reasons why File History might not recognize your drive. Let's look at some common causes:
- The drive isn't formatted correctly
- The drive doesn't have enough free space
- The file History service isn't running
- The drive is set to read-only
- The drive is encrypted
- The drive is a network drive that's not always connected
- Windows can't access the drive due to permissions issues
- The drive is already being used for system backups
- File History is turned off in Windows settings
- The drive is not compatible with File History
Now, let's move on to how we can fix this issue.
Part 2: How to Fix File History Doesn't Recognize This Drive
In this section, we'll go through several fixes for when File History doesn't recognize your drive. For each fix, we'll explain why it might work before giving you step-by-step instructions.
Fix 1: Manually Turn ON File History via Control Panel
Sometimes, File History might be turned off in your Windows settings. Turning it on manually can often solve the problem.
File History needs to be enabled before it can recognize any drives. If it's turned off, it won't be able to see or use any drives for backup.
Steps to turn on File History:
- Open the Control Panel app. Click on "File History".

- If File History is off, you'll see a button that says "Turn on". Click this button Windows will now search for drives it can use for File History. If your drive appears, select it and click "OK"

If this doesn't work, don't worry. We have more fixes to try.
Fix 2: Select Another Drive for File History Backup
If File History isn't recognizing your preferred drive, you might need to choose a different one temporarily.
Sometimes, File History might have trouble with a specific drive due to formatting issues or other problems. Choosing a different drive can help you identify if the issue is with File History itself or with the specific drive you're trying to use.
Steps to select another drive:
- When the error message appears, click on the “Select another drive” link. In the subsequent window, pick a different drive from the list and click “OK” to confirm.

- Attempt to create a backup using the new drive. If the error persists, proceed with the next troubleshooting methods.
- If File History works with the new drive but not with your original drive, the problem might be with the drive itself.
Fix 3: Enable the File History Service
File History relies on a Windows service to run. If this service isn't running, File History won't work properly.
The File History service needs to be running for File History to function. If it's not running, File History won't be able to recognize or use any drives.
Steps to turn on File History service:
- Press the Windows key + R to open the Run dialog Type "services.msc" and press Enter Scroll down to find "File History Service. Right-click on it and select "Properties".

- Set the "Startup type" to "Automatic" Click "Apply", then "OK". Right-click on "File History Service" again and select "Start".

- After doing this, try using File History again to see if it recognizes your drive.
Fix 4: Use Alternative Tools to Backup Data
If File History still isn't working, you might want to consider using alternative backup tools.
While File History is a useful tool, it's not the only way to back up your data. Other tools might work better with your specific setup or be more reliable for your needs.
Some alternative backup tools you can try:
Windows Backup and Restore
- Open Control Panel > System and Security > Backup and Restore (Windows 7).

- Click "Set up backup" and follow the prompts
Cloud storage services
Services like OneDrive, Google Drive, or Dropbox can automatically sync your files to the cloud. This provides an off-site backup and easy access to your files from any device
Remember, the most important thing is to have a backup system that works for you, whether it's File History or another tool.
Part 3: Lost Data Due to File History Error? Try Recoverit
If you've lost data because File History wasn't working correctly, don't worry. There are tools that can help you recover your files.
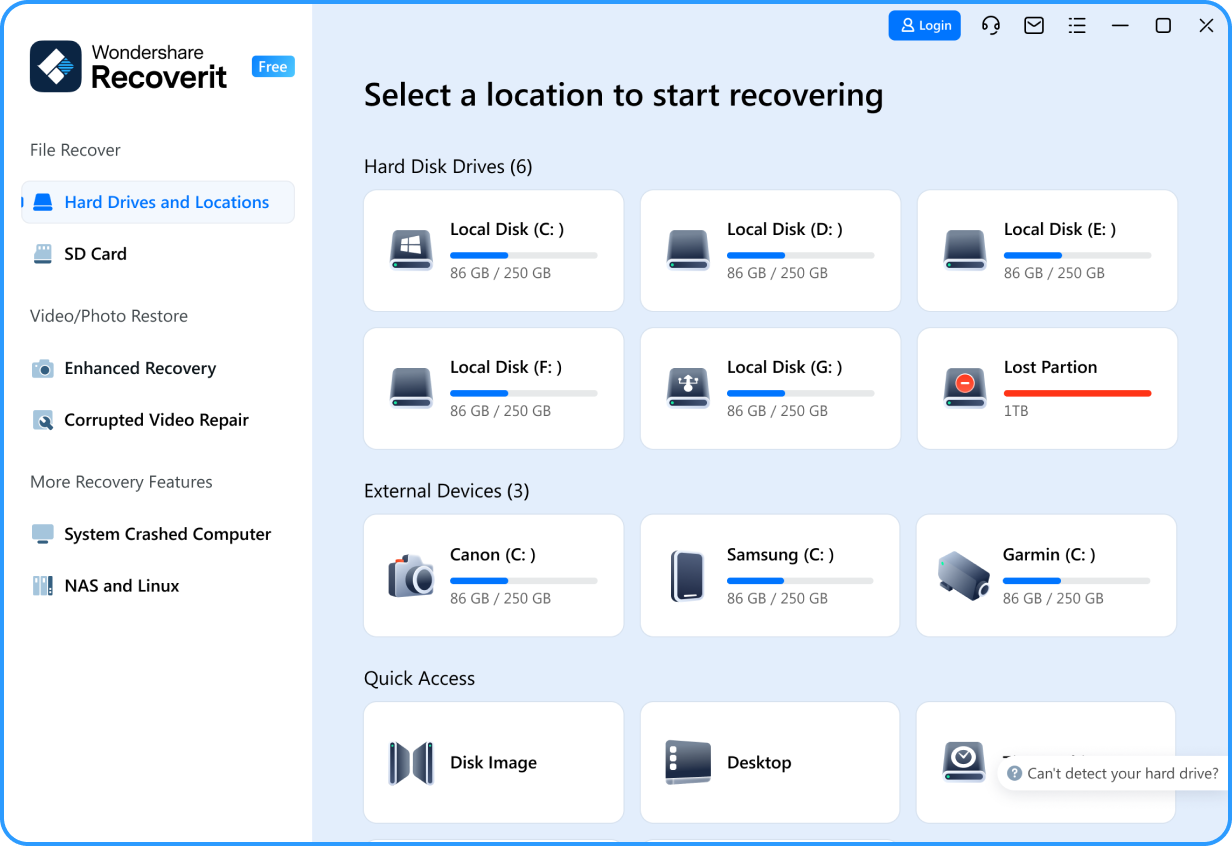
One such tool is Recoverit. A data recovery software that can help you get back lost files from different storage devices. Recoverit is easy to use and works well in many situations, like accidental deletion or system errors. It scans your device to find lost files and helps you restore them quickly.
With Recoverit, you can recover your important data and continue with your tasks without any hassle.
Here's how you can use it:
- Click the download link above to install Recoverit. Launch the program and select the drive where your lost files were stored. Click "Start".

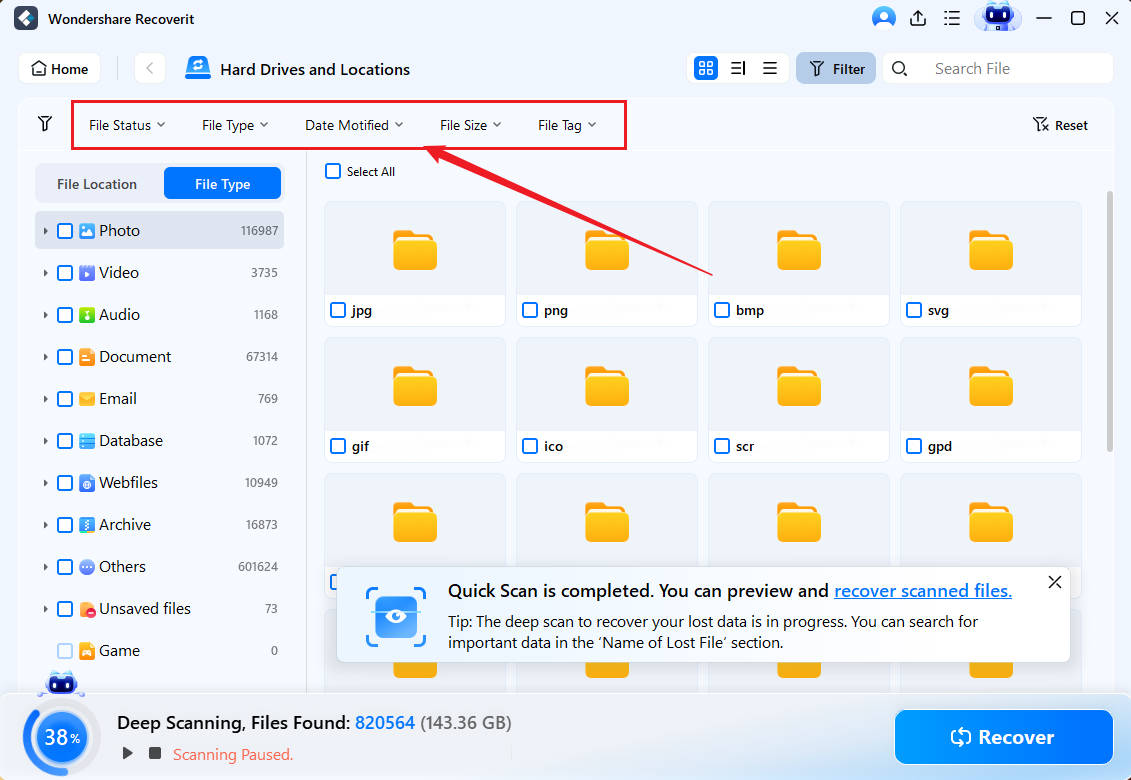
- Wait for the scanning process.

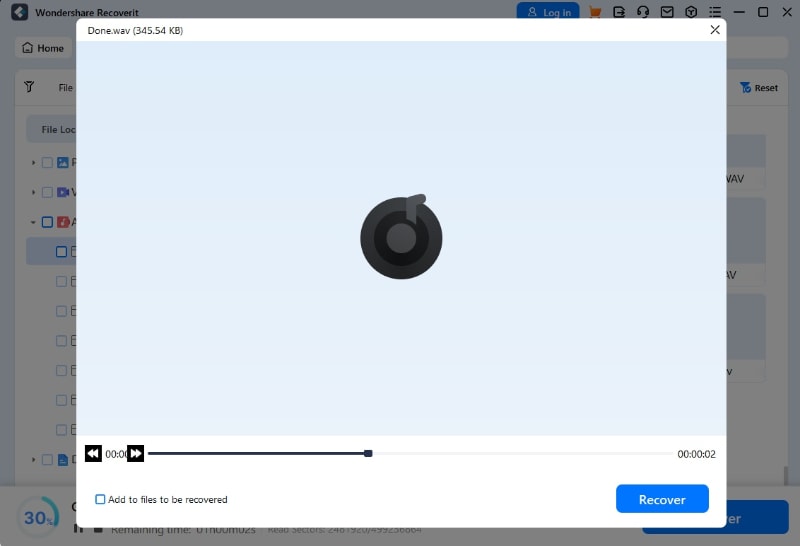
- Once the scan is complete, preview the files that can be recovered Select the files you want to recover and click "Recover" Choose a safe location to save the recovered files (preferably a different drive).

Remember, the sooner you attempt to recover lost files, the better your chances of success. Avoid writing new data to the drive where you lost files, as this could overwrite the data you're trying to recover.
Part 4: Tips for File History Data Recovery
To make the most of File History and prevent data loss, consider these tips:
- Regular checks: Check File History regularly to make sure it's working and backing up your files correctly.
- Multiple backups: Don't just use File History. Also use other backup options like cloud storage or external hard drives.
- Sufficient space: Make sure your backup drive has enough free space. File History needs room to save different versions of your files.
- Proper formatting: Ensure your backup drive is formatted properly. File History works best with drives formatted as NTFS.
- Permissions: Make sure you have the right permissions to access and save files on the backup drive.
- Stable connection: If you're using a network drive, make sure it's always connected when your computer is on.
- Regular maintenance: Occasionally clean up old backups to free up space and keep File History running smoothly.
- Update Windows: Keep your Windows system updated to ensure you have the latest improvements and bug fixes for File History.
- Backup important folders: Make sure all your important folders are included in File History's backup list.
- Test restores: Occasionally test restoring files from your File History backup to ensure everything is working correctly.
By following these tips, you can minimize the chances of encountering issues with File History and ensure your important files are always protected.
Conclusion
File History is a valuable tool for backing up your important files in Windows 10 and 11. However, it can sometimes be frustrating when File History doesn't recognize your drive. We've explored several reasons why this might happen, from simple issues like the service being turned off to more complex problems like drive compatibility.
Remember, if File History doesn't recognize your drive, you have several options. You can try turning on the service manually, selecting a different drive, or even using alternative backup tools. The most important thing is to ensure your data is backed up regularly, whether through File History or another method. By understanding these issues and knowing how to address them, you can keep your files safe and your mind at ease.
FAQ
-
Does File History backup all drives?
File History doesn't automatically backup all drives. It's designed to backup your personal files, typically those in your user folder (like Documents, Pictures, Music, etc.). You can add other folders to be backed up, but it doesn't do a full system backup. For a complete backup of all your drives, you might want to consider using Windows Backup and Restore or a third-party backup solution. -
How do I select a drive for File History?
To select a drive for File History, go to Settings > Update & Security > Backup. Click on "Add a drive" under "Back up using File History". Windows will show you a list of available drives. Choose the drive you want to use for File History backups. Make sure the drive has enough free space and is formatted correctly (preferably NTFS). -
How to get File History to recognize a hard drive?
If File History isn't recognizing your hard drive, try these steps: First, make sure the drive is properly connected and showing up in File Explorer. Check that it's formatted as NTFS and has enough free space. Then, go to Control Panel > System and Security > File History and click "Select drive". If your drive doesn't appear, try restarting the File History service or your computer. If it still doesn't work, the drive might not be compatible with File History.


 ChatGPT
 Perplexity
 Google AI Mode
 Grok
Grok


