
 TL;DR:
The built-in Disk Cleanup tool in Windows 10 and 11 safely frees up hard drive space by removing temporary files and compressing unused data, while manual methods like uninstalling apps and defragmenting drives offer additional storage recovery.
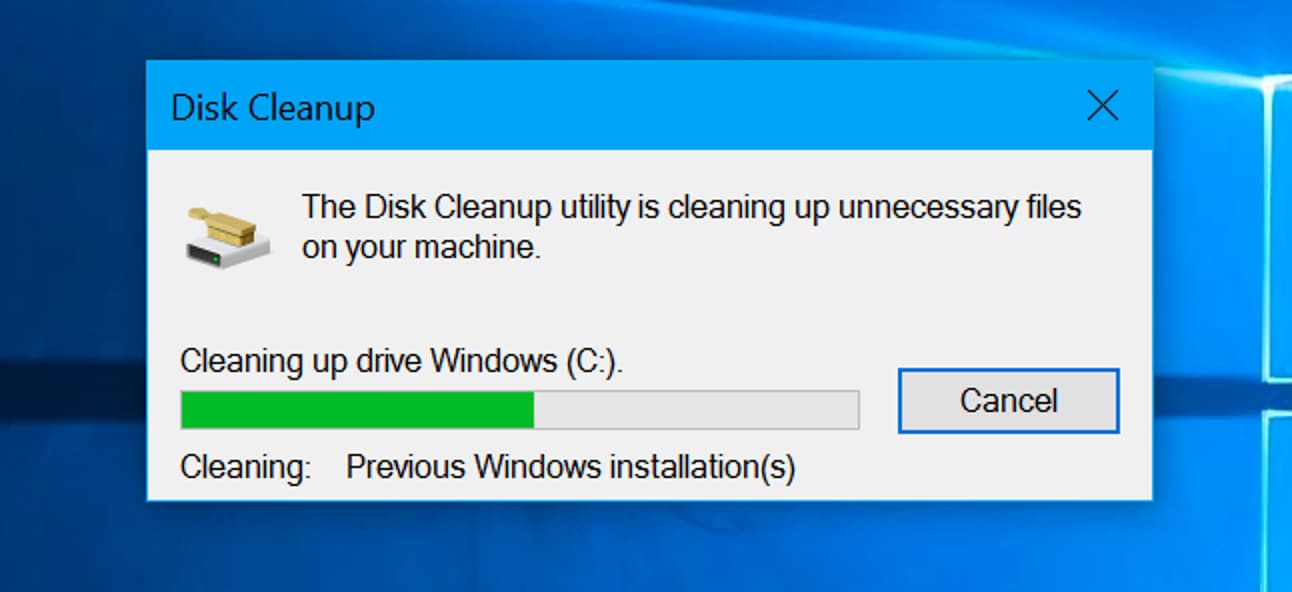
● Disk Cleanup can recover at least 2GB of space from system crash dumps, but selecting the Windows Update Cleanup option permanently prevents you from rolling back to previous Windows updates.
● Users can locate memory-heavy folders by navigating to Settings > System > Storage > Other and manually deleting the identified large items via File Explorer.
● Running the Defragment and Optimize Drives utility consolidates related internal disk data to improve drive efficiency without altering your file organization.
Ask AI for a summary
 ChatGPT
 Perplexity
 Gemini
 Claude
 Grok
Grok
Did you know that organizing your storage increases your productivity and your computer's performance? While there are several ways to accomplish this, using Disk Cleanup Windows 10, which removes unneeded files, is one of the most efficient. These extraneous items can take up your computer's storage space and impede performance. Disk Cleanup Windows 10 is sophisticated enough to clean up registries and find files that are redundant or infested with viruses.
This article will focus solely on disk cleanup in windows 10, including best practices for cleaning windows with and without this tool.
Part 1. What Is Disk Cleanup?
Microsoft created the maintenance tool disk cleanup for such Windows operating system. The program searches your computer's hard drive for data you no longer require, including temporary files, cached copies of websites, and rejected files in the system's recycle bin. They accumulate over time and use a significant amount of space on the computer if you don't delete them.
The tool shows the files that have been located and how much space each takes up on your hard drive. By choosing Windows Administrative Tools from the start menu, then select the disk cleanup Windows 10 option, you can access this utility on Windows 10.
The key features of disk cleanup are listed below.
Key Features |
Description |
| Saves Time | Disk Cleanup removes files from a wide range of locations, including log files, saved data dumps from computer breaks, cached interactive content, temporary files stored by Internet Explorer, previous system restoration points, and the entries of the Recycle Bin. While you can locate and remove each of these files individually, Disk Cleanup does this much faster. |
| File Compression | Disk Cleanup can search your computer for files you have not used for a while and compress them. Compressing files increases the amount of free space on your hard drive without deleting any files. |
| Recovers Disk Space | Disk Cleanup frequently recovers hundreds or even thousands of megabytes of storage capacity. Running Disk Cleanup can restore at least 2GB of space if your computer has ever encountered a blue screen error and you have 2GB of RAM. |
Part 2. How To Use Disk Cleanup To Clean Windows 10/11?
Users can remove unnecessary files and clear up storage space using the Disk Cleanup tool in Windows 10. The utility often only provides options for deleting files that have no impact on your system. However, you can inspect the files to ensure they are not critical before deleting them, and we'll provide you with some guidance on how to do that.
The steps that must be taken while utilizing a disk cleanup to clean Windows 10/11 are listed below.
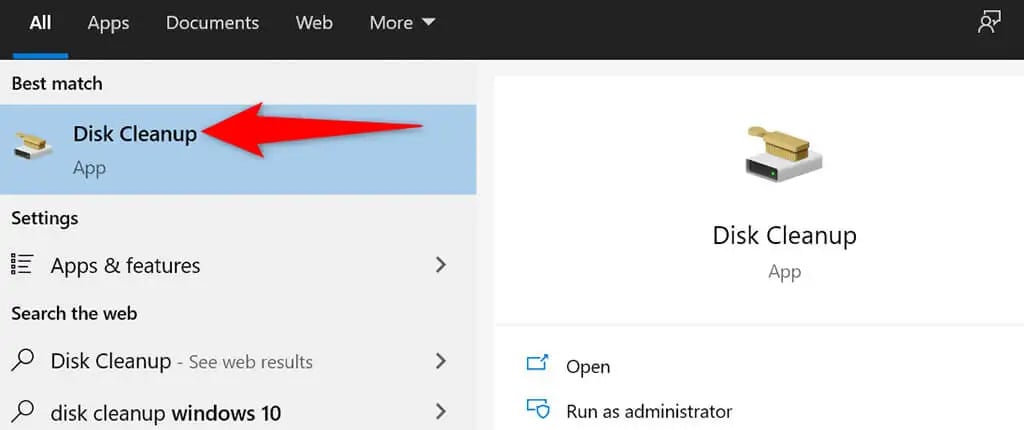
Step 1: Browse Disk Cleanup in the Start menu's search results, then choose Disk Cleanup.
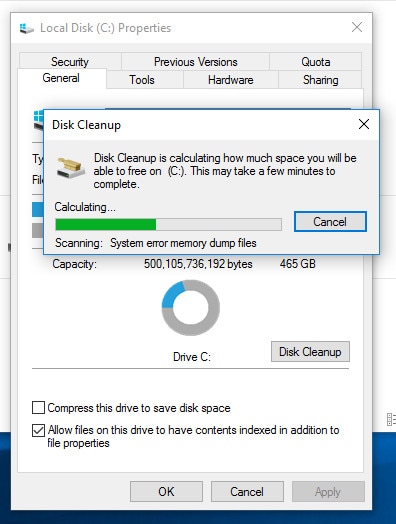
Step 2: Select OK after selecting the drive you want to clean up.

Step 3: Wait while Disk Cleanup examines the chosen drive.
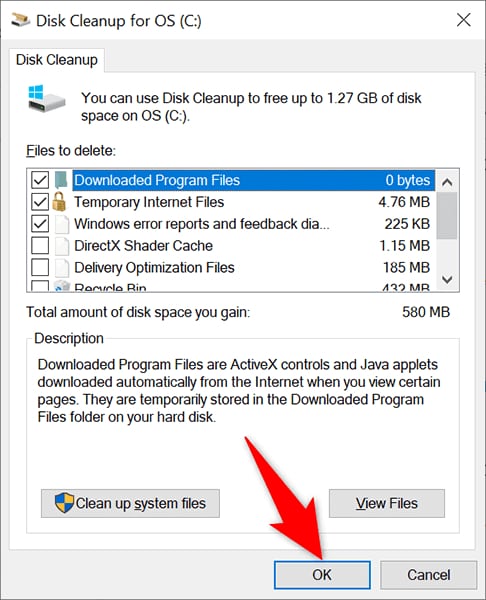
Step 4: Pick the files you want to remove from your computer from the Disk Cleanup window. After that, click OK at the bottom.
Part 3. How To Clean Windows 10/11 Without Using Disk Cleanup?
Even without employing disk cleanup in Windows 10, there are several cleaning techniques, most of which overlap. Here are the best methods for removing trash files from Windows, commencing with the simplest.
Method 1: Remove Unwanted Apps To Clean Up Your PC
Deleting unused software from your PC is important to free up disk space. On Windows 10 and 11, the Settings app will allow you to do this.
Step 1: Open the Settings app on your computer by simultaneously tapping the Windows + I legends.
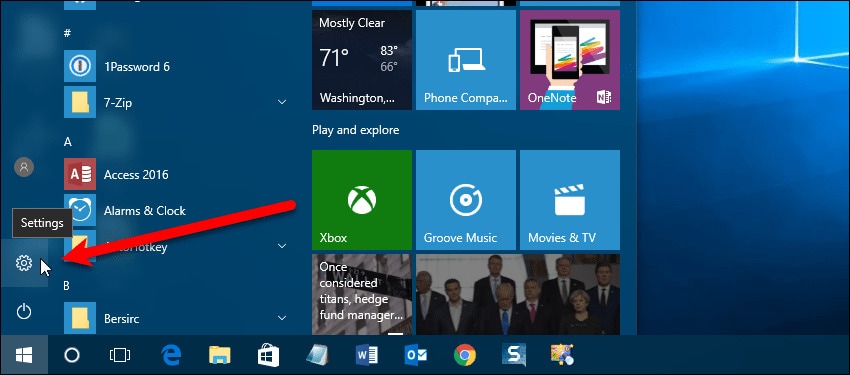
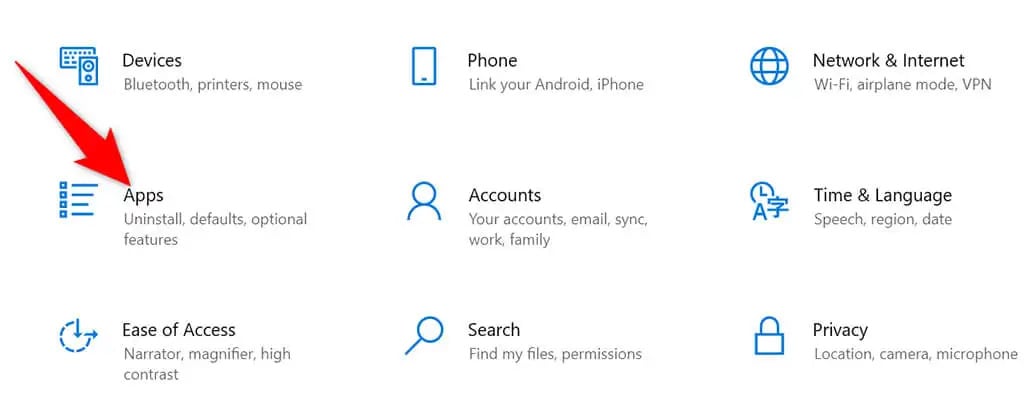
Step 2: On the Settings screen, click Apps.
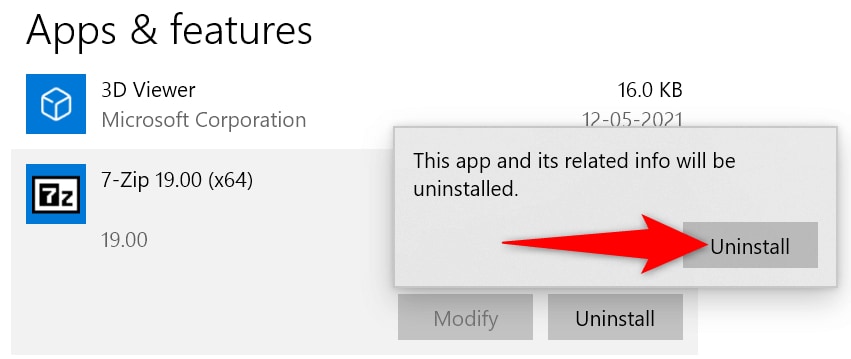
Step 3: Find the app you want to uninstall and click Uninstall in the portion that appears.
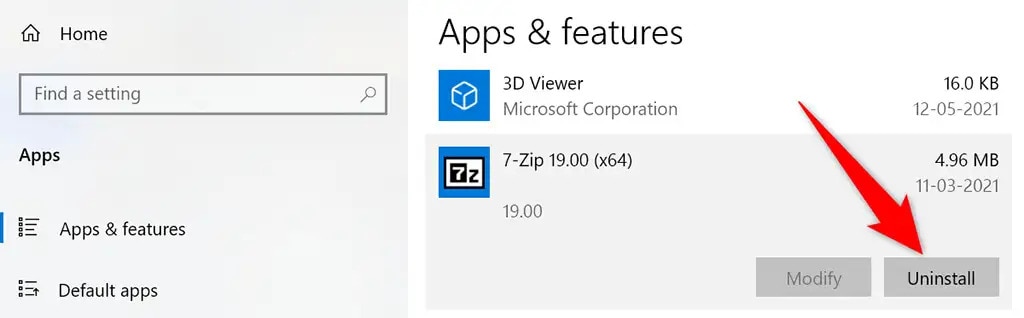
Step 4: Select Uninstall from the prompt that appears to remove the selected app.
Method 2: Delete Large Folders To Make Space on Your Windows PC
Nothing takes up more room on your hard drive than all those enormous folders that are unused and outdated. Fortunately, Windows has a built-in application that helps you locate memory-hungry folders on your machine. Then, if you'd like, you can manually remove those folders.
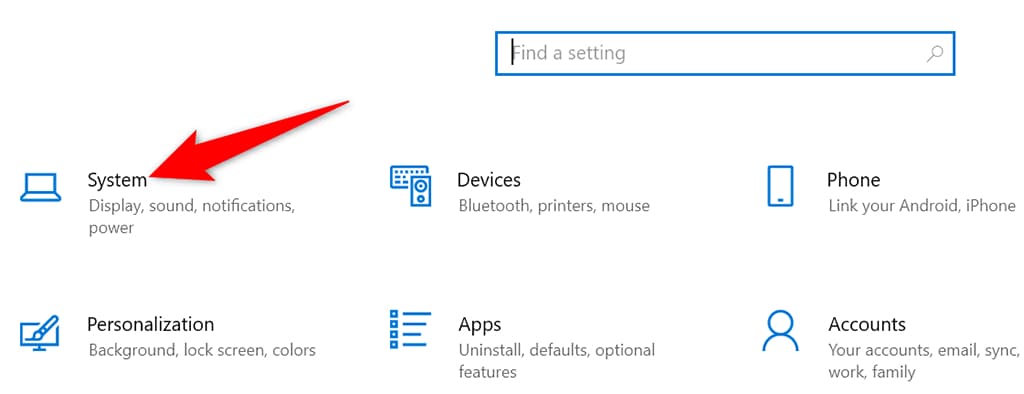
Step 1: Select System from the settings pane after launching the Settings app.
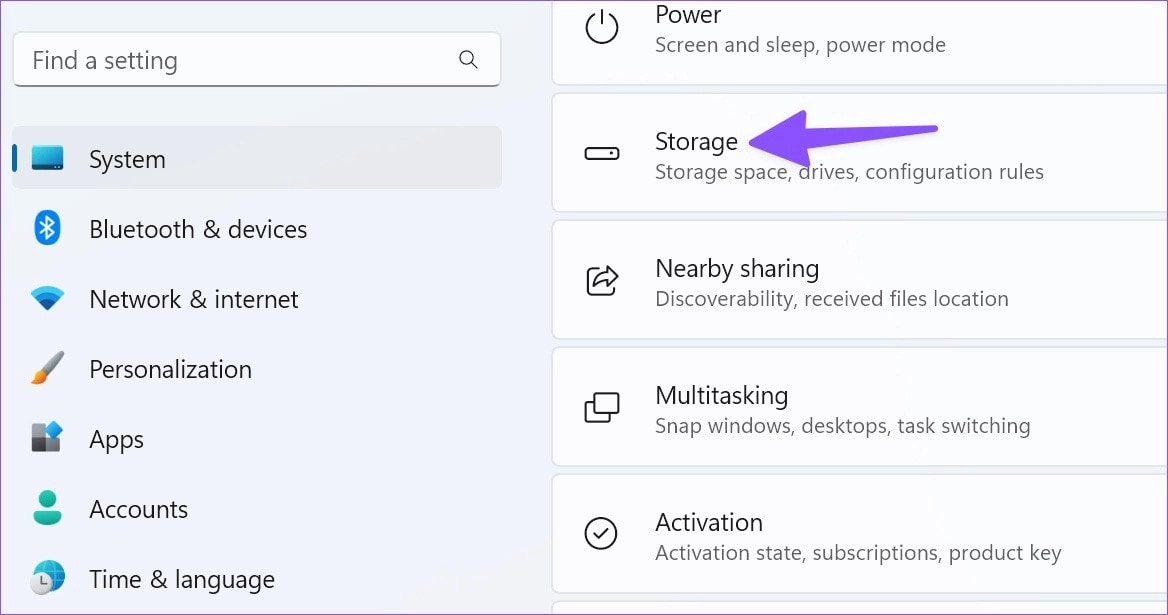
Step 2: From the left sidebar, select Storage.
Step 3: In the right-hand window, click Other.
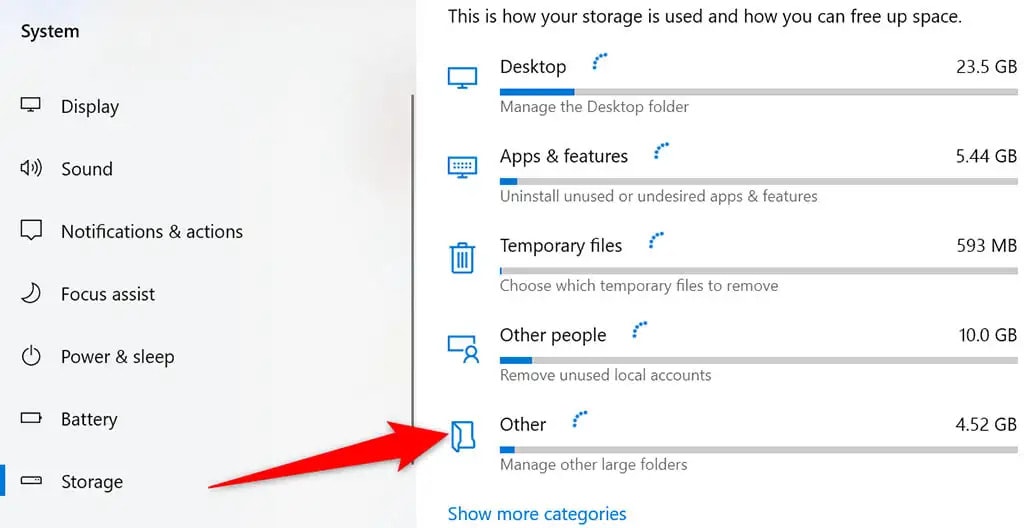
Step 4: A list of folders that take up a sizable portion of your storage space will be displayed.
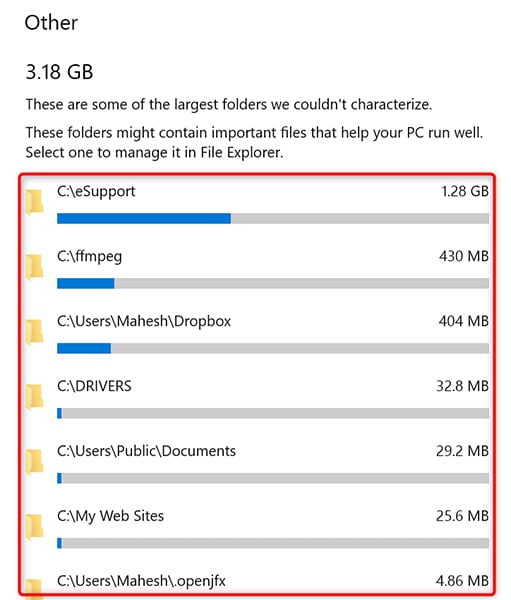
Step 5: To open a folder in File Explorer, select it. You can manually delete it in File Explorer.

Method 3: Empty the Recycle Bin
A file deleted from your computer is immediately placed in the Recycle Bin. The Recycle Bin will fill up quickly if the contents need to be regularly cleared.
Step 1: Find the desktop shortcut for the recycle bin.
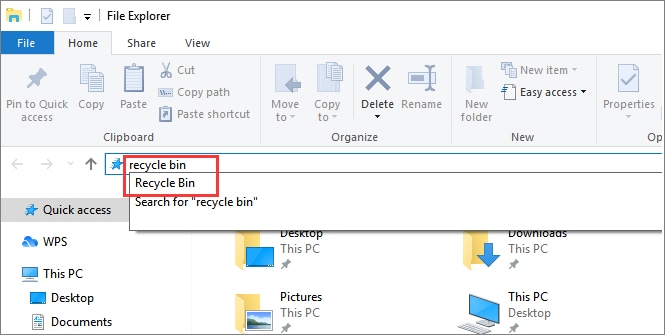
Step 2: Empty the recycle bin by selecting it from the menu when you right-click the Recycle Bin shortcut.
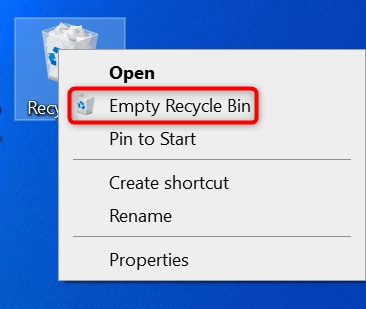
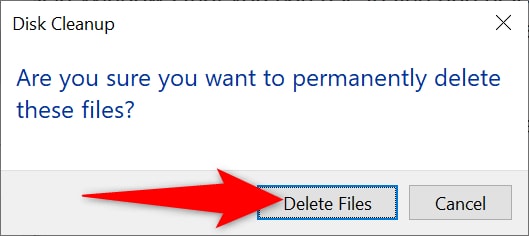
Step 3: When the prompt appears, click Yes.

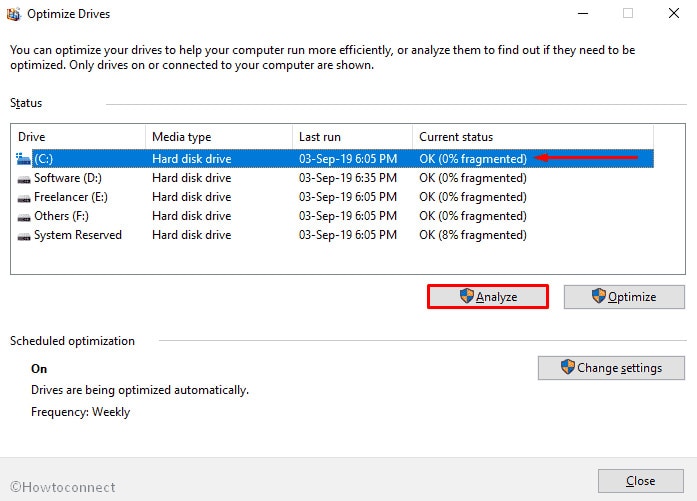
Method 4: Defrag Your Drives
Defragmenting your drives brings the relevant data on your disks together. It does not affect how the files look on your computer because the adjustments are only internal.
Step 1: Search for "Defragment and Optimize Drives" in the Start menu's search box and choose the resulting entry.
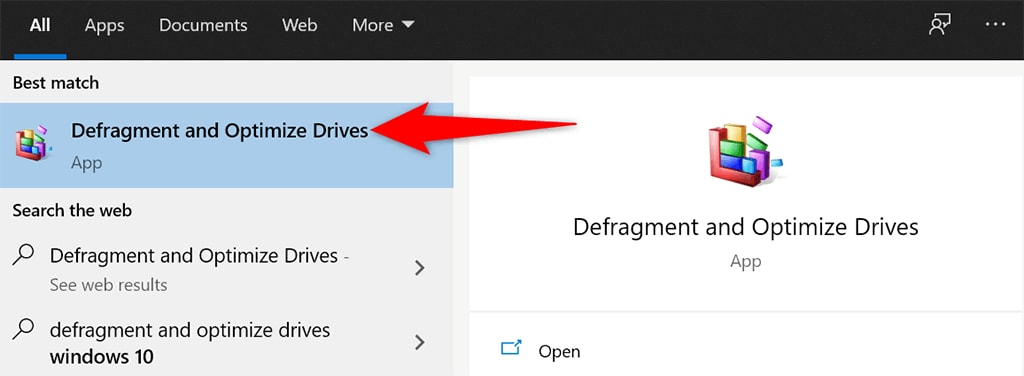
Step 2: Just on Optimize Drives window, select your primary hard drive and click the Optimize button.
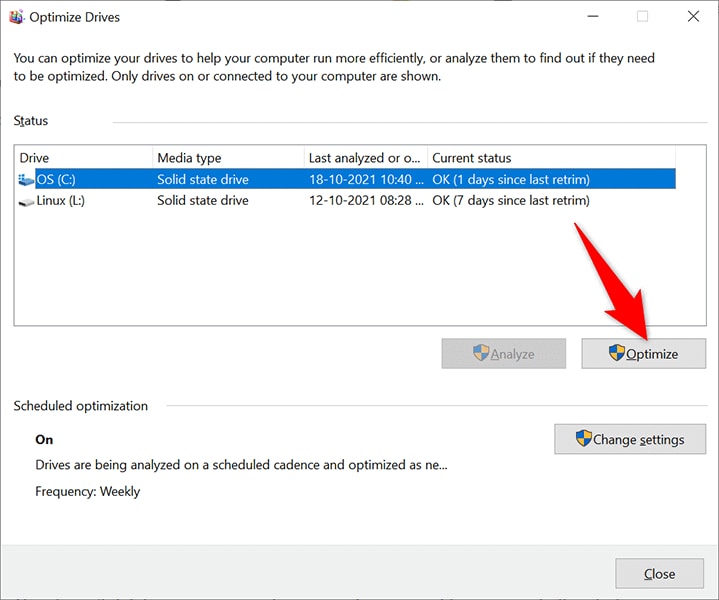
Step 3: Let Windows defrag your drive while you wait.
Method 5: Remove Browser Extensions and History
As part of your system, your web browsers, and Windows 10 or 11 computers must be clean. You may clear the contents of most browsers by clearing your browser history and disabling unnecessary extensions.
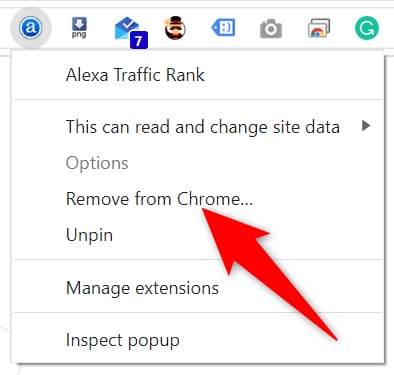
Step 1: Click the three dots icon in the top right corner of Chrome to launch it.

Step 2: By selecting Remove from the context menu, when you right-click an extension of most web browsers, you can get rid of it.
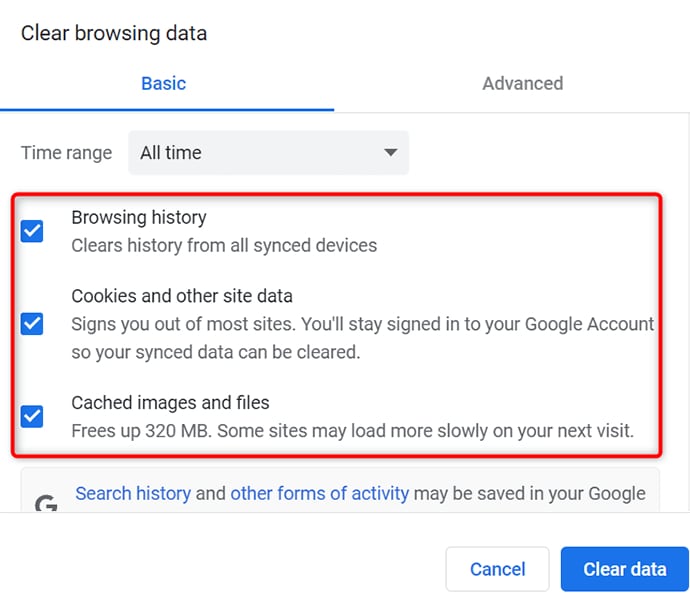
Step 3: Navigate to your browser's Settings menu and select the appropriate option: delete your browsing history, cookies, and other site data.
Conclusion
You now understand the necessary actions on disk cleanup Windows 10/11. These techniques should be adequate to clear off a sizable amount of space on your computer and give it a clean, modern feel. Keep up with them sometimes, and you should avoid getting any more low disk space warnings.
For Windows XP/Vista/7/8/10/11
For macOS X 10.10 or later

Recoverit Data Recovery - Expert in recovering data with 35+ data recovery patents
5,481,435 people have downloaded it.
Recover files from the recycle bin, USB device, SD card, or hard drive with your PC or Mac.
Get better recovery file quality and success rates with Recoverit.
2000+ Supported Storage Devices.
The sophisticated data recovery program can quickly recover lost data from virtually any device or storage media.
Recoverit Supports More Than 1000 File Formats and Types.
FAQs
Do files get deleted by disk cleanup?
After doing a disk search, Disk Cleanup displays any log files, Internet cache documents, and excessive application files that you can remove without risk. Disk Cleanup is instructed to delete a portion or all of the files.
How can I ensure all data on a computer's hard disk has been deleted?
In the sidebar, select "Recovery" after selecting Update and Security. When you reach the "Additional settings" screen, click "Change settings" and ensure that the "Clean data" and "Delete files from all drives" choices are turned on.
How can I speed up Windows 10 on my computer?
To launch the dependable tool that has been a part of Windows for multiple OS iterations, type Disk Cleanup into the Start menu. Disk Cleanup claims to erase any unneeded items on your computer, including temporary files, offline Web sites, and installation programs. Even if the recycle bin is bulging at the seams, that normally only slows your drive down noticeably if it is almost full.
When using disk cleanup, is it okay to erase Windows files?
Although it is safe to delete the files associated with cleanup, you might need help to roll back any Windows updates after using Windows Update Cleanup. Service Pack Backup and recovery do not, however, issue a similar caution for any other data that is manually deleted.
What is the time frame for Windows disk cleanup?
In the worst scenario, it should take most minutes to finish the update, depending on its size. The computer's hardware, the internet connection, the type of update, etc.


