GoPro cameras are sturdy and reliable. They capture amazing videos. But sometimes things go wrong. You might face GoPro camera problems like corrupted files. This can be very frustrating. You planned your shoot, got great footage, and now it won't play.
GoPro video repair issues are common. Many users face problems with their GoPro cameras. The good news is that most GoPro camera repair issues can be fixed. You don't always need expert help. Simple fixes exist for common GoPro problems.
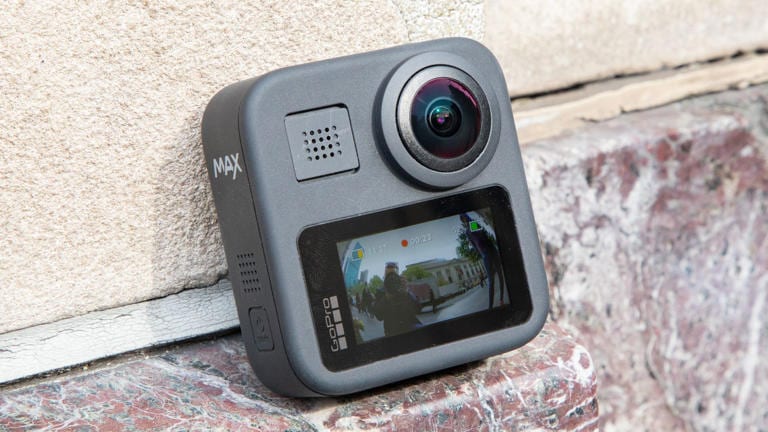
This guide focuses on fixing corrupted GoPro files. We will share methods to repair GoPro videos. You'll learn how to recover GoPro videos with easy steps. We cover how to recover and recover corrupted GoPro camera video using different tools.
Try Recoverit to Recover Lost Data from GoPro
Security Verified. Over 7,302,189 people have downloaded it.
In this article
Part 1: Common Causes for Corrupted GoPro Files
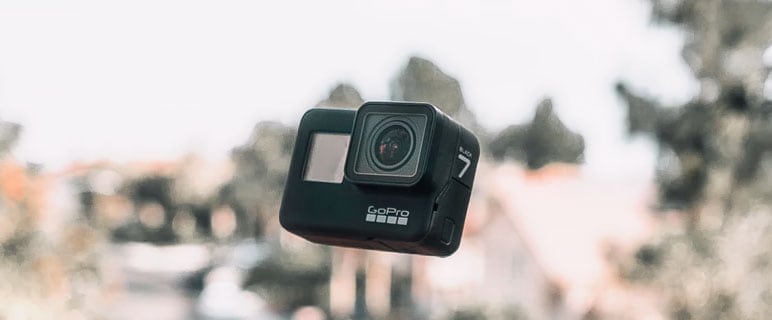
Are GoPro files corrupted? Well, GoPro files can get corrupted for many reasons. Knowing these causes helps prevent future problems. Here are the main reasons why your GoPro videos might get damaged:
- Battery failure - If your GoPro dies while recording, files may not save properly. This is a top cause of corrupted GoPro files.
- Memory card issues - Low-quality SD cards or improper formatting can cause GoPro camera repair problems.
- Improper shutdown - Turning off your GoPro without stopping recording first can damage files.
- Physical damage - Drops or water damage can harm your GoPro and corrupt files stored on it.
- Firmware problems - Outdated or glitchy firmware can lead to video corruption issues.
- File transfer interruptions - Disconnecting during file transfer can corrupt GoPro videos.
- Memory card full - Recording when your card is nearly full can lead to corrupted files.
- Extreme temperatures - Using your GoPro in very hot or cold conditions can cause file problems.
Part 2. Useful GoPro File Repair Tips & Tricks
This part explains various GoPro problems and their Gopro fixes.
1. No SD or SD ERR Message (SD card error):
The first error that needs a GoPro repair is an SD card error. Most of the users confront an issue of No SD or SD ERR message that pops up on the camera LCD. This needs a quick GoPro fix. So here are three of the methods in which you can solve the problem.
Method 1: Check the type of SD you are using for your GoPro camera. Not all SD cards are compatible with your device. In the case of the incompatible card used, you are going to see the error message on LCD.
Method 2: Always check the connection between the SD card and your camera. Sometimes, the SD ERR message is due to poor contact between the SD and the device. So in this case, unplug the card, clean its surface and reinsert to make it all functional. Always use the isopropyl alcohol for cleaning the SD card. Avoid blowing the moisture in the card slot.
Method 3: Last option you are left with is reformatting your SD card. This can delete all the data stored. For this, you can first shift all data to a secured folder on your Pc and then carry on formatting.
2. Unable to Connect to GoPro:
This is the particular GoPro error message which you will see when you are unable to connect your GoPro app with the GoPro camera. Here is the stepwise process you can follow to avoid the consequences:
Step 1: In your GoPro app, tap the option of GoPro camera from where you can navigate to the '+' icon.
Step 2: Click on either 'HERO7' or 'HERO8' or any GoPro device.
Step 3: After selecting the desired camera for connection, from the drop-down menu, select Preferences, and then click on Connections.
Step 4: Now select or tap the Connect device option where you can tap the GoPro app.
Step 5: Again in your GoPro app, click on Connect camera and select the camera device that is targeted to be connected.
Step 6: Clock Let's go! And you are done with connecting your GoPro app with the GoPro camera.
3. Reset GoPro Hero7:
If you are in need to solve your GoPro Hero7 problems, you can try these quick GoPro fixes.
Method 1: Just in case, you need to reset the factory setting, go to a factory setting where you navigate to preferences. Select the option of Reset and then click on Factory reset. This is going to help you sort out all the GoPro Hero& problems.
Method 2: another way to rehabilitate the functionality of your Hero7, navigate to reset defaults, and then select Preferences in the menu. Select Reset and then click on Reset Defaults. Some of the setting options that won't be affected are time, date, video format, and camera name, and password settings.
4. GoPro Corrupt File Repair:
Here is how you can run that GoPro repair action against the corrupt file. With this, you can restore your footage on GoPro.
- Confirm that the SD card is readable.
- Now proceed with copying the corrupted file to the PC, to check whether it could be placed in the VLC player.
- If you have the information about the mode of the file in which it was recorded, use the fix_header_v3a.pl utility Command line:
Part c: \ gopro \ fix_header_v3a.pl c: \ gopro \ GOPR0752.MP4 -reso r5 - Now continue with running the file through mp4muxer-0.9.3.zip. And rename the file extension on a "move.mp4" to continue
- The next step is to import the file to the Sony Vegas editor and restore it with all original parameters. This is going to build a corrupted file again.
Part 3: How to Repair GoPro Videos?
When you face corrupted GoPro files, don't panic. Several methods exist to repair GoPro videos. Each method works for different situations. Try these solutions one by one until your problem is fixed.
Method 1: Use GoPro's Built-in Repair Feature
GoPro understands that video files can sometimes get damaged, especially if something interrupts the recording process. To help with this, newer GoPro models have a built-in repair tool. This feature works directly in the camera, so you don’t need to use any extra software or tools.
The repair tool is most helpful when videos stop recording suddenly, like if the battery runs out or the camera turns off accidentally. It automatically finds damaged files and fixes them. This makes it simple and quick to recover your videos, saving you time and protecting your important memories.
Steps to repair gopro videos by using GoPro's built-in repair feature :
- Insert your SD card into the GoPro camera. Turn on the GoPro. The camera will detect corrupted files automatically.
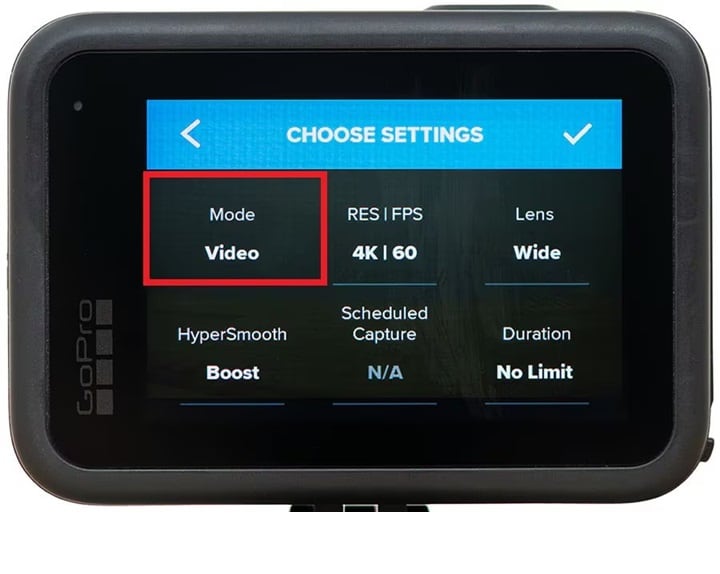
- Follow the on-screen prompts to repair the files. Wait for the process to complete. Check if your videos now play correctly.
Method 2: Convert the File Format Online
Changing the file format is a simple way to fix corrupted GoPro videos. By converting the video to a different format, some corruption issues can be resolved. This method works well for minor file damage.
Online file converters make this process easy and accessible. Many of these tools are free to use and do not require any downloads, which saves both time and space on your device. Users can upload the video, select a new format, and download the repaired file.
This approach is especially convenient for those who need a quick solution without installing extra software. Although it may not work for severe corruption, it is a helpful option for fixing smaller issues with GoPro files.
Steps to fix corrupted GoPro videos by converting file format:
- Visit an online video converter website like CloudConvert. Upload your corrupted GoPro video.
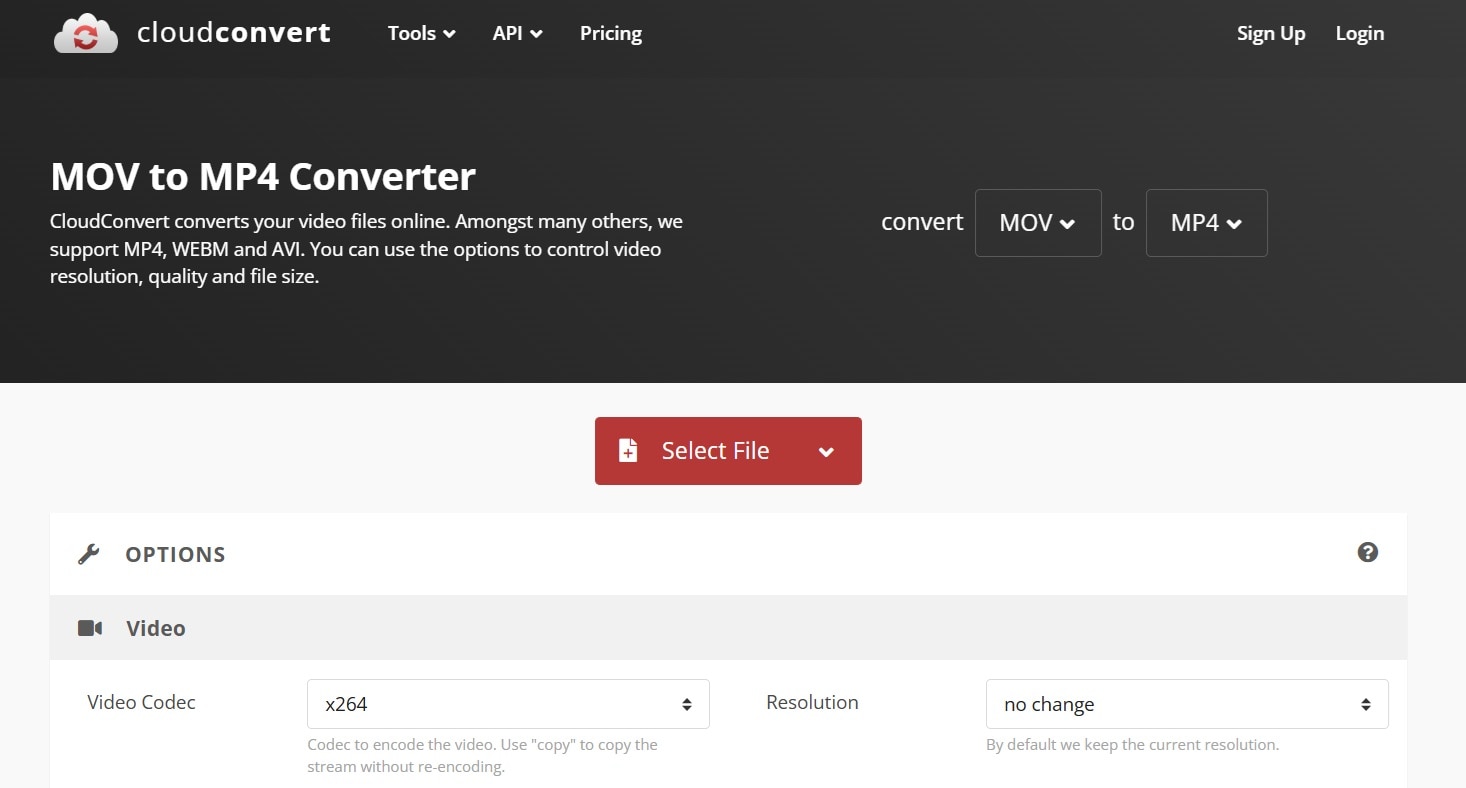
- Select a different output format (MP4 is usually good). Start the conversion process. Download the converted file. Check if the video plays correctly now.
Method 3: Restore Videos from Backup
Smart GoPro users know the importance of keeping backups. Regularly saving copies of your videos ensures that your footage is safe, even if files on the camera get corrupted. Backups are a simple yet powerful way to avoid data loss.
If you already have backups of your GoPro videos, you can skip the hassle of using repair tools. Instead of trying to fix damaged files, you can quickly restore them from your saved copies. This saves time and ensures the quality of your original videos.
Restoring from a backup is by far the easiest and most reliable method to recover corrupted GoPro files. It eliminates the need for complex solutions and guarantees that your cherished footage is preserved. Regular backups truly offer peace of mind for GoPro users.
Steps to restore Gopro videos from backup:
- Locate your backup files on your computer, cloud, or external drive. Copy the backup GoPro videos to your desired location.
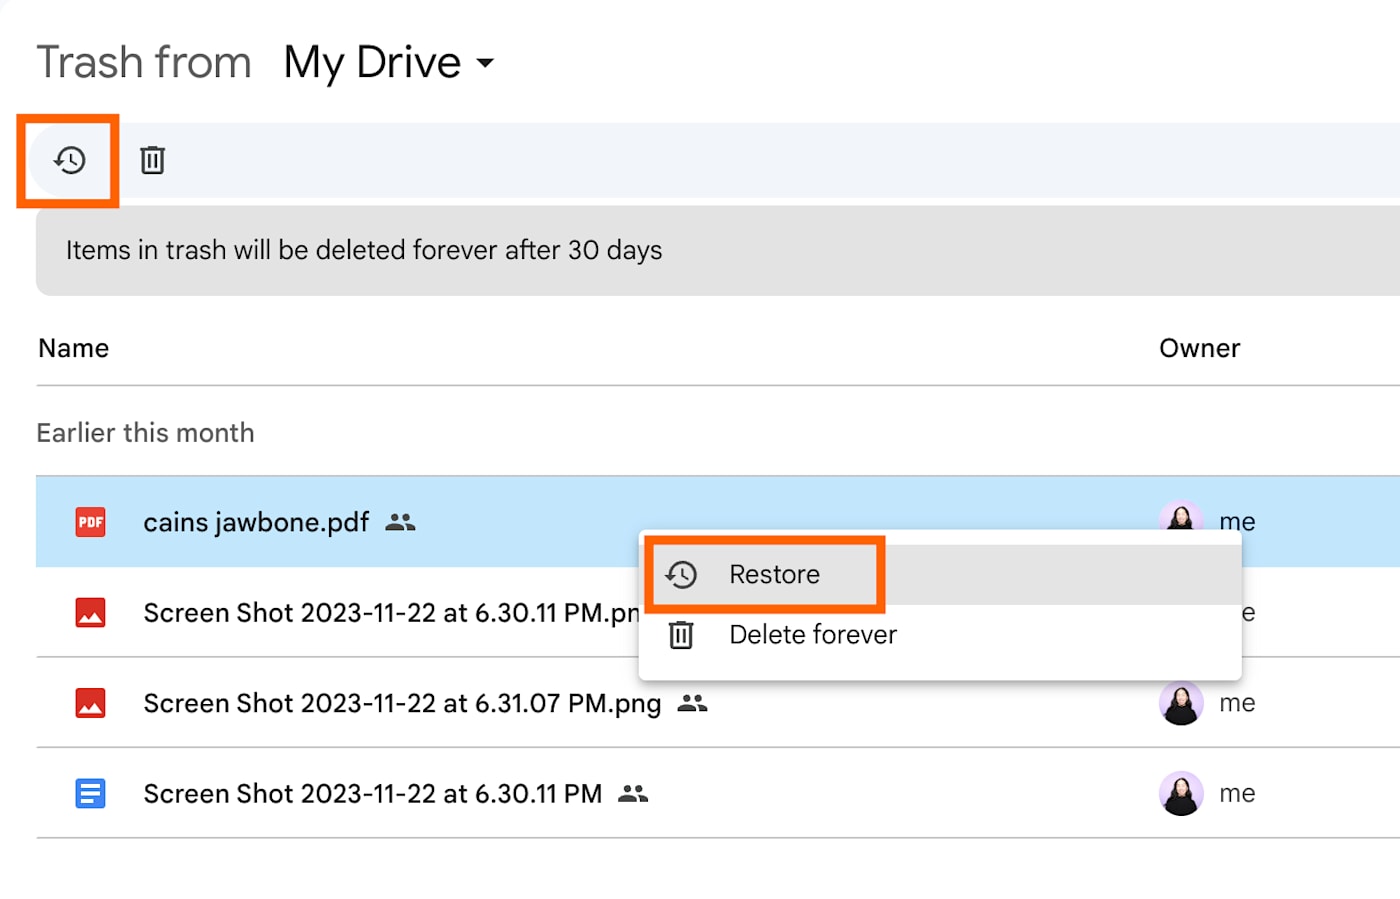
- Test the videos to make sure they play correctly. If the backups are also corrupted, try the other repair methods.
Part 4: How to Recover and Repair GoPro Camera Video: Recoverit Tool
GoPro files can sometimes be completely deleted, leaving users in a difficult spot. Recoverit is a tool designed to address such issues. It helps retrieve deleted files and then repairs any video corruption.
This software is compatible with all GoPro models and SD cards, ensuring wide usability. It boasts a high success rate when it comes to recovering and fixing GoPro videos effectively.
Even if you accidentally format your SD card, Recoverit can still locate and restore your videos. This makes it a reliable solution for saving and repairing precious footage.
It's a reliable solution for retrieving and repairing your precious footage! Let me know if you'd like more details.
Steps for video recovery:
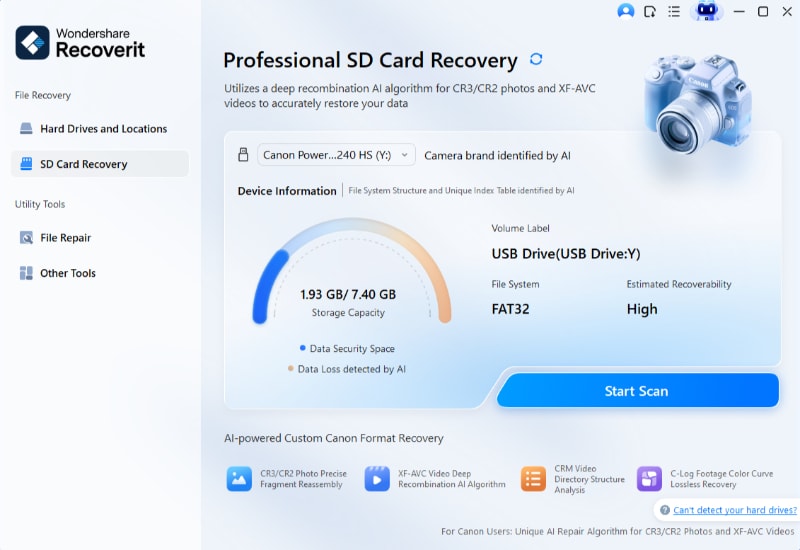
- Download and install Recoverit on your computer. Connect your GoPro or SD card to your computer. Launch Recoverit and select the connected device.
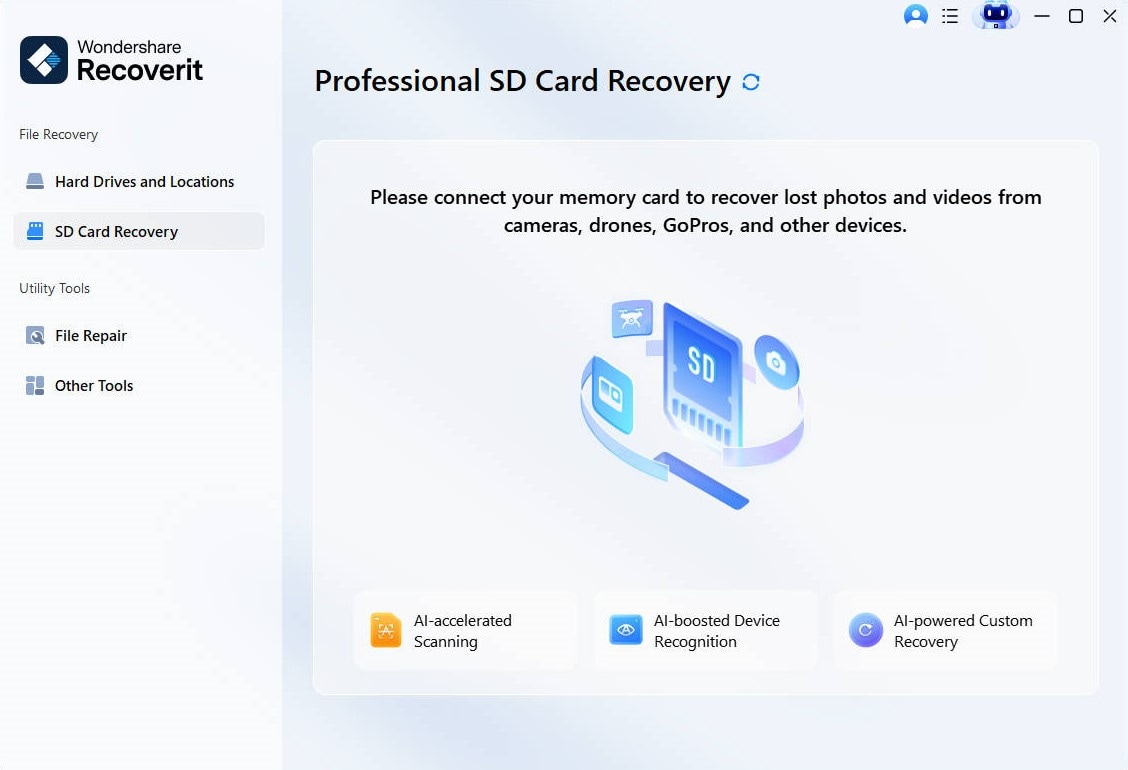
- Click Scan to begin scanning for lost files.
- Preview recoverable files once scanning completes. Select the GoPro videos you want to recover.
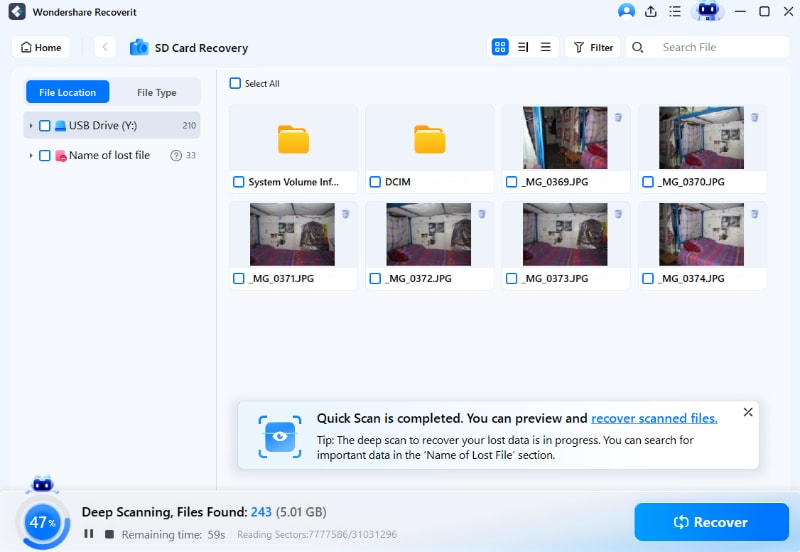
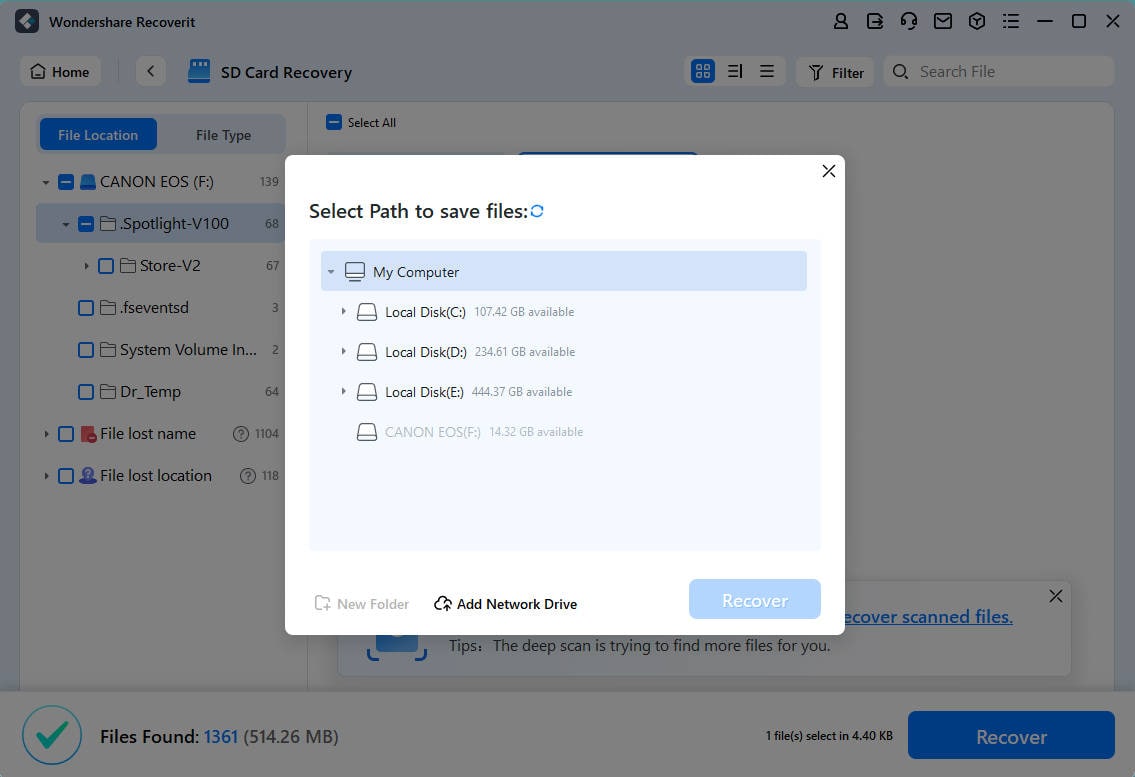
- Click Recover and choose where to save them. Use Recoverit's repair feature if recovered files are still corrupted.
Related Video >>: How to Recover Files from GoPro SD Card?
Part 5: Pro Tips and Hacks to Fix GoPro Corrupted Videos
Beyond the standard methods, pros have tricks to fix GoPro corrupted videos. These tips can save you time and stress. They help prevent GoPro repair issues too.
Here are some pro tips and hacks to fix corrupted GoPro videos:
- Use GoPro's Built-in Repair Tool: Many GoPro models have a built-in feature to repair corrupted files. Simply power on the camera, and it will detect and attempt to fix damaged videos automatically.
- Change File Format: Converting the video to a different format using online converters can sometimes resolve minor corruption issues. This method is free and doesn't require downloading software.
- Recoverit Software: Use tools like Recoverit to recover and repair severely corrupted GoPro files. It works with all GoPro models and can handle multiple videos at once.
- Backup and Restore: Always keep backups of your videos. If a file gets corrupted, restoring it from a backup is the easiest and most reliable solution.
- VLC Media Player: VLC has a built-in repair feature for AVI files. Convert your GoPro video to AVI and use VLC to fix it.
- Professional Repair Software: Tools like Repairit, and Stellar Repair for Video can handle severe corruption and restore your files effectively.
These methods can help you recover and repair your precious footage with ease!
Conclusion
GoPro camera problems happen to everyone. Corrupted GoPro files are frustrating but fixable. This guide covered multiple ways to repair GoPro videos. You now have the tools to fix GoPro corrupted videos yourself.
GoPro camera repair doesn't always need professional help. Many common GoPro problems have simple fixes. The methods we shared work for most corruption issues. You can recover and repair GoPro camera video at home.
Remember to back up your footage regularly. Prevention helps avoid future GoPro repair headaches. Keep your firmware updated and use quality SD cards. With these tips, you'll spend less time fixing problems and more time capturing amazing footage with your GoPro.
Try Recoverit to Recover Lost Data from Gopro
Security Verified. Over 7,302,189 people have downloaded it.
FAQ
-
Why do my GoPro files keep getting corrupted?
Repeated GoPro file corruption usually points to specific issues. Your SD card might be too slow or incompatible with your GoPro model. GoPro cameras need fast, high-quality cards. Another common cause is low battery during recording. Always charge fully before important shoots. Firmware problems can also cause recurring corruption. Update your GoPro to the latest version. If problems continue after trying these fixes, your GoPro might have hardware issues. Contact GoPro support for GoPro camera repair options. They can help determine if your device needs professional repair. -
Can all corrupted GoPro files be repaired?
Not all corrupted GoPro files can be fixed. The success of GoPro repair depends on the level of corruption. Slightly damaged files have high recovery chances. Severely corrupted files might be beyond repair. The sooner you attempt to fix GoPro corrupted videos, the better your chances. Don't keep using a card with corrupted files. This can make recovery harder. Professional recovery services exist for extremely important files. They have advanced tools to recover and repair GoPro camera video. But even they can't guarantee 100% success in all cases. The best approach is prevention through good practices. -
How can I prevent GoPro file corruption in the future?
Preventing corrupted GoPro files is easier than fixing them. Always use high-quality, GoPro-recommended SD cards. Format your card in the GoPro before each important shoot. Keep your GoPro firmware updated to the latest version. Never remove the SD card while the camera is on or processing. Make sure your battery is charged before recording. For long sessions, use external power. Back up your files regularly to multiple locations. Turn off your GoPro properly after recording. Don't fill your SD card - leave some free space. With these habits, you'll rarely need GoPro repair services for corrupted files.



 ChatGPT
 Perplexity
 Google AI Mode
 Grok
Grok


