


 TL;DR:
To regain access to a locked Microsoft Surface or Surface Pro, retrieve your 48-digit BitLocker recovery key from your Microsoft Account's OneDrive devices section or extract it using the Advanced Options Command Prompt.
● To extract the key locally without booting into Windows, hold Shift while clicking Restart to access the Troubleshoot menu, open Command Prompt, and execute the command manage-bde -protectors C: -get.
● If key retrieval fails, you must reset the device using a USB recovery drive or reinstall the Windows OS, which bypasses the lock but results in complete data loss on the encrypted drive.
● In scenarios requiring an OS reinstall, data recovery tools like Wondershare Recoverit can be utilized post-installation to scan the drive and attempt file retrieval.
Ask AI for a summary
 ChatGPT
 Perplexity
 Gemini
 Claude
 Grok
Grok
Has your Microsoft Surface locked you out and repeatedly asked for the BitLocker recovery key? You can easily fix this by providing the recovery key for your Surface. But how to find the key?
We’ll explain the Microsoft Surface BitLocker recovery key and why you should always know it. Moreover, we’ve prepared four ways to find your recovery key for Surface. These ways also work well for finding the Surface Pro BitLocker recovery key.
In this article
What Is a BitLocker Recovery Key for Surface?
BitLocker is automatically enabled on Microsoft Surface devices. It lets you encrypt your internal hard drives and protect your data from unauthorized access. The BitLocker recovery key is stored in the Trusted Platform Module (TPM) chip built into your Surface.
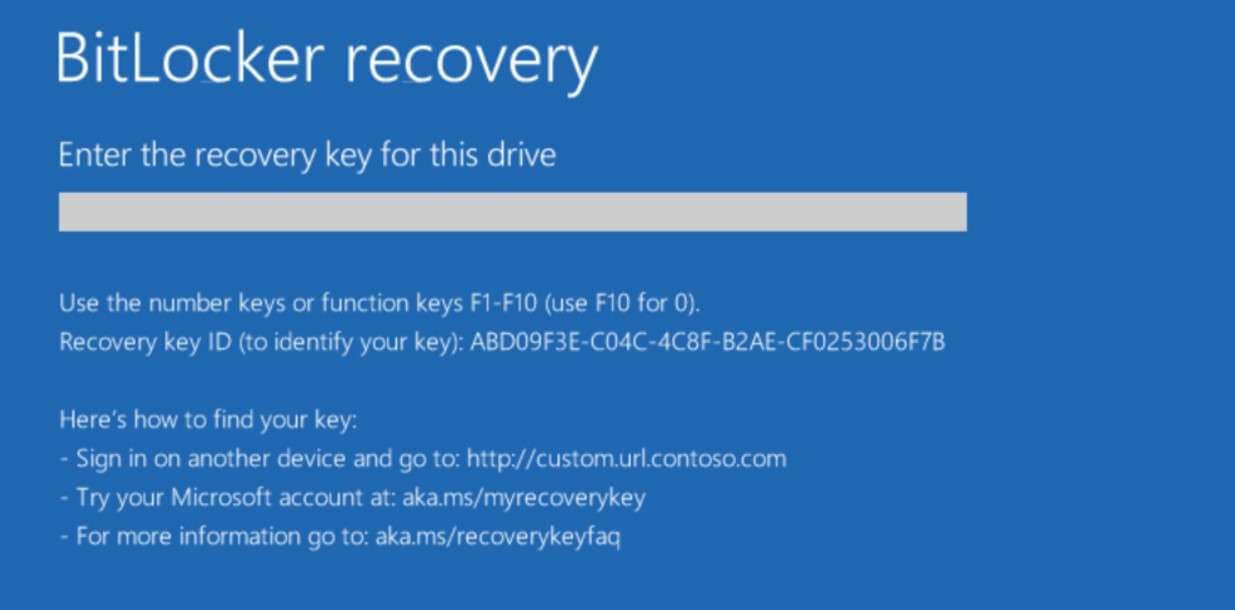
Your Microsoft Surface asks for your BitLocker recovery key, a 48-digit numerical password that unlocks your encrypted hard drives. The recovery key is not the BitLocker password you set for unlocking the drive but the unique numerical sequence that’ll regain access to your Surface.
Reasons Why You Should Know Your Recovery Code at Any Time
Knowing your BitLocker recovery key can save you a lot of trouble. If you made changes to the Surface hardware or system boot configurations, you’ll be asked to provide your BitLocker recovery key. If you know the key, you’ll fix the problem in a few seconds.
Moreover, if you exceed the number of login tries for your BitLocker, you’ll be locked out with the screen asking you to provide the BitLocker recovery key for your Surface. Since human error is common, knowing your Surface BitLocker recovery key would be a lifesaver.
How to Find BitLocker Recovery Key for Microsoft Surface
If your Microsoft Surface laptop has locked you out and keeps asking for the BitLocker recovery key, you can fix the problem by providing the key. We’ve prepared a few methods to help you find your Microsoft Surface BitLocker recovery key and regain access to your computer.
Using Microsoft Account and Onedrive Recovery Key
The first time you logged into your Surface device, your BitLocker recovery key was saved on the OneDrive cloud storage on your Microsoft Account. You can find the BitLocker recovery key on your Microsoft account.
Follow these steps to find your recovery key using your Microsoft account and OneDrive:
- Open the Microsoft OneDrive page and log into your Microsoft Account.
- Once logged in, find your Surface laptop in the Devices & activity section.
- Click on Get BitLocker keys next to it.

- That will open a new section with your BitLocker recovery keys.

Using Command Prompt
Another way to find your BitLocker recovery key for your Microsoft Surface is to use the Command Prompt. The Command Prompt will provide the BitLocker recovery key with the right command.
Follow these steps to find your BitLocker recovery key using the Command Prompt:
- Press the Windows key and click on Power.
- Now hold the Shift button and select Restart.
- This will open the Choose an Option menu. Select Troubleshoot and go to the Advanced Options.

- In the Advanced Options, select Command Prompt.

- Type the command
manage-bde -protectors C: -getand press Enter.
Using USB Recovery Drive to Reset Surface
Another way to fix the problem of BitLocker asking for a recovery key is to use the USB recovery drive for Surface. First, you’ll need to create a USB recovery flash drive, which you can use to reset Surface. Before you start, make sure to download the recovery image .zip file.
Follow these steps to use the USB recovery drive to reset Surface:
- Insert your USB flash drive into your Surface laptop.
- Type recovery drive into the taskbar search box and open Recovery Drive.

- Select Yes in the User Account Control and check the box next to the Back up system files to the recovery drive. Click Next.

- Select your USB and click Create. When it’s done, click Finish.
- Double-click on the recovery image zip file and select all the files from the folder. Copy them to the USB recovery drive and select Choose to replace the files in the destination.
- Now, you can safely remove your USB recovery drive.
- Hold the Shift button and press Restart. This will open the Choose an Option menu.
- Select Troubleshoot and then select Reset this PC.

- Once you’ve reset your Surface, use the USB recovery drive to recover your system.
Reinstalling OS
The last resort for fixing the BitLocker recovery key problem is reinstalling the Windows OS on your Microsoft Surface.
You can follow these steps to reinstall your Windows OS:
- Press the Windows key and open Settings.
- Select Update & Security.

- In the Recovery section, select Get Started.

- When the prompt appears, select the option to delete all files.
- Click Reset and let your Surface install the latest Windows version.

Recoverit is a data recovery tool that can support over 1000 file formats and 500 scenarios. It always has your back when you need to retrieve vital data after reinstalling the OS.

![]()
Here’s how to do:
- Install and open Wondershare Recoverit on your Surface.
- Go to the Hard Drives and Locations section, select the hard drive you want to recover files from, and click Start.

- This will start scanning your hard drive. You can monitor the scanning process at the bottom of the screen.

- Once the scan is done, preview the recovered files. If you’re satisfied, press Recover.

- Select the destination for the recovered files.

Conclusion
If your Microsoft Surface device keeps asking you for the BitLocker recovery key, the easiest fix would be to provide it with the recovery key. However, if you lose your Surface BitLocker recovery key, our guide can be your lifesaver. You can find your Surface BitLocker recovery key using your Microsoft Account and OneDrive or using Command Prompt. Moreover, you can use a USB recovery drive to reset your Surface or reinstall your Windows.
These methods also work when you want to find the recovery key for Surface Pro. No worries if you lose your data after reinstalling the OS because Recoverit is always at your service.
FAQ
Why is my Surface Pro asking for a BitLocker recovery key?
Your Surface device can ask for the BitLocker recovery key for numerous reasons, such as changing the system boot configuration, changing your Surface’s hardware, or entering the wrong password too many times.I don’t know my BitLocker recovery key. What can I do?
Most users lose their BitLocker recovery key. However, you don’t need to worry. You can find your Microsoft Surface BitLocker recovery key using the Command Prompt or Microsoft Account.Will resetting my Microsoft Surface fix the BitLocker recovery screen?
Yes, you can reset your Microsoft Surface to evade the BitLocker recovery key screen. You can reset your Surface device by going to the startup, then Choose an option menu > Troubleshoot > Reset this PC.


