


 TL;DR:
To fix a CyberPowerPC that will not turn on, start by waiting out the 24-hour internal surge protector cooldown, performing a 15-second hard power drain without external peripherals, or clearing the CR2032 CMOS battery for 30 seconds to reset locked BIOS settings.
● Diagnose specific failing hardware using the motherboard's Debug LEDs—Red indicates a CPU issue, Yellow/Orange for RAM, White for GPU, and Green for BOOT/OS—or physically isolate the issue by stripping the internal components down to a single RAM stick in the first slot.
● If the system powers on but fails to boot three consecutive times, it automatically enters the Windows Recovery Environment (WinRe) where you can attempt to reset the operating system.
● To recover critical files from an entirely unresponsive unit before sending it for repair, you must use a separate functioning computer and a blank USB drive with at least 4GB of free space to create a Wondershare Recoverit bootable rescue drive.
Ask AI for a summary
 ChatGPT
 Perplexity
 Gemini
 Claude
 Grok
Grok
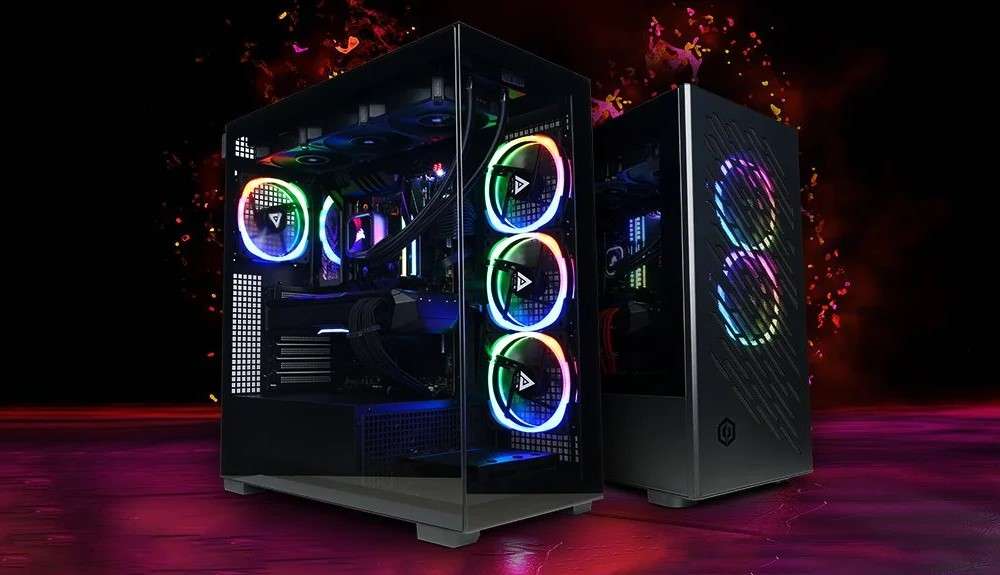
A nice CyberPowerPC machine can easily set you back a few thousand. However, have you ever found that your CyberPowerPC is not turning on?
Before you start to despair and figure out ways to recover from this new financial hole, check out some simple fixes for this problem. In most cases, easy solutions like double-checking the power supply, inspecting the cables, and testing individual components can work wonders. If that fails, you can also try performing a hard reset or resetting your OS.
| Motherboard Debug LED | Indication | Quick Fix |
| CPU (Red/Steady) | Processor not detected or failing. | Check CPU power cable (EPS); reseat CPU. |
| DRAM (Yellow/Orange) | Memory error. | Reseat RAM sticks; try one stick at a time. |
| VGA (White) | Graphics card issue. | Ensure GPU power cables are tight; reseat GPU. |
| BOOT (Green) | OS drive not found. | Check SSD/HDD connections; ensure BIOS boot order. |
Reasons Why Your CyberPowerPC Is Not Turning On
"Why won't my CyberPower PC turn on?" There could be a wide range of reasons why it's misbehaving, and the following are just some of the most common ones.
| Reason | Explanation |
| 🚨No power supply | Your device is unplugged, isn't properly connected to the power supply, or there's a power outage; |
| 🔌Damaged cables | Damaged cables are dangerous to use and could cause issues with your CyberPowerPC turning on and off; |
| 🧰Incompatible/malfunctioning components | Although rare, incompatible components could cause an array of different issues, including preventing your CyberPowerPC from turning on; |
| 💻Outdated OS | Outdated OS exposes you to vulnerabilities and can lead to various glitches, the least of which could prevent your PC from turning on; |
| 👾Malware | Malware can delete and corrupt your files, leak your sensitive information, and prevent your PC from functioning normally. |
Things You Can Try if Your CyberPowerPC Won't Turn On
Now that you know some of the most common causes, you could be calm when the computer dies and won't turn on, then check the solutions. In many instances, the solutions are simple and require no expertise or prior knowledge.
Tip 1: Check the Power
While it may sound ridiculous to some to even check this, one of the main reasons why a brand new CyberPowerPC won't turn on is because of the lack of power supply. So, it's in your best interest to double-check everything before going into panic mode.
There are several things you'll want to check:
- Test the power outlet you're using by connecting a different device to it;
- If you're using a surge protector, make sure it's switched on and properly connected to your PC and the outlet;
- Check your PC's power supply On/Off button.
Another thing you should keep in mind is that some computers have built-in protections against surges and outages that can prevent you from turning them on immediately after an outage. In this instance, wait for the cooldown period to end (up to 24 hours) after a power outage, then check if your computer will turn on.
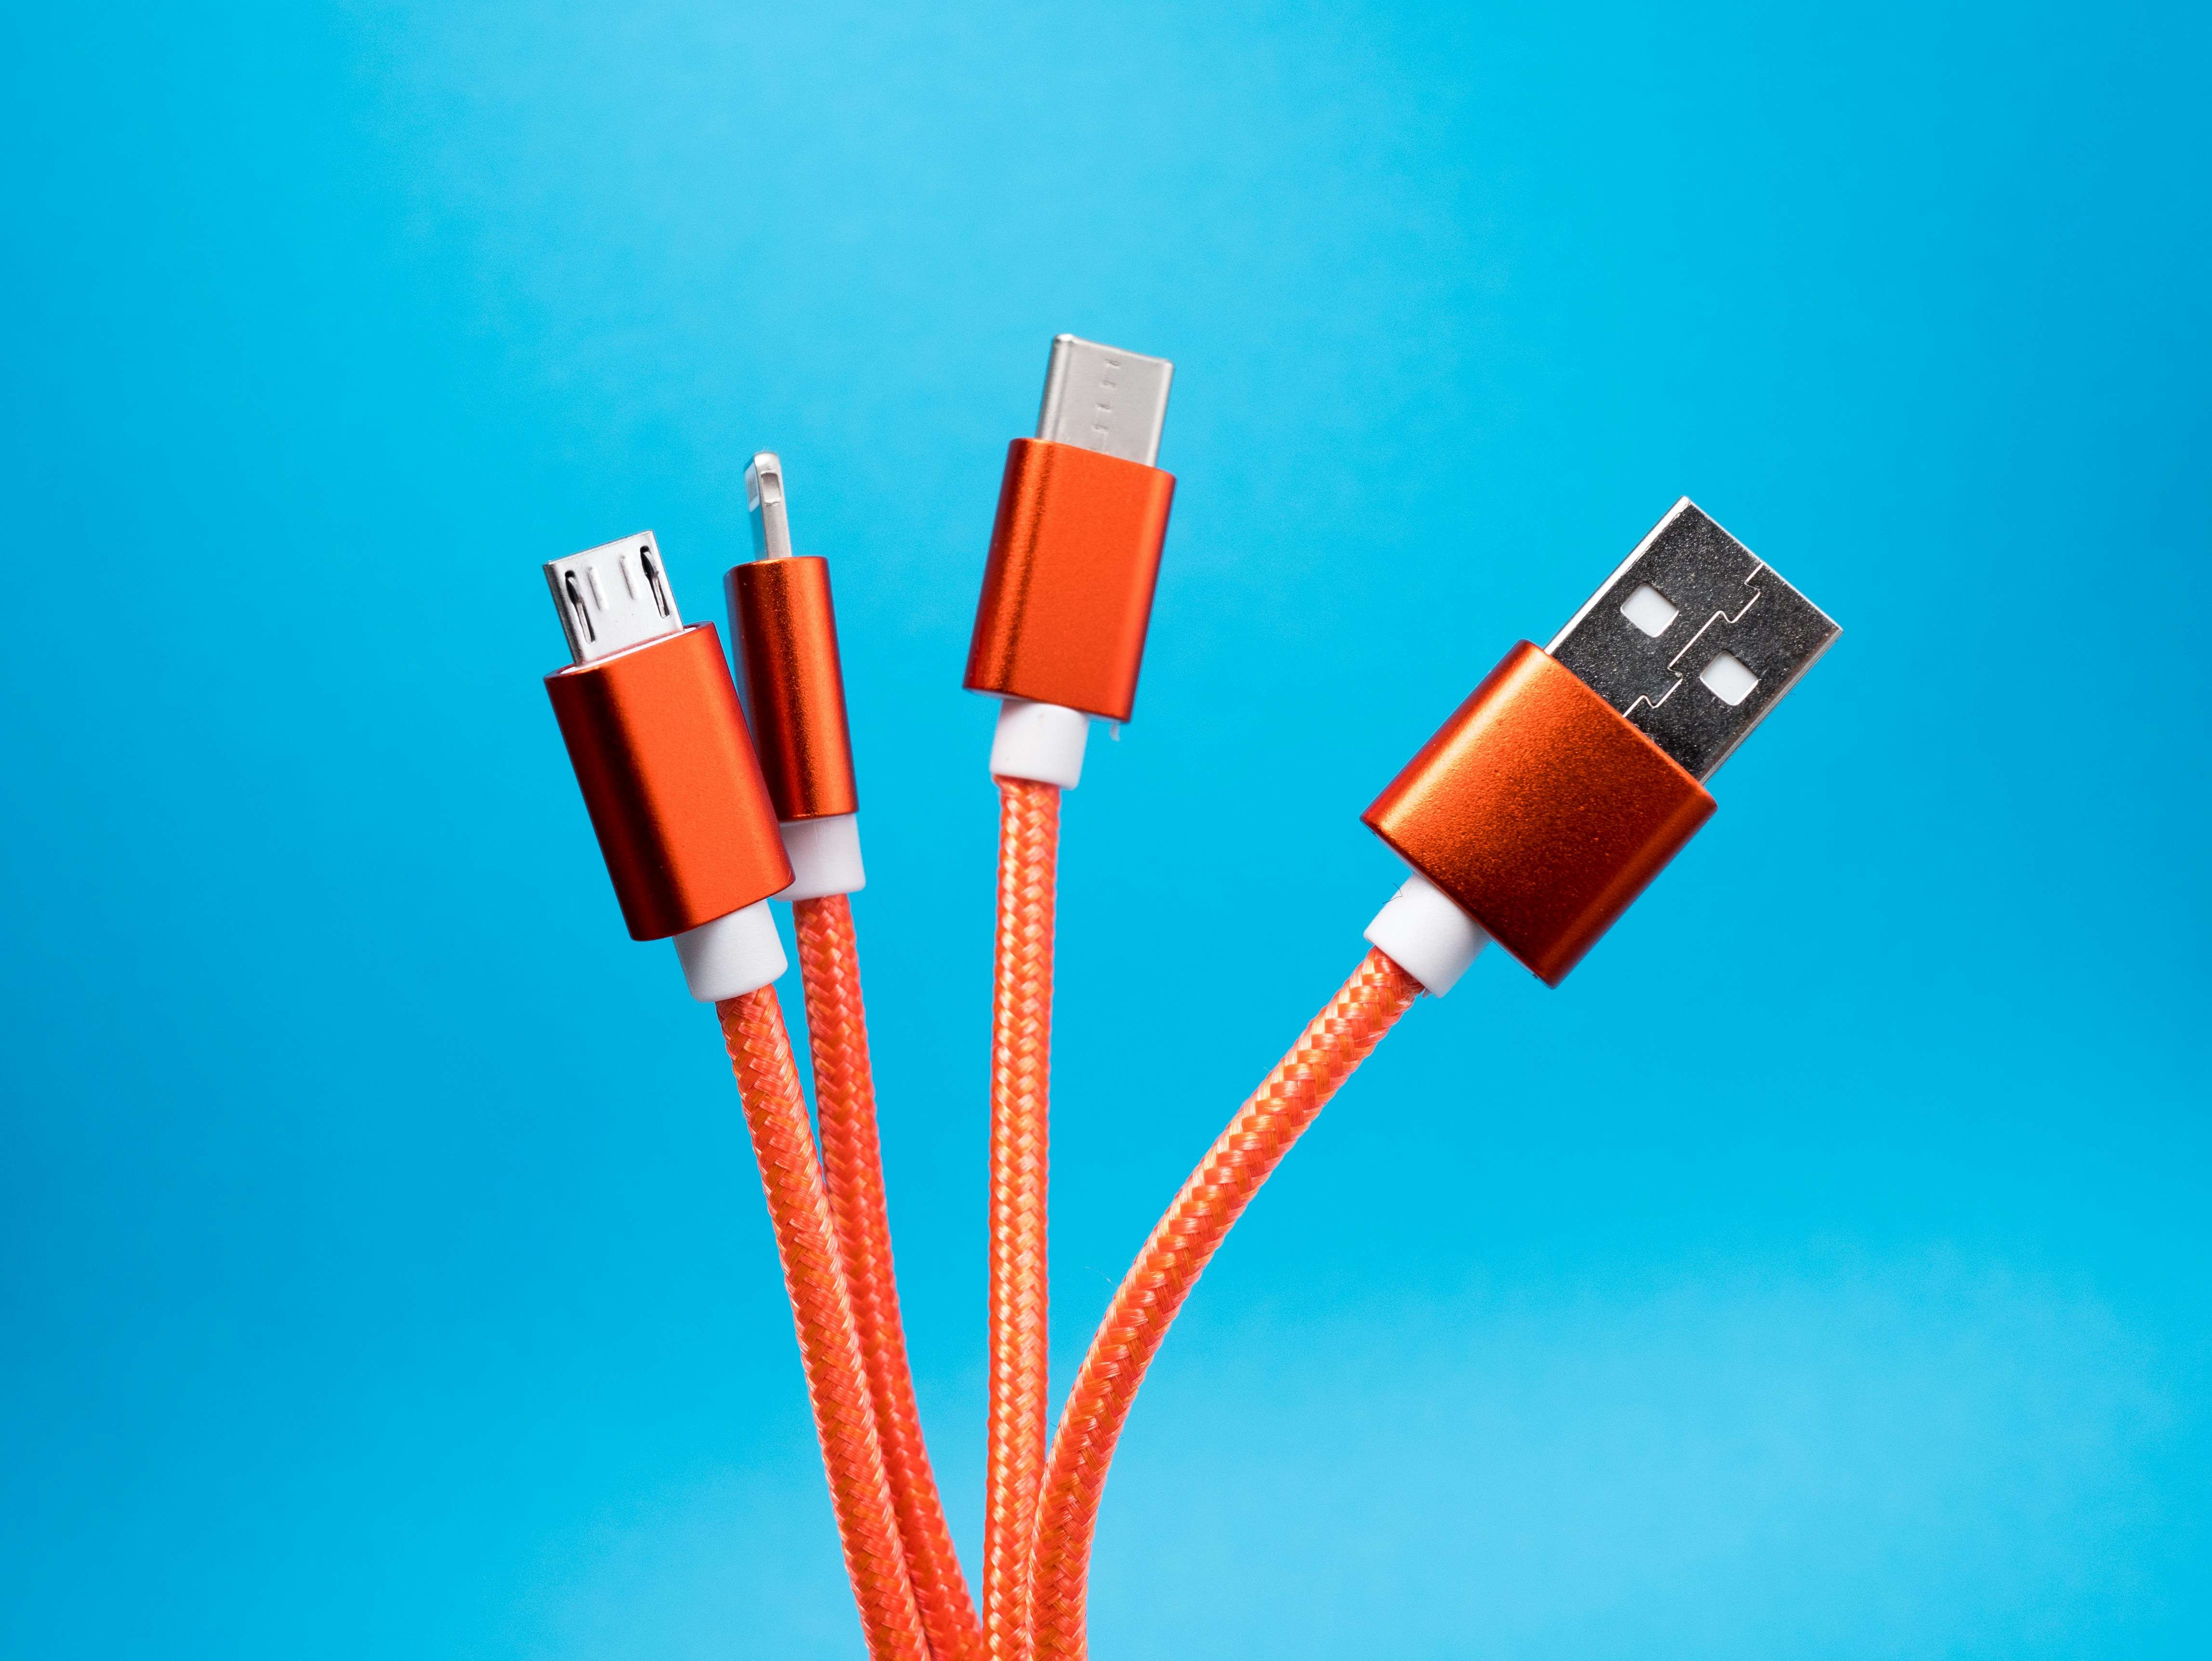
Tip 2: Inspect All Cables and Wires
If everything seems fine with your power supply, you'll want to check the cables – even if they look brand new, they could be damaged.
Some of the things you'll want to do are:
- Check the length of each cable connected to your PC for damages;
- Disconnect and unplug all the cables for external peripherals, leaving only the power supply;
- If it turns on, plug back in one cable at a time to find the culprit;
- If nothing happens, try using a different power supply cable;
- As long as it doesn't void your warranty, you can open your unit, double-check all the internal wires and cables for damages, and ensure each is connected properly.
Moreover, you should check every connector and ensure all the pins look good. It's also a good idea to check the ports and outlets and clear them of any debris that might be causing connection issues.
Tip 3: Test Your Components
Though this might be a bit more advanced and could void your warranty, it could be a good idea to check each component of your PC and see if any of them are causing issues.
To do this, you'll want to:
- Open your unit;
- Remove the GPU and then the storage driver; <

- Unplug everything;
- Leave only the RAM stick inserted into the first slot on the motherboard; <

- Power on the motherboard;
- If it turns on, connect one component at a time to find the misbehaving one.
Tip 4: Do a Hard Reset
If you've tested everything, double-checked the power supply, and even fiddled with individual components, and your CyberPower still won't turn on, your best course of action could be to perform a hard reset.
In a nutshell, a hard reset returns your hardware and all settings to their factory defaults. It can be an excellent solution if you've accidentally changed some configurations that are now causing issues.
To do a hard reset, you'll need to follow the next few steps:
- Turn off your CyberPowerPC (if it isn't already off);
- Disconnect the power cord and the AC adapter;
- If you have a laptop, remove its battery; <

- Disconnect all peripherals and external devices;
- Press and hold the power button for about 15 seconds;
- Reconnect the power cord, AC adapter, and battery.
Try to turn on your PC after completing these steps. If this doesn't work, there's one thing left for you to try.
Tip 5: Reset Your OS
If your computer turns on but doesn't properly boot up, you might be able to reset your Windows operating system. If you have Windows 10, it will boot you into the Windows Recovery Environment (known as WinRe) after your third attempt to boot up has failed.
From there, you can try resetting your OS:
- In WinRe, select Troubleshoot > Reset this PC;

- Select Keep my files;
- Choose your user account (and if needed, type in your passcode);
- Select Reset.
Wait for Windows to reset. Hopefully, this should remove the glitch that's preventing your CyberPowerPC from booting up properly. If not, your best course of action would be to send your computer in for repair, but not before you've recovered all your essential data from it.
How to Recover Data From a Crashed CyberPowerPC
If your computer has died and won't turn on, you might be thinking that any data you had on it is long gone. However, that's not always the case. With the help of tools like Wondershare Reoverit, you might be able to retrieve all your data, even from a crashed computer.
It's an advanced data recovery solution that can help you retrieve all your lost photos, videos, documents, files, and more. Compatible with all operating systems and over a thousand different file formats, it works in virtually all data loss scenarios.
Whether you had a malware infestation, disk corruption issues, or your computer has simply crashed, the chances are that Wondershare Recoverit can get your data back.
You just need to follow a few simple steps to retrieve your data from a crashed computer:
- Download and install the app on a working computer;
- Select System Crashed Computer;

- Connect a blank USB with at least 4GB of free space to create bootable media;
- Select Create;
- Click Format and let Wondershare Recoverit create bootable media;
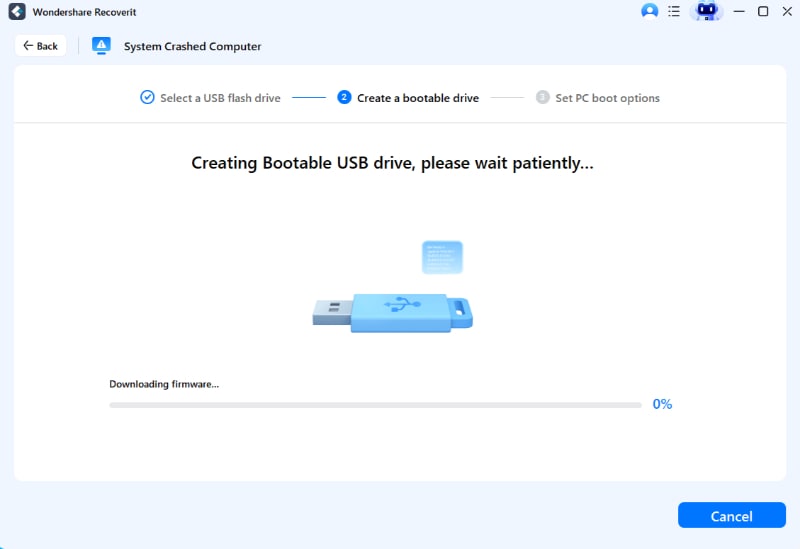
- Connect your bootable media USB to your crashed CyberPowerPC;
- Start your CyberPowerPC, and in BIOS, select Boot from USB drive;
- When your crashed computer boots up, select Data Recovery;

- Choose the disk you want to scan;
- Connect a functioning hard drive to your crashed computer and choose it as the location to save your recovered files.
When the process is complete, you'll get a notification saying, "Congratulations! Files recovery completed!". While this won't have fixed your computer, it will have retrieved any data you had on it.
Conclusion
In most instances, the causes of CyberPowerPC not turning on are simple things like improper power supply, damaged cables, and the like. If that's the case, there are many simple solutions that could help you out. However, if your computer crashes and needs to be sent in for repairs (or completely replaced), you can at least rely on Wondershare Recoverit to get your essential files back.
FAQ
-
My brand new CyberPowerPC won't turn on. What can I do?
If your brand-new PC won't turn on, you'll first need to check whether you have a proper power supply and whether none of the cables and wires are damaged.
You can also test individual components by disconnecting everything from your computer and slowly connecting one component at a time to find the culprit. Additionally, you can perform a hard reset or try resetting your OS if your computer is powering on but not completely booting. -
How do you do a hard reset on CyberPowerPC?
You can perform a hard reset by turning it off and disconnecting the AC adapter and the power supply. If you have a laptop, you'll need to remove its battery. Then, disconnect all the peripherals and press and hold the power button for about 15 seconds.
Afterward, connect the power cord and the AC adapter (put the battery back into your laptop) and try to turn your computer on once again. -
Why won't my computer turn on when everything is plugged in?
There could be several different reasons why your CyberPowerPC won't turn on. You could have issues with your power supply, or some of the cables and wires might be damaged. You may also have malfunctioning or incompatible components, outdated OS, or even malware.


