


Maintaining the health of your computer system is important. A Recovery USB serves as an invaluable tool for restoring, troubleshooting, and repairing your computer, providing users with peace of mind against software failures and malware infections. This comprehensive guide will walk you through all the important things to know about Windows 11 and Windows 10 recovery USB, methods for recovering your system from the drive, and crucial practices to follow post-restoration.
In this article
What is a Recovery USB?
Recovery USB is a portable storage device that contains essential files and tools designed to restore, troubleshoot, or repair a computer system. Typically created from an operational system, it allows users to boot their system in case of software failures, malware infections, or hardware issues. Key features of a recovery USB include the ability to access recovery options, perform system restores, and reinstall the operating system. Additionally, it often includes utilities for disk management and memory diagnostics, making it a vital resource for maintaining system health and functionality.
A Windows recovery USB can be especially helpful for users who want to troubleshoot issues without relying on external support. Moreover, having a Windows restore USB on hand can significantly reduce downtime, enabling users to quickly restore their systems to working order and minimize disruptions to their workflow.
How to Create a USB Recovery Drive on Windows 10
Creating a USB recovery drive is an essential step for Windows 10 users who want to safeguard their system against potential issues, such as software malfunctions or operating system failures, and ensure Windows 10 USB restore.
This drive acts as a lifeline, enabling you to restore your computer to a functional state without the need for installation media. The process is straightforward and requires only a USB flash drive with at least 16 GB of space, along with a few steps to get started.
Step 1: Insert the USB flash drive into an available USB port on your computer. Make sure it has enough space (at least 16 GB) and that you have backed up any important data on it, as it will be formatted.
Step 2: Click on the Start menu, type “Recovery Drive,” and select “Create a recovery drive” from the search results.

Step 3: If prompted by User Account Control, click “Yes” to allow the tool to run.
Step 4: In the Recovery Drive window, check the box that says “Back up system files to the recovery drive”. If you want to include system files, then click “Next.”

Step 5: Choose the USB drive you inserted from the list of available drives. Make sure it's the correct one, as all data on it will be deleted. Click “Next.”
Step 6: A warning will appear, informing you that all data on the USB drive will be deleted. Click “Create” to start the recovery drive creation process.

Step 7: A warning will inform you that all data on the selected USB drive will be deleted. Click “Create” to start the process, and once finished, click “Finish” to safely eject the USB drive.
How to Create a USB Recovery Drive on Windows 11
For Windows 11 users, creating a Windows recovery USB drive provides peace of mind and an efficient way to restore the system if problems arise. This recovery drive will allow you to troubleshoot and fix issues without needing to rely on external installation media or internet access.
The procedure is designed to be user-friendly and can be completed in just a few steps. Setting up this recovery option is a proactive way to safeguard your system, giving you the tools needed to restore it to proper functioning whenever necessary.
Step 1: Plug in the USB flash drive to your computer. Ensure it has at least 16 GB of available space and back up any important data, as it will be formatted during this process.
Step 2: Click on the Start menu and select “Settings” (the gear icon), or press “Windows + I” on your keyboard.

Step 3: In the Settings window, click on “System” from the left-hand sidebar, then scroll down and select “Recovery.”

Step 4: Under the “Recovery options” section, find and click on “Create a recovery drive.” Click “Yes” if prompted by the User Account Control dialog box to allow the program to run.
Step 5: In the Recovery Drive wizard, you can select the option to “Back up system files to the recovery drive” if desired. Click “Next” to proceed.

Step 6: Choose your connected USB drive from the list of available drives. Make sure it is the correct one, as it will erase all data on the drive. Click “Next” .

How to Recover Windows 10/11 from a USB Recovery Drive
Recoverit stands out as an exceptional tool for data recovery from Windows restore USB drives, boasting an array of features that ensure a seamless and efficient recovery process. Recoverit's intuitive interface simplifies navigation, making it accessible to users of all levels. Moreover, it is compatible with diverse file systems. With Recoverit, users can rest assured that their precious data is in safe and capable hands.
Step 1: Install Wondershare Recoverit on your computer. Connect your USB recovery drive to an accessible port.
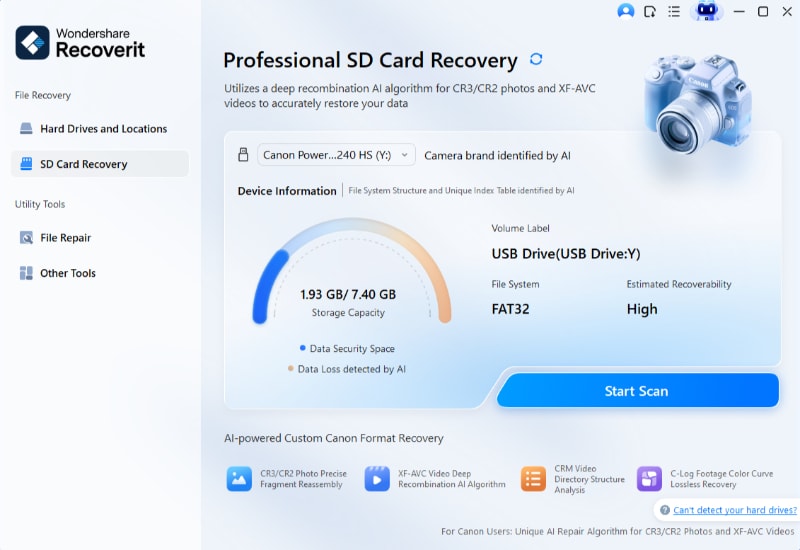
Step 2: Launch Recoverit and navigate to the "SD Card" section. Select your USB recovery drive. Click "Start" to initiate the scanning process.
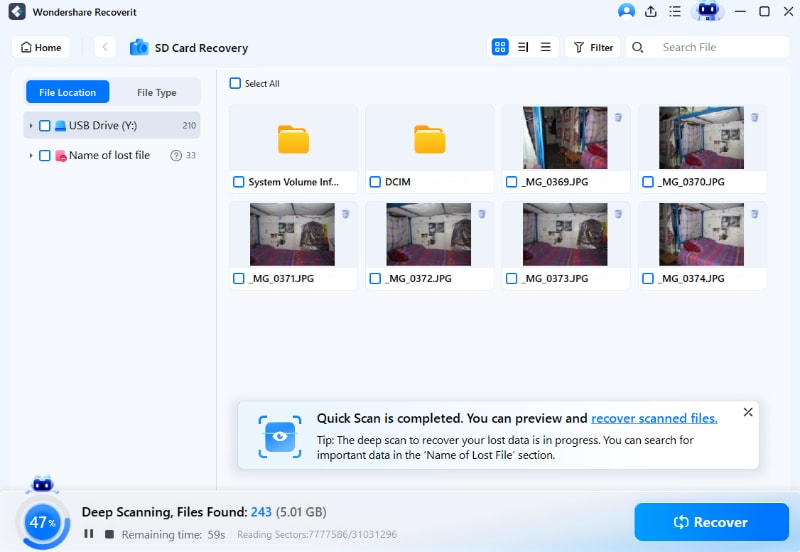
Step 3: Once the scan is complete, preview the recovered files by double-clicking on them. Verify the integrity of the files and select those you wish to restore. Click "Recover" to save the recovered files to a desired location.

What to Do Next When the Restoration is Done
There are a few things you should ensure once the restoration is done. Doing these things will make certain that you do not face any problems in the future. Listed here are a few things you must consider doing after the restoration process is done:
1. Check for Updates
Once your system is restored, check for Windows updates immediately to ensure that your system is running the latest version. Keeping your OS updated helps enhance security and potentially fixes any bugs that may have caused issues previously.
2. Restore Your Files
If you opted to remove files during the reset, now would be the time to restore your personal data from backups. Ensure that your important applications are reinstalled and configured as preferred to maintain your workflow.
Tips: Always Remember to Ensure Data Backup
Data backup is crucial for safeguarding your important files and personal information. Regularly saving your documents, photos and other significant data can prevent loss during unexpected events or system restorations. Even minor issues can lead to data loss, so maintaining an up-to-date backup ensures peace of mind and a smooth recovery process. Always prioritize protecting your data to avoid the stress of losing it.
Conclusion
A USB recovery drive is an invaluable tool for restoring and maintaining your Windows operating system. By proactively creating and utilizing this drive, users can efficiently troubleshoot issues, safeguard data, and ensure a swift recovery, minimizing downtime and enhancing overall system reliability.
FAQ
-
What is a Windows 10 Recovery USB?
A Windows 10 Recovery USB is a portable drive that contains tools to help troubleshoot and repair Windows operating system issues. It can be used to restore your system to a previous state or reinstall Windows when necessary. -
How can I Boot into Windows Recovery?
To boot into Windows recovery, you can restart your computer and press a specific key (like F8, F11, or Esc) during the startup process, depending on your device manufacturer. Alternatively, you can access recovery options through the Settings app under "Update & Security" and then "Recovery." -
Can I Download a Windows 10 Recovery Disk?
Yes, you can download a Windows 10 recovery disk by visiting the Microsoft website and using the Media Creation Tool to create a bootable USB drive. Ensure you have a blank USB drive with at least 8GB of space available for this process.


