


 TL;DR:
Booting a Raspberry Pi from a USB drive upgrades read/write speeds to over 100 Mbps compared to the 50 Mbps limit of microSD cards, but requires a compatible board and an initial SD card to configure the OS.
● USB booting is strictly limited to Raspberry Pi 2 Model B version 1.2, Pi 3, and Pi 4, whereas older models like Pi 1, Zero, and Zero W only support default microSD boot.
● Models 2B v1.2, 3B, 3B+, and 3A+ require a manual boot priority change by executing the "program_usb_boot_mode=1" command via an SD card, a step bypassed natively in newer versions.
● Using a USB SSD is highly recommended over a standard USB flash drive, as basic flash drives can ultimately perform slower than the default microSD configuration.
Ask AI for a summary
 ChatGPT
 Perplexity
 Gemini
 Claude
 Grok
Grok
A Raspberry Pi (RPi) is a powerful minicomputer that can help you accomplish various challenging tasks easily. While most commonly used for learning how to use programming languages like Python or Scratch, it can do virtually everything that a regular desktop computer can. You can easily use it to replace your old PC.
However, you’ll first need to learn how to make RPi boot from USB.
Considering how time-consuming the default microSD boot can be, it’s in your best interest to instead perform a Raspberry Pi boot from USB.
Check out this comprehensive guide on how to boot Raspberry Pi from USB with the utmost ease.
In this article
Why Boot Raspberry Pi From USB?
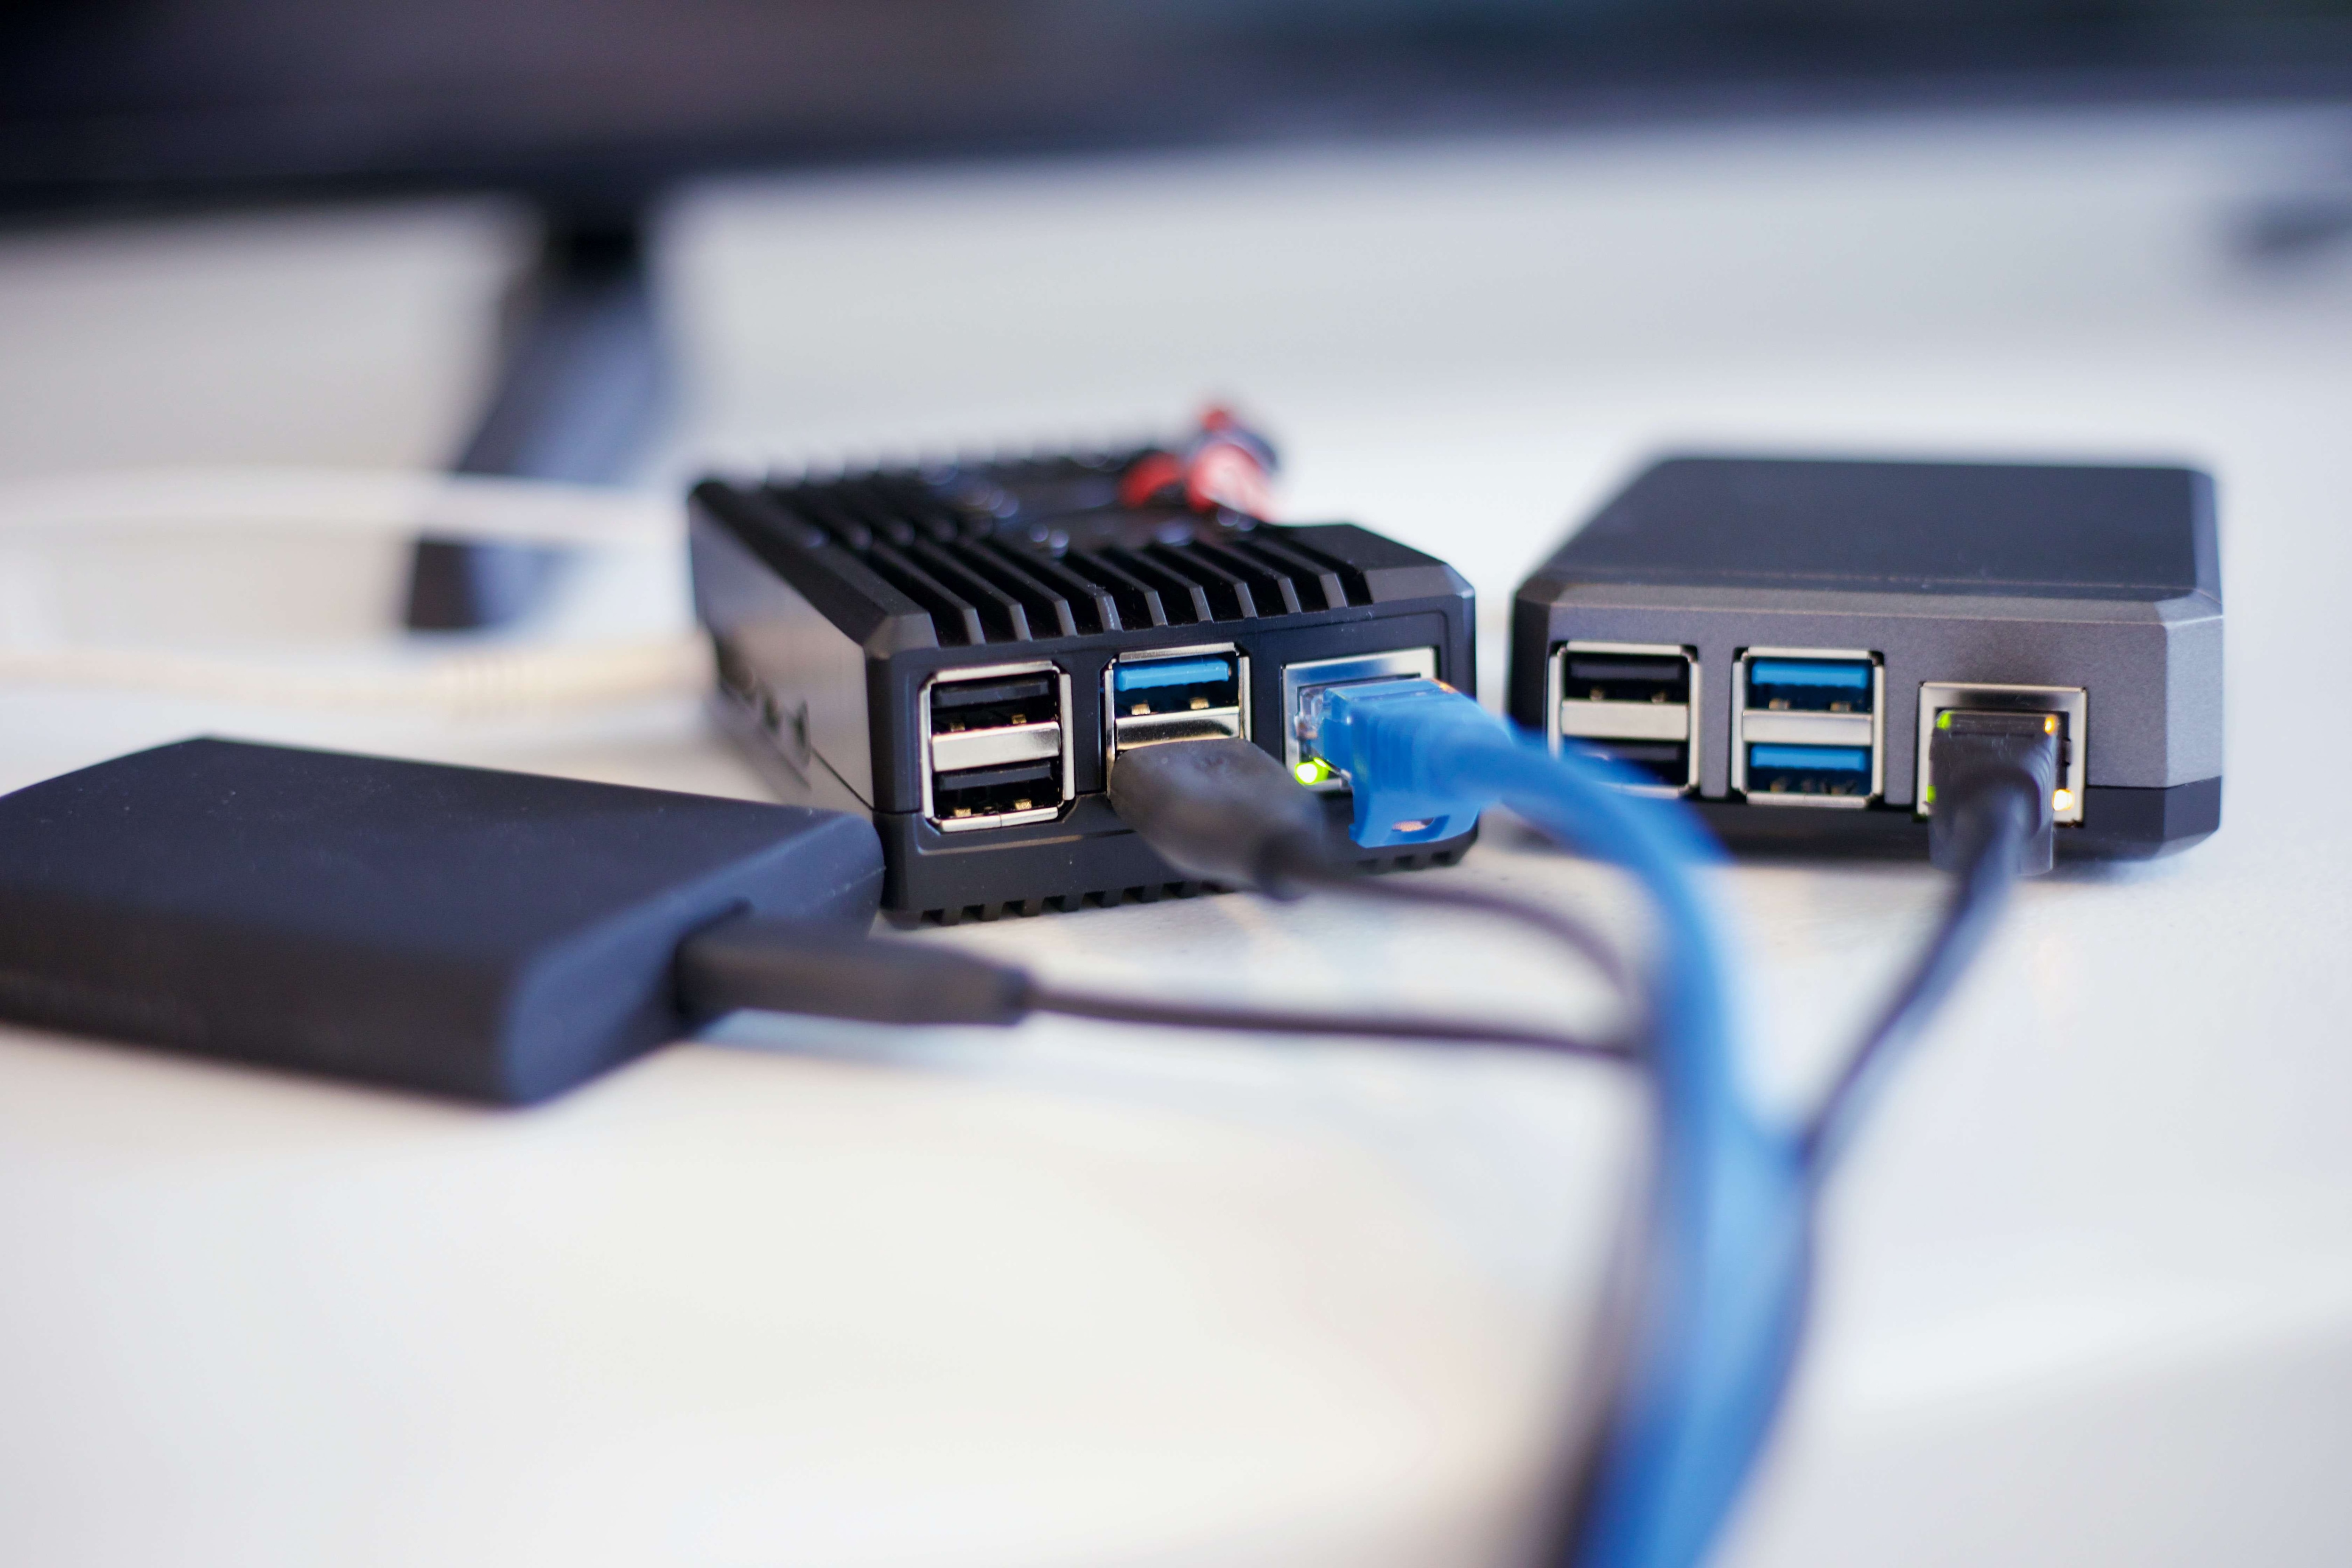
All versions of Raspberry come with a built-in microSD memory card used for booting by default. Only the newer versions of the device, including Raspberry Pi 3 and 4, have introduced USB support that enables you to boot them using external memory – such as USB flash drives or HDDs. This makes it possible to make Raspberry Pi 3 or 4 boot from USB.
Moreover, USB is generally considered a much better option because of its speed boost.
Raspberry Pi’s built-in microSD cards can technically reach read/write speeds of up to 50 Mbps, but in practice, they rarely go over 40 Mbps. By contrast, USBs, depending on your particular device, can easily reach well over 100 Mbps – and often double that.
Here is a comprehensive comparison table for booting RPi from two options:
| RPi boot from microSD card | RPi boot from USB |
| Bandwidth up to 50 Mbps | Bandwidth over 100 Mbps |
| Built-in with your Raspberry Pi | You need to invest in an external USB |
| Works with all OS | Some rare OS won’t support it |
| Lifespan of approximately 10 years | Lifespan of over 10 years |
| Always set as the boot priority | Requires a boot priority change |
Things Needed to Boot Raspberry Pi From USB
To let Raspberry Pi 3 and 4 boot from USB is a simple, streamlined process that shouldn’t take you much time. You do, however, need a few extra things to get started.
First and foremost, ensure you have a Raspberry Pi Imager. After all, without it, you wouldn’t be able to install Raspberry Pi (or other) OS on your USB.
In addition to the Imager, you’ll also need a reliable USB drive, an SD card, an SD card reader, and, of course, your Raspberry Pi.
Raspberry Pi Imager
The right imaging software is essential for your RPi USB boot to work. In a nutshell, an imager takes a snapshot of the drive, creating a sector-by-sector copy and replicating essential data such as boot and OS information.
Although you could use various imaging software, it’s in your best interest to use the Raspberry Pi Imager. After all, it was created specifically for Raspberry microcomputers, making it the ideal choice.
You can download it to your computer directly from Raspberry’s website, install it, and prepare for the USB boot.
USB Drive

With your Raspberry Pi Imager ready, it’s time to select the USB drive you’ll use to boot your device. You can use any USB drive you prefer – an SSD or even a USB flash drive. However, it’s in your best interest to go for the former.
An SSD provides excellent speed and performance, making your Raspberry Pi boot with a USB much easier and more convenient. A USB flash drive, on the other hand, could make the process unnecessarily complicated without offering any of the benefits of an SSD. You might even find a USB flash drive to be even slower than the default microSD Raspberry Pi boot.
SD Card
While it might sound off that a Raspberry Pi boot from a USB requires an SD card – since the whole purpose of a USB boot is to avoid using the built-in microSD in the first place – you still need one. If you want to install Raspbian, the native Raspberry Pi operating system, you can only do so with an SD card.
So, you’ll need to put Raspbian on your microSD card first and then enable the USB boot mode later on.
SD Card Reader
Of course, to put Raspbian on your microSD card, you’ll also need an SD card reader on your computer. Depending on your device, you might already have a built-in SD card reader – it’s a small slot opening with “SD” marked on the side. In case your computer doesn’t have one, or in case it doesn’t have one of the right size, you can get yourself an SD card connector or adapter.
SD card reader connectors and adapters come in all shapes and sizes, so simply choose one compatible with your computer and your SD card.
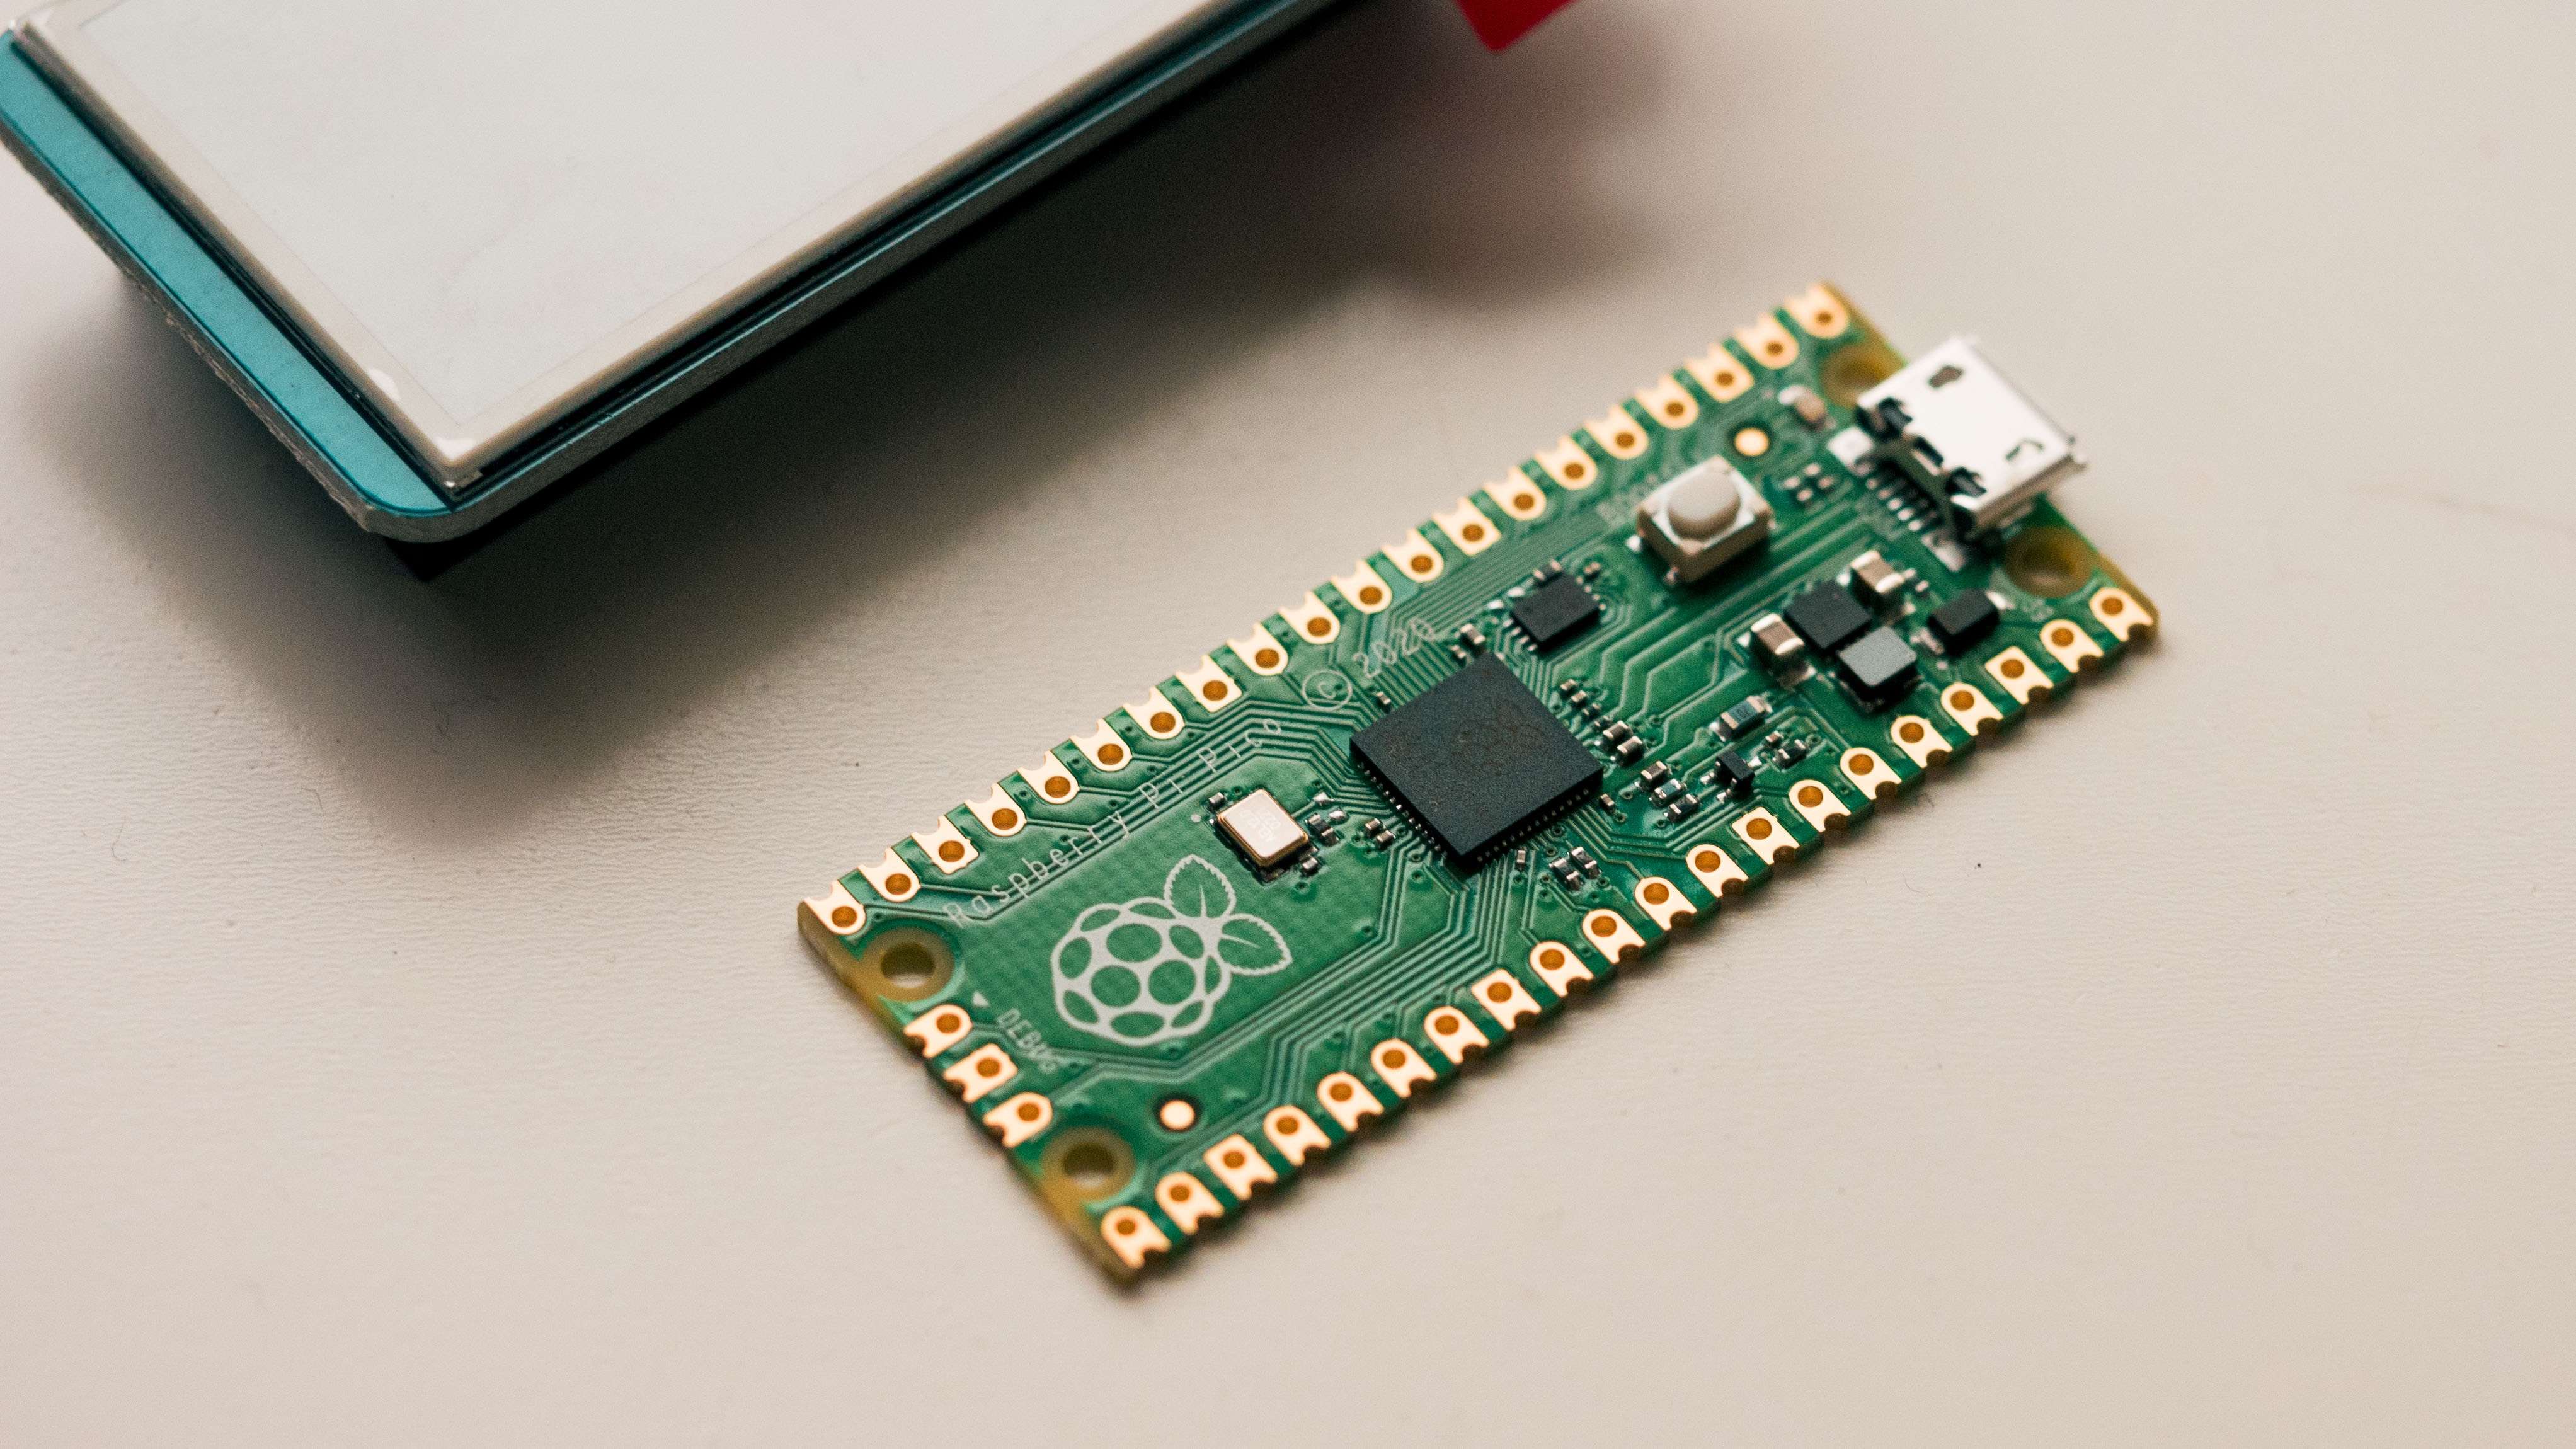
Raspberry Pi
Finally, you’ll need your Raspberry Pi. Remember that, depending on your Raspberry Pi, you might not be able to boot it from USB.
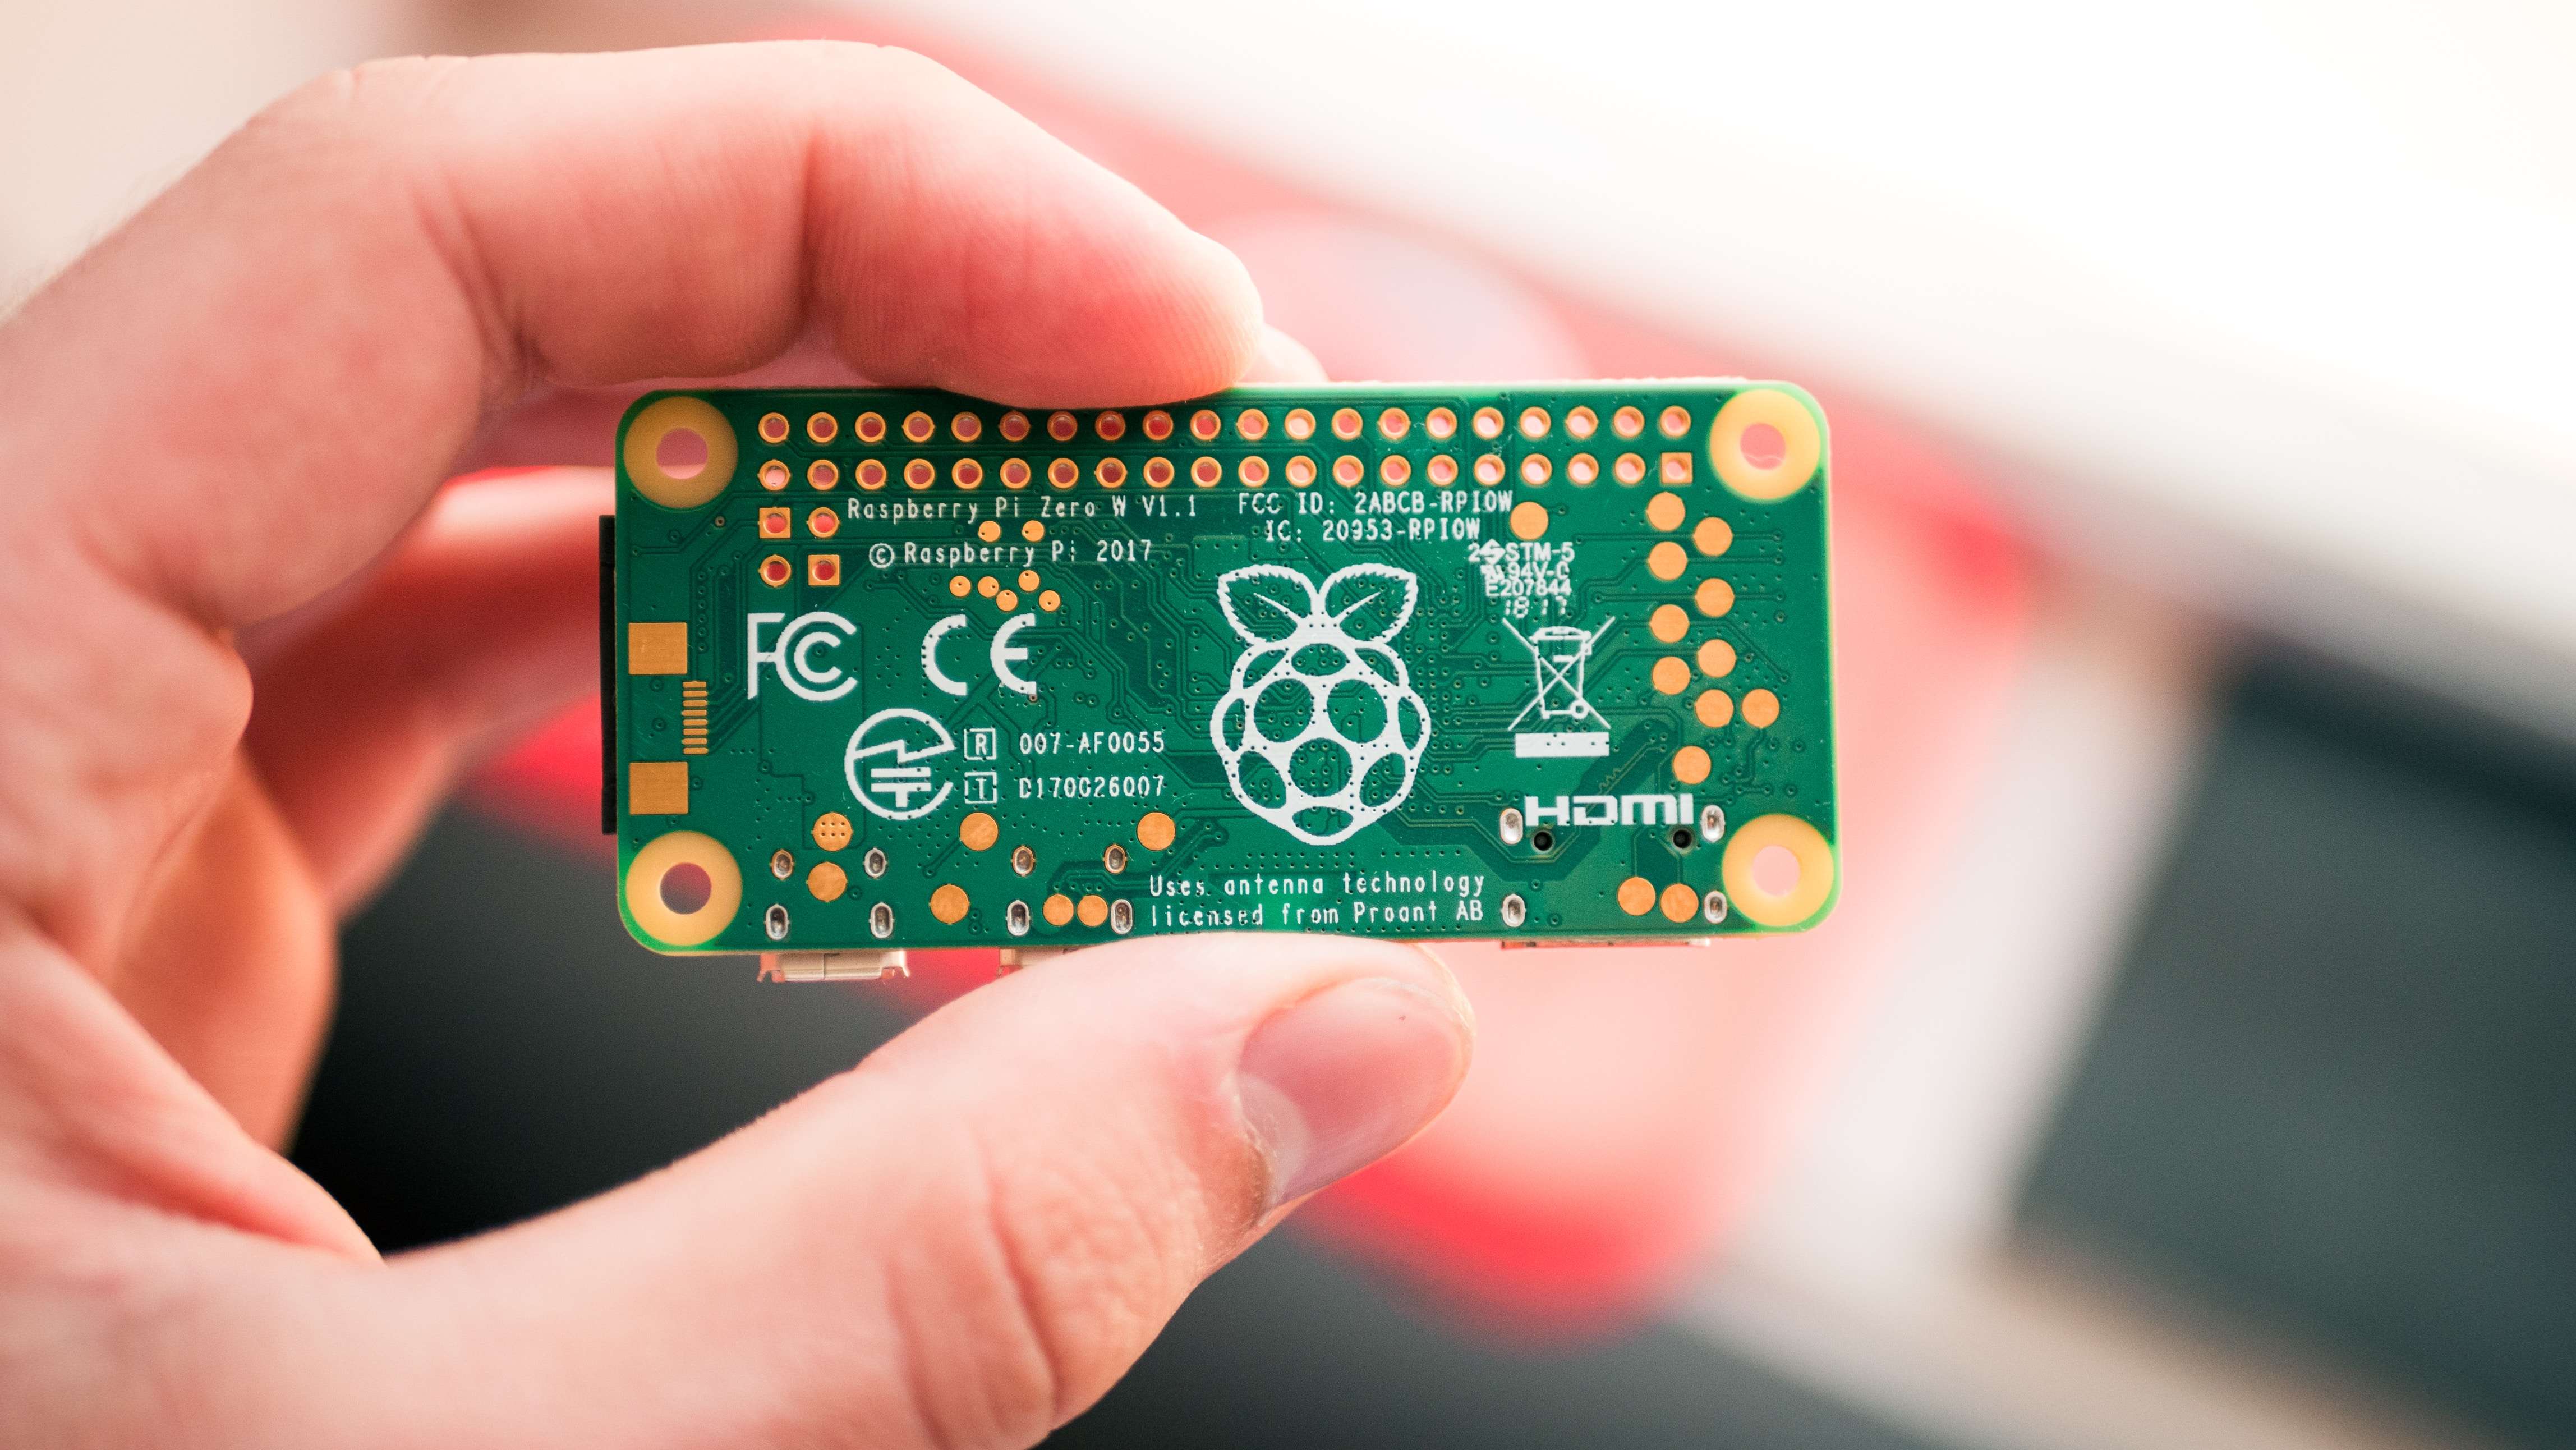
Older versions, including Raspberry Pi 1, Raspberry Pi Zero, and Raspberry Pi Zero W, among others, don’t support USB boot. They will always, by default, use the built-in microSD card with no other alternatives.
The USB boot was first introduced with Raspberry Pi 2 Model B version 1.2, so you can only use the USB boot if you have this or newer version, like Raspberry Pi 3 and Raspberry Pi 4.
Steps to Set Up Raspberry Pi for USB booting
Depending on your Raspberry Pi, you might first need to prepare your device for a USB boot. Newer versions of RPi will have everything in place, ready for you to use a USB boot. However, Raspberry Pi 2B v1.2, Raspberry Pi 3B, 3B+, and 3A+ will need to be set up first:
- Install Raspbian OS on your SD card;
- Enter the command sudo apt-get update in the /boot/config.txt file;
- Enter the command sudo apt-get upgrade;

- Enter the command program_usb_boot_mode=1;
- Enter the command sudo reboot.
How to Boot Raspberry Pi from USB
With your Raspberry Pi prepared, you can start booting it from your USB. Just make sure to follow this guide step-by-step:
- Download and install the Raspberry Pi Imager;
- Insert the SD card into your computer;
- Launch the Raspberry Pi Imager and click on Operating System;
- Left-click Misc utility images;

- Click on Bootloader > USB Boot;
- Go to Storage and select your microSD card;
- Select Write;

- When the process is complete, remove the SD card from your computer;
- 9: Insert the SD card into your Raspberry Pi and turn on the device;
- Wait for the update to complete;
- Turn off your Raspberry Pi and remove the SD card;

- Insert an SD card with Raspberry Pi OS into your Raspberry Pi;
- Boot from the SD card to your desktop;
- Connect your USB to your Raspberry Pi;
- Go to the Start menu > Accessories > SD card copier;
- Under Copy From Device, choose your microSD card, and under , choose your USB;
- Click Start.
If you want to protect and back up your SD card, you can use Wondershare Recoverit
Conclusion
Booting your Raspberry Pi using a USB is more convenient than the default microSD card. With USB devices being more reliable and durable, not to mention offering much better speed and performance, you can boot your RPi device with the utmost ease.
FAQ
-
Can all versions of Raspberry Pi be booted from USB?
No, not every Raspberry Pi version supports a USB boot. You will need Raspberry Pi 2 Model B version 1.2 or newer to boot your device using a USB. Older versions can only be booted from the microSD card. -
Why should I use a USB to boot my Raspberry Pi?
Booting your Raspberry Pi with a USB is a much faster process. MicroSD cards don’t have bandwidth higher than 50 Mbps, meaning that it would take a significant chunk of time to boot your RPi using them. On the other hand, your USB device can easily have a bandwidth of well over 100 Mbps, making it fast and easy to boot your RPi. -
Why do I still need a microSD card when using a USB to boot my Raspberry Pi?
A microSD card is needed to boot your Raspberry Pi from a USB because the Raspbian operating system can only be installed on an SD card. Once you’ve installed the OS on the microSD, you can continue using your USB to boot your RPi.


