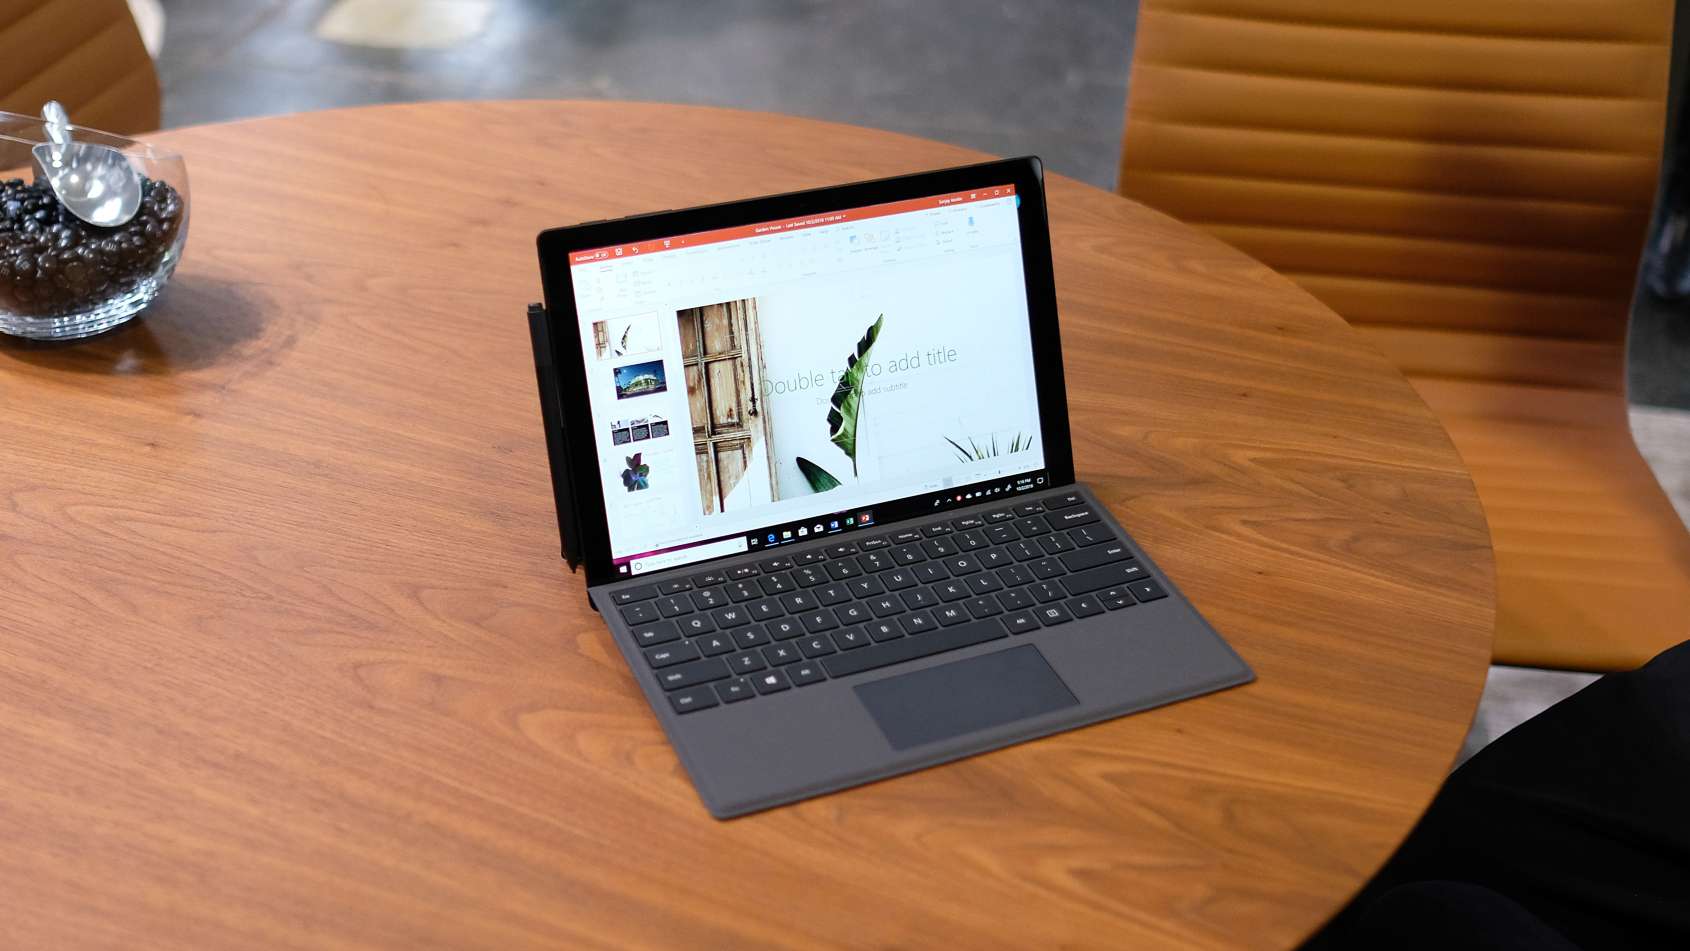
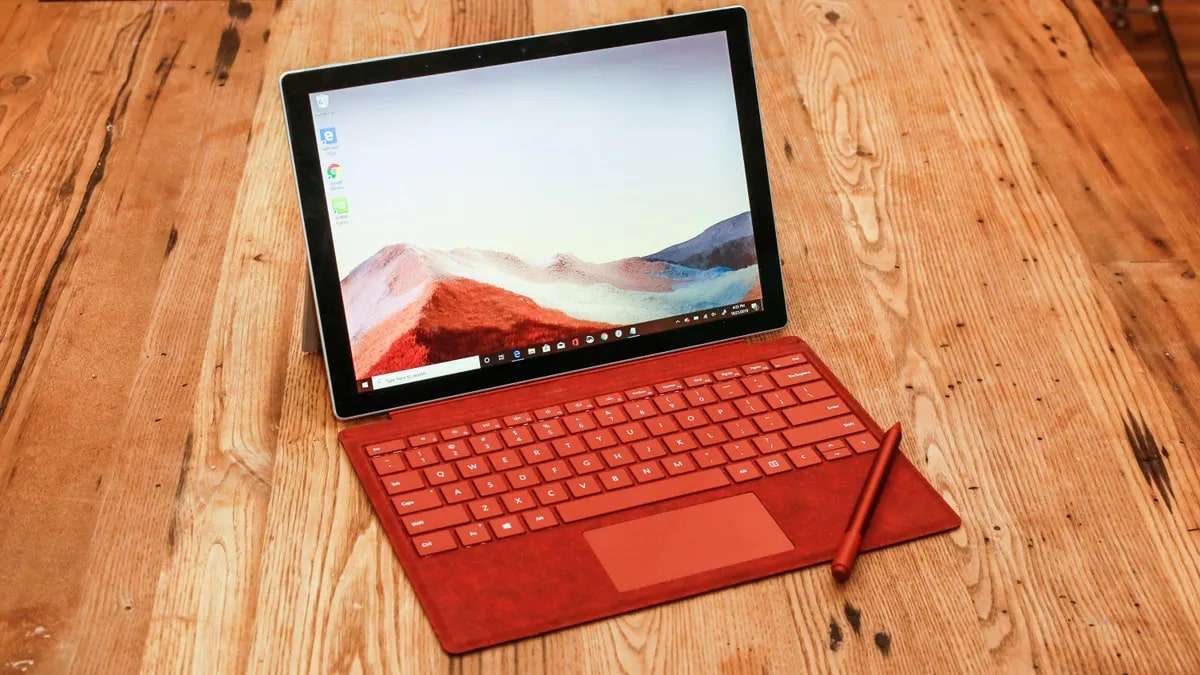
Do you need to perform a Surface boot from a USB drive? Sometimes, that’s the only solution to your Surface problem. Luckily, this solution is also an easy and effective one.
In this article, you’ll learn the common Surface scenarios that might require booting from a USB, the preparation work you’ll need to do to ensure the booting works, and how to boot your Surface from a USB drive. It’s been proved that these methods can successfully let Surface Go, Pro 2, Pro 3, Pro 4, Pro 6, Pro 7, and Pro 8 boot from USB drives.
Are you ready? Let’s start.
In this article
Why Boot Surface Laptop From a USB

What are some typical situations where you would need to know how to boot your Surface PC from a USB drive?
Knowing how to make your Surface book boot from a USB will come in handy when:
- You’re due for a Windows upgrade or brand-new installation (with Windows installation media).
- You need to use the recovery drive on your USB to perform a Surface PC recovery.
- You want to launch disk management, data recovery, or antivirus that must be booted first.
- You’re setting up a portable Windows PC and want to boot and run Windows To Go.
- You might want to install and run a Linux-based OS like Ubuntu, Redhat, or Fedora.
In our experience, you never know when you might need to boot from a USB. For many computer geeks, being a satisfied Surface user is reason enough to master features like these.
Preparations To Make Microsoft Surface Boot From a USB

Before jumping straight to booting your Surface from a USB, you must do some preparations. You might do more harm than good if you forget to connect your Surface to a charger or back up your data.
Here’s what you must do to prepare for a Surface laptop boot from a USB drive.
Connect Your Surface to a Charger
In these situations, having an uninterrupted power source is crucial. Why? Because on the off chance your battery runs down and the Surface shuts down, your efforts might go down the drain. Even in the best-case scenario, you’ll have to repeat all steps from the beginning and boot Surface from a USB drive again.
Back up Data

Whether or not you’ve booted computers before, it’s always better to be safe than sorry when it comes to data. Back up your data before you start booting your Surface with a USB.
What’s that? You’ve already booted your Surface without a data backup? Forgetting to protect your valuable information in situations like these will result in terrible data loss. Don’t feel bad. Believe it or not, it happens all the time. You can use Wondershare Recoverit to fix it.
Wondershare Recoverit is a leading data loss solution that can help you retrieve all types of files and systems after you’ve been too hasty to perform a data backup on your Surface. Recoverit covers 500+ data loss scenarios, so it will get your data back no matter how you’ve lost it.
Turn Off Secure Boot
You won’t be able to boot any Surface model from a USB until you disable Secure Boot. Secure Boot is a setting that blocks third-party boot loaders and enables only Windows 10. By selecting the Disable Secure Boot option, you’re enabling other operating systems to run on Surface.
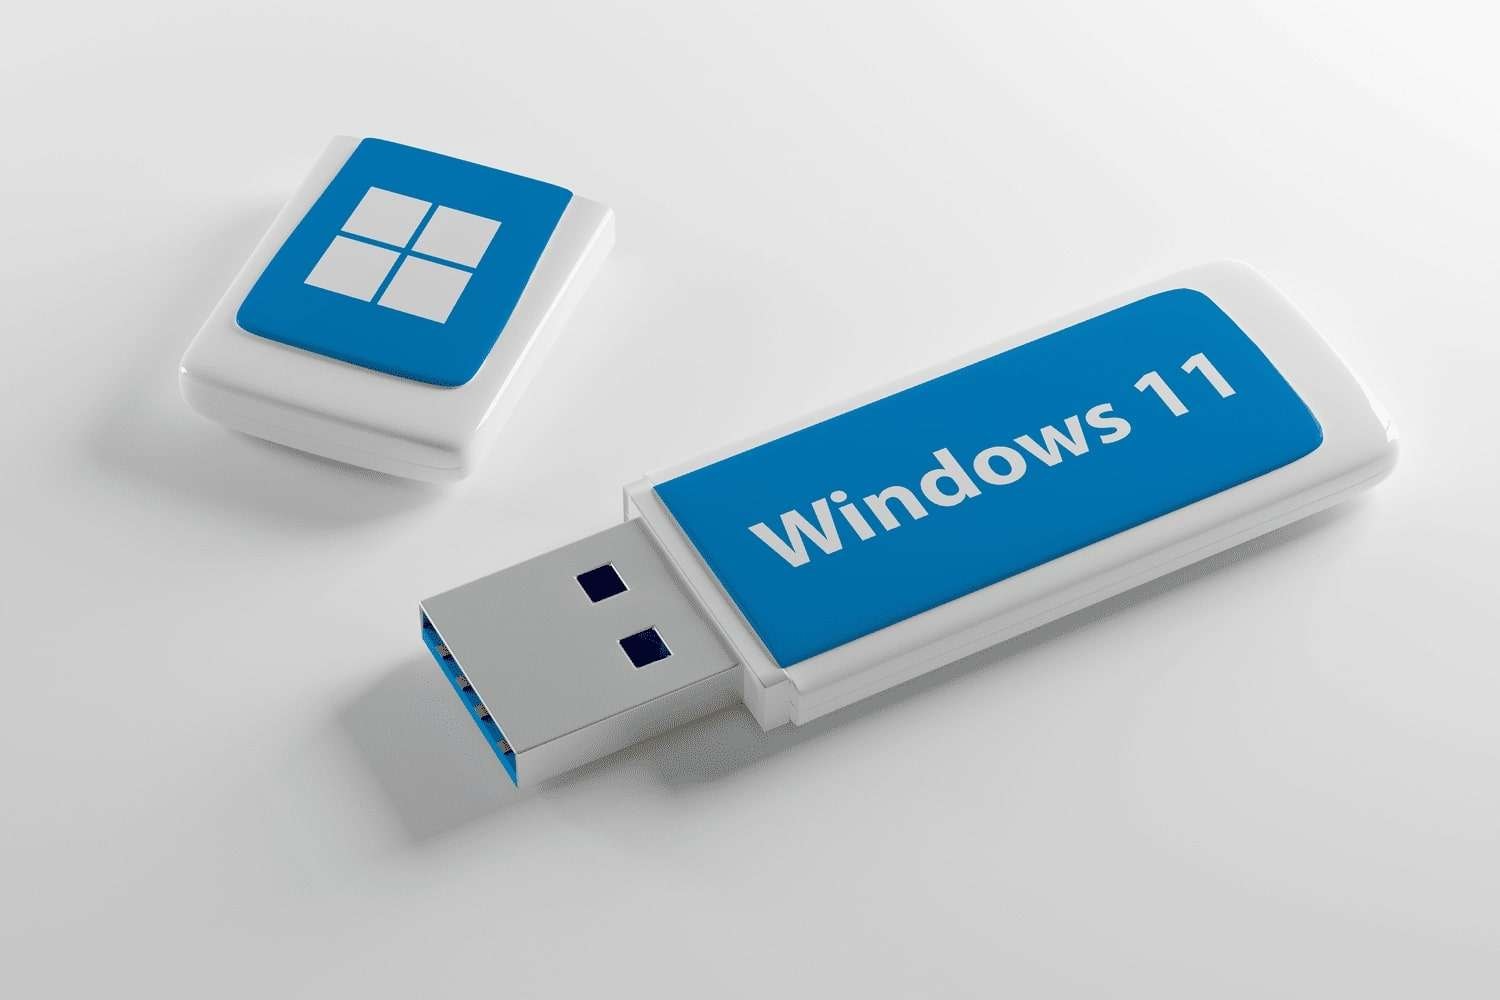
Get a Bootable USB Drive

You can’t make an omelet without eggs. You also can’t boot Surface from a USB drive without a bootable USB. That much is certain. So, you’ll have to make a bootable USB driver.
If you don’t know how to do it, don’t panic. There’s an easy way to get a bootable USB drive that is entirely suitable for beginners. You only need to download and run a Microsoft tool called Windows Media Creation—it works when you need to install or repair Windows.
If it doesn’t work, you can try a few alternative methods:
- Use a Windows 10 native tool called Create a recovery drive.
- Burn the OS image directly to the USB using a burning tool.
Remove Other USB Drives
Ensure all other USB ports on your Surface are empty. If you have a USB mouse, keyboard, or any other USB device plugged in, safely disconnect them before you start. Otherwise, the computer will get confused and try to boot from one of these USB devices.
How to Boot Surface From a USB When It’s Off
Is everything ready? Great job! Now, we can finally initiate the booting sequence on your Surface. Depending on whether or not you can turn the device on and which Windows version you use on your Surface, you can proceed to one of our three tutorials. Let’s start.
Here’s what to do when you need to boot Surface from a USB while it’s off:
- Do you have your bootable USB ready as instructed? If you don’t, go back to the preparations. If you do, now is the time to insert it into your Surface via a USB port.
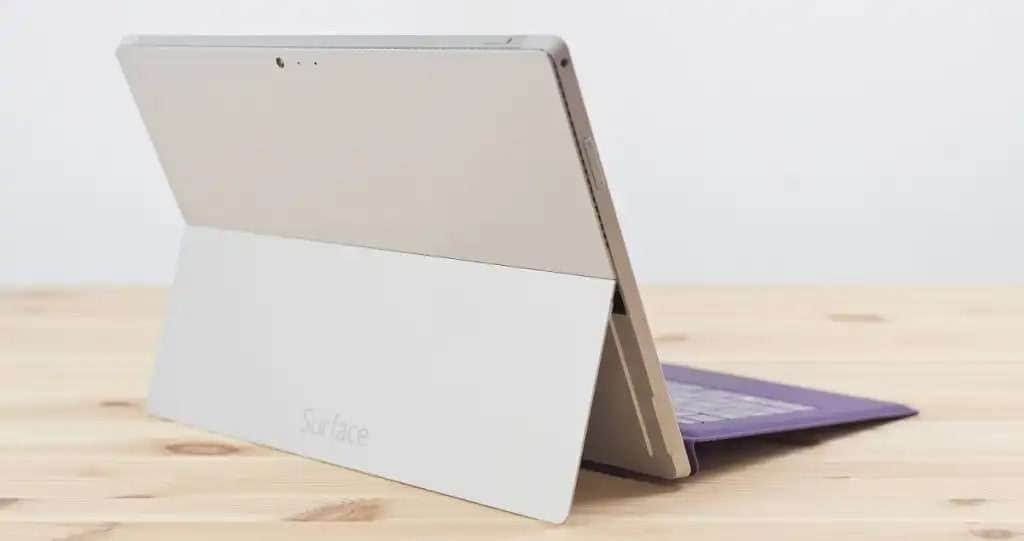
- Next, press the Volume Down button on your Surface and hold it.
- Then, do the same with the Power button while holding the Volume Down button.

- Release both buttons when the Surface logo appears on the screen.
That’s it! The Surface should boot from the USB in an instant.
How to Boot Surface From a USB When It’s On
Booting from a USB is easier when your Surface is on. If you can turn it on, do that and follow the steps below. The process is slightly different depending on whether you use Windows 10 or 11, so we’ve prepared step-by-step tutorials for both scenarios. Here it goes:
Windows 10
- Start by inserting your bootable USB into a free USB port. If you don’t have a bootable USB, return to the preparation steps to see how to make one.
- Go to Start and click the gear icon to open Windows Settings. From there, navigate to Update & Security.

- You’ll see a menu on the left side of your screen. Look for Recovery and click to open more options.

- Select Advanced startup > Restart now. That will initiate a restart sequence, and you’ll see a blue screen with a prompt to Choose an option.
- Select Use a device to access your bootable USB drive.

- When the option appears, select USB storage.

- Now, relax and wait for Surface to boot.
Windows 11
- Prepare your bootable USB and connect it to your Surface via a USB port.
- Go to Start and open the Settings app to access Windows Settings.
- In the menu on the left, find Windows Update and click to open more options. Select Advanced options.

- Under Advanced options, choose Recovery > Advanced startup > Restart now.

- After a restart sequence, you’ll see a blue screen with several options. Click Use a device.
- Select USB Storage from the list and click to boot your Surface from USB.
Conclusion
With preparation work and clear instructions, anyone can perform a quick Surface boot from a USB. Again, don’t forget to do something about your data, primarily if you have valuable files on your device. If you do, use Wondershare Recoverit.


 ChatGPT
 Perplexity
 Google AI Mode
 Grok
Grok


