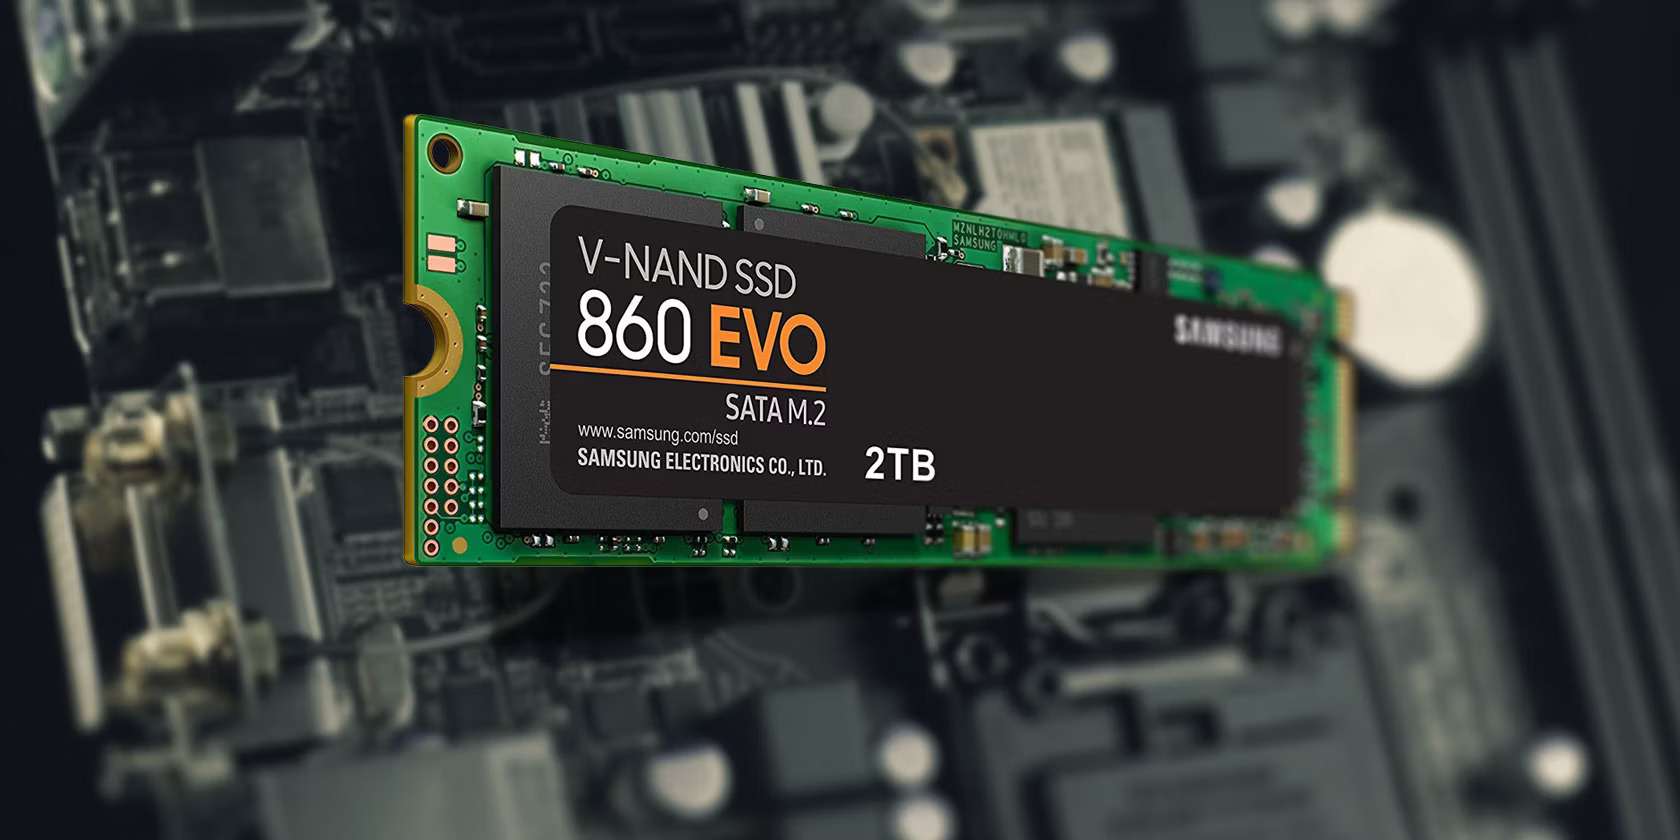
Although more expensive per gigabyte of storage than hard disk drives, newer flash storage-based SSDs have slowly replaced their mechanical predecessors as they’re much faster and take up less space.
However, it’s not uncommon for new SSDs to not appear in File Explorer when you first add them to your desktop or laptop. Even if this isn’t a big deal in most cases, you’ll still need to initialize an SSD in Windows 11 to fix it.
In this article
Why You Should Consider Initializing an SSD on Windows 11
Purchasing a new SSD means you’ll get a disk drive that’s neither initialized nor formatted. Therefore, once you connect the SSD to your PC, you’ll likely need to initialize the disk drive on Windows 11 before using it. Then, you can assign it a letter and format it before storing data.
Similarly, particular computer errors can cause an SSD drive to not appear in File Explorer. In Disk Management, it’ll likely appear as “Not Initialized,” and you might need to initialize the SSD to fix the issue.
However, if you already have vital data on the drive, troubleshooting the disk and using Wondershare Recoverit, which we’ll also cover below, is highly recommended before disk initialization. Otherwise, you’ll lose your crucial files as initialization wipes everything from the drive.
Partition Style and Disk Initialization Explained
Disk initialization is influenced by the partition style you want to use, which depends on your storage drive and your computer’s age. On the Windows operating system, users can choose between MBR, an older partition style that’s been around since the 1980s, and GPT, a much more recent alternative.
MBR stands for Master Boot Record and contains the essential disk partitioning info and the bootloader of your operating system. On the other hand, GPT stores partition organization data and boot information throughout the drive.
Most modern computers, especially those with Windows 11 as their primary operating system, should use the GPT partition style. That way, you’ll have no limitations of the older MBR partition style, such as partition size and number of partitions.
Nevertheless, we’ll now compare these two partition styles in detail.
| Partition Style | MBR | GPT |
| Max Partition Size | 2 TB | ⭐9.42 ZB (ZB = Zettabyte, 1 ZB = 1 billion TB) |
| Max Number of Partitions | Four primary partitions (infinite logical partitions) | ⭐ primary partitions |
| Interface Support | BIOS | UEFI |
| Operating System Support | Windows 95, 98, 2000, XP, Vista, and 7 | Windows 8, 8.1, 10, and 11 |
How to Initialize an SSD on Windows 11
There are three ways to initialize an SSD on Windows 11, and we’ll guide you through them. Fear not, as the disk initialization process only takes a few clicks and minutes of your time. You’ll effortlessly initialize your new SSD if you follow the steps below – let’s dive right in.
Using Disk Management
Disk Management, a built-in Windows app for managing drives and partitions, is the most effortless tool for initializing an SSD on Windows 11. Here’s how to use it:
- Tap the Windows key on your keyboard, type in Disk Management, and open the application.
- Select the new or problematic SSD drive and right-click on it.
 Note: Most modern computers should use GPT. There’s no need to select MBR unless you have an older PC with Windows 7 and below.
 - Choose the Initialize Disk option.

- Select MBR or GPT options and hit OK.

Using Command Prompt
The Command Prompt option is more complicated, but you should be fine if you follow our instructions and carefully type in the commands. Follow these steps:
- Push the Windows key, type CMD, right-click the app, and hit Run as administrator.
- One by one, type in the following commands and press Enter after each:
list disk

select disk 1

clean

convert gpt

create partition primary

format quick fs=ntfs

assign
- When you’re done, type exit to close the Command Prompt.
Remember to change the number before selecting the disk, as your new SSD might be labeled as disk 2, 3, or higher, depending on the number of drives in your PC. You can often recognize it by its size, even if it isn’t the last disk or the highest number.
Using PowerShell
PowerShell is a newer, more capable version of Command Prompt, so initializing an SSD on Windows 11 via PowerShell is similar to the previous guide as it also requires commands. However, PowerShell commands might be more beginner-friendly. Here’s what you’ll need to do:
- Hit the Windows key, search for PowerShell, right-click on it, and select Run as administrator.
- Once inside PowerShell, type in the following command:
get-disk Note: If you’re initializing a new SSD, note the number of the disk with “RAW” under “Partition Style.” In our case, it’s disk 2.
- Enter the following command to initialize the disk:
initialize-disk 2 - Type in the first command again and check whether the “RAW” disk is now initialized. You’ll see either GPT or MBR instead of RAW.
Like with Command Prompt, you’ll need to initialize the correct disk. Ensure you’re typing in the right number, which might differ from the one in our guide. Otherwise, you’ll wipe the wrong drive and lose vital data, which brings us to the following point.
How to Avoid Data Loss When Initializing SSD
Data loss is quite common when initializing or formatting drives. However, it can also be avoided, especially if you’re dealing with a “Not Initialized” error on a disk drive you’ve used for a while, where troubleshooting should be the first solution you try before disk initialization.
However, there’s nothing to fear, even if you’ve already initialized an SSD and lost vital data, as Wondershare Recoverit can save the day. Below is a step-by-step guide on using Recoverit to retrieve data from an initialized SSD:
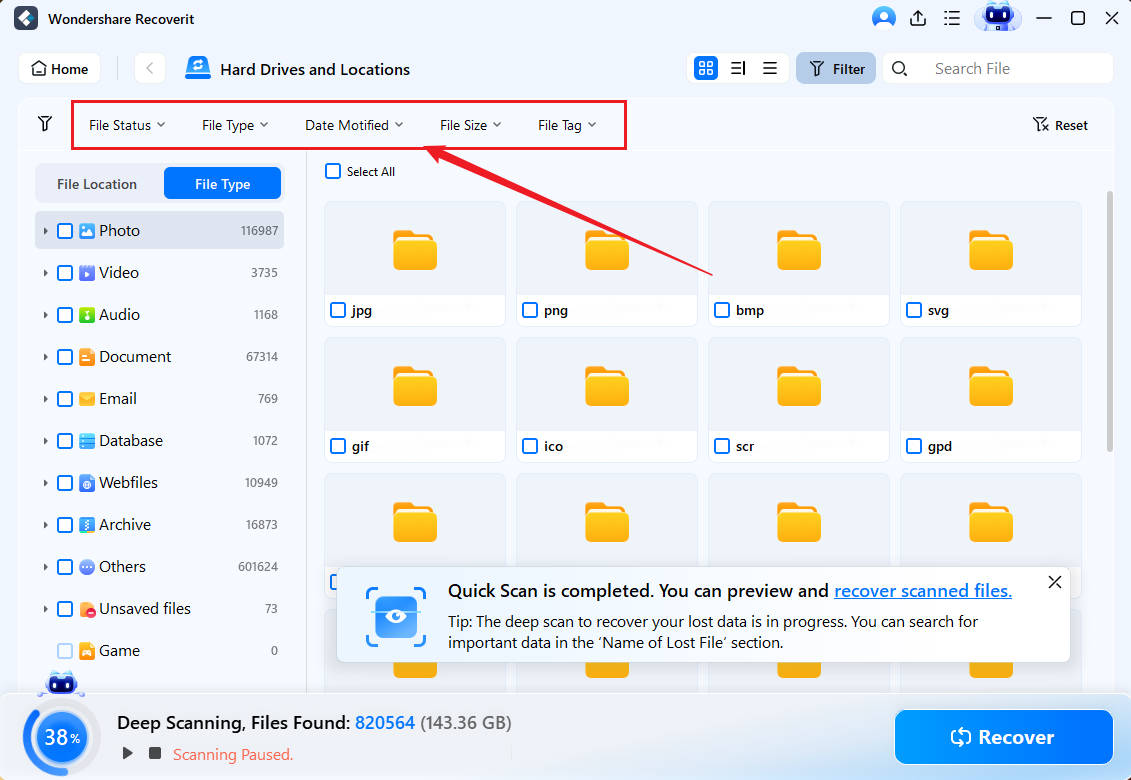
- Launch Wondershare Recoverit on your Windows 11 PC, select Hard Drives and Locations on the left, and choose the SSD you’ve accidentally initialized.

- Recoverit will automatically begin the scan for lost data.

- You can speed up the scan by adjusting filters and adding keywords.

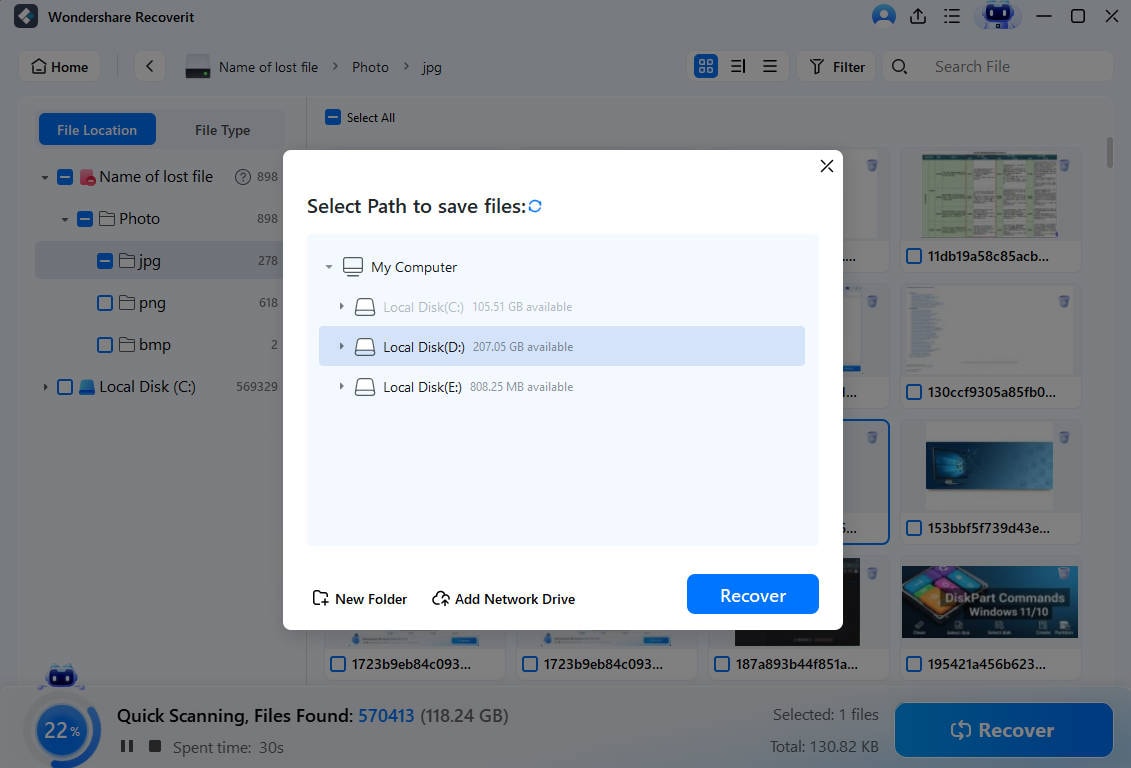
- The app lets you preview found files, and once you’re ready, you can pause or stop the scan and save the files to a safe location.

The app is helpful in various data loss situations like accidental deletion, viruses, formatting, corruption, system crashes, etc. It supports over a thousand file formats and over 2,000 different storage devices and has a recovery rate of 95%.
Conclusion
Disk initialization in Windows 11 is a simple process that prepares a new SSD for use by the operating system. In most cases, it’s only necessary for new drives, as SSDs come uninitialized and unformatted. However, it might be required if you encounter initialization errors with older SSDs.
Initializing an SSD in Windows 11 is relatively straightforward, but if you do it to the wrong drive or a used SSD with vital data, you will face data loss.
In that case, dedicated recovery software like Wondershare Recoverit can help, but only if the drive hasn’t been tampered with since initialization.
FAQ
What’s the difference between MBR and GPT partition styles?
Master Boot Record, or MBR for short, is a small 512-byte sector at the beginning of your HDD or SSD, which stores info about the drive’s sectors and the bootloader program. However, it also has limitations regarding the number of partitions and their size. On the other hand, GUID Partition Table, or GPT for short, stores similar info throughout the HDD or SSD. It also doesn’t have the limitations of the MBR.How can I initialize an SSD in Windows 11?
While Windows installation automatically initializes an SSD once you start installing the operating system, you might still need to manually initialize SSDs you purchase and add to the system later. New SSDs will come uninitialized and unformatted, and you’ll need to use one of the three available methods in Windows 11 to initialize the drive, assign it a letter, and format it before using.Do I need to initialize an SSD drive before installing Windows 11?
No. In most cases, disk initialization is only necessary for new drives you’ve added as storage devices. It’s worth noting that it might be required for older disk drives that experience initialization errors. However, when it comes to the operating system drive, the Windows installation process will automatically initialize an SSD drive when you begin Windows 11 installation on it.


 ChatGPT
 Perplexity
 Google AI Mode
 Grok
Grok


