

A Chromebook recovery USB drive can come in handy in various scenarios. You may want easy access to your valuable files and operating system by creating a backup. You are in the right place if you own a Chromebook and want to make a USB drive with all your data.
We have prepared a detailed guide to creating a Chrome OS recovery USB drive you can carry around in your pocket. We will discuss what you need to complete this process and how to protect your data from accidental deletion. Let’s see why you may want to take this step and create a recovery usb stick for chromebook.
In this article
Why Create a Chromebook Recovery USB
There are various reasons a Chromebook recovery USB is an excellent idea. This small device can be a lifesaver in some scenarios. Here are the most prevalent reasons people take this step:
- OS protection – All operating systems can encounter malfunctions and problems. However, you will save yourself from these threatening scenarios if you create a backup.
- Selling your Chromebook – If you have decided to sell your computer, you might want to make its replica before performing a factory reset. It will save all your precious data.
- Offline access – Sometimes, you may not have internet access and need to recover your OS without it. A Chromebook recovery USB will be the only solution.
- The sense of security – With a Chromebook recovery USB, you will know your data is safe and secure.
What You Need for Chromebook Recovery
Before starting your Chromebook recovery journey, you will need to prep. Here’s what you need to ensure everything flows smoothly.
Chromebook Recovery Utility
The Chromebook Recovery utility is an extension for your browser to make the magic happen. It is an official tool allowing you to create a Chrome recovery USB and fix your operating system. It is the first thing you will need to create a recovery USB.
USB Drive With at Least 4 GB of Free Space
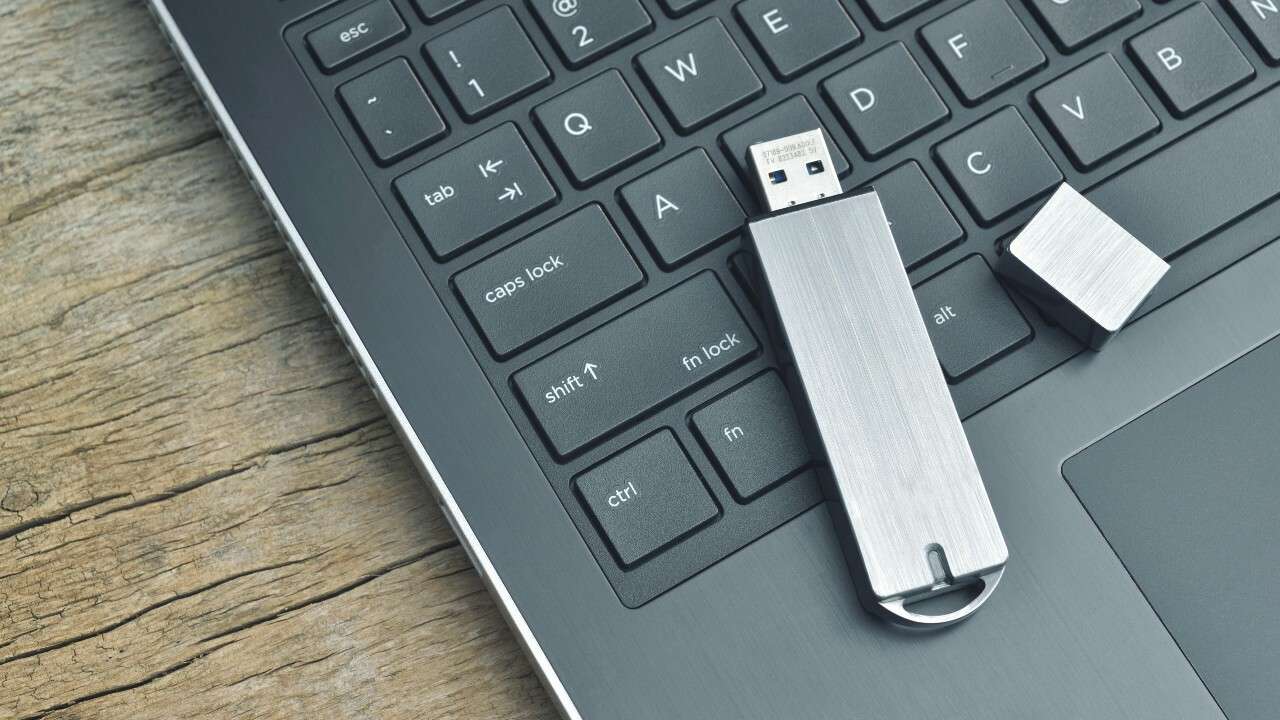
Since creating a recovery backup will take up some space, you will need a USB drive with at least 4 GB of space, or else things might go sideways. To ensure the best experience, get an empty USB just in case.
An Additional Chromebook, Mac, or Windows Computer
An additional computer might be helpful if you experience issues with your Chromebook. Otherwise, you can use your functional Chromebook to create a recovery USB.
Chrome Browser

Chromebook and Chrome browsers go hand in hand; you can’t create a Chromebook recovery USB drive if you don’t have this browser. You will need it for the Chromebook Recovery utility.
5 Accessible Steps To Create a Chromebook Recovery USB Drive
Now that you have collected all the necessary items to create a recovery USB drive, you can jump to the next step. Open your Chromebook Recovery utility and follow the steps below to create a recovery USB:
- Once you open the app, click Create Now to initiate the process.

- The program will ask you to insert your USB and choose it from the list of available devices. Back up data from the USB since this process will delete everything.

- Enter your Chromebook’s model number (or choose an option from the list) and click Continue.

- The Create Recovery Image dialog box will greet you next. Select the correct USB and hit Create Now to continue.

- The process will take a few minutes. Once it completes, exit the program by clicking Done.

Completing this process and creating a recovery USB drive will take only five minutes.
Save Your Data Before Booting Chromebook
Before booting your Chromebook with the new recovery USB, you must take care of your data first. Booting your computer will delete everything, so create a backup to preserve your valuable data.
However, backing up your data may seem impossible if your computer has crashed and you can’t access its contents. Fortunately, we have a solution to save your valuable data. You can extract it with a third-party software solution like Wondershare Recoverit. It will successfully retrieve everything you have on your Chromebook.
The best part about this program is that it covers thousands of file types and data loss scenarios. No matter how you’ve lost your data, Wondershare Recoverit has your back. It is a versatile, all-in-one tool to retrieve all your data.
To recover data with this software, download it from the official website and follow the steps below:
- Open Wondershare Recoverit and head to System Crashed Computer.
- Click Start to begin.

- You must create a bootable drive, so prepare an empty USB.
- Insert your USB and choose it from the available options. Click Start.

- The software will ask you to format your drive, so back up any data from the USB before formatting it. Click Format to continue.
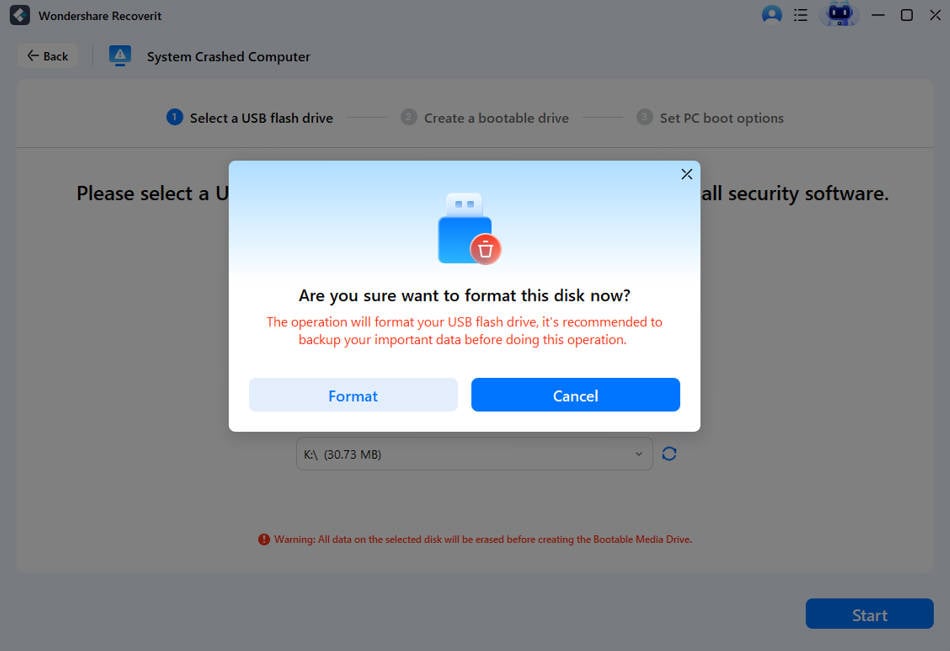
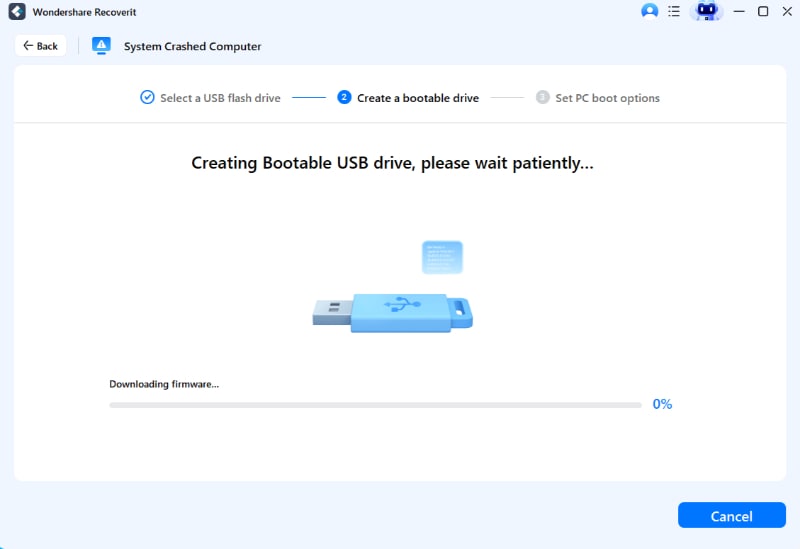
- After formatting the drive, Wondershare Recoverit will create your bootable USB.
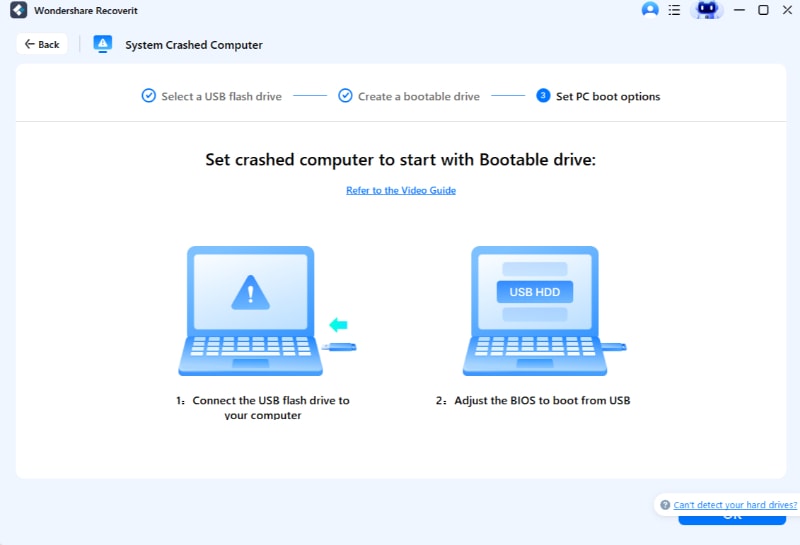
- Take that USB and insert it into the crashed computer.
- Adjust the BIOS to boot from the USB drive.
- Once the computer boots from the USB, choose between Hard Disk Copy and Data Recovery.

Hard Disk Copy:
If you choose this option, follow the steps below:
- Choose the copy directory.
- Connect a working hard drive to the computer.
- Select the drive from the available options and hit Copy.
- Once the copying is complete, you will see the “Data copy completed” message.
Data Recovery:
If you opt for this option, follow these steps:
- Choose a disk from which you want to recover data.
- Connect a working hard drive to the computer.
- After the program finishes scanning, select where to save your data and click Recover.
- Once the recovery is complete, you will see the “Congratulations! Files recovery completed!” message.
Conclusion
Creating a Chromebook recovery USB drive provides numerous benefits, the most important being peace of mind. Nothing can ruin your operating system since you will always have a copy with you.
Now that you know the best, most reliable way to create a Chromebook recovery USB drive, it’s time to apply the method and preserve your data. However, if you decide to use the drive, back up data from your computer before to ensure none of it goes missing.
