Photo Repair
- Fix all photo issues like photo grainy, photo pixelated, photo not opening, etc.
- Enlarge the repaired photos to 2X, 4X, and 8X with AI technology.
- Repair photos of 15+ different photo formats, such as JPG, PNG, NRW, etc.
- Advanced Repair mode for severely corrupted photos.
- Support a wide range of storage media including cameras, SD cards, mobile phones, hard drives, etc.

How to Fix Grey Box in Photos or Greyed-Out Photos

Jun 03, 2026 • Filed to: Photo/Video/Audio Solutions • Proven solutions
 TL;DR:
You can fix photos distorted with grey boxes by restoring them from a backup, running a Windows Command Prompt scan, using data recovery software for overwritten files, or applying dedicated photo repair tools for single corrupted copies.
● Run Command Prompt as an administrator and execute the sfc /scannow command to scan the system and resolve underlying file corruption causing the greyed-out patches.
● Choose Wondershare Recoverit if the image distortion stems from data loss or incomplete overwriting, but use Wondershare Repairit Photo Repair to fix a single existing corrupted JPEG directly.
● Users with technical expertise can manually repair the JPEG header by modifying its hexadecimal codes using tools like HxD or Hex Workshop, provided they work on a duplicate file to prevent permanent damage.
Ask AI for a summary
 ChatGPT
 Perplexity
 Gemini
 Claude
 Grok
Grok
As a reader asked us how to fix the grey box in photos, it got us digging into this issue. Ideally, your photos can suffer from this quality issue and get distorted due to different reasons. The good news is that you can fix this problem and retain your original photos by using some reliable tools. In this post, we will tell you how to repair the JPEG file and heal greyed-out photos effortlessly.

Part 1: Why do photos get distorted with grey boxes?
Before we discuss different ways to fix greyed-out photos, it is important to learn what could have caused it in the first place. Here are some of its major reasons.
- Missing Data Segments: When certain parts of the file or data are missing, then it is represented by grey patches on the photo.
- Overwritten of Data: If an existing file has been overwritten by a new file and the process is halted in between, then you can see grey patches as well.
- Corrupt Images: At times, malware or any other malicious activity could corrupt your photos. These corrupted images can develop grey areas.
- Other Reasons: Besides that, other reasons like abrupt system shutdown, transfer halted in between, corrupt storage, unsafe photo tools, etc. can also cause it.
Part 2: How to Fix Grey Box in Photos or Greyed-out Photos?
There are different techniques to repair a JPEG file. You can choose to recover the deleted or inaccessible content using a data recovery tool or can take the assistance of a repairing application to heal the file as well. To make it easier for you to fix the grey box in photos, we have listed the 5 best solutions.
Method 1: Recover Photos From Backup Files
If you get a backup of the pictures that appear as gray boxes, you can just recover them from the backup file. Pictures in the backup file should remain in their original state. For instance, you can download your pictures from OneDrive or restore them from the data backup software.
Method 2: Repair Corrupted Files With CMD
- Type cmd in the Windows search box. Right-click Command Prompt from the best match result to select Run as administrator.
- Click Yes in the UAC window. If you do not want to perform this step every time, you can disable UAC.
- In the command line window, type sfc /scannow and press Enter.
- Wait until the scan process finishes. Then open your picture and check if the grey box is still there.
Method 3: Recover photos with professional photo recovery software – Recoverit
One of the best ways to fix the grey box in photos is by recovering your data. If you are facing the issue due to a loss of information, then this would be a perfect solution. Too many times, we overwrite our data and end up getting greyed-out photos. Recoverit Data Recovery can retrieve the lost, inaccessible, or deleted photos of all formats. It can also recover videos, music, documents, emails, and other data files as well.

Your Safe & Reliable Hard Drive Data Recovery Software
- Recover lost or deleted files, photos, audio, music, emails from any storage device effectively, safely and completely.
- Supports data recovery from recycle bin, hard drive, memory card, flash drive, digital camera, and camcorders.
- Supports to recover data for sudden deletion, formatting, hard drive corruption, virus attack, system crash under different situations.
The tool features a user-friendly interface and is available for both Mac and Windows versions. To repair the JPEG file using Wondershare Recoverit, you can simply follow these steps:
- Download Recoverit Data Recovery on your Mac or Windows. Launch it whenever you wish to recover any lost or inaccessible content.
- From its welcome screen, simply select the location of your choice to scan. You can choose any internal drive or even a connected external source. After making appropriate selections, click on the "Start" button.
- Wait for a while as Recoverit will scan the respective location for accessible files. Try not to halt the process in between. Once the scan is completed, the interface will display the retrieved data in different folders. You can go to Photos > JPEG and preview the recovered files.

- Finally, the retrieved files will be displayed on the interface. Just preview any file from here. To retrieve your data, simply select the photos of your choice and click on the "Recover" button.
In the way, you can also recover photos or other formats, videos, emails, documents, and more. Here are the steps to MTS video recovery.

Method 4: Use professional photo repair tool – Wonderdshare Repairit Photo Repair
Apart from a recovery tool, users can also take the assistance of a photo repair application as well. Instead of retrieving another file, it will try to fix an existing JPEG. Therefore, you can go for this option if you only have a single copy of your photos. One of the best photo repairing tools for Mac and Windows is Wonderdshare Repairit Photo Repair. It features a sophisticated algorithm that can repair unlimited photos at one time. Users can preview the repaired photos before saving them as well.
The tool supports all the leading photo formats besides JPEG. If you want to fix the grey box in photos using Stellar Phoenix JPEG Repair, then simply follow these steps:
- Install and launch Repairit JPEG repair tool on your Mac or Windows whenever you wish to repair JPEG files.
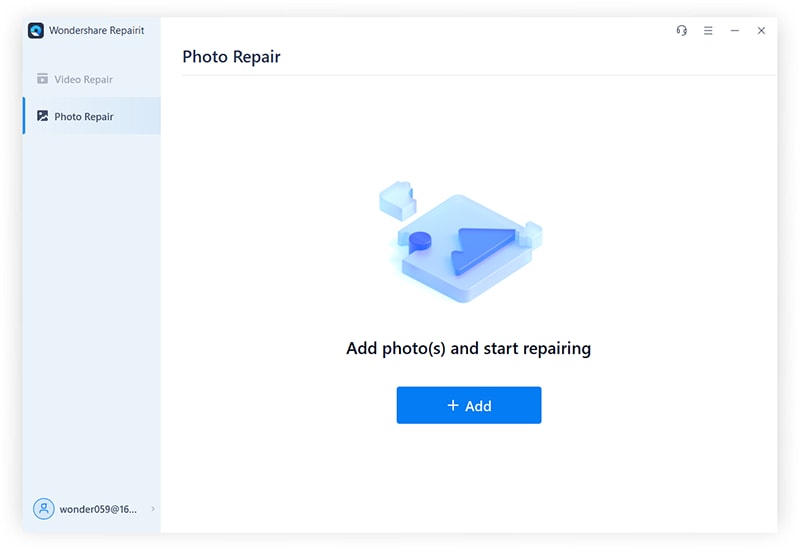
- Click on the "Add" button to load the distorted or damaged photos that you wish to fix. A browser window will open so that you can locate and load the photos of your choice.
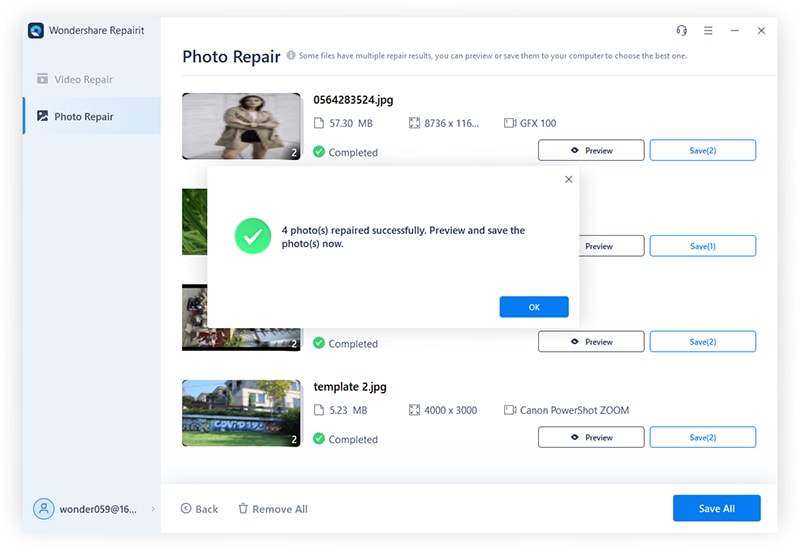
- To check the results of the repairing process, you can click on the Preview button (the eye icon).
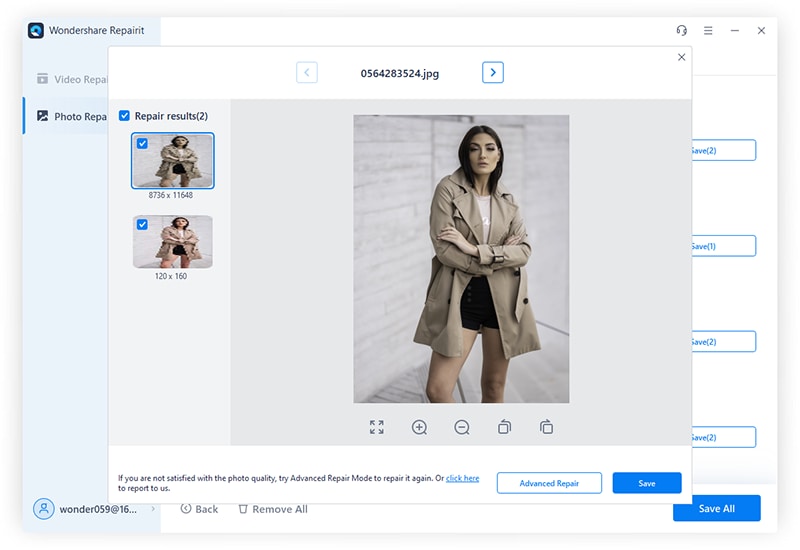
The application will give you an option to save the photos in any location so that they won't be damaged again.
Method 5: Repair corrupt JPEG with Hex Editor Tools
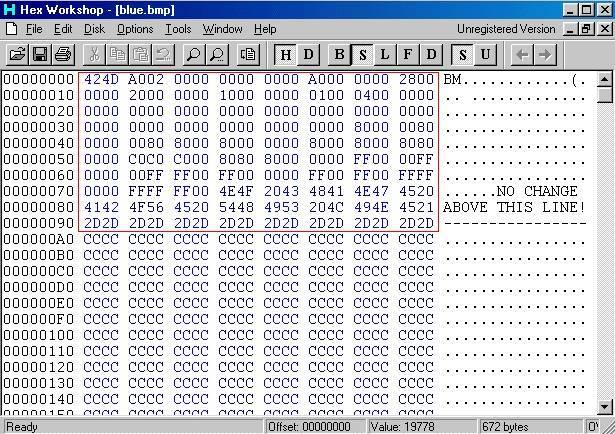
If you have the prior knowledge of hexadecimal codes, then you can simply use any Hex Editor tool to fix the grey box in photos. As you know, photos are stored in the form of hexadecimal codes which can be anywhere from 0000 to FFFF. You can alter the code to repair the JPEG file. The following steps can be implemented to do so.
- Firstly, download and install a reliable hexadecimal editor on your system. HxD and Hex Workshop are the two recommended tools. You can visit their website to download them on your system.
- Launch the editor and open the JPEG photo that you wish to repair.
- Now, carefully examine the hexadecimal code of the JPEG file. From the header, you can change the code of the file. It can be anything from 0000 to FFFF.
- Once you have made the relevant changes, save the file on your system. We would recommend making a second copy of it instead of overwriting the file.
In this way, you would be able to repair greyed-out photos. Needless to say, it is a technical approach and a prior knowledge of hexadecimal codes would be needed.
That's it! By following these solutions, you would be able to fix the grey box in photos for sure. If you want to repair the JPEG file, then you can simply try Stellar Phoenix. To recover the lost or deleted files, simply give Recoverit a try. If you have any other solution to repair greyed-out photos, feel free to let us know in the comments below.
People Also Ask
-
Why do my photos show a grey box or are greyed out?
This usually means the photo file is corrupted, the storage location is inaccessible, or the preview is not generated correctly. The image data is there, but your device or app can't properly read it. -
How can I fix greyed-out photos on my computer?
1. Update your photo viewing app (like Windows Photos or Apple Photos). 2. Run a disk repair tool (like CHKDSK on Windows or First Aid on Mac) to fix storage errors. 3. Copy the photos to a different drive and try opening them from there.What should I do if photos are greyed out on my phone?
1. Restart your phone. 2. Check your internet connection if the photos are stored in the cloud (like iCloud or Google Photos). 3. Update the photo gallery app and your phone's operating system.Can I repair a corrupted photo file with a grey box?
You can try: 1. Opening the photo with a different app (like IrfanView or GIMP). 2. Using a free online photo repair tool such as Repairit Photo Repair Online: https://recoverit.wondershare.com/mobile-download-guidance.html 3. If the file is from a memory card, recover it using data recovery software like Wondershare Recoverit first.How can I prevent this from happening in the future?
1. Safely eject memory cards and USB drives before removing them. 2. Avoid interrupting transfers when moving photos. 3. Keep backups of important photos in more than one location.
Fix Media File Issues
- Recover & Repair Photos
- Recover deleted photos.
- Recover photo booth.
- How to repair JPEG images?
- What is JPG File?
- What is GIF File?
- Guide for PNG File
- Recover Videos
- Best video recovery software for Windows
- Best video recovery software for Mac
- Recover DVR recordings
- Recover CCTV footage
- Recover deleted Vivint videos
- Recover deleted MKV files
- Recover deleted Youtube videos
- Recover deleted CapCut videos
- Recover After Effects Project
- Recover Premiere Pro Project
- Recover iMovie Project
- Recover videos from GoPro
- Repair Videos
- Fix error code 0xc00d36c4.
- Repair corrupted MP4 video.
- Fix 0xc10100be video error.
- Solve blurry videos.
- Fix MOV can't play on QuickTime.
- Free video repair software.
- Fix frozen video files.
- Recover & Repair Audio
- Moov Atom Not Found ?
- Repair your MP4 file online.
- Can't play recorded video?
- AVI/MP4/MKV cannot render?
- Fix 0xc00d5212 error of AVI.
- Recover & Repair Cameras


Eleanor Reed
staff Editor