Linux is the popular operating system for email servers, file servers, database servers, web servers, etc. Users working on Linux may need to wipe the disk if the disk space status is not favorable. Let us learn all about how to wipe your disk in Linux in this article.

Our dedicated team of Linux experts has prepared this detailed write-up starting with the quick steps to check disk space status in Linux. We’ll go through two methods to erase the Linux disk, followed by details to recover files from crashed disk.
In this article
Part 1. How to Check Disk Space Status in Linux?
Linux users may not proceed with the disk wiping before knowing the exact status of the available space. You can decide to wipe Linux hard drives based on low space availability. In addition, users may resort to wiping Linux drives due to situations like disposing of an old system or selling it, etc. With that being said, let us move to the quick steps to check disk space status in Linux.
Linux offers two different commands for locating the available and used disk space in a Linux server. These are the “df” and “du” commands. The “df” command allows users to view the available disk space for every drive of the Linux system in KB. The “-h” command can be used to make the output easier to read and offers the amount of disk available in kilobytes (K), megabytes (M), and gigabytes (G). The following are the detailed steps to check disk space status in Linux using the “df” command:
Method 1. Executing the “df” command:
- Type
#df - It will list the disk space usage without any formatting.

Step 1. Executing the “-h” option:
- Type
#df -h - It will show the results in the human-readable format.

Step 2. Executing the “-Th” option:
- Type
#df -Th - It will show the disk space with file system types.

Step 3. Using the Filesystem or Mounted on the description
- Type
#df –h /dev/vda1or#df –h / - It will target a specific drive using the “Filesystem” or “Mounted on” the description from the disk space.

Method 2. Executing the “du” command:
The “du” command gives details of disk space utilized by files and folders in Linux systems. It shows the file or folder size in KB, and the different switches are used to retrieve the appropriate output like
- The “-h” switch is used to show values in human-readable units like TB, GB, MB, KB, etc.
- The “-s” and “-c” switch is used for overall directory utilization.
- The “-c” switch alone is used to get items subtotal.
The quick steps to use “du” command are:
Step 1. Using the du command
- Type
# du /bootto use du command.

Step 2. Using the s switch
- Type
# du –s /boot - It shows total disk usage by argument value passed with du command.

Step 3. Using the c switch
- Type
# du –sc /boot - It shows the grand total disk usage value of the folder.

Step 4. Using the h switch
- Type
# du –sch /boot - It converts the total disk space usage into a human-readable format.

Part 2. How to Wipe Your Disk in Linux?
After learning how to check the disk space in Linux, users may decide to wipe the Linux drive. Linux is different from other leading operating systems and hence needs dedicated methods for erasing a hard disk. We’ll go through the following two commands to wipe the Linux disk.
Method 1. Using the DD Command
The “DD” command comes in two forms. The first option performs a zero-pass, while the second option uses random ones and zeroes. It can wipe Linux hard drives securely.
All you need to do is enter the following command and press enter to complete the hard drive wiping process.
dd if=/dev/zero of=/dev/sdX bs= 1M
dd if=/dev/urandom of=/dev/sdX bs= 1M
Here, X is replaced with the target drive letter of your system.
Method 2. Using the Shred Command
While using the DD command can be easy for many Linux users to wipe the Linux drive, the Shred command offers a feasible alternate option. It is the built-in command in Linux systems and performs multiple passes of random ones and zeroes to wipe the hard drive.
All you need to do is enter the following command and press enter to complete the hard drive wiping process.
shred –vf /dev/sdX
shred –n Y –vf /dev/sdX
Here, X is replaced with the target drive letter of your system, and Y is the second example with the desired number.
Part 3. How to Recover Files from a Crashed Hard Disk?
While it is easy to erase the Linux disk using the steps mentioned above, you must never forget to take a detailed backup of the drive. Hard disks may crash, causing unavoidable data loss situations or other events of accidental data deletion. You don’t need to worry, as we got an amazing software recovery tool for recovering files from a crashed hard disk on Mac and Windows systems. It is Wondershare Recoverit.
Wondershare Recoverit can recover over 1,000 data formats and files from different storage sources. For example, you can recover files from a crashed hard disk, external devices, Recycle Bin, desktop, etc. Some of the advanced options Recoverit include a video repair tool, Professional Video Recovery, etc.
For Windows XP/Vista/7/8/10/11
For macOS X 10.10 or later
Wondershare Recoverit- Best Tool to Recover Files from a Crashed Hard Disk
5,481,435 people have downloaded it.
Recover deleted and lost files, videos, photos, audio, emails, etc.
Recover lost data due to formatting, unknown error codes, virus attacks, accidental deletion, etc.
Supports 2000+ storage devices, including hard drive, SSD, external hard disk, pen drive, floppy disk, different cameras, etc.
Highest recovery rate of around 95% to retrieve data from different situations.
The quick steps to use Wondershare Recoverit for recovering files from a crashed hard disk are:
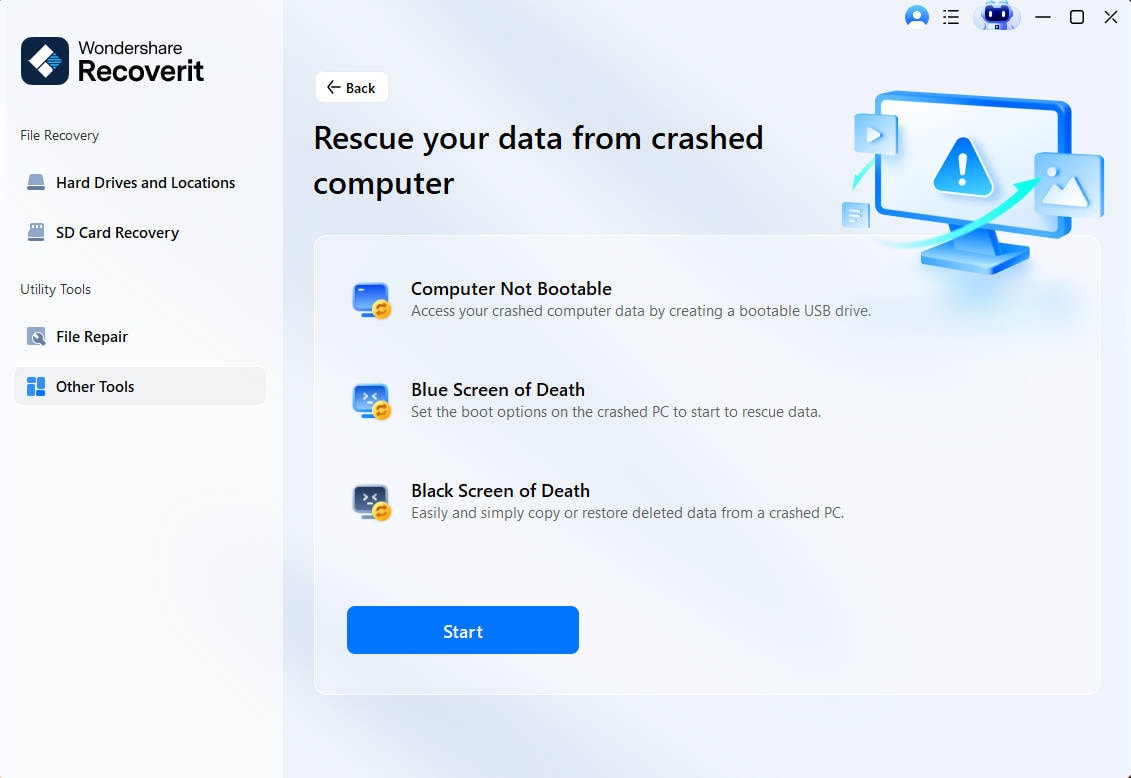
Step 1. Launch Recoverit and select the System Crashed Computer
- Start by downloading and launching Recoverit app on your system.
- You can set password protection on the app for enhanced protection.
- Select the “System Crashed Computer” mode.
Step 2. Create bootable media
- Start by connecting a blank USB to the system.
- Select the drive to create a bootable media.
- Click “Create” to start the process.

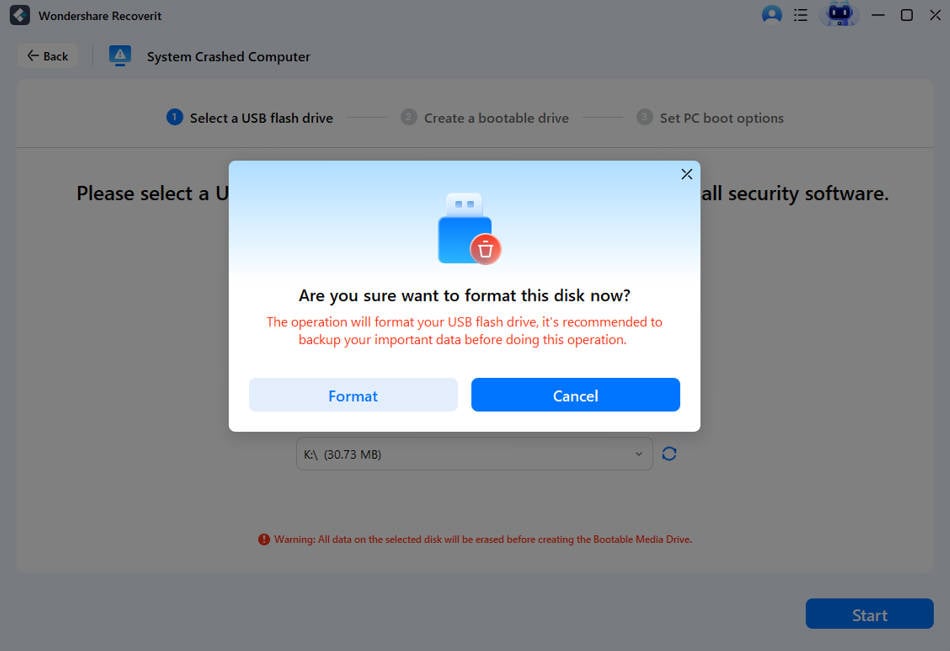
- You’ll get an alert message about formatting the USB drive.
- Press “Format.”
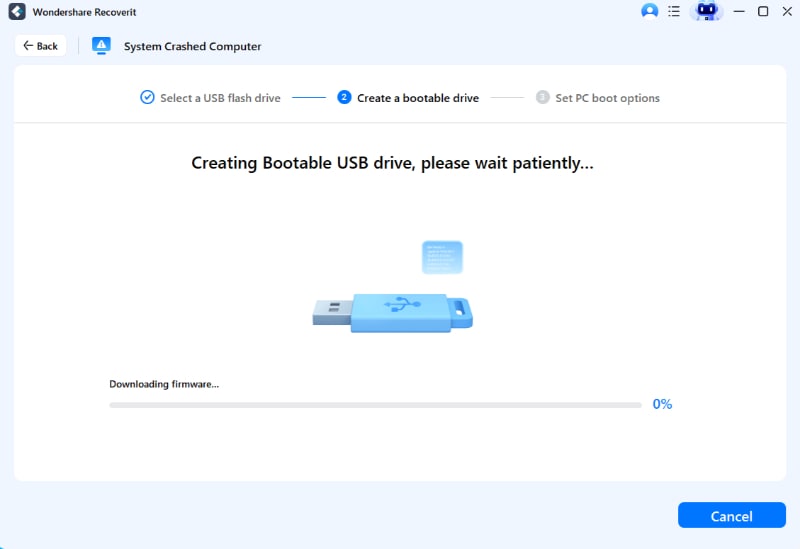
- The bootable drive will be created.
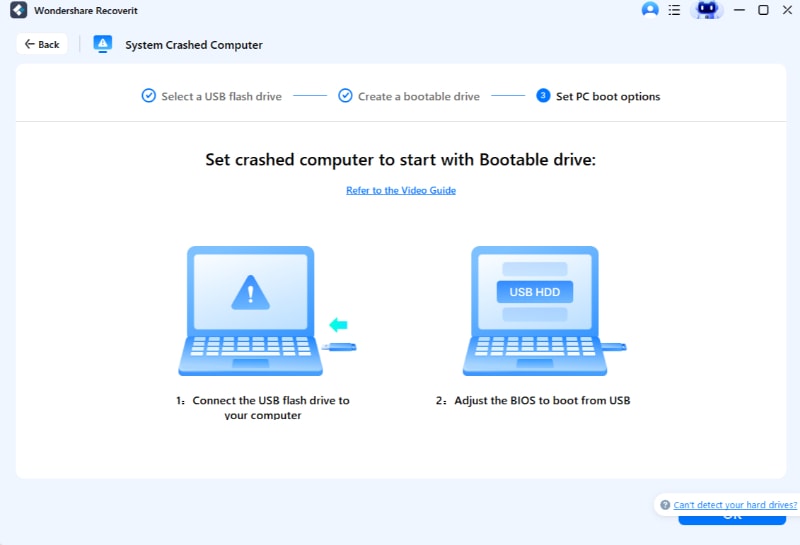
- The next step is to set the crashed computer to start up the bootable drive.
- Adjust the BIOS to boot from a USB drive.
- Restart the computer and press the BIOS Entry key.
Step 3. Recovering data from crashed computer
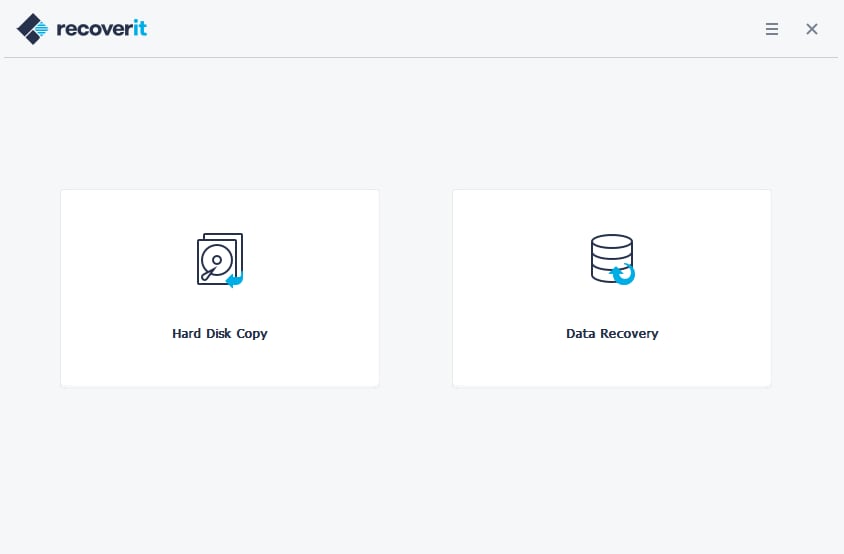
- The data is bootable at this point.
- It is easy to select from the hard disk copy and data recovery.
Video Tutorial on How to Recover Data from Hard Disk After Disk Wipe
Conclusion
Hope everything is clear about the Linux wipe disk after going through this article. It is easy to check the available disk space in Linux using the “df” command, followed by quick steps to wipe the space using the “DD” and the “Shred” commands. Not to miss is using Wondershare Recoverit in events of quick recovery of the accidentally deleted data files from the Linux system.
For Windows XP/Vista/7/8/10/11
For macOS X 10.10 or later
FAQs
After going through the details steps to wipe a hard drive in Linux, you may have some questions in your mind regarding the same. There is no need to get confused as we’ve prepared a list of the top-asked questions linked to wiping Linux. So, here you go:
Why do I need to wipe the disk in Linux?
You must wipe the Linux disk to wipe data and other information on the system before disposing of it or selling it.
How can I take a backup of the Linux system before wiping the hard drive?
It is easy to use Wondershare Recoverit to take a quick backup of the Linux system before wiping its hard drive. It eliminates data loss cases for Linux users.
What is the Shred command in Linux?
The Shred command in Linux is the leading command performing multiple passes of random ones and zeroes to wipe the hard drive.
What is the DD command in Linux?
The DD command in Linux works in two forms; the first option performs a zero-pass, while the second option uses random ones and zeroes.
Does the rm command permanently delete Linux?
The rm command deletes the file with no trash backup. However, using the rm command for permanently deleting Linux is not the default behavior, and hence users need to be careful while using it.

 ChatGPT
 Perplexity
 Google AI Mode
 Grok
Grok


