

 TL;DR:
Resolving hard drive issues requires identifying specific fault codes via S.M.A.R.T scans, applying targeted hardware or software fixes, and utilizing data recovery software if built-in repairs fail.
● Run the built-in Windows CHKDSK tool to automatically fix file system errors and recover bad sectors, noting that a system restart is required to execute the scan if any files on the target drive are currently open.
● Apply specific hardware or system fixes based on diagnostic codes: replace the physical hard drive for Error 0142, reinstall the OS for SSD timeout Error 0145, replace the RAM for Error 7, and update device drivers in Windows 7, Vista, or Server 2008/2012 for Error 43.
● Deploy Wondershare Recoverit to perform Partition, Deleted File, or RAW hard drive recovery on drives from manufacturers like Seagate, WD, or Toshiba if diagnostic repairs cannot safely restore access to the storage media.
Ask AI for a summary
 ChatGPT
 Perplexity
 Gemini
 Claude
 Grok
Grok
Hard disks are the primary storage media which are installed on a PC or laptop. Hard disks store all your data and files. If hard disks encounter issues, errors happen frequently. You will have to fix hard disk errors if you want to save data safely on your hard drive.
Hard drive errors are quite common for Windows users. You see these errors when Windows starts having difficulty accessing the data stored on the hard drives. From viruses to human error to poor system maintenance, hard drives can behave abnormally for several different reasons. And eventually your data are lost. In the article, you can learn how to perform hard drive diagnostics and fix hard disk errors. After the hard drive error is fixed, you can learn to recover files from hard drive.
In this article
Perform a Hard Drive Diagnostic
The hard drive is the most dependable unit of any computer system. If the hard drive is not performing normally, the computer system will not be in order and you are in the risk of losing your important data in the hard drive. The main portion of any computer system i.e., the OS, resides on the hard drive, and for the same reason, it is crucial to note that the hard drive's health is very important. If you feel that your hard drive is not working properly, then it is very important to carry out the hard drive diagnostics. The ways for hard drives diagnostics are listed as follows.
- Check Disk Feature – This function is built into the operating system and has been there to help users since its inception. The path to be followed is Start > Right-click on the drive which you want to check > Properties > Tools > Check Now. It will remove any issues on the hard drive that has been selected. Bad sectors, cross-linked files, lost clusters, and directory-related issues will be resolved in full.
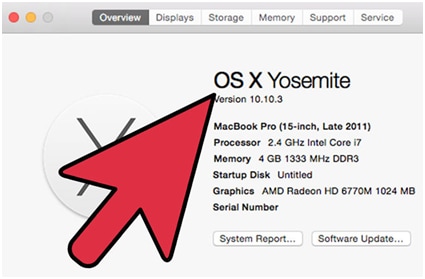
- SMART Scans – Manufacturers of most modern hard drives make sure that the self-implementing system is there to make sure that the issues of the hard drive are not only reported but also resolved. It is also known as S.M.A.R.T scans, and these are carried out by the disk itself, allowing the users to review the report and the problems the hard drives encounter. You can check S.M.A.R.T information of hard drives on your PC by entering diskdrive after pressing Command + R and entering wmic.
- Third-party Programs – There are tens of thousands of hard drive diagnostic tool software which make sure that the hard drive errors are detected and resolved once the program runs. These are both free and paid programs to help users to diagnose their hard drives, such as CrystalDiskInfo, HDTune etc.
How to Fix Different Hard Drive Errors?
Usually, there are common error codes during hard drive diagnostics. Following is a list of the most common error codes that a user may encounter while running a hard drive diagnostic. The list has massive data, but only those codes have been mentioned here that pop up frequently, irritating the users.
1. Error Code 0142
This hard drive error code means that the hard drive has gone bad and requires an immediate replacement. The SATA or IDE cable replacement in this regard might work for some users, but it is only a way around not a proper solution. The full error code which appears is "Hard Drive (d) - S/N (s), self-test unsuccessful. Status = (x)".
2. Error Code 0145
The hard drive error code means that the self-test did not complete due to timeout. The main cause and the reason for this issue are when a user tries to run the manufacturer diagnostic test using the SSD when it applies to IDE/SATA. However, the most common cause is SSD hard drive failure. The related error code is "Hard Drive (name) – Self Test did not complete."
3. Error Code 43
This error code applies to Windows 7, server 2008, 2012, and Vista. The related error and the description that appears is "Windows has stopped this device because it has reported problems. (Code 43)." The device driver notifies the windows that a particular device, which in this case is the hard drive, has failed to work, and it can also be caused due to device driver failure.
4. Error Code 7
There are three main causes of the subject error i.e., BIOS not in order, Faulty RAM, and Registry issues. The error description is read as "The file I386Ntkrnlmp.exe could not be loaded. The hard drive error code is 7." Several self-diagnostic tools are available online to make sure that the issue is resolved. The one available at http://errortools.com/windows/how-to-fix-error-code-7/ could be of great help for the users in this regard.
5. Fixing Error Code 0142
As the hard drive is to be replaced in this regard, so the complete process is as follows:
Once the data has been saved using any utility, a new hard drive is to be purchased.
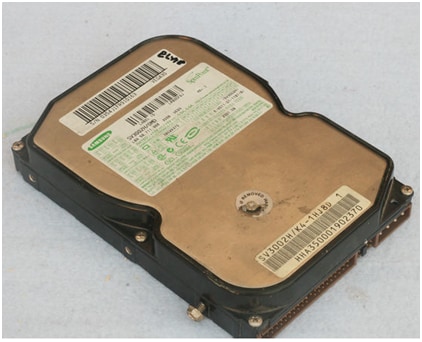
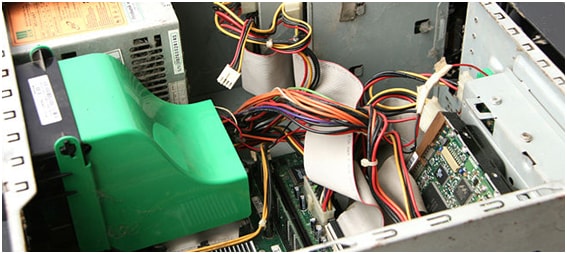
Step 1: Open the computer lid.

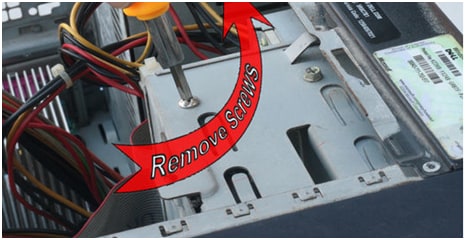
Step2: Once the hard drive case is located, remove the screws.
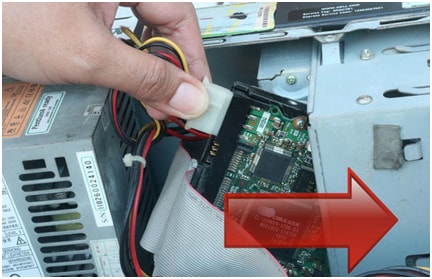
Step 3: Push the new hard drive into the cover after connecting the ports to resolve the issue and complete the process in full.
6. Fixing Error Code 0145
Upgrading the hardware can make it possible for users of both Windows and Mac OS to resolve the issue. The steps are:
The startup items are to be analyzed as a first step of the process.

In the second step, the hard drive is to be cleaned.
The programs creating the issues should be examined to proceed with the process.

Once it has been done, the OS is to be reinstalled to remove the error code 0145.
7. Fixing Hard Drive Error Code 43
The following steps are involved in this regard:
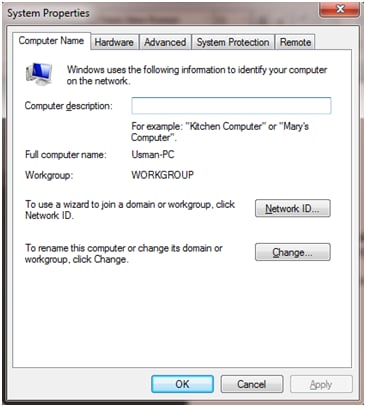
Step 1: Type sysdm.cpl after following the path Start > Run so that the below interface appears.
Step 2: click the Hardware tab > Device Manager.
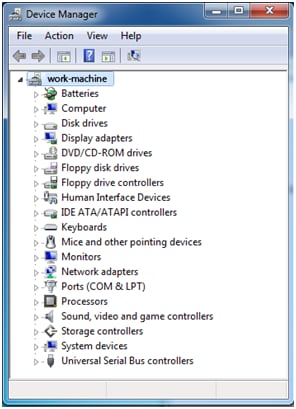
The disk drive is to be right-clicked to make sure that the uninstall option is clicked and the latest drivers and then to be downloaded from the manufacturer's website to make sure that the issue is resolved.
8. Fixing Error Code 7
It is caused by RAM disorders most of the time. The following is a quick fixture in this regard which guarantees a sure resolution:
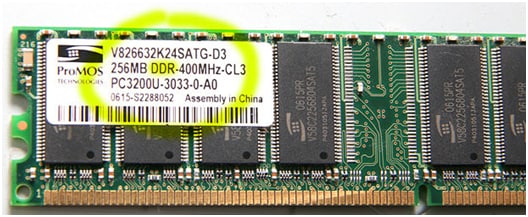
Step 1: Check the RAM type.
Step 2: Open the computer lid.
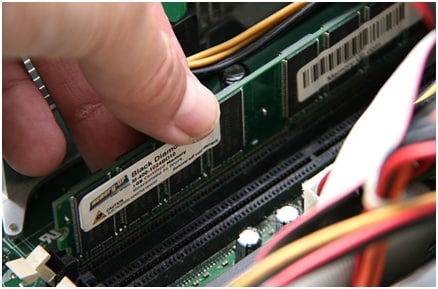
Step 3: Within the RAM socket, the old one is to be removed, and a new one is to be installed to complete the process.
How to Fix Hard Disk Errors Through CHKDSK?
Chkdsk is a useful command-line tool that can be used to fix hard disk errors.
Step 1: Click on your hard disk once to highlight and select it after having double-clicked on the My Computer icon located on the desktop. You will see a dialog box appearing after you have right-clicked on the hard disk.
Step 2: Press the Properties option and then the Tools option in the dialog box that appears.
Step 3: Press Check Now below Error-checking. You will see a window showing the Check Disk Options.
Step 4: Utilize any one of the below-mentioned processes:
- Press Start if you want Chkdsk to be executed in read-only mode.
- Press Start after check-marking the "Automatically fix file system errors" option if you don't want to scan the hard disk for bad sectors.
- Press Start after check-marking the "Scan for and attempt recovery of bad sectors" option if you want to find and recover information from bad sectors along with fixing hard disk errors.
If you have a single or more than one file opened from the hard disk that is to be repaired, Windows versions released before Windows 8 display the following message:
"The disk check wasn't performed as the utility requires access to a few of the Windows files located on the disk. Restarting Windows can help in accessing these files. Would you like to set up the disk check when the PC restarts the next time?"
Press "Yes" if you see this message to set up the disk check. Now, start the disk check process by restarting your PC.
While the method mentioned above to fix hard disk errors is exceptionally potent, it is not always able to get the job done. In such circumstances, it becomes necessary for you to recover data from a hard disk or you will risk losing all of the data that is contained on it.
Recover Data After Drive Error Is Fixed
A professional data recovery software solution like Wondershare Recoverit is the most universal and successful solution. This solution has the most advanced mechanisms and patented technologies on the market, contributing to the highest success rate you can find.
Wondershare Recoverit has a modern interface that will make the experience much less overwhelming. Moreover, the tool is suitable for all data loss scenarios and file types, so you won't have to worry about returning your erased hard drive data. It is to be noted that the program supports "Partition Recovery," "Deleted File Recovery," and "RAW Hard Drive Recovery."
Here is a guide containing step-by-step instructions on how to use Recoverit to recover data from Seagate, WD, or Toshiba hard disk etc.
- Retrieves all data types from wiped hard drive, regardless of how they went missing.
- The user-friendly interface allows you to recover data in just a few clicks.

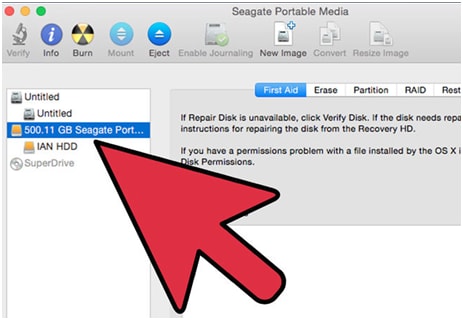
All you have to do is head to the official website, download the tool to your desktop device, and follow these steps for a successful recovery experience:
- Open the app and click the Hard Drives and Locations option from the main menu.
- Select the problematic hard drive from the available options.
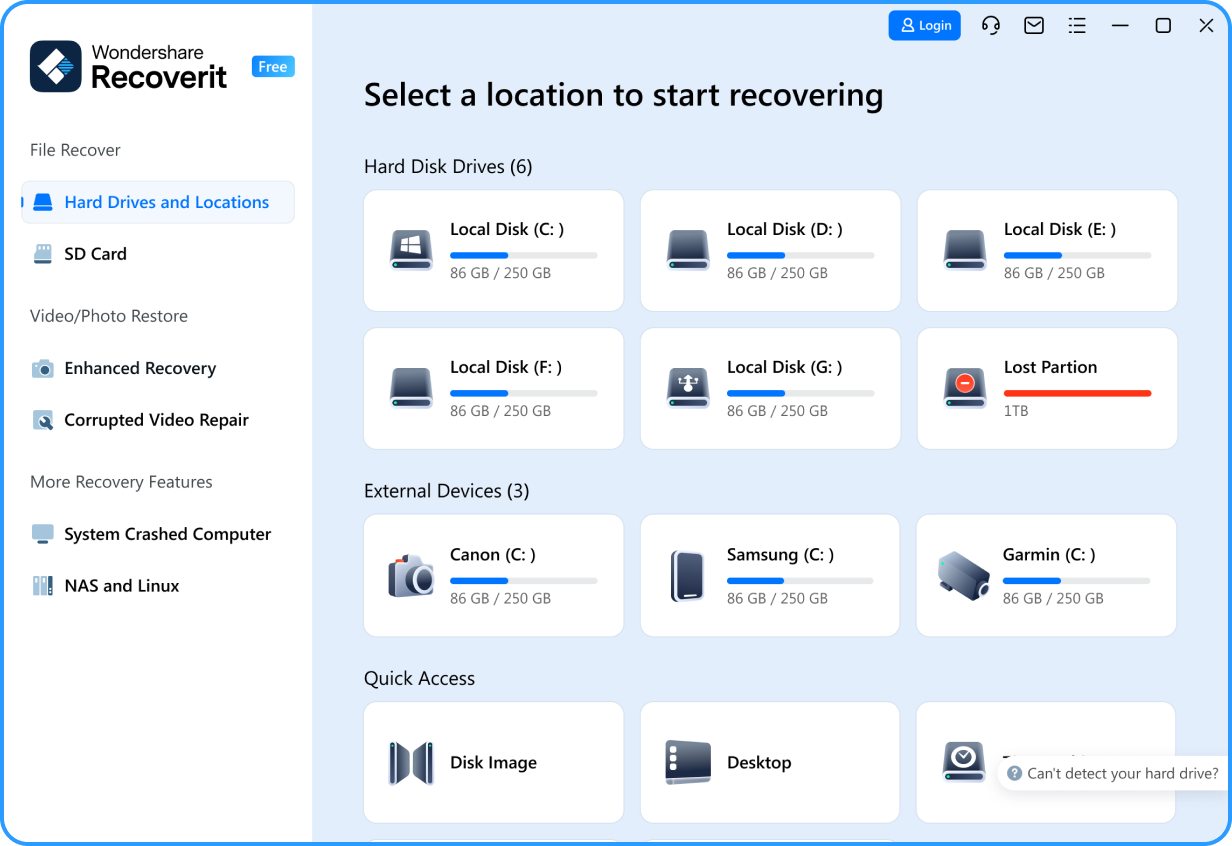
- As soon as you select the drive, the program will start scanning. You can enable the deep scan, pause the process, and view the progress in the next window.

- Filter your files by their type and size for easier access.

- You can also search for specific files by their names.
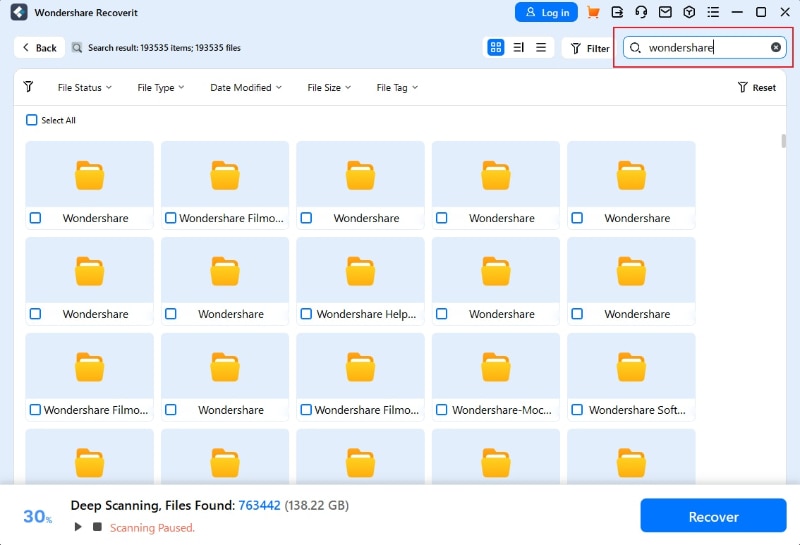
- Once the scan is complete, preview the files and select the ones you wish to save. Click the Recover button.

- Choose where to save the files.

As you can see, Wondershare Recoverit provides numerous customization options, and it's among the easiest recovery solutions you can try to get your erased hard drive data back.
Conclusion
Losing valuable data from your hard drive can be stressful and overwhelming, so we're here to help. We've provided corresponding solutions to help you fix hard drive errors and recover your lost data on the hard drive.
Wondershare Recoverit is highly recommended. It has a 98% success rate, meaning it can recover your data from any loss scenario.


