

 TL;DR:
To fix an external hard drive that is detected but not visible in File Explorer, you can restore access by updating the disk drivers in Device Manager, assigning "Full Control" in security permissions, running command-line repairs, or reformatting the drive to a supported file system.
● Use the Command Prompt to run `chkdsk [drive name] /f /x /r` to fix disk errors, or execute `sfc /scannow` to repair a corrupted file system without losing your stored files.
● If the drive is formatted for a different operating system (such as macOS on a Windows PC), you must use Disk Management to format the drive to NTFS or FAT32, though this action will permanently erase all existing data.
● If data is lost due to formatting, viruses, or file corruption, use Wondershare Recoverit (supported on Windows Vista through 11 and macOS X 10.10 or later) to scan the inaccessible drive and extract the missing files.
Ask AI for a summary
 ChatGPT
 Perplexity
 Gemini
 Claude
 Grok
Grok
You have spent hours working on a document and now want to transfer it to your external hard drive. You connect the drive to your laptop and hear the usual sound that confirms it is plugged in, but it doesn’t show up in File Explorer.
This encounter could be pretty frustrating, especially when you are running late. However, you can overcome the situation by trying some basic fixes. In this article, we will discuss why an external hard drive is detected but not showing up, along with its solutions and recover the lost data.
Try Recoverit to Perform External Hard Drive Data Recovery
 Security Verified. 3,591,664 people have downloaded it.
In this article

Part 1. Why is My External Hard Drive Not Accessible: Understanding The Reasons
Before moving to the solutions, it is essential for you to know why your hard drive is not showing up. Provided below are some of the reasons why this frustrating issue is caused:
- Corrupted File System: One of the reasons your hard drives are unreadable is a corrupted file system. A file can be corrupted because of improper ejection or connection loss during the transfer.
- Missing or Outdated Drivers: All the external storage relies on drivers to communicate with your operating system. These drivers can make the external hard drive not show up if they are outdated or missing.
- Unsupported Drive Format: Your hard drive might become unreadable if it is formatted for a different operating system than yours. A drive formatted for macOS might not show up on a Windows device.
- Hardware Damage: Physical issues can make a drive inaccessible and unreadable to users. The physical damage makes the drive unusable, even if the system might detect a faint signal from the drive.
- Power Supply Problems: If the power supply is disrupted during the file transfer, this can lead to the drive not showing up next time when connected.
Part 2. Potential 6 Fixes of External Hard Drive Detected But Not Showing Up
If your external hard drive does not work, you can use the following system-level fixes that might surely resolve your issues:
1.Check the Hard Drive Itself For Damage
As discussed, physical damage can make an external hard drive partially or fully inaccessible to the system. Check the drive to see if you can see any physical damage, such as scratches or unusual sounds within it. Moreover, plug in the disk and check for vibration or heat by placing your hand over it. If you cannot feel any vibration, the internal components may not be powering up.
2.Consider Restarting Your Computer
Although this external hard drive not opening fix might seem simple, sometimes restarting your PC fixes most of the temporary glitches efficiently. USB controllers can misbehave at times and block access to external devices. A system restart rebuilds those connections and refreshes the drivers to let all processes resume properly. Read the instructions mentioned below to learn how to restart your computer:
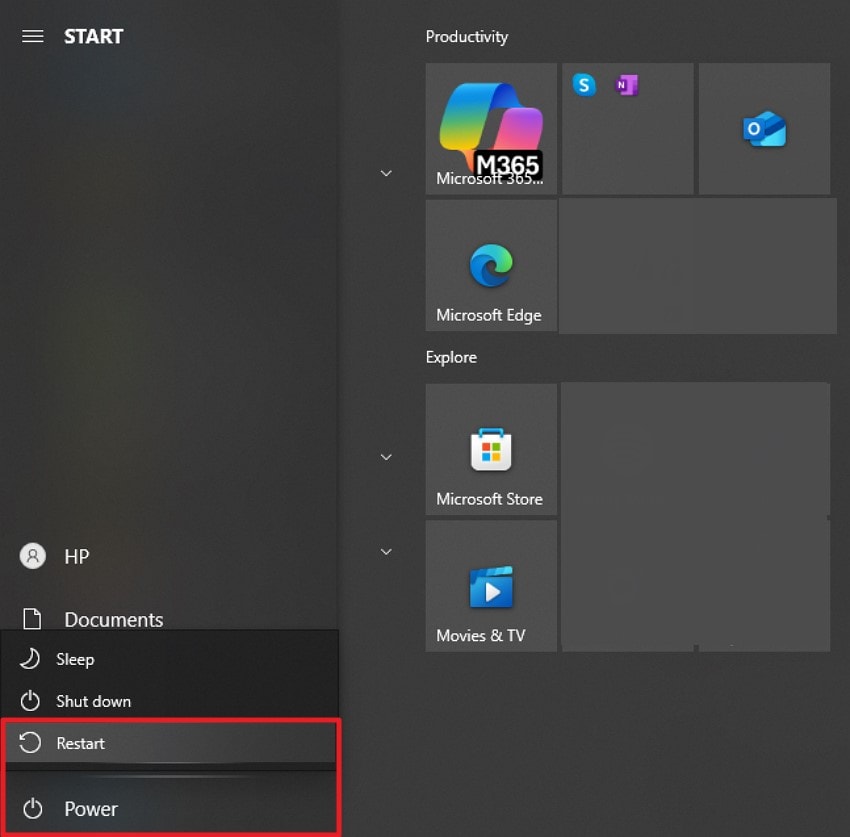
Instructions: Press the "Windows" option located at the bottom left corner of your screen and press the "Power" option. Restart your computer by clicking on the “Restart” button. Plug in your hard drive to see if it shows up in the File Explorer once the system is started successfully.
3.Changing Permission Settings For Accessibility
Your external drive might be hidden due to the system administrator's permission restrictions. This usually happens when the drive is used across multiple systems and devices. Changing the user permissions can resolve the external hard disk not accessible issues. Learn the procedure for changing accessibility permissions by following the steps:
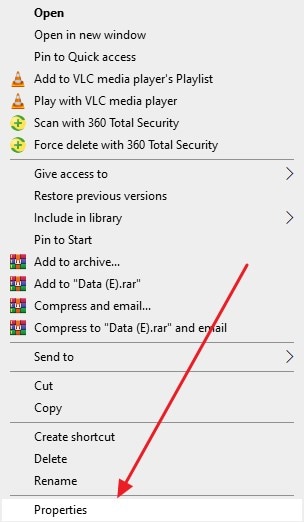
Step 1. Right-click on the drive or folder where the hard disk appears and press the “Properties” option from the expanded list.
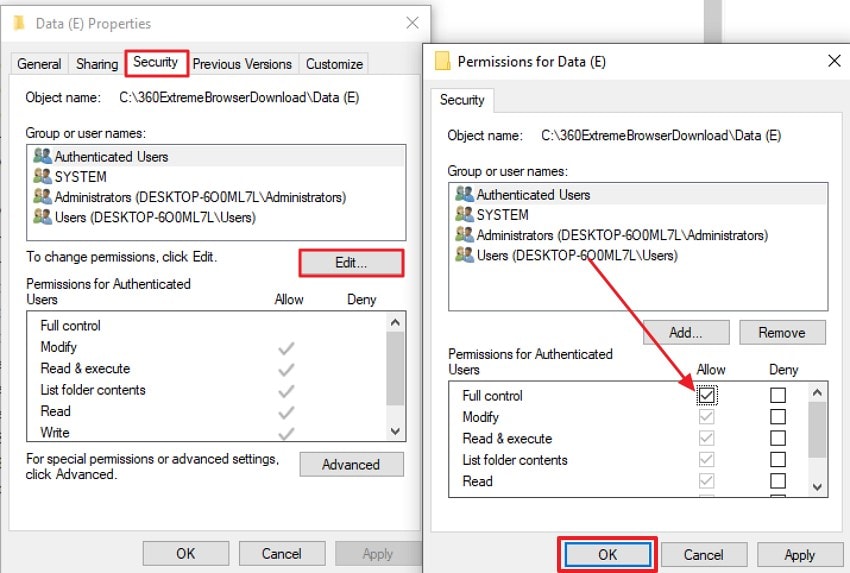
Step 2. Expand the "Security" section and click the "Edit" button. In the following small window, select the user, check the tick box next to "Full Control," and press "OK" after applying.
4.Check Driver Updates on PC
An external hard disk might not show up if the disk drivers are not compatible with the system. These drivers are used to build a connection between the disk and the operating system., They may cause issues with the performance when this connection is unstable. Consider the steps mentioned below to check driver updates on your computer:
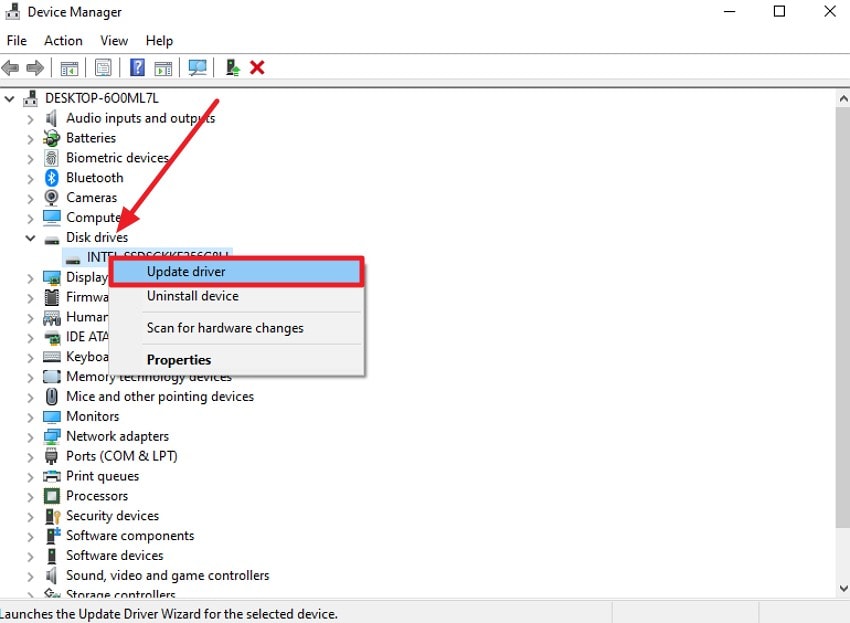
Step 1. Locate the "Disk Drives" option on the list on the left after accessing the Device Manager. Next, expand it and right-click on the driver to choose the "Update Driver" option.
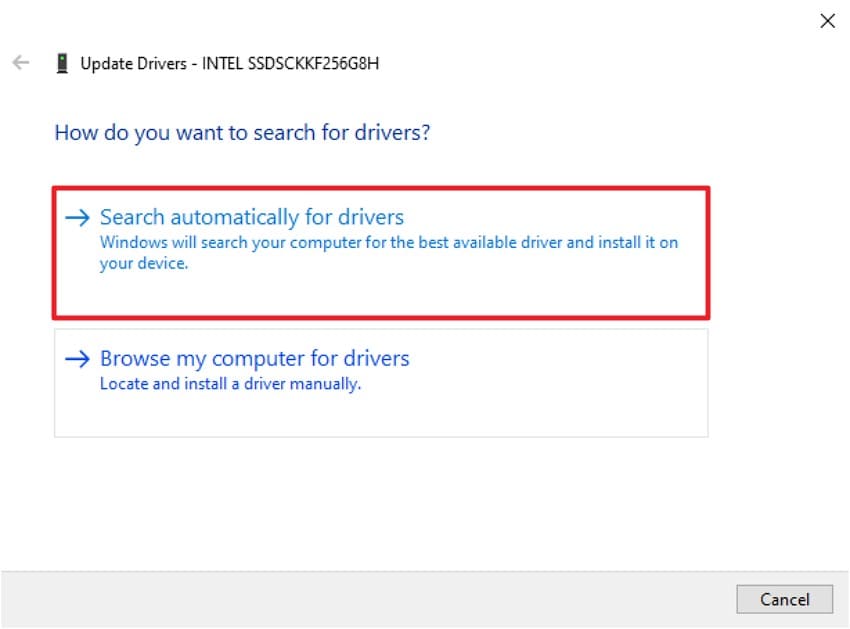
Step 2. In the next window, click the “Search Automatically For Drivers” to let the system automatically update the drivers when needed.
5.Consider Formatting Your Hard Drive From Disk Management
If the drive shows up in the Disk Management system but remains inaccessible in the File Explorer, formatting it would be the fix. Sometimes, unsupported file systems prevent normal access to the external storage. Formatting the drive will erase all the data within it and create a clean structure for the operating system to read. To learn how to open an external hard drive by formatting, follow the guide below:
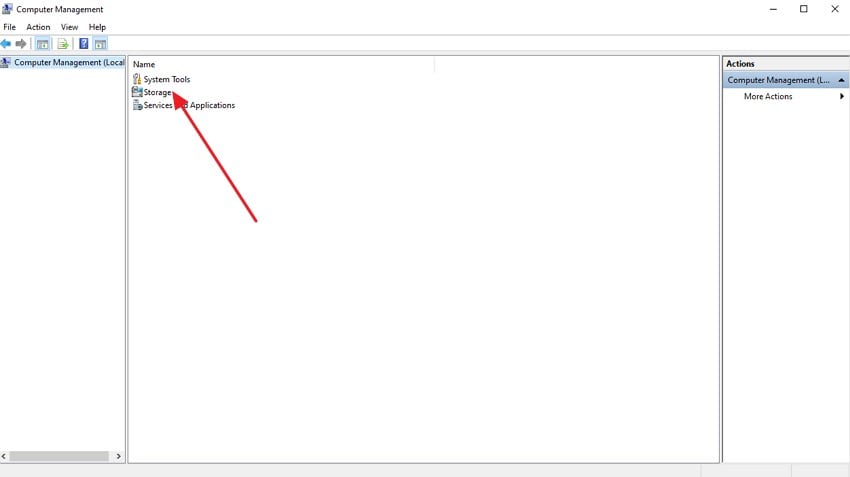
Step 1. Open the “Computer Management” utility of your PC and locate the “Storage” option within the interface. Click on it to open the contents within it in the following window.
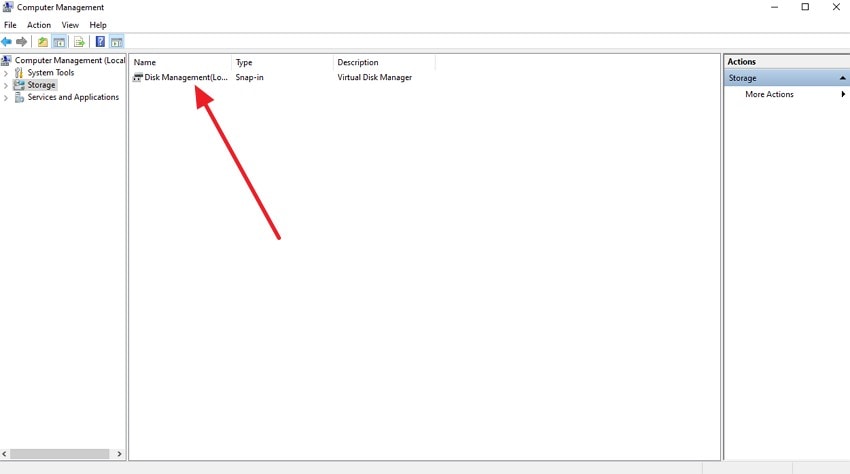
Step 2. Now, press the “Disk Management” option to proceed with formatting.
Step 3. Right-click on the drive and press the “Format” button to format the drive and erase all data successfully.

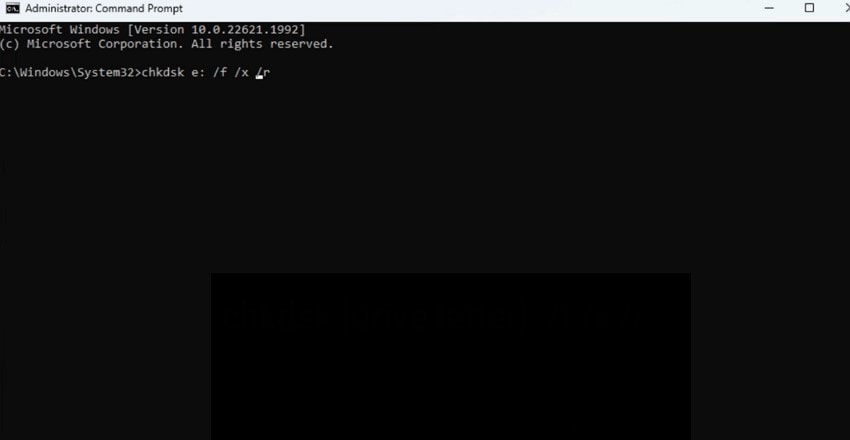
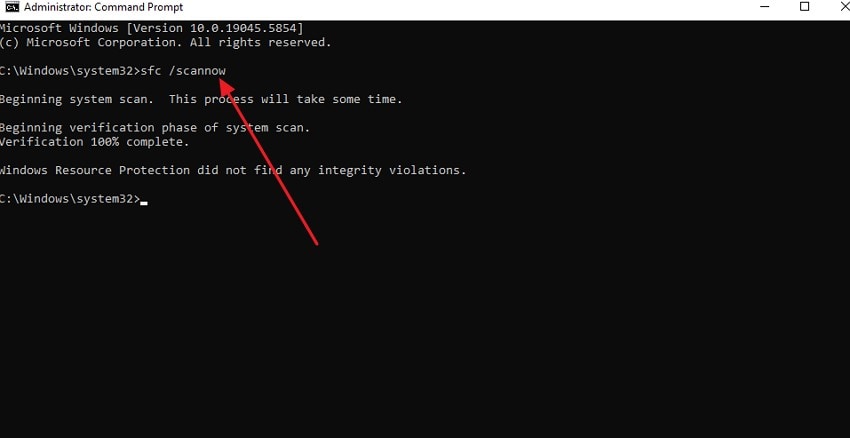
6.Using CHKDSK or SFC Scan For Repair
The SFC and CHKDSK are commands you can use to scan and repair file system errors. The CHKDSK targets issues on the external drive, and SFC repairs the corrupted file system. These commands help in resolving minor issues like file corruption or folder inconsistencies. Running these scans is a smart move if your system detects the drive but can’t interact with it properly. Follow the instructions mentioned below to run these commands on your CMD:
Instructions for CHKDSK: To initiate the process for the external hard drive not showing up, launch the command prompt on your desktop and give the following command: “chkdsk [drive name] /f /x /r.” Then hit the Enter key to run it successfully. The tool will check for any errors on the disk and try to resolve them.
Instructions for SFC Scan: Type: “sfc /scannow” to let the tool begin the scanning process after acquiring the command prompt. It will mention any issue and automatically attempt to repair any corrupted or missing system files.
7. Run Windows Troubleshooter
You can fix specific problems through the Windows troubleshoot utility, which automates the diagnosis and repairs the problem with your computer system. Follow our guide to use the windows troubleshoot utility, which may fix the hard drive inaccessibility issue.
Step 1. Open the Start menu and click on Settings.
Step 2. Click on Troubleshoot and find Hardware and Devices.
Step 3. Click on Run the Troubleshooter.

Step 4. The troubleshooter will start scanning for irregularities in the PC.
Step 5. It will notify you after finishing the scan and will advise you to apply the fix if any problem is detected. Choosing the option will prompt you to restart the computer.

8. Format Drive to NTFS
If your operating system doesn’t support the file system of the external hard drive, it may prevent the drive from being opened. In this case, you can format your external hard drive to NTFS or FAT32.
Follow the steps below:
Step 1. Right-click on the Start menu and select Disk Management.
Step 2. Right-click on the external device and click Format.
Step 3. Fill out the information, and click OK to start the disk format. If you want to perform a deep format, ensure the Perform a quick format option is unchecked.

Part 3. How To Retrieve Important Data from an External Hard Drive That is Lost?
If your external hard drive is not opening or showing an important file within it, you can recover the document using tools like Recoverit. This efficient data recovery tool deeply scans the internal and external storage of your system and helps retrieve the file successfully. Be it a photo, video, or any document, you can get it back using this efficient tool.
The functionality of Recoverit is not limited to Windows devices only; it provides support for more than 2000 devices to recover files efficiently. Additionally, it offers different recovery modes to run more extensive and in-depth scans for critical files. If your file is deleted due to a harmful virus within the system, this tool will recover the data efficiently.
Incredible Features of Recoverit
- Batch File Recovery: Recoverit allows users to retrieve more than one file at once to make the process more accelerated and efficient.
- Preserving Data Formatting: This efficient tool keeps the original formatting of the file intact to make sure your document remains consistent.
- Formatted Device Recovery: If you have formatted a file or folder by mistake, Recoverit can recover the content conveniently.
Steps to Recover Files From an External Hard Drive with Recoverit
If the issue of the external hard disk not accessible is resolved, but the data within it is lost, follow the steps mentioned below to retrieve it using Recoverit:
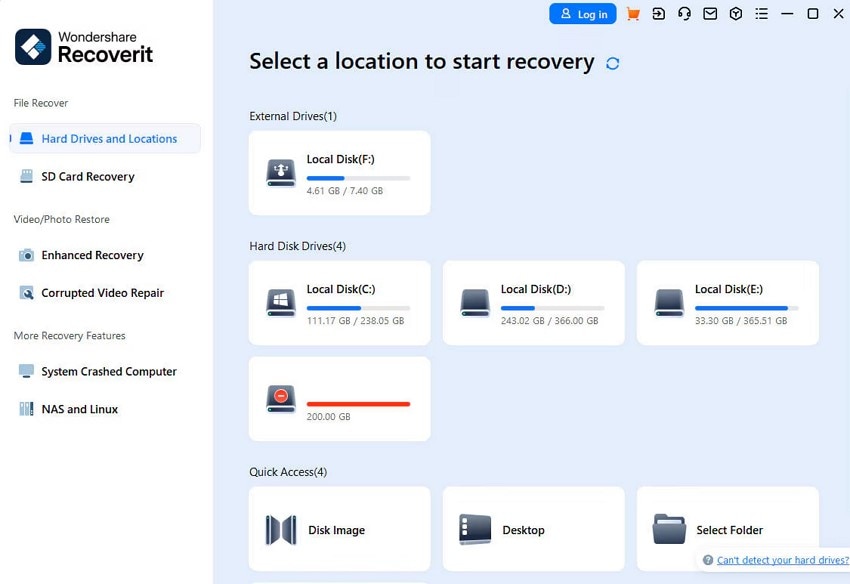
Step 1. Choose the External Hard Drive
After plugging in the hard drive, launch Recoverit within your system and choose the external hard drive from its homepage.
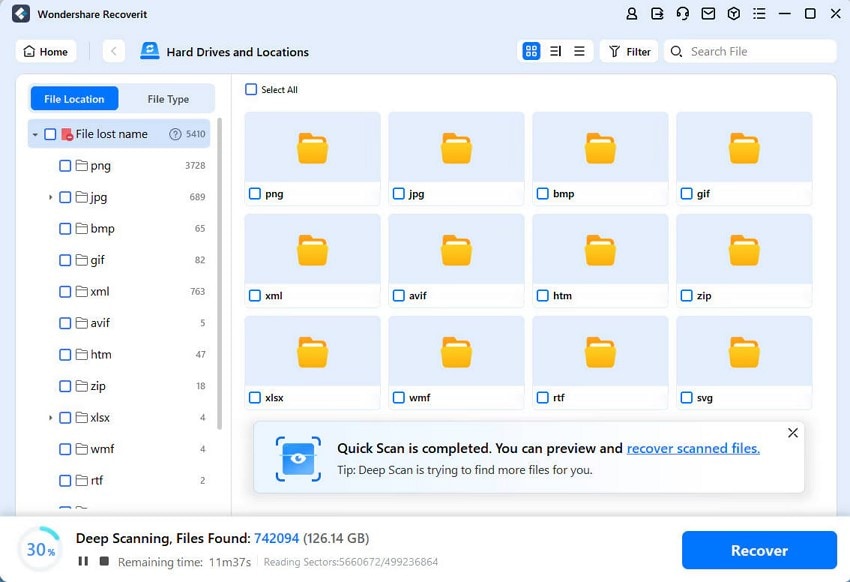
Step 2. Run the Scan on Drive
After choosing the drive, the tool will start scanning your external storage deeply to find all the files within the drive. Next, choose the files that you want to recover by clicking on them and hitting the “Recover” button located at the bottom.
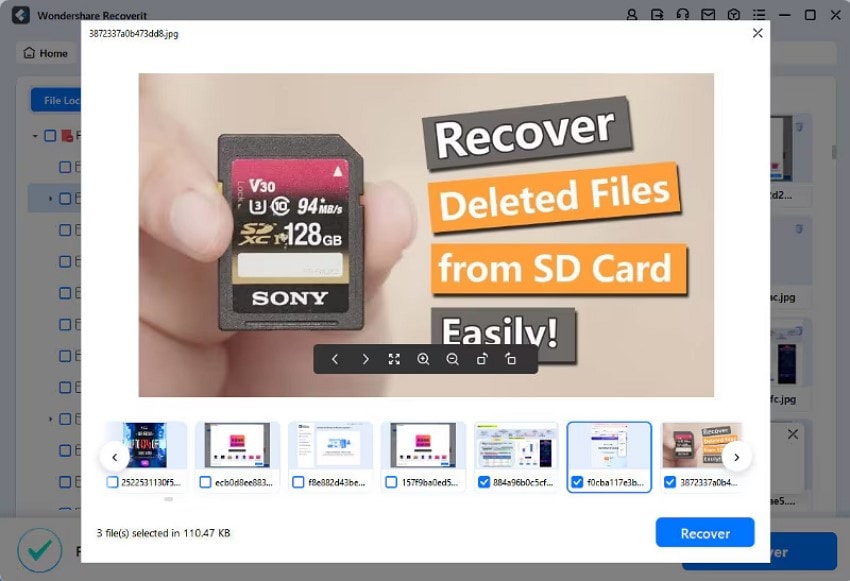
Step 3. Preview the Recovered File
Once the file is recovered within the drive, preview it in the tool and press the “Recover” button located at the bottom to save the recovered file to your device.
Conclusion
To wrap it up, this article discussed how you can fix the external hard disk detected but not opening issue by offering various fixes. However, if your drive is working but the data within it is not accessible, you can use Recoverit to recover the data. The tool uses advanced technology to scan the folder and retrieve your files while keeping the formatting intact.
FAQ
-
What are the causes of a hard disk not being detected by the system?
Many reasons can make your hard drive undetected within the File Explorer, such as physical damage or an unsupported format. Corrupted files can also be one of the reasons why the system is not showing the external drive. -
Does formatting a hard drive erase all its data?
Yes, you lose all the data and files on a disk when you apply formatting, and the process is reversible. Unfortunately, you cannot get back the lost data after formatting the storage. -
How can I recover the erased files from my external hard disk?
You can recover the files you lost from your external hard disk with the help of Recoverit. This efficient tool allows you to recover multiple types of data on various devices conveniently.


