

 TL;DR:
To recover missing or deleted M4A audio files, immediately stop saving new data to the affected drive to prevent overwriting, and restore the tracks using native system backups or raw sector scanning software like Wondershare Recoverit.
● Check your Recycle Bin, Windows Backup, or Mac Time Machine first; if the drive was formatted or the file allocation path is gone, use Recoverit to scan unallocated storage sectors to extract the raw AAC or ALAC data.
● If a recovered M4A file throws an "unsupported format" error due to broken headers or corrupted metadata, use Wondershare Repairit and upload a working M4A reference file from the same recording device to rebuild the audio container.
● For minor container corruption without specialized software, use VLC Media Player's basic repair method to convert and re-encode the broken M4A file into a different audio format to bypass the damage.
Ask AI for a summary
 ChatGPT
 Perplexity
 Gemini
 Claude
 Grok
Grok
The loss of your favorite music tracks or important audio files can be hurtful when they vanish without warning. From an accidental deletion and a system crash to a damaged memory card, the feeling of the sudden loss is the same. All you want are those sounds back, regardless of what it takes. That is where knowing how to bring back M4A files becomes important.
These files store high-quality music or voice recordings and are compatible with many devices. With the right steps and tools, getting them back is possible in most cases. This guide will walk you through everything you need to know about M4A file recovery, using robust approaches. Read on to be ready to recover your audio files and enjoy your music again.
Try Recoverit to Perform M4A File Recovery
 Security Verified. 3,591,664 people have downloaded it.
Part 1. What is the M4A File Format, and Why Do M4A Files Get Deleted?
Before we look at how to recover M4A files, it is vital to know what this data format is. M4A is a common audio file type that stores sound of the best quality in a rather small size. Usually used for music and voice recordings, it can be found on Apple devices and computers. Because of its clear sound and easy sharing, many tend to use M4A for VN and songs.
🔍 Technical Overview: M4A Architecture and Data Vulnerabilities
The M4A file extension represents an audio‑only layer within an MPEG-4 container. Encoded using either lossy AAC (Advanced Audio Coding) or lossless ALAC (Apple Lossless Audio Codec) compression, these files feature a distinct file header prefix (`ftypM4A`). When an M4A file goes missing, the raw audio blocks usually remain intact on your drive; only the file allocation path is removed.
| Data Loss Scenario | Underlying Storage System Behavior | Recommended Recovery Strategy |
| Accidental Deletion | The file pointer is removed; cluster blocks are marked as unallocated space. | Immediate software scan via Recoverit |
| Drive Quick Format | Wipes the file system index table (FAT32/NTFS/APFS) but leaves raw data sectors intact. | Deep Raw Sector Carving |
| Virus/Malware Activity | Corrupts the file header metadata or alters file system permission strings. | Antivirus clearing followed by file repair |
| Interrupted Audio Transfer | Breaks the audio container box structure, leaving a trailing, zero-byte file allocation. | Repairit Advanced Sample Matching |
Part 2. Recover M4A Files in One Click On Your Computer: Recoverit
When it comes to fast audio recovery, it’s helpful to know a tool that makes the process nearly effortless. Meet Recoverit, a trusted software designed to simplify M4A file recovery on both Windows and Mac systems. Built to extract your erased content from any device, it can deep scan storage drives ranging from SD cards to USB sticks. It claims a high recovery rate and can preview found files before retrieval.
The program handles more than 500 real‑life loss situations, from deletion and malware to formatting and partition losses. Its patented technology ensures minimal impact on your original drive by using safe disk‑imaging methods. The content within the targeted drive is not at risk during any recovery operations. With the ability to recover 1000+ data types, Recoverit is your friend in all tricky situations.
Key Features
- Bootable USB Recovery: When a computer fails to start, Recoverit helps you access data by making a bootable USB disk to get back lost files.
- NAS and Linux Devices: It supports retrieving files stored on network storage and from Linux file systems, a feature uncommon in similar tools.
- Advanced Video Repair: Beyond recovery, the offered tools can fix broken or unplayable video files if they were retrieved in a badly damaged state.
Step-by-Step Manual: Deep-Scanning M4A Audio Slices via Recoverit
To rescue lost M4A files from internal hard drives, external SSDs, SD cards, or digital voice recorders, stop writing new data to the affected device immediately and follow these steps:
- Launch Recoverit and Select Your Target Storage Device
Open Wondershare Recoverit on your system. Navigate to the Hard Drives and Locations panel on the primary dashboard. Under the storage list, click the specific drive partition or external storage media where your M4A audio files were last stored, then click Scan.
- Isolate M4A Files Using the Advanced Filter Console
While the deep-carving engine scans your drive sectors, you don't have to wait for the entire process to finish. Go to the right-hand panel, click the File Type dropdown, select Audio, and filter by M4A. You can also filter by file size or modified date to find specific missing tracks faster.
- Preview Audio Metadata and Extract to a Safe Location
Once the scan completes, double-click any found M4A file to open the built-in preview console and check the file's metadata and audio structure. Select the checkboxes next to the files you want to retrieve, click Recover, and choose a storage destination on a completely different drive to avoid overwriting your data.

Part 3. M4A File Recovery: Native Approaches to Get Your Audio Files Back
Not every situation needs extra software to recover M4A files, as some devices offer native options that can help bring back lost audio. Provided below are some quick and natural methods you can try on your system for the first attempt:
Way 1. Use the Recycle Bin
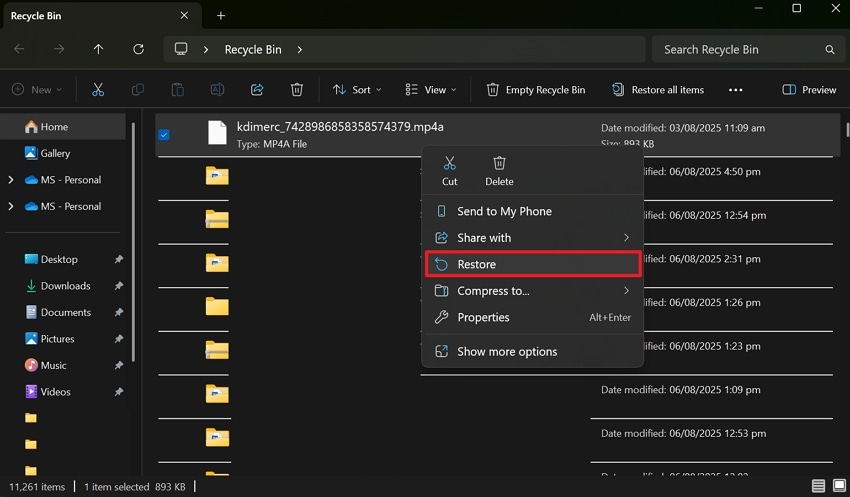
The Recycle Bin is usually the first place to check when your M4A audio file disappears. Many files that get deleted by mistake go there first before being removed fully. If you act quickly, you can restore them with just a few clicks. This native option makes M4A file recovery simple, especially if the file was recently deleted. Let’s look at how you can use it to bring your audio back:
For PC
Instructions: Get to the Recycle Bin of your computer to view all the deleted files and locate the targeted M4A ones. When found, right-click the desired audio and opt for “Restore” from the context menu to get it back in the original folder.
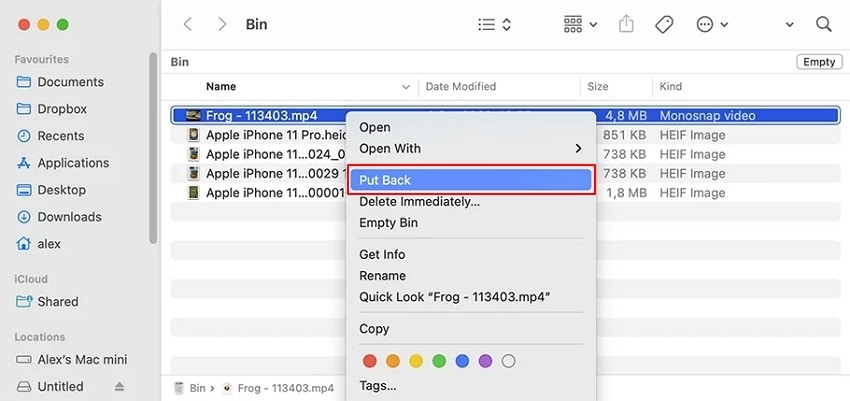
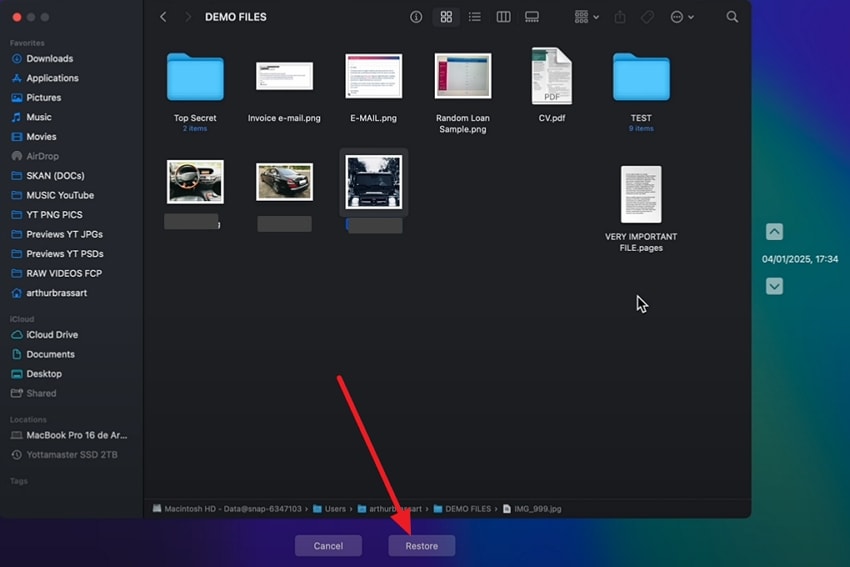
For Mac
Instructions: Here, tap the “Trash” icon from the Dock to browse and find the M4A files in this utility. Subsequently, opt for the “Ctrl + Right Click” combination to choose “Put Back” from the drop-down menu to restore it.
Way 2. Restore Windows Backup
If your M4A file isn’t in the Recycle Bin, don’t worry, as hope still exists. Windows has a native backup feature that automatically saves copies of your files. With this option turned on, you get a chance to recover M4A files from an earlier backup. This method works well when the file was removed days or even weeks ago. Thus, take guidance to find out how you can use this helpful tool for recovery:
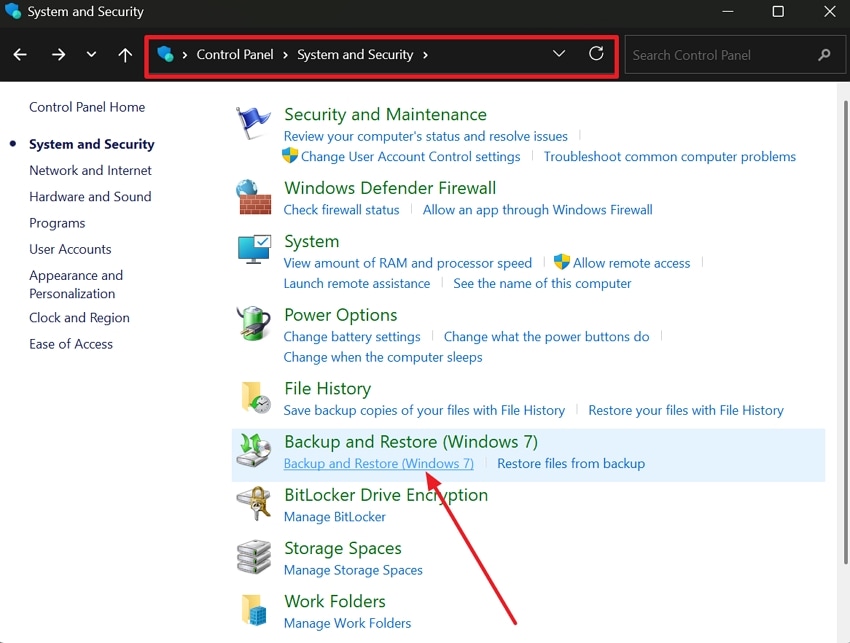
- Run the “Control Panel” on your PC via the Windows search and move to the “System and Security” tab. Here, click the “Backup and Restore (Windows 7)” option and opt for “Restore My Files” to continue.
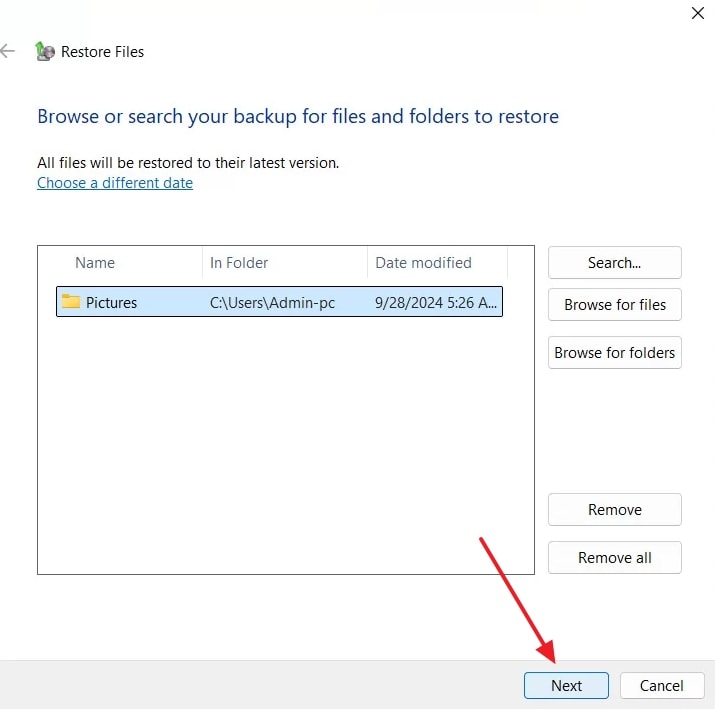
- Following that, press the “Browse for Files” button on the upcoming window and locate the targeted M4A audio in the backup. Later, you need to hit the “Add Files” button to get them on the “Restore Files” screen. Moving forward, press “Next” and opt for the location to store the recovered M4A audio.
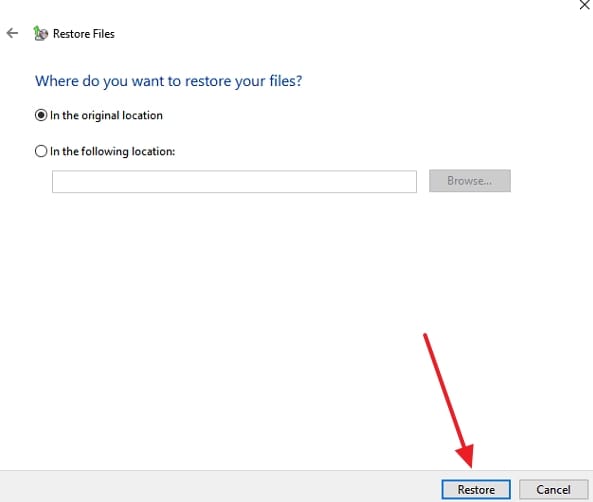
- Afterward, specify the location again and press the “Restore” button to allow the system to restore your files from the backup.
Way 3. Use Time Machine
For Mac users, a smart built-in tool called Time Machine can help with M4A file recovery. This function automatically saves older versions of your files, so you can go back and get them if something gets erased. As long as Time Machine was set up before the file was lost, this method can quickly bring back your missing audio. Follow these steps to use this technique for file recovery easily:
- Kickstart the task by linking the external storage disk with the Time Machine backup and letting Mac recognize it. Get to the folder where the lost M4A files were last stored (for example, Downloads or Music).
- Afterward, tap the Time Machine icon in the menu bar or run the utility from the Launchpad. At this point, utilize the arrows or timeline slider to get to the suitable backup.
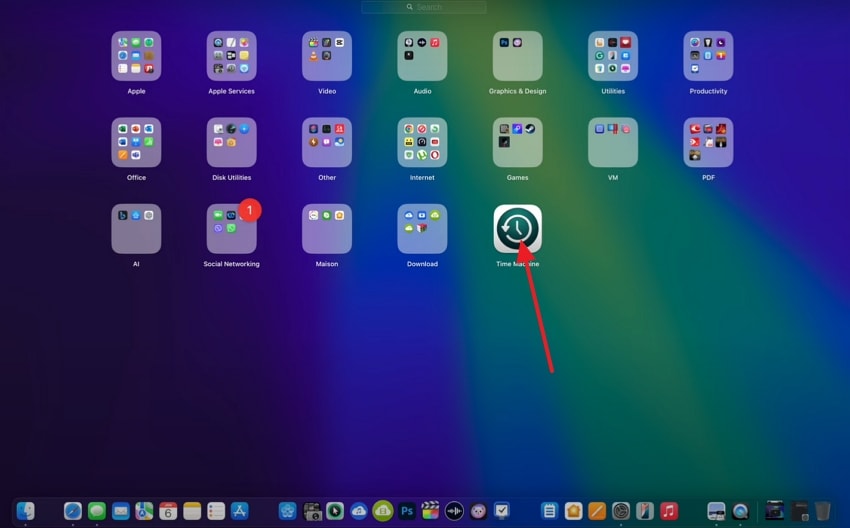
- Afterward, tap the Time Machine icon in the menu bar or run the utility from the Launchpad. At this point, utilize the arrows or timeline slider to get to the suitable backup.
📊 Choosing Your Fix: Missing vs. Corrupted M4A Files
Depending on how your files were lost or damaged, you will need a specific utility to recover your audio. Use this diagnostic matrix to choose the right path for your files:
| Audio File Condition | Root Technical Problem | Recommended Tool & Solution |
| File is missing entirely | Storage sectors are marked as empty; file pointers are gone. | Wondershare Recoverit: Scans raw storage space to restore the original file mapping. |
| Drive is unreadable / formatted | The file allocation table is damaged or missing. | Wondershare Recoverit: Bypasses filesystem layers to find raw audio signatures. |
| File is found but won't play | The metadata container or file header (ftyp) is broken. | Wondershare Repairit: Rebuilds internal audio frame structures. |
| Audio has static or clipping | Raw bitstream frames were corrupted during a system crash. | Wondershare Repairit: Uses AI sample matching to clean up damaged audio streams. |
Part 4. Did Your Recover Corrupted M4A File? Fix It With Repairit
When you've managed to recover an M4A file but find it won’t play or seems damaged, a second step is needed. Luckily, there’s a tool made for this: Repairit, which offers a dedicated audio‑repair function. It can recover corrupted M4A files, restoring them to working condition quickly and safely. From audio clipping and humming to rumbling and static noise, Repairit can fix all such issues with ease.
It is powered by smart AI technology that delivers quality results and lets you preview your repaired file before saving it. Plus, users can even repair multiple audio file formats, such as MP3, WAV, and FLAC. In addition to audio files, this dedicated tool can also repair multimedia and documents. With batch processing, fixing many audio files at once becomes a breeze while keeping your original files safe.
Key Features
- Advanced Repair Mode: When a file is badly damaged, you can add a working file, so Repairit uses it as a reference to fix the broken one.
- Works with HD Media: It can handle files in high resolutions for video and image repair, ranging from HD and 4K to 6K and 8K.
- Professional Repair: This dedicated program even supports professional video format repair, including RAW, LOG, and BRAW.
Step-by-Step Manual: Rebuilding Broken M4A Container Headers via Repairit
If your M4A file was recovered but throws an "unsupported format" or "codec missing" error when loaded into media players, the underlying file container is likely broken. Follow these steps to fix the audio structure:
- Navigate to the Audio Repair Module
Open Wondershare Repairit on your PC or Mac. Locate the left-hand navigation sidebar, click on More Types Repair, and select the Audio Repair option by clicking the Start button.
- Import Corrupted M4A Files and Provide a Reference Track
Click the + Add button to load your unplayable M4A files. For badly damaged files, the program will prompt you for a sample file. Upload a working M4A file recorded on the same device or from the same source to help the tool rebuild the broken file header.
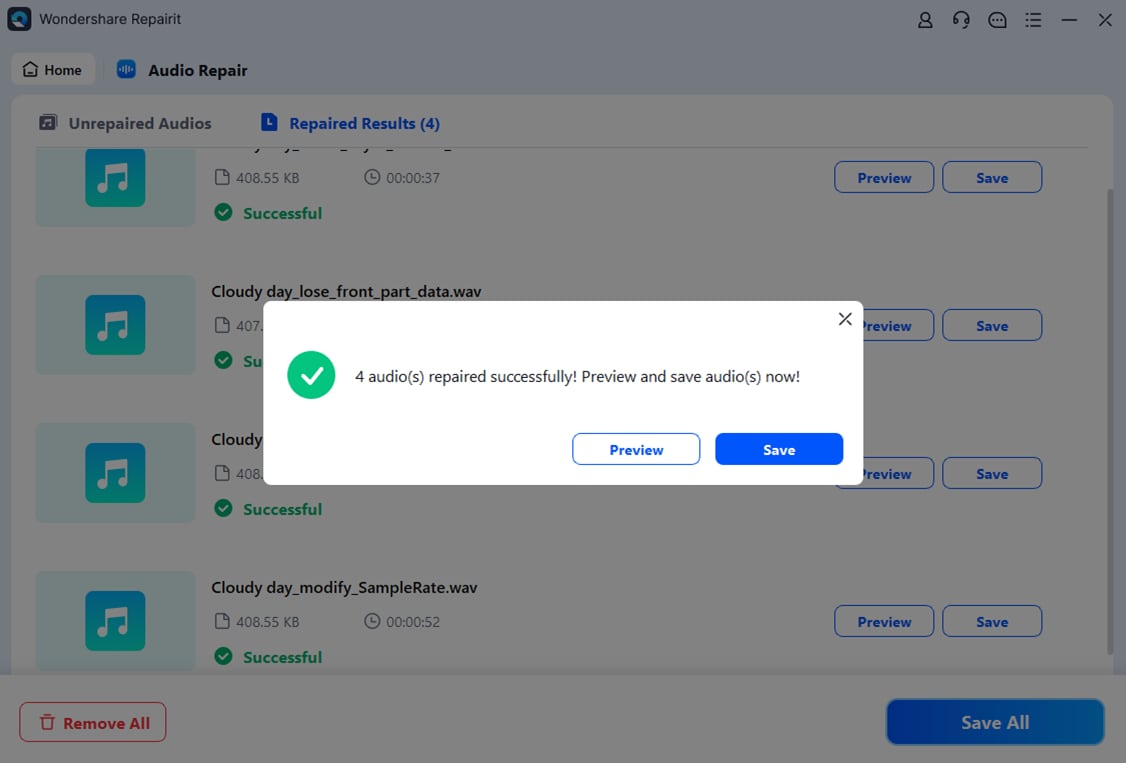
- Run the Repair Process and Export Your Audio
Click the Repair button to let the software rebuild your file's sample rate and codec structures. Once finished, click Preview to listen to the repaired track. If it sounds clear, click Save All and choose a secure folder directory to export your fixed audio.
Conclusion
In summary, losing your audio doesn’t mean losing it forever. From native options to powerful tools like Recoverit, M4A file recovery can be simple and stress-free. By understanding why files get deleted and using the right steps, you can bring your M4A files back to life. You do not even need to worry about damaged or corrupted audio, as Repairit can fix it in minutes.
FAQ
-
1. Can I use VLC to fix a corrupted M4A file?
VLC Player offers a basic repair method that involves converting the corrupted M4A into another audio data type. You can still perform this conversion even if it doesn’t open in VLC initially. This re‑encoding usually bypasses container corruption, making the audio playable again. -
2. Does Repairit support audio captured from mobile or voice memo apps?
Absolutely. Repairit can fix M4A files from damage across many sources, including phone voice recorder apps and meeting recordings from Zoom or Teams. You can even employ it for portable recorders, DSLR camera audio, and more. It works even if the file came from a phone or external device. -
3. Will metadata or tags affect M4A recovery or playback?
Corrupted metadata or header info can block playback, even if the audio data remains intact. Tools like Repairit or online services clean or rebuild this metadata layer, so the file plays correctly. After repair, your tags might be preserved or lost, depending on the quality of the tool employed for this purpose. -
4. Can I recover an M4A file that was deleted a long time ago?
Doing that is still possible if the file space hasn’t been overwritten. Tools like Recoverit scan the entire drive deeply to find still‑intact file data. Even weeks-old deletions may reappear during a deep scan, though earlier action gives the best chance.


