

 TL;DR:
To resolve an HP laptop stuck in a 20 to 60-minute "Preparing Automatic Repair" loop caused by corrupted system files or registry errors, access the Windows Recovery Environment (WinRE) to execute command-line repairs or perform a hard reboot by holding the power button for 15 seconds.
● Rebuild the Boot Configuration Data (BCD) by navigating to WinRE Advanced Options > Command Prompt and running the exact sequence: bootrec /fixboot, bootrec /scanos, and bootrec /rebuildbcd.
● Bypass the boot loop entirely by disabling the automatic repair trigger; open the WinRE Command Prompt and input "bcdedit /set {current} recoveryenabled No".
● If the system remains unbootable and data is inaccessible, you must use a separate, functional computer to install Wondershare Recoverit and create a bootable USB drive to extract your files.
Ask AI for a summary
 ChatGPT
 Perplexity
 Gemini
 Claude
 Grok
Grok
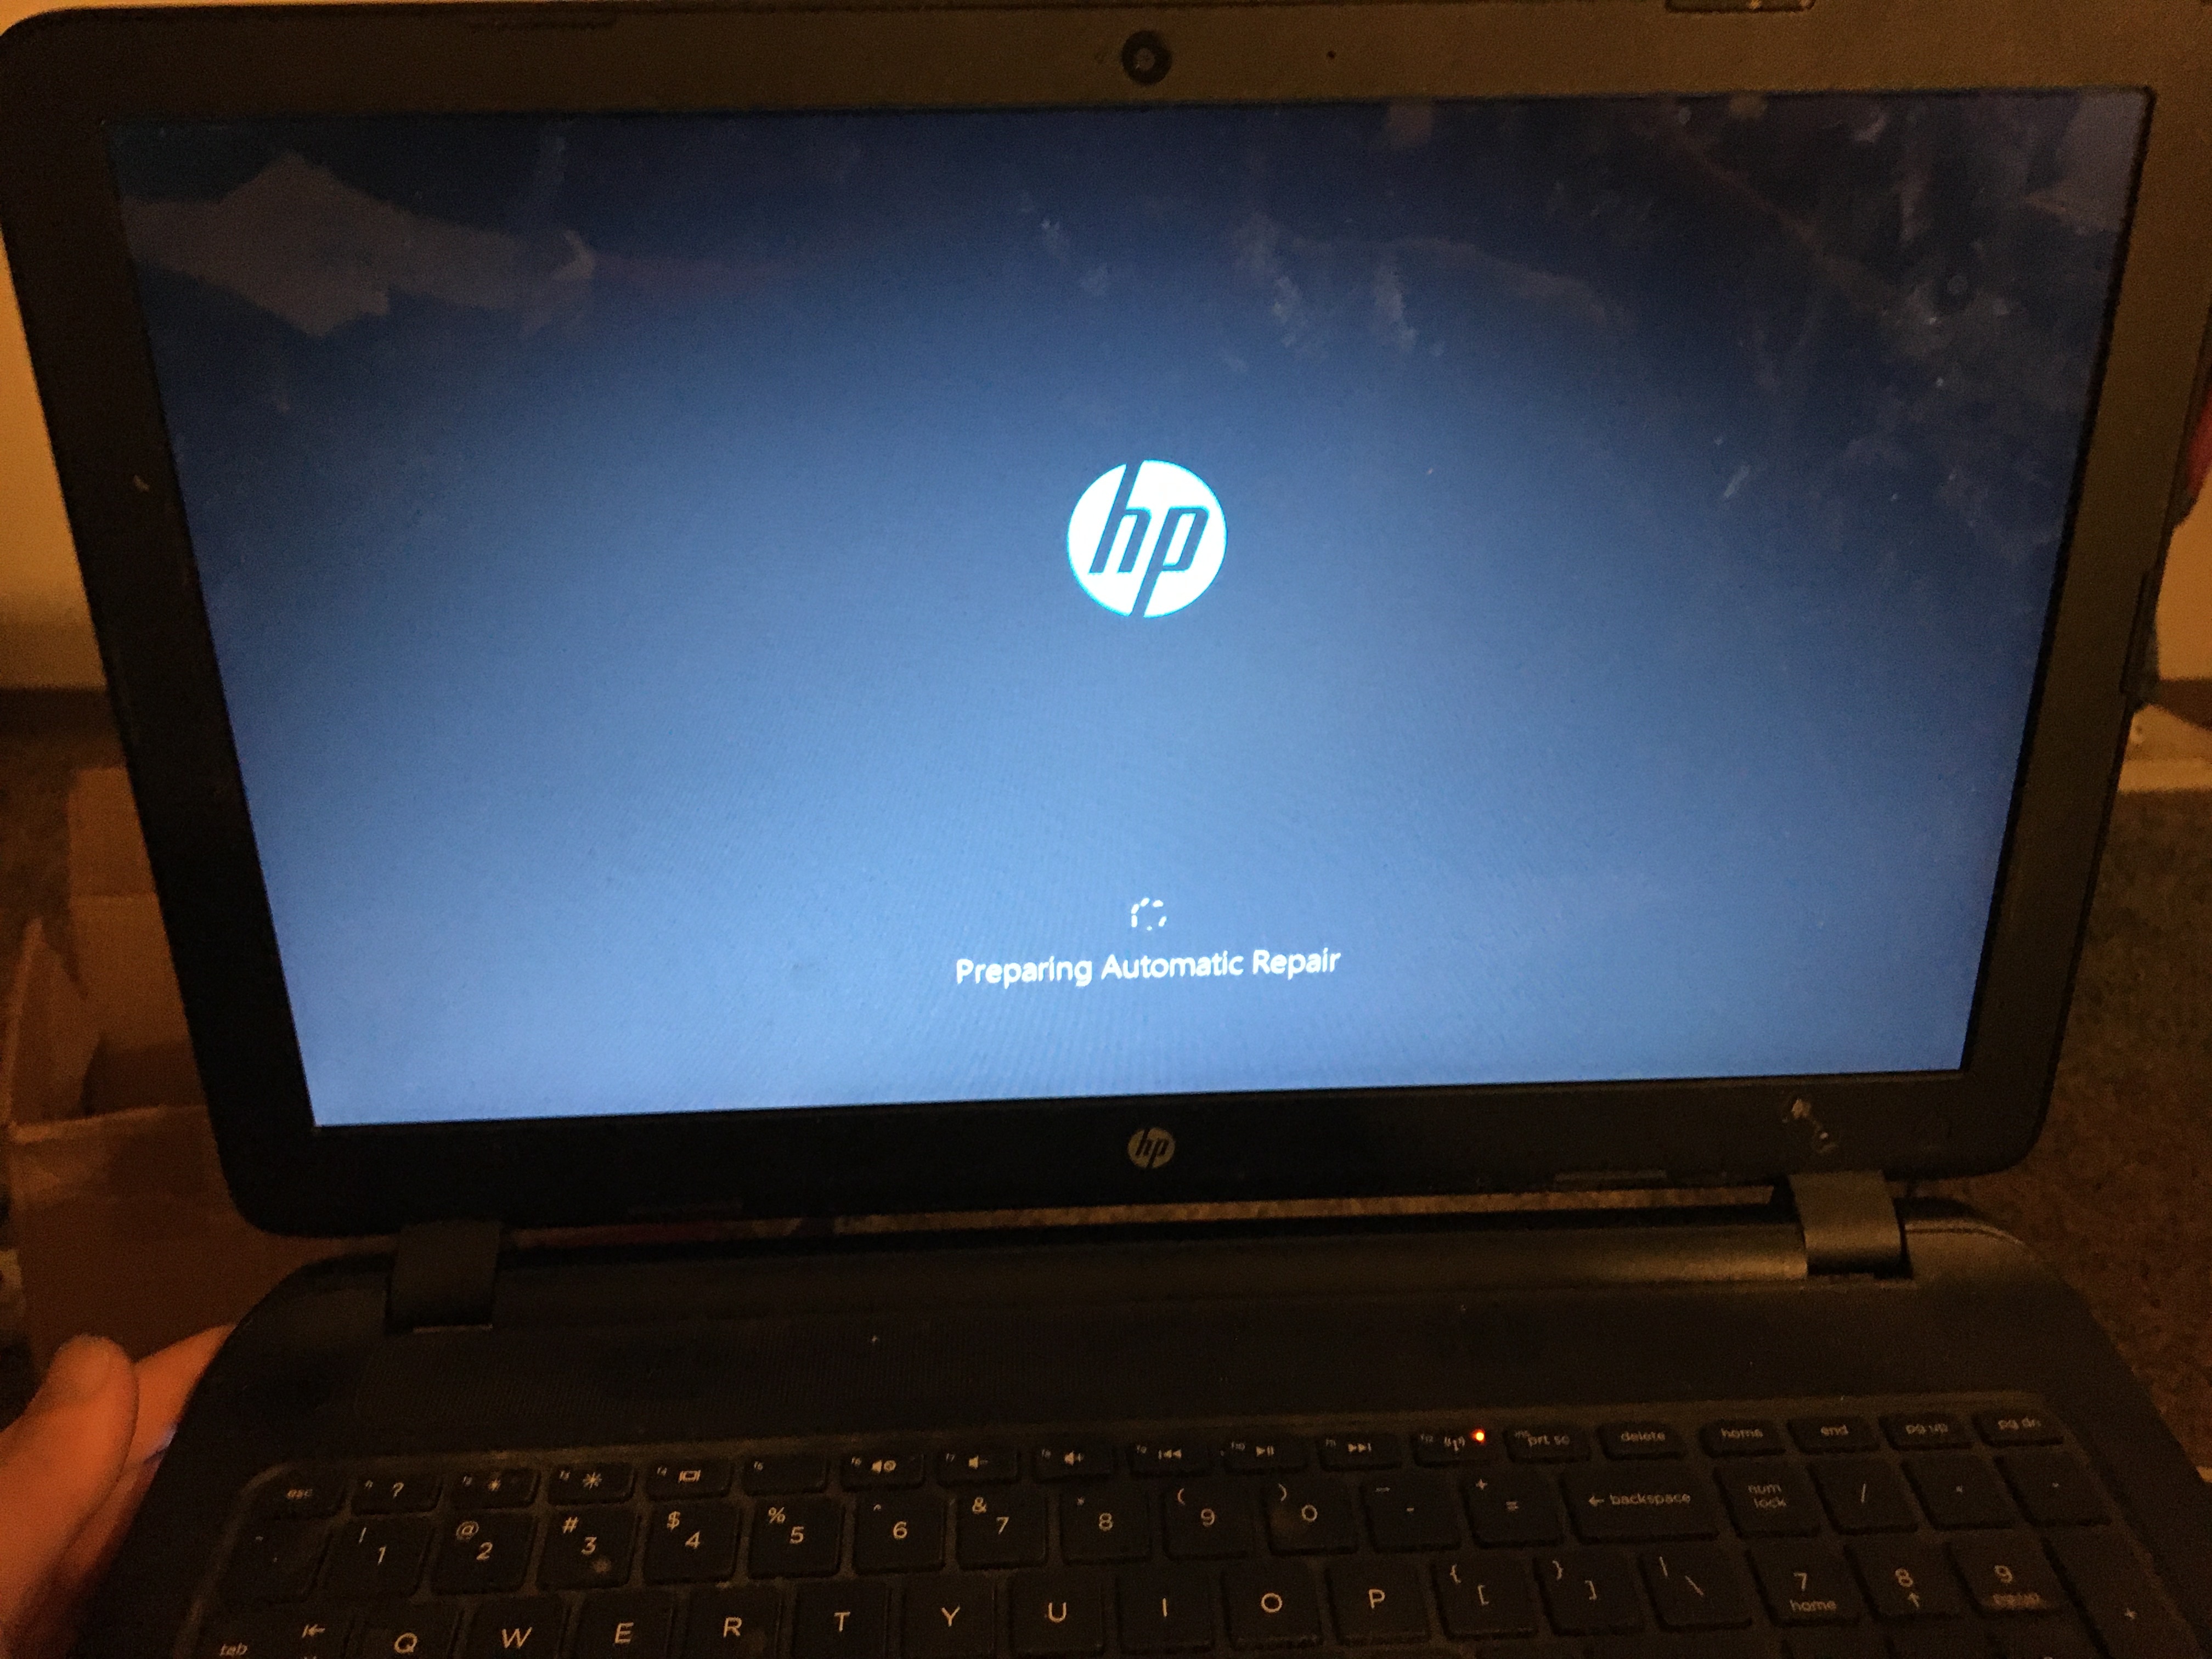
When an HP laptop stays on Preparing Automatic Repair, Windows is usually trying to diagnose a startup failure. The issue may come from corrupted system files, failed updates, driver conflicts, disk errors, boot configuration damage, or hardware problems.
If the screen has been stuck for less than an hour, wait and keep the laptop connected to power. If it loops repeatedly or never reaches Windows, protect your data first, then use Windows Recovery Environment, Startup Repair, Safe Mode, HP hardware diagnostics, and command-line repair in a careful order.
Try Recoverit to Perform HP Laptop Data Recovery
 Security Verified. 3,591,664 people have downloaded it.
In this article
-
- Solution 1. Reset HP Laptop with Tweaking
- Solution 2. Boot HP Laptop in Safe Mode
- Solution 3. Rebuild BCD with the Prompt
- Solution 4. Run the Fixboot and CHKDSK
- Solution 5. Perform a Hard Reboot
- Solution 6. Disable Automatic Repair
- Solution 7. Reset Registry
- Solution 8. Extend System Reserved Partition

Part 1: What Does Automatic Repair Mean? And How to Start?
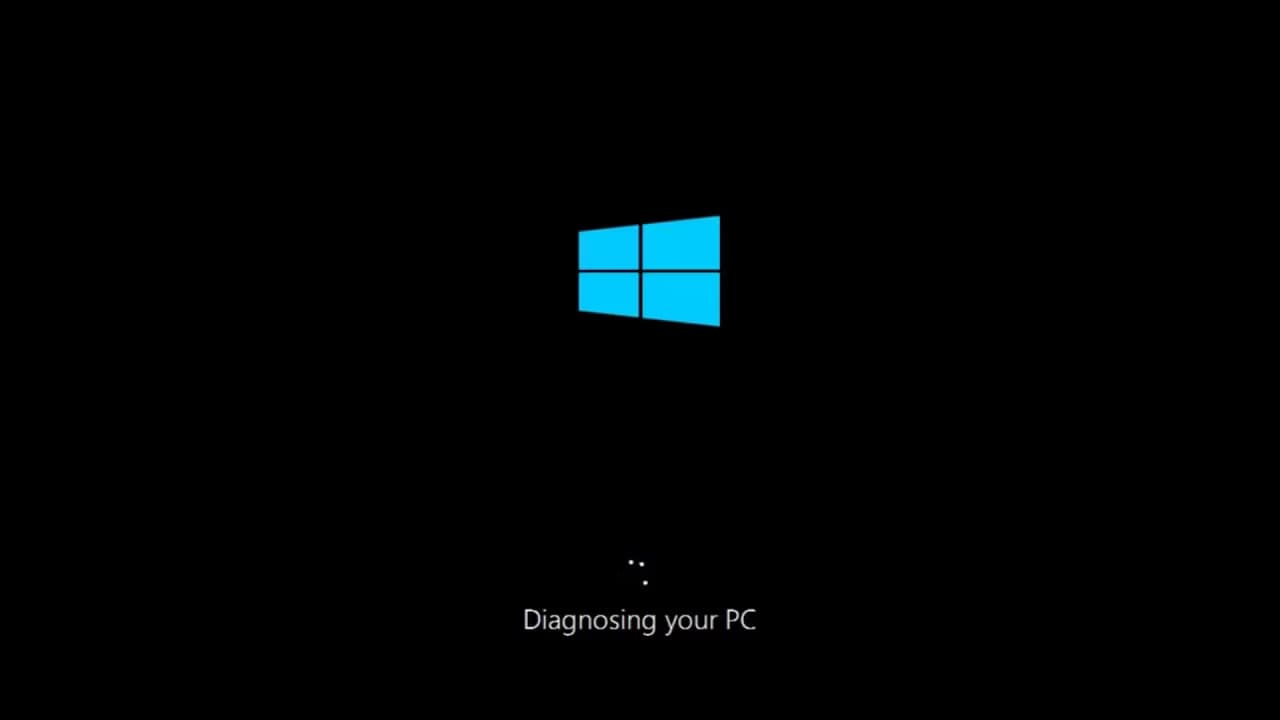
Automatic Repair, also called Startup Repair in Windows Recovery Environment, is designed to fix problems that stop Windows from booting normally. It may repair startup files, rollback certain startup problems, or direct you to advanced recovery options.
- If Windows fails to boot several times, it may automatically enter Windows Recovery Environment.
- If you can reach the sign-in screen, hold Shift and select Restart.
- If Windows cannot start, power on the HP laptop and interrupt boot several times only if necessary to trigger WinRE.
- You can also boot from a Windows installation USB and choose Repair your computer.
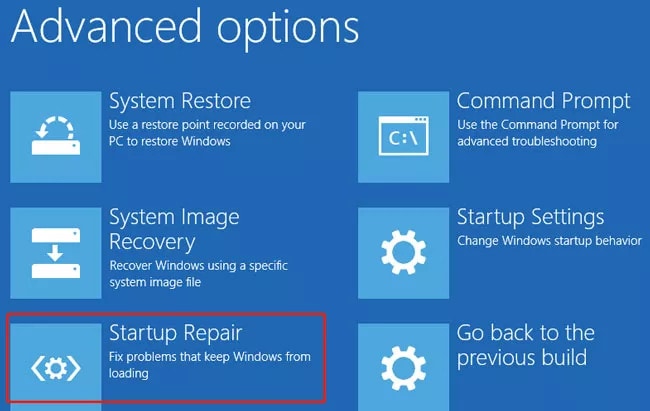
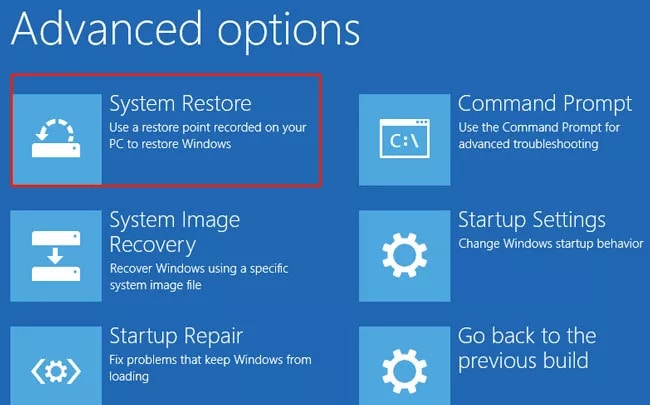
- In WinRE, choose Troubleshoot, then Advanced options, then Startup Repair.
- Let Windows complete the repair and restart the laptop.
F8 key may not reliably open Advanced Boot Options on modern Windows 10/11 HP laptops. Use WinRE, Windows installation media, or HP startup menu options instead.Guide you on all the tip methods using which you can fix Windows 10/11 preparing automatic repair black screen problems.
Part 2: Possible Causes for HP Laptop Stuck on Preparing Automatic Repair
The cause of an HP laptop automatic repair loop can be software, boot configuration, disk health, or hardware-related. Use the symptoms below to choose the safest first fix.
| Symptom | Likely Cause | Best First Check |
| Loop started after a Windows update | Failed update or driver conflict | Uninstall latest update or boot Safe Mode |
| Loop started after installing software or antivirus | Startup conflict or security software failure | Boot Safe Mode and uninstall the recent program |
| Blue screen or disk error appears | File system damage or storage issue | Run chkdsk and HP hardware diagnostics |
| No boot device or boot error appears | BCD, bootloader, or drive detection problem | Check BIOS storage detection and rebuild BCD |
| Laptop freezes, clicks, overheats, or fails diagnostics | Hardware failure | Run HP PC Hardware Diagnostics UEFI |
| Important files are inaccessible | Windows cannot boot or profile cannot load | Use Wondershare Recoverit bootable recovery first |
Exploring various fixes to know how to fix the 403 forbidden error.
Part 3: Workable Solution: Solve HP Laptop preparing automatic repair Issue
Encountering HP laptops preparing automatic repair issues can often be a problem for many, especially data loss. However, these issues can be fixed as long as you're following the right methods.
Below are the top methods on how to fix HP preparing automatic repair stuck issue in your system:
Fix HP Automatic Repair Loop in the Right Order
| Priority | Action | Why It Comes First |
| 1 | Wait, connect power, and disconnect external devices | Prevents interrupting a real repair process |
| 2 | Perform an HP hard reset | Clears temporary power and device conflicts |
| 3 | Run Startup Repair from WinRE | Uses Microsoft built-in startup repair first |
| 4 | Boot into Safe Mode | Lets you remove faulty drivers, updates, or apps |
| 5 | Run HP hardware diagnostics | Checks memory and drive failures before deeper repairs |
| 6 | Run chkdsk, sfc, DISM, or BCD repair |
Targets disk, system files, and boot configuration |
| 7 | Recover data with Wondershare Recoverit | Protects files before reset or reinstall |
| 8 | Reset this PC or reinstall Windows | Last resort after data is safe |
Solution 1: Enter Safe Mode and Remove Recent Changes
Use Safe Mode when the HP automatic repair loop started after a driver update, Windows update, antivirus installation, or new software installation.
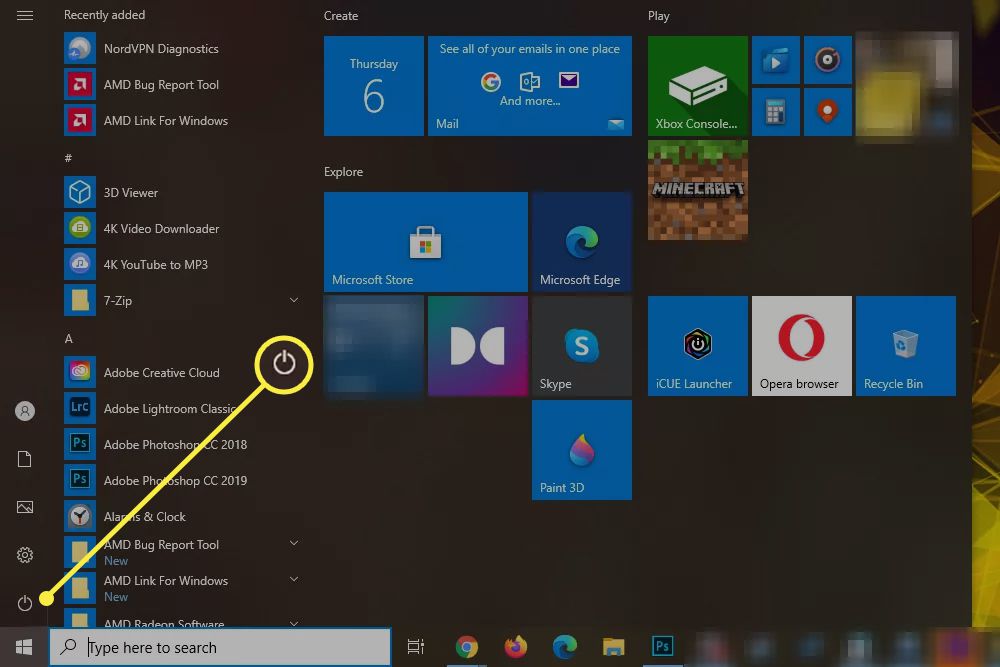
- Enter Windows Recovery Environment.
- Choose Troubleshoot, then Advanced options.
- Select Startup Settings, then click Restart.
- Press the number key for Enable Safe Mode or Enable Safe Mode with Networking.
- After Windows starts in Safe Mode, uninstall recently added drivers, updates, antivirus tools, or system utilities.
- Restart the HP laptop normally and check whether the automatic repair loop is fixed.
Solution 2: Repair Disk, System Files, and Boot Configuration
If Startup Repair fails, use Command Prompt in WinRE to check the disk, system files, and boot configuration. Be careful because the Windows drive letter may not be C: inside WinRE.
- Go to Troubleshoot, then Advanced options, then Command Prompt.
- Type
diskpart, thenlist volumeto identify the Windows partition letter. Typeexitto leave DiskPart. - Run
chkdsk C: /f /r, replacingC:with the correct Windows drive letter if different.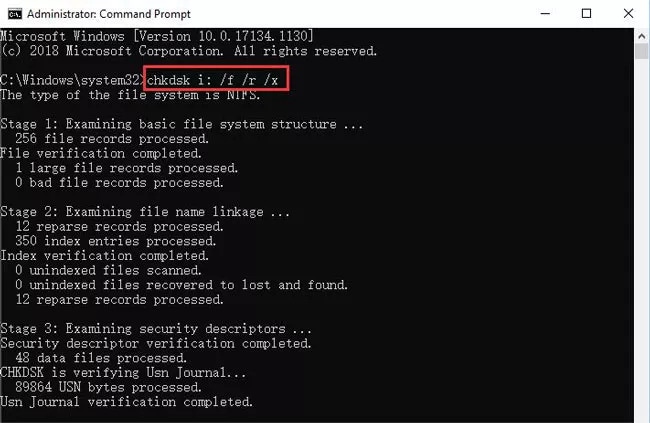
- Run
sfc /scannow /offbootdir=C:\ /offwindir=C:\Windows, adjusting the drive letter if needed. - If boot configuration is damaged, run
bootrec /scanosandbootrec /rebuildbcd.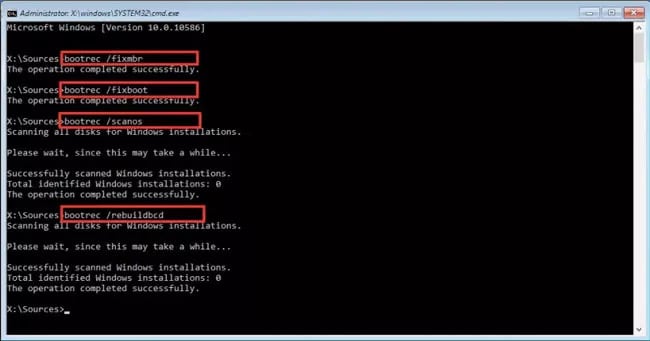
- Type
exitand restart the laptop.
bootrec /rebuildbcd, not bootrec /rebuildbc. The system file checker command is sfc /scannow, not SFC /scan now.Solution 3: Hard Reset, HP Diagnostics, and Last-Resort Reset
If software repair does not work, check basic hardware and power state before resetting Windows.
- Shut down the HP laptop.
- Disconnect AC power and remove external devices such as USB drives, printers, docking stations, and memory cards.
- Press and hold the Power button for about 15 seconds.
- Reconnect power and start the laptop again.
- Open the HP startup menu and run HP PC Hardware Diagnostics UEFI to test memory and storage health.
- If diagnostics pass but Windows still cannot boot, return to WinRE and choose Uninstall Updates, System Restore, or Reset this PC.
- Recover important files before choosing reset, reinstall, or partition operations.
bcdedit /set {current} recoveryenabled no are advanced steps and should not be used as normal first-line fixes.Bonus Tip: Recover Lost Data from an HP Laptop Stuck in Automatic Repair using Wondershare Recoverit
If your HP laptop is stuck in an automatic repair loop and you cannot access files, recover important data before performing reset, reinstall, or partition repair. Wondershare Recoverit can create bootable recovery media from a working computer and help copy files from the unbootable HP laptop.
- Install and open Wondershare Recoverit on a working Windows or macOS computer.

- Select System Crash Data Recovery or the bootable recovery option.
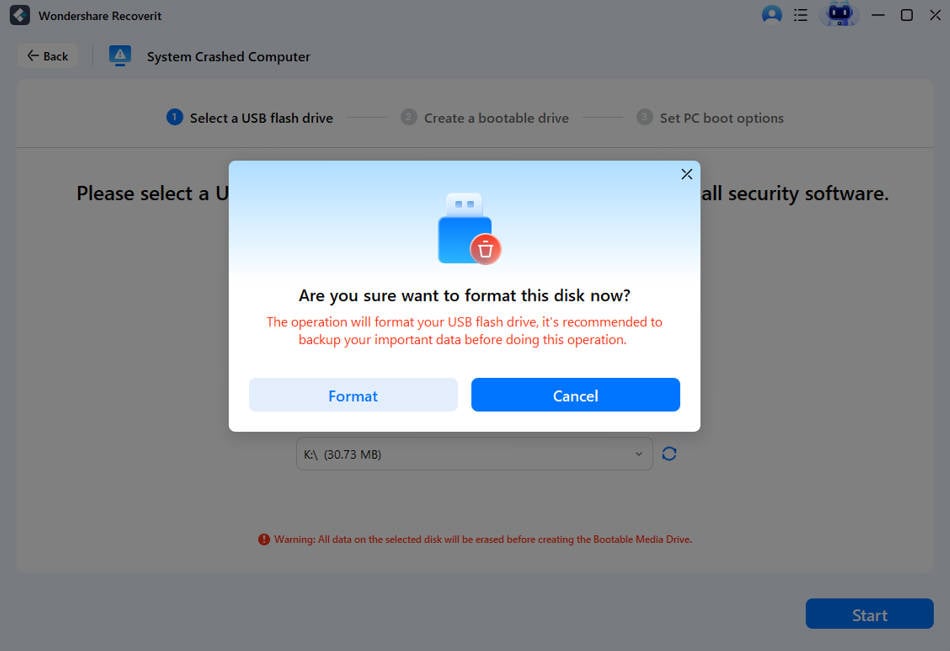
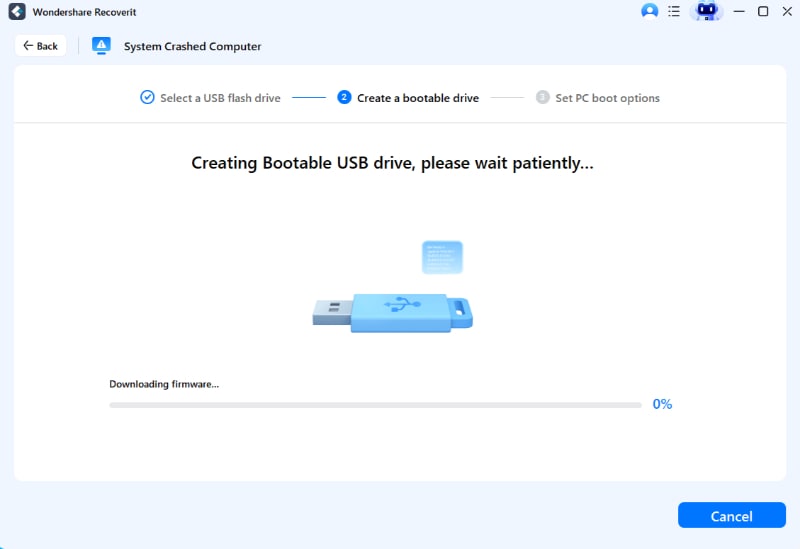
- Connect an empty USB drive and choose Create USB bootable drive.

- Confirm formatting only after backing up the USB drive because creation will erase it.
- Insert the bootable USB into the stuck HP laptop.
- Use the HP startup menu to boot from USB.

- Follow the on-screen Recoverit recovery workflow to scan the internal drive.

- Save recovered files to an external drive or another safe storage device.
Final Words
An HP laptop stuck on Preparing Automatic Repair should be handled in a safe order: wait, disconnect external devices, hard reset, enter WinRE, run Startup Repair, try Safe Mode, check hardware with HP diagnostics, and then repair disk or boot files if needed.
If files matter, recover them with Wondershare Recoverit before reset or reinstalling Windows. After data is safe, use System Restore, Uninstall Updates, Reset this PC, or clean installation only when lower-risk fixes fail.
FAQ
-
1. How long does preparing automatic repair take on a laptop?
HP preparing automatic process on a laptop should take around 20 minutes. However, the time may vary depending on what system you are using. -
2. How long should a laptop repair take?
Windows 11 devices can take anywhere between 30 minutes to 1 hour to complete the repair process. However, the time taken to fix HP preparing automatic repair may be higher in certain cases due to excessive file corruption. -
3. Why does my laptop say preparing automatic repair and then shut off?
If you encounter an HP automatic repair loop in your system, it is an indication of a problem with the hard drive or system files. This usually means that the system files are highly corrupted. System file and hard drive corruption prevents the system from booting properly, further triggering the HP preparing automatic repair error.


