

 TL;DR:
You can create a bootable macOS installation drive for macOS Lion through Big Sur using the free Install Disk Creator application, an official macOS installer file, and a minimum 8GB flash drive.
● Insert the USB drive before launching the software so it is recognized, and ensure the host Mac has an Intel 64 processor running macOS 10.7 or higher.
● The creation process takes 15 to 30 minutes and lacks a specific progress indicator aside from a blue bar, requiring a stable internet connection and iCloud credentials to authorize Apple server downloads.
● If the Mac remains completely unbootable, data recovery requires a secondary working Mac, a blank 8GB to 16GB USB drive, and the Wondershare Recoverit tool.
Ask AI for a summary
 ChatGPT
 Perplexity
 Gemini
 Claude
 Grok
Grok
Installing an operating system can be a frustrating experience, often resulting in days without a functioning computer, even if you follow the instructions carefully. Fortunately, Install Disk Creator simplifies the process significantly.
This free tool for macOS is essential for creating bootable installation discs and is used by thousands globally. It works with all macOS versions, from Lion to Big Sur, so you can easily create installation media, regardless of your system's age.
The process is straightforward, and we will walk you through each step with clarity and precision so that even if this is your first time using an application like this, we’ve got your back!
In this article
Part 1 What You Need to Create a Bootable USB on macOS via Install Disk Creator
USB Flash Drive
To create a bootable USB on macOS using Install Disk Creator, an empty USB flash drive with a minimum of 8GB storage is required.
If you have the option of choosing, go with a Type C USB rather than a flash drive. This is because USB sticks are faster, and if you’re using a newer version of Mac, you’ll have no choice but to use Type C or get an adaptor.
You can use a brand-new drive for this, but any old cheap USB stick will work too. Formatting is the only thing you need to take care of when using an old USB. And it goes without saying that your USB will have all of its data deleted, so if you need that data, make sure to make a backup before proceeding.
The Installation Files
The next thing to secure is the installation files for the macOS version you want to install. These can be downloaded from the Mac App Store if you have a compatible Mac. You'll only have to drag that file down in the Install Disk Creator app to boot your USB.
Internet Connection
Another thing you should make sure of during this process is a stable internet connection. This is because the installer will download additional files from Apple's servers during installation and ask for your iCloud details to grant permission to allow the process.
Therefore, if any of these processes are interrupted, you may end up downloading the corrupted version of the software.
Downloading and Installing the App
Install Disk Creator app is free for everyone to download and install any version of macOS they desire directly from the developer’s website. The app only requires you to have an Intel 64 and at least macOS 10.7 or higher version installed on your computer.
Here’s how to download the app:
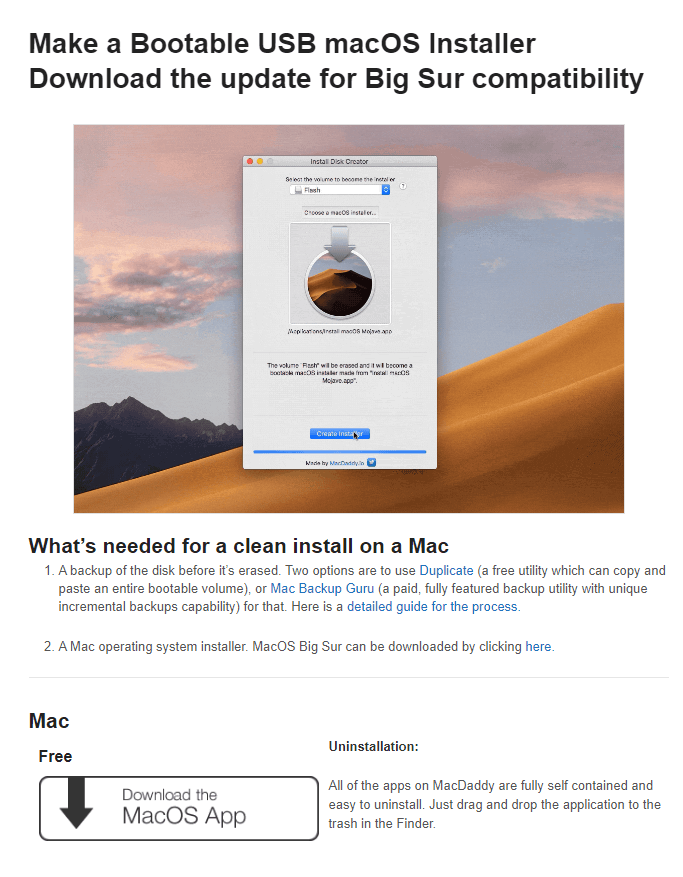
Step 1: On your computer, launch a browser, then Download the Install Disk Creator.
Step 2: After downloading the software, locate the downloaded file on your Mac, and click on the executable file.
Step 3: To Install the software on your Mac computer, follow the directions displayed on the screen.
Note: Remember that you will still need the installation files regardless after downloading the app.
Part 2. How to Use Install Disk Creator for macOS
With Install Disk Creator, creating a bootable USB drive on macOS takes only minutes. And without wasting your time, we're here to show you how to do it.
So, if you have taken care of everything to consider before using Install Disk Creator, proceed with the following steps:
Step 1: Before launching the app, insert your USB stick into the computer; otherwise, it won’t appear on the app.
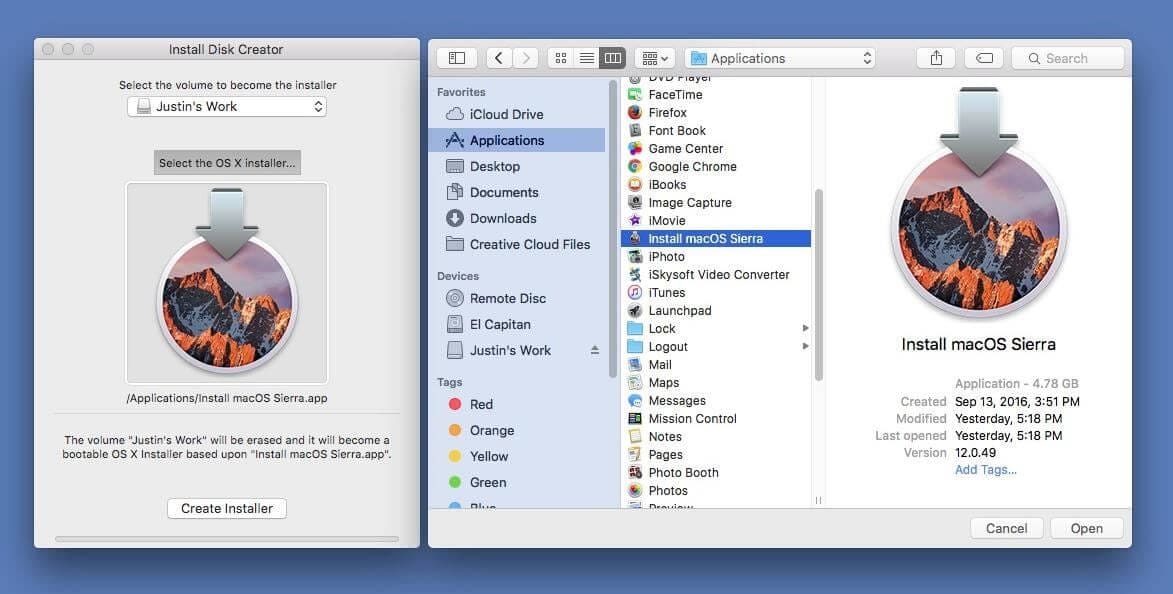
Step 2: On your Mac, launch the Install Disk Creator application.
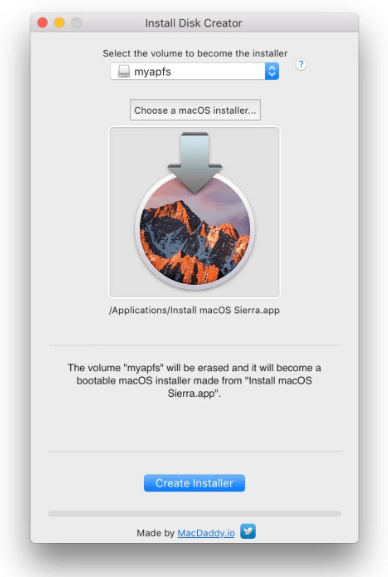
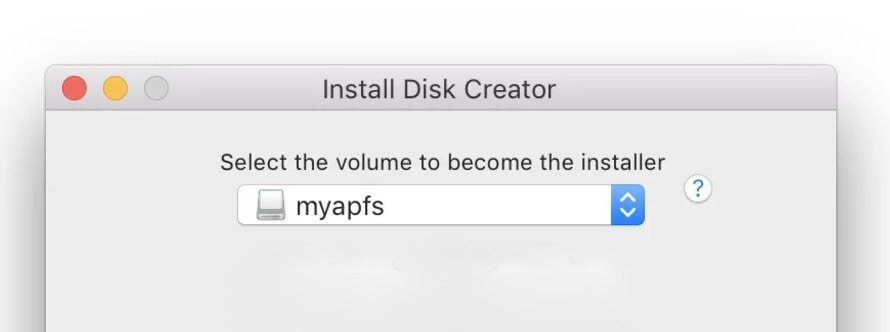
Step 3: Choose the USB stick you intend to use on the Volume Dropdown menu.
Step 4: Click on choose a macOS installer to open the installation files for the macOS you want to boot on your USB.
Step 5: Click on Create Installer. The popup notification will warn you about erasing the disk; go ahead and click Erase Disk to proceed.
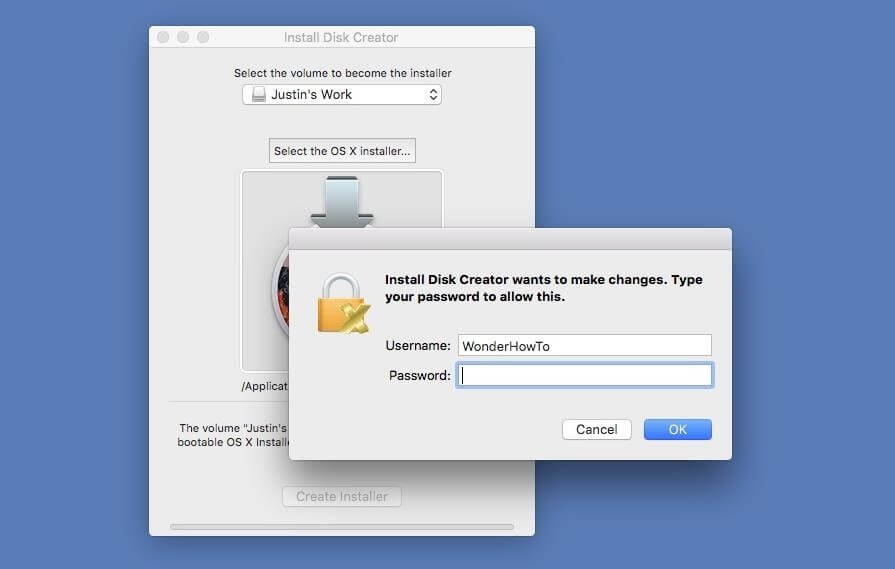
Step 6: Put in your iCloud Username and Password to allow the process to start and click OK.
Install Disk Creator will then start to erase your USB and create a bootable installer for your Mac.
The only downside in all of this is that the application doesn’t show progress. But rest assured, once you see the blue bar under the Create Installer button, it means your installation is in process and should take around 15-30 minutes to complete.
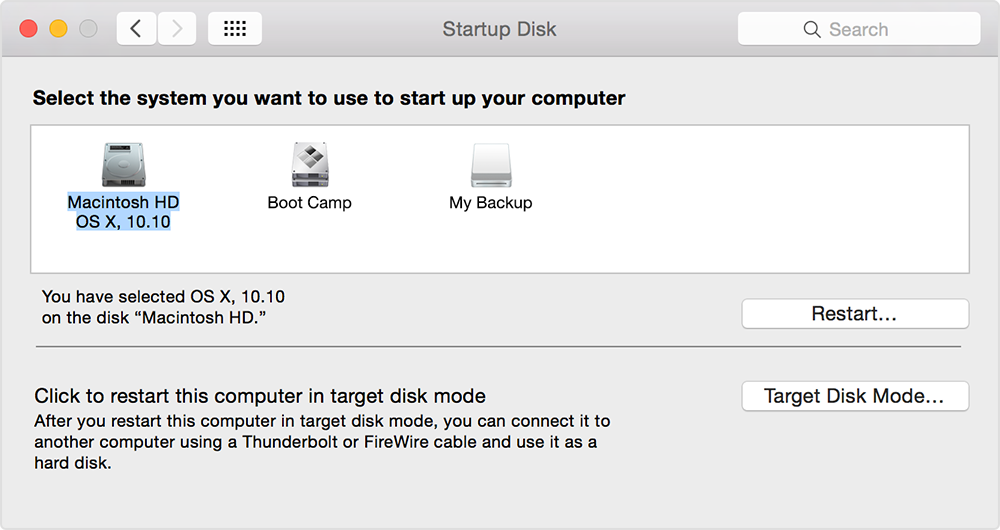
Step 7: Once done, you can open the Apple menu > System > Preferences > Startup disk and select the USB drive with the newly installed macOS there.
Video Tutorial-How to Create a Bootable macOS Monterey USB Install Drive
Part 3. Rescue Your Data from Your Unbootable Mac
Above we have the guidance to use Install Disk creator to boot your Mac. We hope you have solved your problem and rescue your unbootable Mac. However, if the solution doesn’t help you out, there is still another option to recover your data from your crashed system – using Recoverit.
Recoverit is a reliable and safe tool that can run smoothly on Mac. It can extract and recover your data under different difficult situations, including an unbootable USB.
To use Recoverit, all you need are a blank USB with at least 8 -16 GB of storage space or more, another working Mac computer and Recoverit software installed on your working computer.
Please follow the steps to use Recoverit to rescue your data:
Step 1: Download and install the Recoverit programme on your functional Mac laptop or computer. Launch the software after installation, then select "System Crashed Computer" from the menu. Then, place the blank USB in your computer's USB port and select "Start."

Select the USB name and click the "Start" option. Click the "Format" option on the warning screen/message.

Step 2: Insert the bootable USB drive into your broken Mac, switch on the computer by pressing the Power button, then hit the Option key. On the screen, click the Wondershare Recoverit Bootable Media Drive.
Step 3: Next, choose the copied files and connect an external hard drive to your non-booting Mac. Click "Start Copy" to transfer the file to the attached drive after choosing the hard drive as the destination.
Once the copying process is completed, you will get all your data on the external hard drive you've connected to your Mac system.
Conclusion
The Install Disk Creator for macOS is worth checking out if you're looking for a reliable and user-friendly way to create bootable media. The application is free of charge, so there's no harm in giving it a go!
The application has all the functionality needed for creating an installation or restoring a disk hassle-free, with virtually no complicated settings to adjust or configurations needed before running.
Install Disk Creator is an excellent option for those who need to install their operating system often but don’t want to spend hours fiddling around with terminal commands — in only a few clicks, you can have a fresh bootable USB installer!


