


 TL;DR:
Creating a Windows 11 recovery partition requires 500 MB to 1 GB of storage—or 4 to 8 GB if including system files—and provides a built-in environment to restore your operating system without external installation media.
● For a standard backup, use the native Windows "Create a recovery drive" utility with a connected USB drive, ensuring you check the prompt to back up system files for a complete recovery image.
● To manually recreate a corrupted partition on your disk, you must first disable WinRE using the "reagentc /disable" command, shrink your system volume by at least 600MB in Disk Management, and assign the exact partition ID "de94bba4-06d1-4d40-a16a-bfd50179d6ac" using Diskpart.
● Do not attempt to move an established recovery partition to another drive, as Windows strictly relies on its specific original location and relocating it will cause the recovery tools to malfunction.
Ask AI for a summary
 ChatGPT
 Perplexity
 Gemini
 Claude
 Grok
Grok
A critical system failure or malware attack can cause you to lose vital content without warning. To avoid such a scenario, you can choose to create a recovery partition on your Windows. It is a dedicated section of your hard drive that stores essential system files and recovery tools, enabling you to restore your system. Doing so is a proactive step toward safeguarding your data and giving your computer a lifeline.
This guide will walk you through the detailed process needed to create recovery partition Windows 11. Doing so allows you to protect your data and minimize downtime during unexpected system issues. Follow along to discover a dedicated to retrieve your content when a partition gets damaged or corrupted.
Try Wondershare Recoverit to Perform Partition Recovery
 Security Verified. Over 7,302,189 people have downloaded it.
In this article

Part 1. Why Do You Need to Create a Recovery Partition in Windows 11?
It cannot be stressed enough how critical having some sort of backup against sudden data loss is. A recovery partition is a dedicated safety net, offering hope when unexpected system failures arise. Without it, you remain at the risk of permanently losing your content in such scenarios. Summarized below are key reasons why Windows 11 recovery partition matters:
1. Quick System Recovery
A recovery partition allows immediate access to system repair tools, enabling users to fix errors. They can restore Windows without needing external devices or installation media. It ensures that even in dire situations, users can swiftly bring their system back to a working state.
2. Protection Against System Failures
Crashes due to malware, corrupted files, or failed updates can render a PC unusable. A recovery partition provides built-in solutions to address these issues effectively. With its aid, users can stop minor problems from turning into complete system breakdowns.

3. No Need for External Recovery Tools
With a recovery partition in place, users can avoid relying on third-party data retrieval software. It eliminates the hassle of managing external devices, making recovery more efficient.
4. Time-Saving and Convenient
Recovering the system from a dedicated partition is significantly faster than reinstalling Windows. Doing so saves time and reduces downtime during critical failures. This convenience is especially valuable, where system downtime can lead to productivity loss.
5. Data Security During Repairs
Many recovery options allow users to fix the system without affecting personal files. They offer a safer method to troubleshoot without risking data loss. This feature ensures that essential media and personal data remain intact while system issues are fixed.
Part 2. Comprehensive Guide to Create a Recovery Partition in Windows 11 With Built-in Tools
With the significance of having such a reliable option as backup understood, it is time to learn how to create it. The Windows OS provides an easy and efficient way to set up a recovery partition without needing other software. Follow these detailed steps to create a recovery partition Windows 11 without facing any issues:
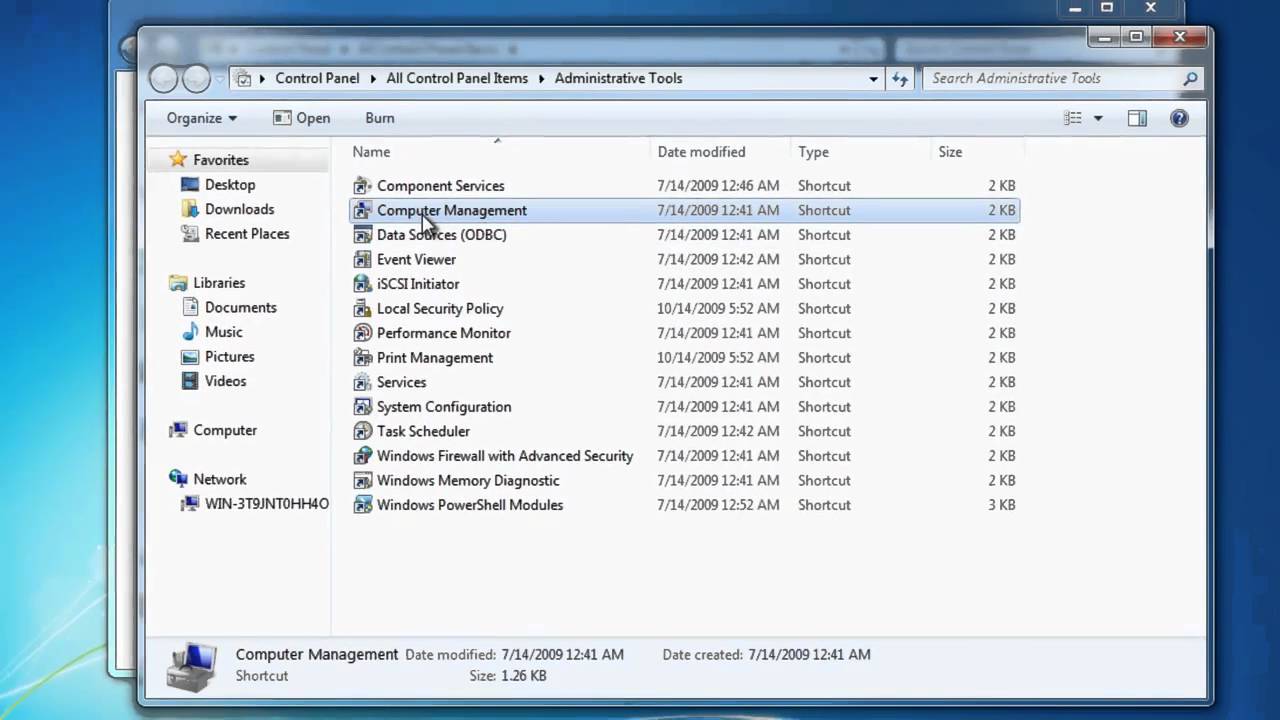
Step 1. On your Windows 11 PC, press the “Windows” key and type "Create a recovery drive" to select it from the search results. Here, you may be prompted to enter administrator credentials for confirmation.

Step 2. Although the focus is on creating a partition, it is still recommended to connect a USB drive for backup. Do that before pressing “Next,” as Windows will use this drive to create the recovery image.

Step 3. You also need to check the box that says "Back up system files to the recovery drive" in the recovery drive utility. Using this option ensures that you have all the necessary system files for recovery.

Step 4. Select "Next" to choose your USB if using one, and click "Create" to let Windows begin creating a recovery drive. Select the targeted drive if you want to make a dedicated partition on your system and follow the instructions.

Part 3. Detailed Steps To Recreate Recovery Partition in Windows 11 via Disk Management
When the original recovery partition gets compromised, you can manually recreate it to ensure your backup is available. It is possible with the help of the Disk Management utility, a tool used to create and manage partitions effectively. By using it with the Windows Recovery Environment files, you can fully restore the recovery partition. To utilize this method to recreate the recovery partition Windows 11, adhere to the following guide:
Step 1. Before beginning the creation process, you will need to disable the WinRE and delete the old recovery partition. To do that, look for Command Prompt in the search bar and run it with elevated privileges from the results.

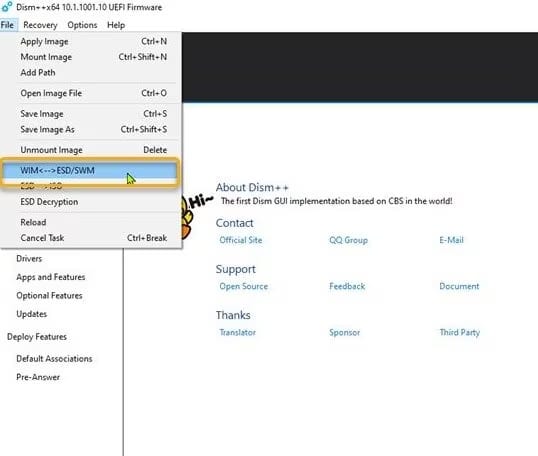
Step 2. Within the CMD window, run the “reagentc /disable” command to disable WinRE to proceed. Afterward, use the “Diskpart” commands to locate the old recovery partition on your system.

Step 3. You will use “list disks” to view and select the system drive, followed by “list par” to view and choose the recovery partition. Once selected, run the command “det par” to get the “de94bba4-06d1-4d40-a16a-bfd50179d6ac” partition ID.

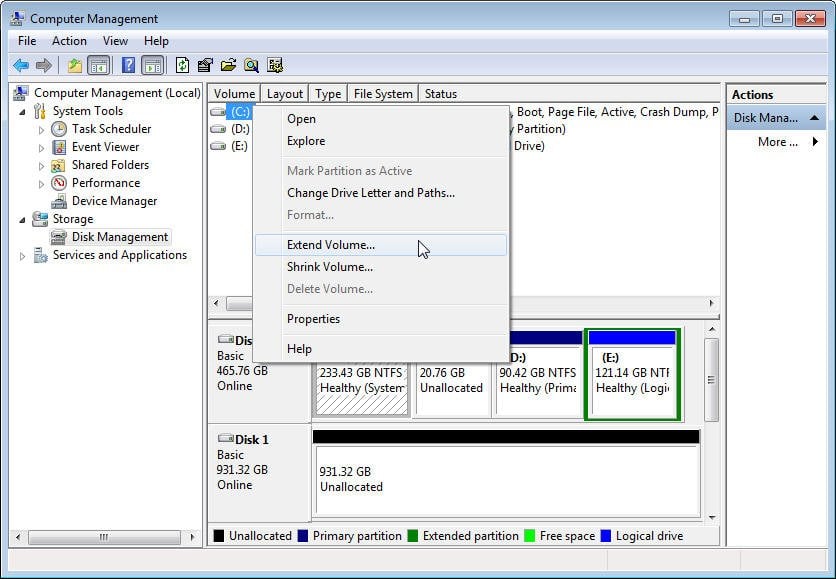
Step 4. Afterward, run the “del par” instruction to erase the partition and execute the “del par override” command if needed. Right-click on the start menu to launch “Disk Management” from the power menu and approach the system drive.
Step 5. Right-click the disk and use “Extend Volume" to merge the unallocated space from deleting the recovery partition. When done, right-click again and opt for “Shrink Volume” to create a space of at least 600MB in size.
Step 6. Following that, use the “New Simple Volume” wizard after right-clicking the unallocated space to create a new partition. Once done, select the newly created partition in CMD via the diskpart commands.
Step 7. When you have it selected, run the “set id=de94bba4-06d1-4d40-a16a-bfd50179d6ac” to establish it as the recovery partition. To make any kind of direct interaction with this partition unavailable, execute the “gpt attributes=0X8000000000000001” instructions.
Step 8. Now that everything is completed, run the “reagentc /enable” command to activate the Windows Recovery Environment. You can further use the “reagentc /info” to ensure your system recognizes and can use the new recovery partition.
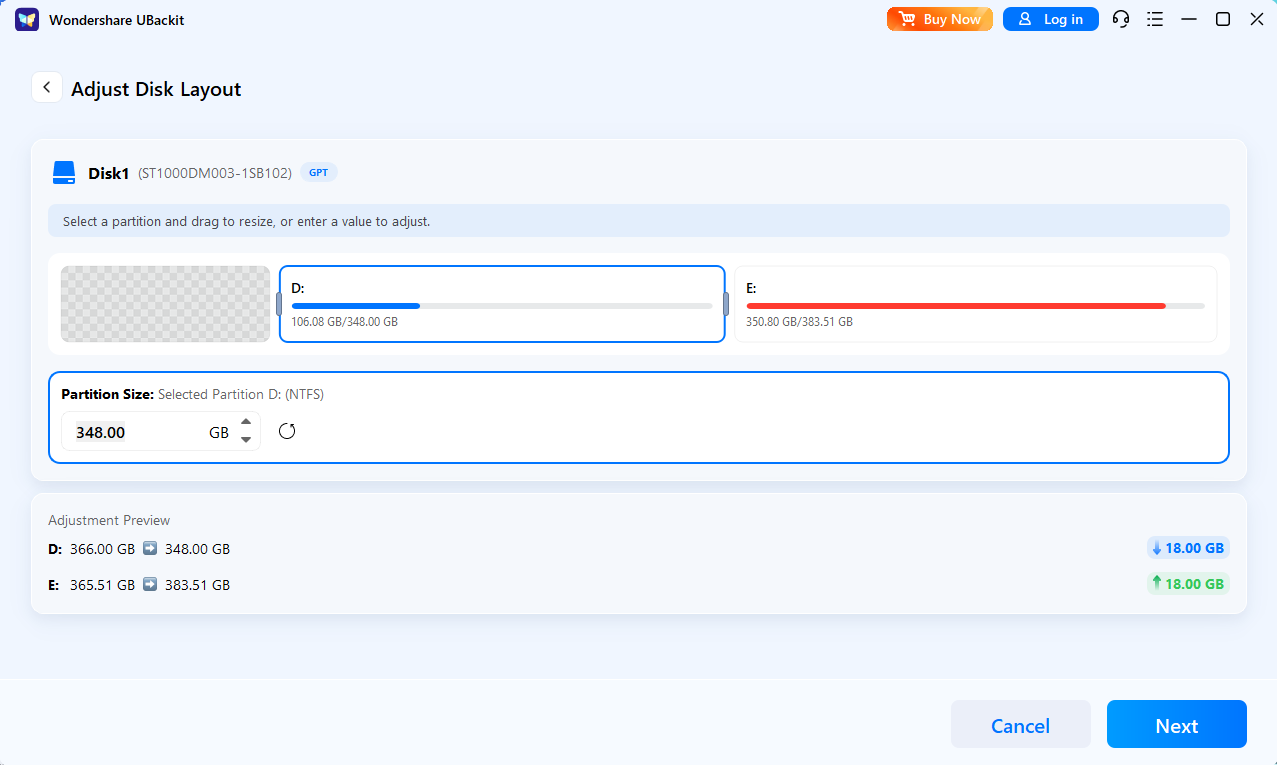
Part 4. How to Adjust Your Disk Layout
When your C Drive is clogged with system files and "Low Disk Space" warnings appear, UBackit allows you to intelligently borrow unused space from other partitions (like your D Drive) to balance your disk layout.
Step 1. Identify and Select Disk
Launch UBackit and navigate to the Partition Management tab. Select the physical disk you wish to modify. Double-click the disk or click the Adjust Disk Layout option from the right pane to continue.

Step 2. Adjust the Disk Layout
Use the intuitive visual interface to drag the edges of your partitions. Alternatively, enter specific GB/MB values to precisely reallocate unallocated space from one volume to another.
Step 3. Initiate the Process
Review and confirm the partition layout. Once confirmed, click Next to execute the operation.
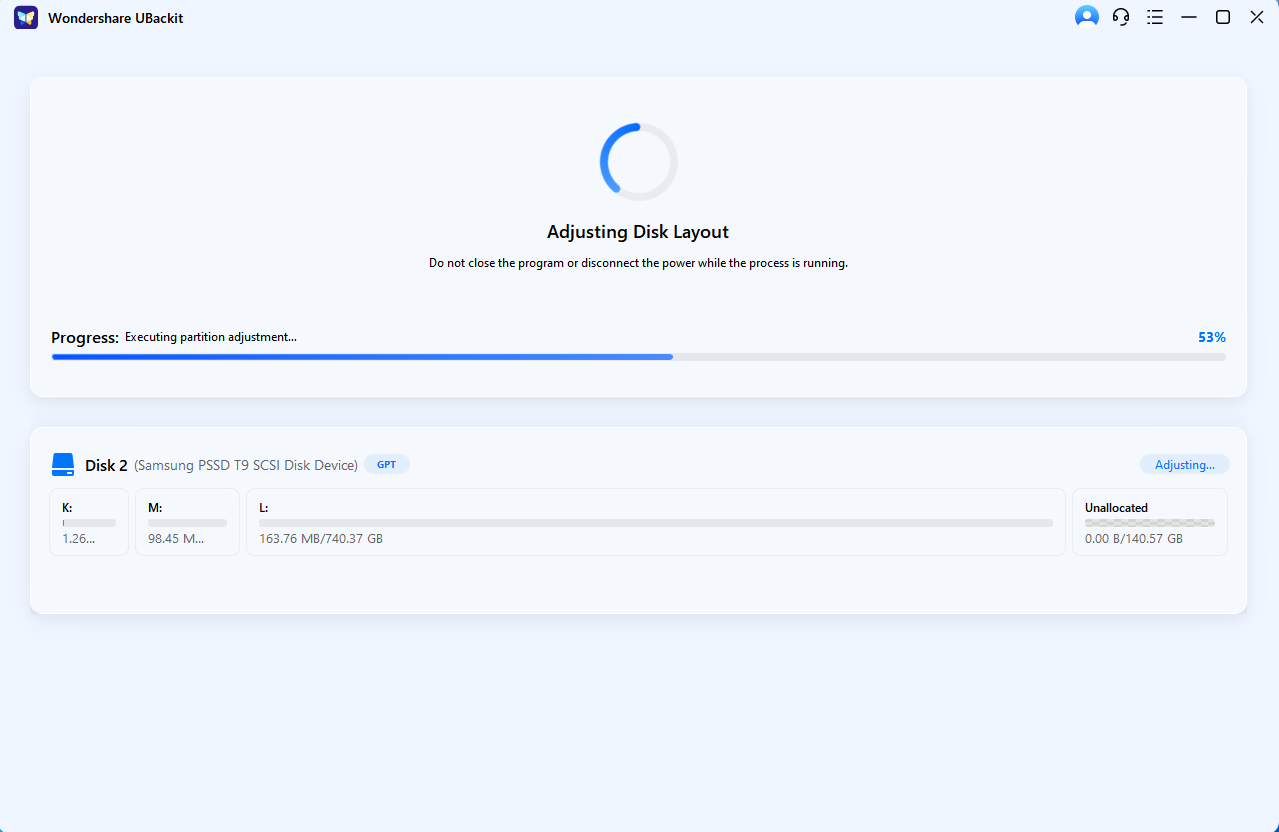
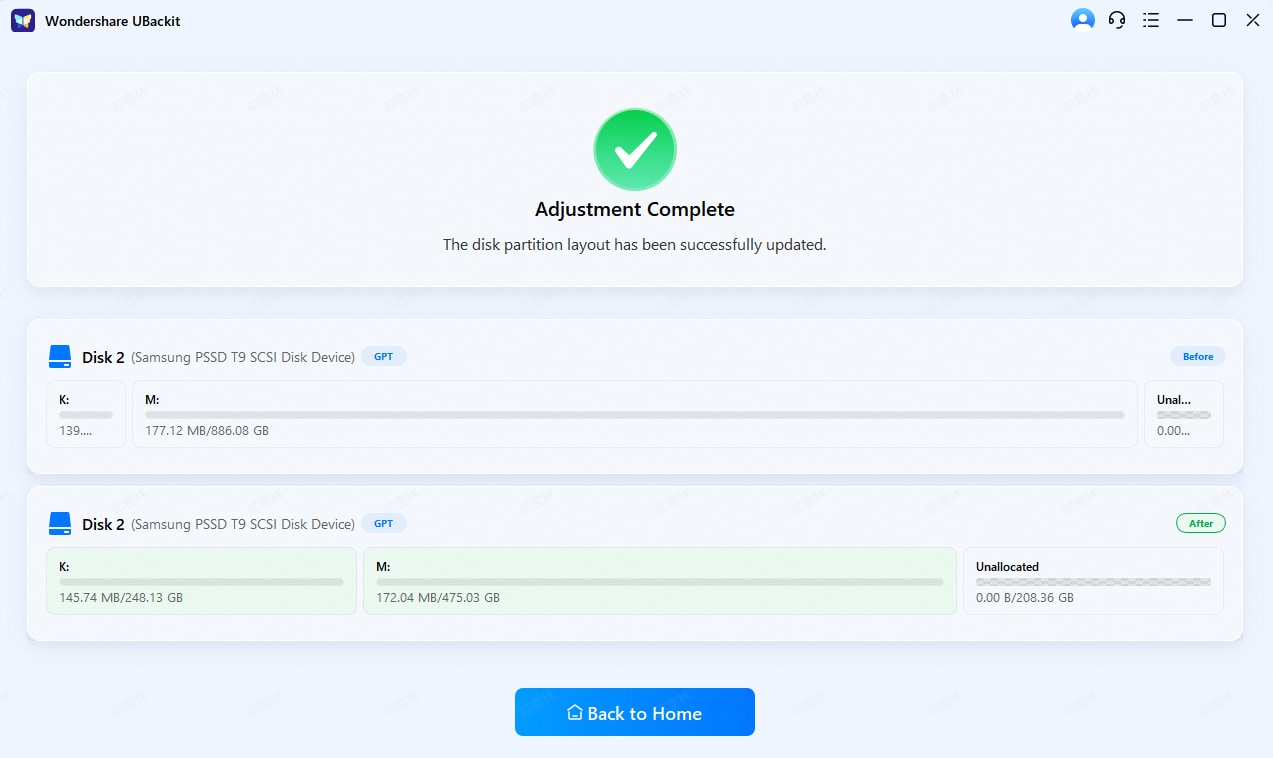
Step 4. Complete Management
Wait for the process to finish and view the updated disk layout. UBackit will safely move data blocks to accommodate the new boundaries. Once the progress bar reaches 100%, your disk will reflect the updated capacity instantly.
Conclusion
In summary, you give your system a powerful backup option when you create a Windows 11 recovery partition. Having this dedicated option ensures quick access to repair options and minimizes downtime. Even with these protective measures, data loss can still occur due to partition corruption or system crashes. In such situations, retrieving important files becomes a top priority. For reliable and effective data recovery, Wondershare Recoverit is a highly recommended solution.
Its powerful recovery capabilities and support for over 1,000 file types make it an essential tool for retrieving lost data. Investing in a trusted tool like Recoverit provides peace of mind, knowing your data is secure even when challenged.
FAQs
-
1. How much storage space is needed for a recovery partition?
Your system typically requires between 500 MB and 1 GB to create this essential partition. Allocating 4–8 GB is recommended for complete recovery functionality if you include system files. -
2. Can I move the recovery partition to another drive?
It is not a recommended option as Windows relies on its specific location. When you relocate it, the recovery tools you will need may malfunction. -
3. Is a recovery partition the same as a system restore point?
That is not the case, as your recovery partition will restore the entire system when used. In contrast, a system restore point only reverts system settings and files without affecting personal data. -
4. What happens if I delete the recovery partition?
Doing so will not affect your current system in any significant way. However, you’ll need external media or third-party tools to repair or reset your computer.


