In today's digital age, we rely heavily on computers to store and access important data. But what happens when your computer crashes, and you can't access your files? One solution is to use a live bootable CD or USB like Knoppix to recover your data. This article will show you how to perform Knoppix data recovery from a crashed system.
Part 1. What Is Knoppix?
KNOPPIX is a bootable Live system under the GNU license assortment that can be run entirely from a CD, DVD, or flash disk, with fully automated hardware detection and assistance for a wide range of graphics cards, sound cards, USB devices, and other devices.
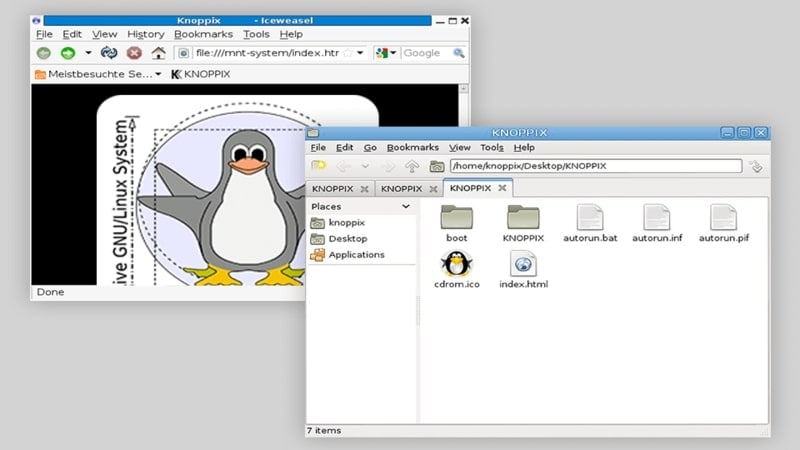
KNOPPIX can be modified as a Linux demonstration, training and rescue system, or tool for advertising enterprise software demos. A hard disk installation is not required. Transparent decompression allows up to 2 gigabytes of executable software to be installed on a single CD of the Knoppix CD and up to 10GB on a single-layer DVD.
Hardware Requirements
Running Knoppix to access data from an unbootable computer requires the following:
- Intel/AMD processor compatibility (i486 or later)
- RAM requirements are as follows:
- Text mode requires 32 MB.
- No-swap live environment:
- 512MB for graphics mode when using only LXDE
- 1GB for web browsing and productivity software
- 2GB is recommended.
- An optical drive that can be booted.
- For current versions, use a DVD-ROM.
- For versions 7.2 and earlier, a CD-ROM or a boot floppy and standard CD-ROM (IDE/ATAPI or SCSI).
- Graphics card with SVGA compatibility
- A standard serial or PS/2 mouse or an IMPS/2-compatible USB cursor.
Features
Knoppix is a Linux distribution that can be run directly from a CD or USB without installing it on your hard drive. Some its major attributes include:
- Automatic hardware detection: Knoppix can automatically detect and configure most hardware devices, including printers, scanners, and webcams.
- Live boot: Knoppix can be run directly from the CD or USB without affecting the existing operating system or files on the hard drive.
- File recovery and system repair: Knoppix includes various tools for recovering lost files and repairing system problems.
- Graphical user interface: Knoppix includes a graphical user interface (GUI) based on the KDE desktop environment, making it easy for both beginners and experienced users.
- Multilingual support: Knoppix supports multiple languages, including English, German, Spanish, French, and many more.
The Latest Version
The new "public release" on January 2021 serves as the basis for the issue version Knoppix 9.2 on the latest technological page. It is now possible to create a slimmed-down CD version - a little retro, but a minimal practical basis for customized remastering projects without backfill - through a slightly complex redistribution of the software packages within the compact cloop-compressed images. Many Knoppix mirrors now have the CD version available in a different directory.
Part 2. How To Perform Data Recovery With Knoppix
This section will show you how to recover files from a crashed Linux computer using Knoppix. The recovery process is performed with the Knoppix live Linux CD, and you can follow along even if you've never used Linux before. If these steps trouble you, here is a video tutorial for a more comprehensive explanation.
Note: In this example, Knoppix 6.0.1 will be used. Your Knoppix may look different as newer versions are released, but the general file recovery steps will remain the same.
Step 1. Download an ISO image of the most recent Knoppix operating system from one of the Knoppix mirrors listed below. Choose the server based on its proximity to you. Choose the most recent version and save the.iso file to your working computer.
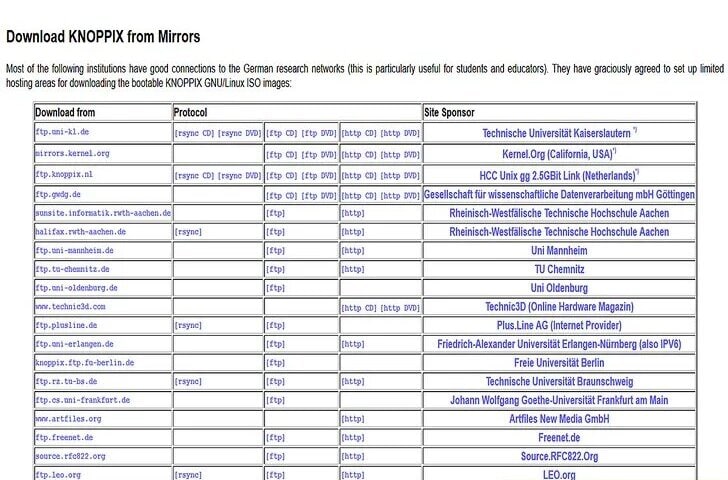
Step 2. The hard drive is most likely listed as the first device in the boot menu on your device. If this is the case, the laptop will not automatically boot from the Knoppix CD. Boot it from the CD/DVD drive.
Place the Knoppix CD in the optical drive and restart the computer. When the logo appears on the screen, access the boot menu by pressing F12. Enter and select the CD/DVD drive as a bootable device.
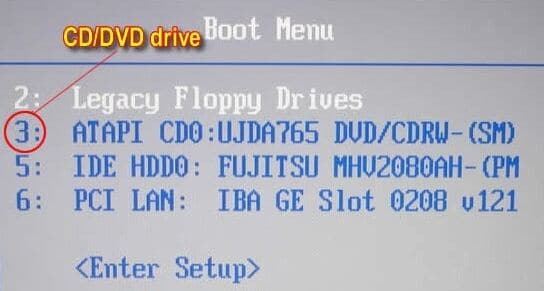
You can also enter the BIOS setup menu and change the boot order. Check that the CD/DVD drive is listed before the hard drive.
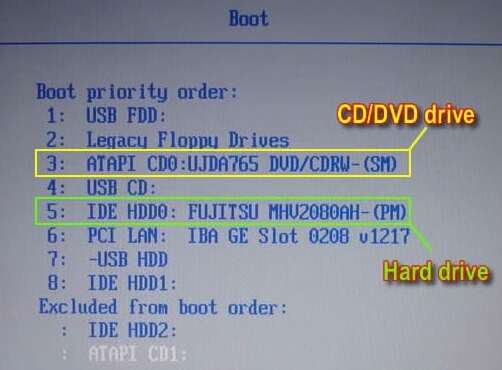
Step 3. When your laptop boots from the Knoppix CD, it will be displayed on a screen.
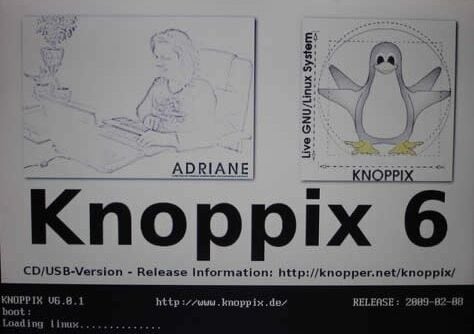
It will boot to the desktop in a few minutes. You can now access the hard drive and recover your files.
Step 4. In the top left corner, click the My Documents icon.
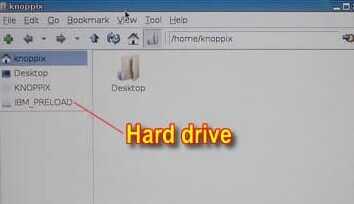
If you have access to your files, that means that files can be recovered.
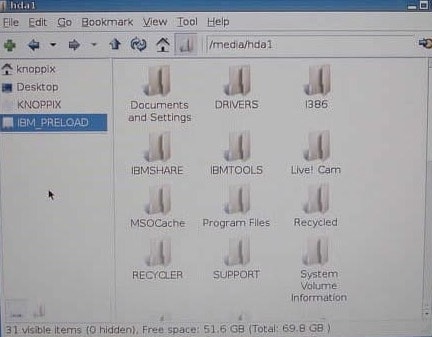
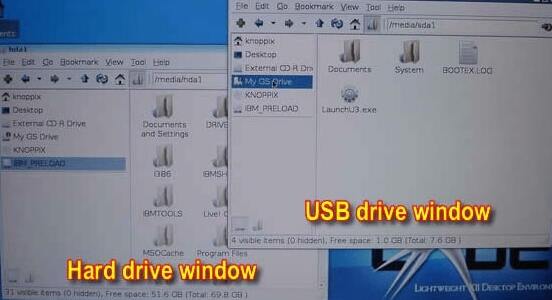
Step 5. Here the files are saved to an external USB flash drive. You can recover files to an external hard drive, but your hard drive must be formatted with the FAT32 file system. Note that you will be unable to copy files to an NTFS-formatted drive.

The plugged USB drive will appear in the same left pane.
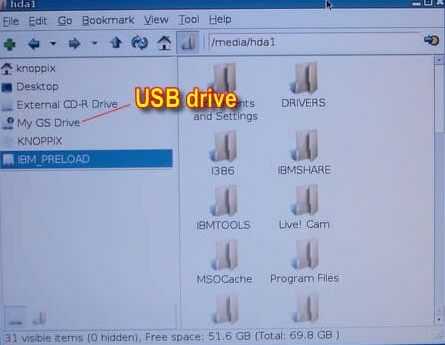
Create a new window by clicking on the My Document icon again.
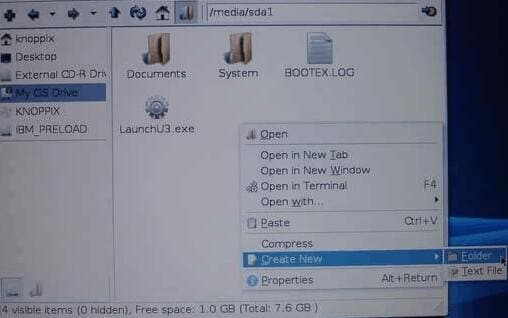
Step 6. Create a folder in the USB flash drive pane to save the recovered files. Right-click on a blank space. Then, click on Create New > Folder.
Click on the newly created folder and open it up.
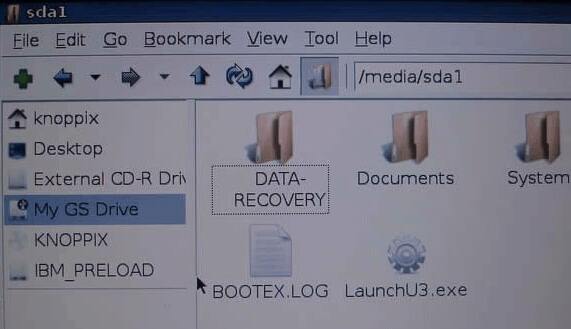
You can now transfer files from your hard drive to the external USB flash drive.
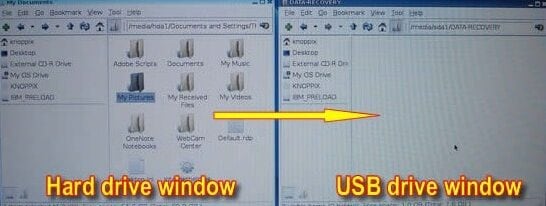
Drag and drop files from the left to the right windows and wait for the transfer to finish.

When the data transfer is complete, remove the USB flash drive or external hard drive from your failed computer and insert it into any other working computer. The files that have been recovered will be present on the drive.
Part 3. A Simpler Alternative to Knoppix for Linux Data Recovery
Knoppix file recovery is popular when recovering data on a Linux system. However, there’s a better option for many users who find Knoppix complex. An alternative is needed for those who are looking for a more user-friendly and efficient solution. This is where Wondershare Recoverit Linux File Recovery comes in.
This Knoppix alternative is designed to be a simpler, more powerful alternative to Knoppix for Linux data recovery. Recoverit is compatible with many Linux distributions, making it a versatile choice for data recovery. Furthermore, you can run Recoverit on a Windows or Mac PC and recover data from Linux devices via a remote connection, avoiding the complex booting process.
Wondershare Recoverit - Your Safe and Reliable Linux Recovery Software
5,481,435 people have downloaded it.
Recovers lost or deleted documents, photos, videos, music, emails, and other 1000+ file types effectively, safely, and completely.
Compatible with all mainstream Linux distros, including Ubuntu, Linux Mint, Debian, Fedora, Solus, Opensuse, Manjaro, etc.
Assists in 500+ data loss scenarios, such as deletion, disk formatting, OS crash, power outage, virus attack, lost partition, and many more.
The simple point-and-click interface allows you to recover data from Linux hard drives in just a few clicks.
Here's a step-by-step guide to performing data recovery with Wondershare Recoverit Linux Recovery so you can get your important files back as soon as possible.
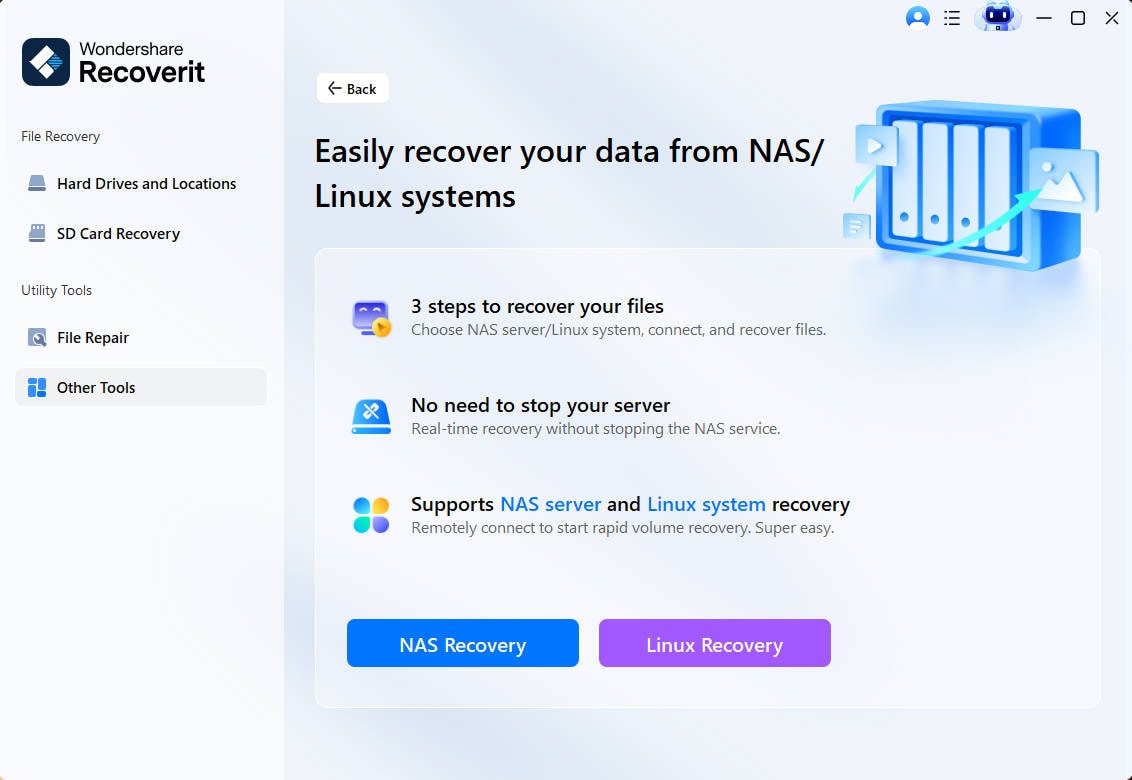
Step 1. Choose the Linux Recovery Option
Open the Wondershare Recoverit software after downloading and installing on your PC. Next, choose the NAS and Linux option, followed by Linux Recovery.
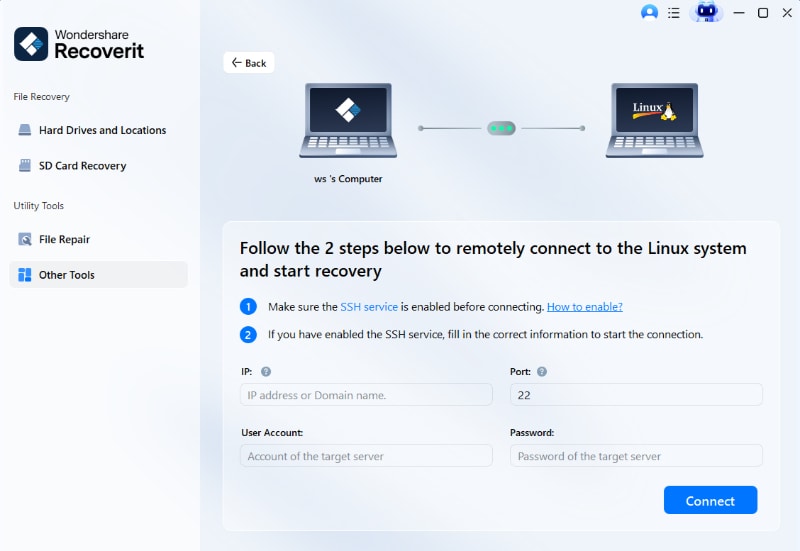
Step 2. Connect to Your Linux Device Remotely
Fill out the required fields to create a remote connection. When you're finished, click the Connect button. Recoverit will then perform an automated search for missing files.
Step 3. Recover and Save Files
The length of the scanning process is determined by the amount of data being scanned, as shown in the bottom bar. You can stop searching when you've found the file you want to recover.
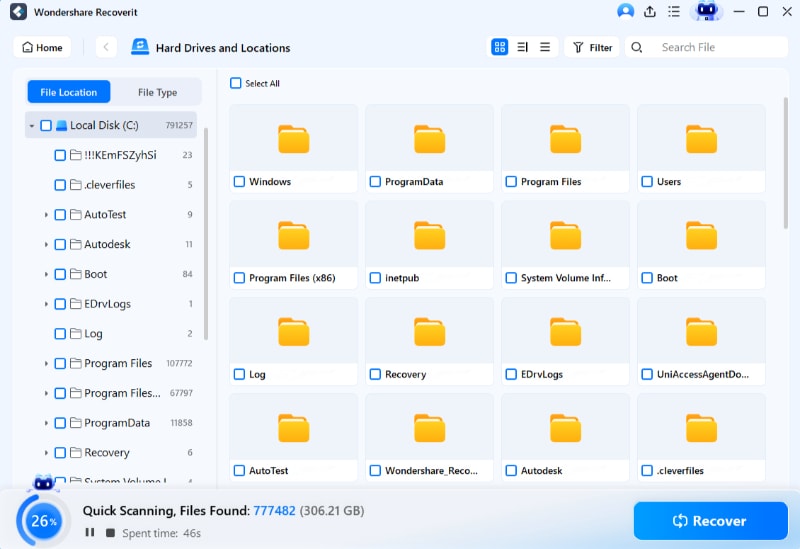
Following the scan, you can preview the files to ensure they contain the data you're looking for. Then click Recover to save them to a new location.

For Windows Vista/7/8/10/11
For macOS X 10.10 or later
Summing Up
In conclusion, using Knoppix data recovery can effectively recover data from a crashed system. It is a Linux-based live CD that can boot the system and access the hard drive to copy or recover data. An alternative method for recovering data from a crashed system includes using a bootable USB drive with data recovery software like Wondershare Recoverit.

 ChatGPT
 Perplexity
 Google AI Mode
 Grok
Grok


