

 TL;DR:
Third-party tools like Etcher, UUByte, and UNetbootin are the most practical methods for burning an ISO to a USB drive on a Mac, though built-in utilities like Terminal are available for users avoiding extra software installations.
● Third-party software methods provide a faster graphical interface but strictly limit the maximum ISO file size to 4GB.
● UNetbootin requires a completely blank USB flash drive with at least 2GB of capacity to successfully create a bootable live USB.
● Directly dragging and dropping an ISO file onto a USB drive via Finder will fail to create a bootable disk, necessitating either specialized applications or command-line execution via Terminal which erases all existing drive data and can take up to an hour.
Ask AI for a summary
 ChatGPT
 Perplexity
 Gemini
 Claude
 Grok
Grok
You might be wondering how to burn ISO to USB on Mac. If you have come across such a circumstance, there are many ways of doing this job, but not all are trustworthy and efficient. These inconveniences can be too troublesome for most people who want to complete the task as soon as possible.
Burning ISO to USB on Mac with Third-Party Softwares is the most practical way since their interfaces are friendly and take less time to complete the process. The process is as simple as dragging your desired ISO file onto the interface and waiting for some minutes until it’s done. The only limitation is that your ISO file must not be larger than 4GB. Other than that, you can burn other data at the same time!
We have listed down the many methods you can try to achieve this using the most effective third-party software; let’s look at each of them!
Method 1: Burn ISO to USB on Mac with Terminal
If you want to burn something from ISO to USB on Mac without third-party software, Terminal is your best bet. Terminal is a command-based interface included with every installation of macOS.
- To burn an ISO file onto a USB flash drive, the first step is to back up your USB drive as your data will be erased. Format the drive after connecting it to your computer.
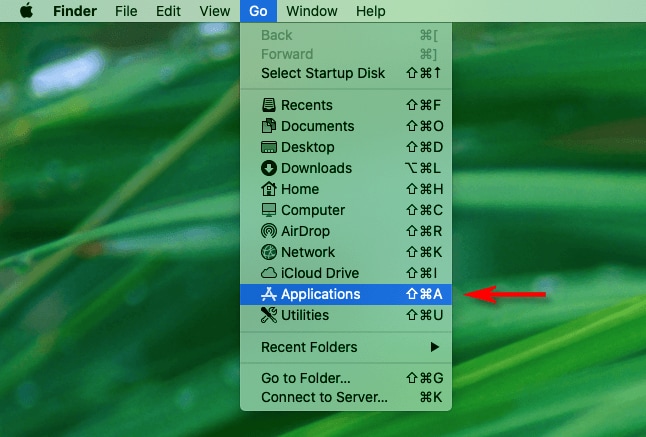
- Open Terminal on your Mac by going to Finder > Applications > Utilities > Terminal.
- Enter the following command on Terminal, which will list all the drives:
diskutil list
The name of the USB drive should be something like /dev/disk0, ./dev/disk1, /dev/disk2.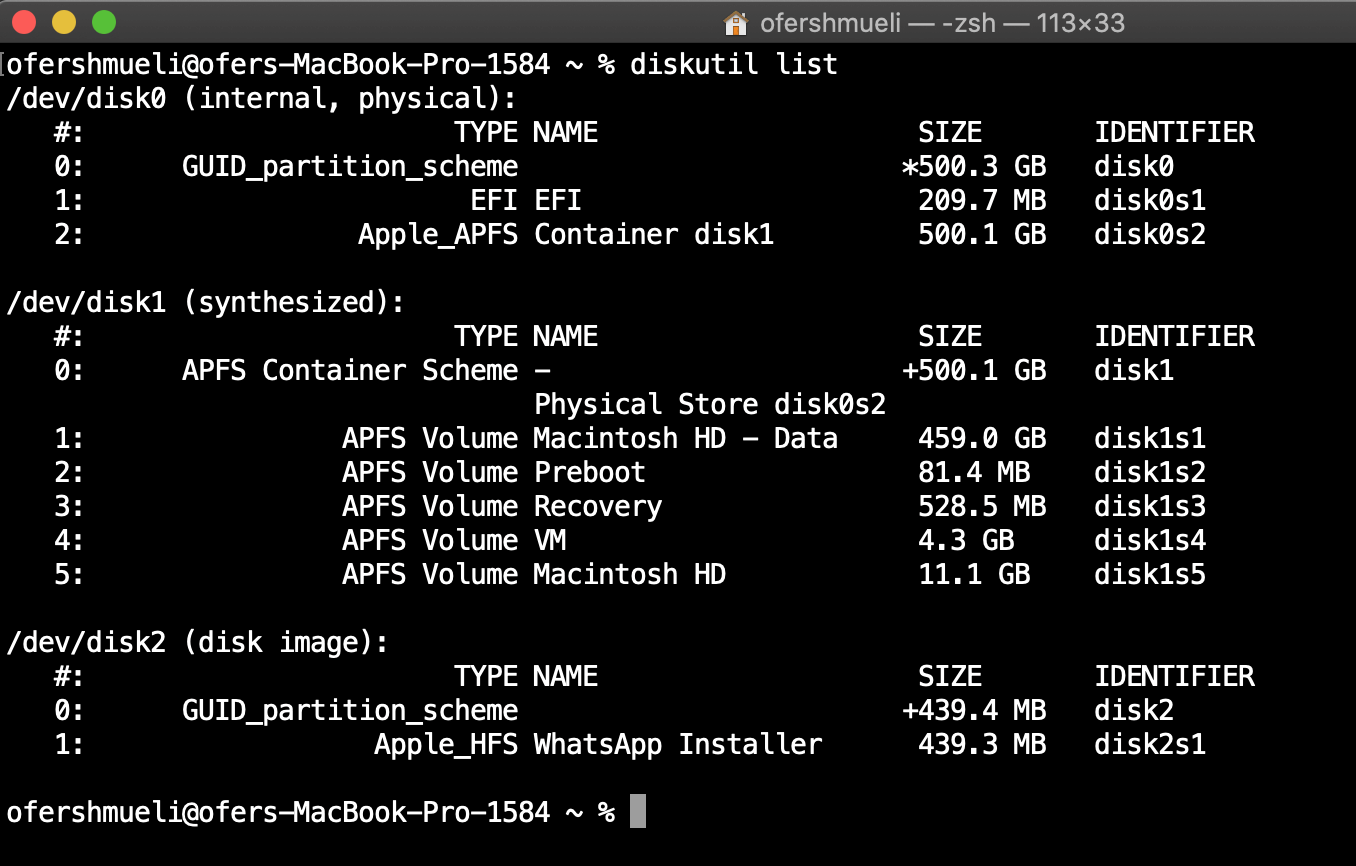
- Identify your disk name and unmount it with the following command:
diskutil unmountDisk /dev/disk2 - Next, type in and enter the following command that will start to burn your ISO to USB:
sudo dd if=/path/to/win-iso-file of=/dev/disk2 bs=1m - You may need to wait 10-15 minutes to an hour to let Mac burn iOS to USB. Afterward, enter this command to eject your volume successfully:
diskutil eject /dev/disk2
Method 2: Burn ISO to USB via Etcher App
Etcher is popular third-party software that can be used to burn ISO files to USB drives on Mac quickly. The first thing to do is, download the Etcher APP from their website. Once downloaded, launch the software, insert your USB drive into your computer, and do the following steps.
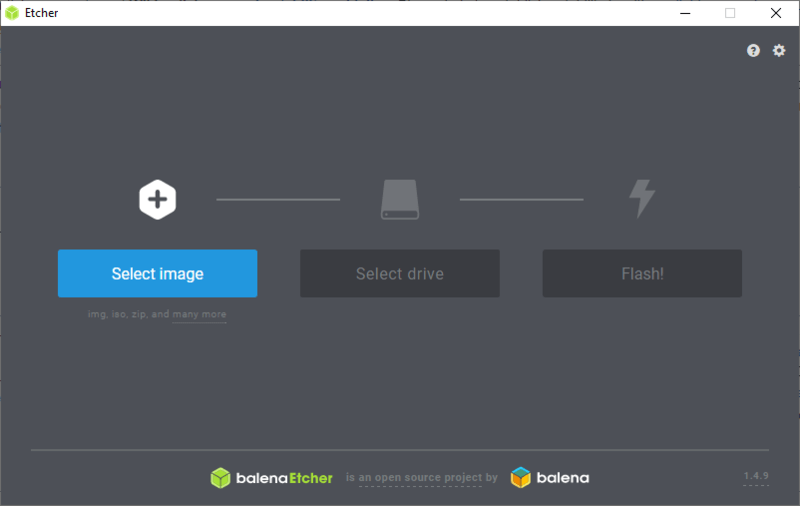
- Click the Select Image button on the Etcher APP dashboard and select the ISO file you wish to burn.
- After that, click the Select Drive button on the dashboard and select your USB drive from the list of drives that appear.
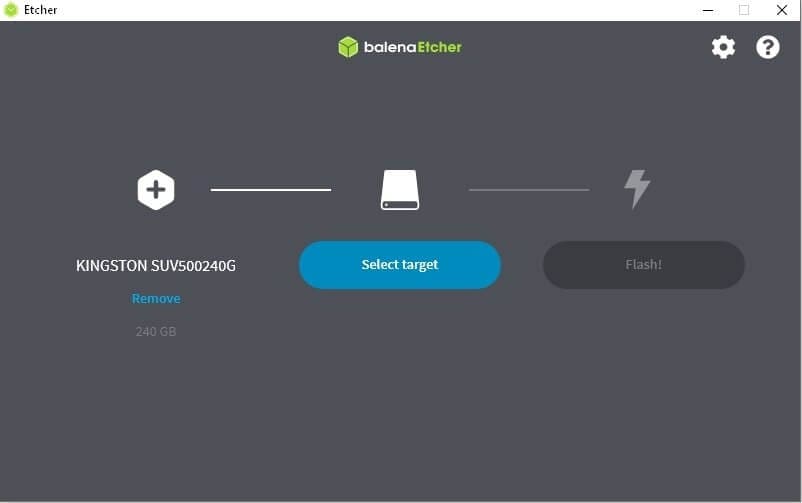
- Finally, click the Flash button and wait for the process to complete.

And that’s all there is to it! Burning an ISO to USB on Mac couldn’t be easier.
Method 3: Burn ISO to USB via UUByte Software
UUByte software is famous for burning ISO files to USB on a Mac. The software has many functions and is simple to use. Additionally, it works with all major versions of macOS.
To do this, first, download and install the UUByte Software and perform the following steps:
- Drag your ISO file into the program and select USB as your output format.
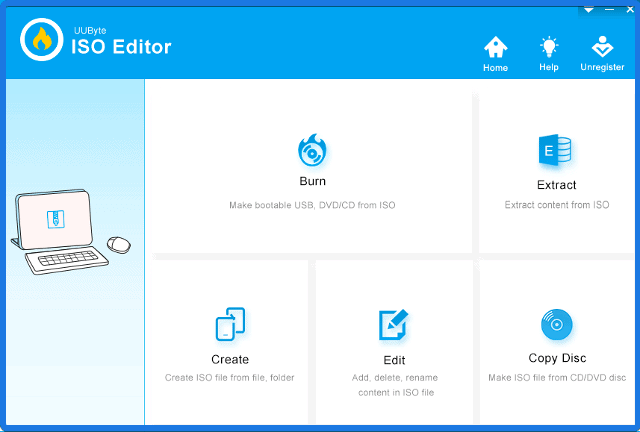
- Select Create Bootable Media (we recommend this option).
- Click Burn and wait while the program burns your ISO to USB.
- After you’ve finished, you can remove or eject your disk.
Method 4: Burn ISO to USB via Disk Utility
Disk Utility is a built-in system on Mac that can be used to partition and format drives, create disk images, and more. This method will show you how to use Disk Utility to burn an ISO file to a USB drive.
- Search Disk Utility on the spotlight and open it.
- Insert your USB stick into your computer and wait for it to appear in the Disk Utility.
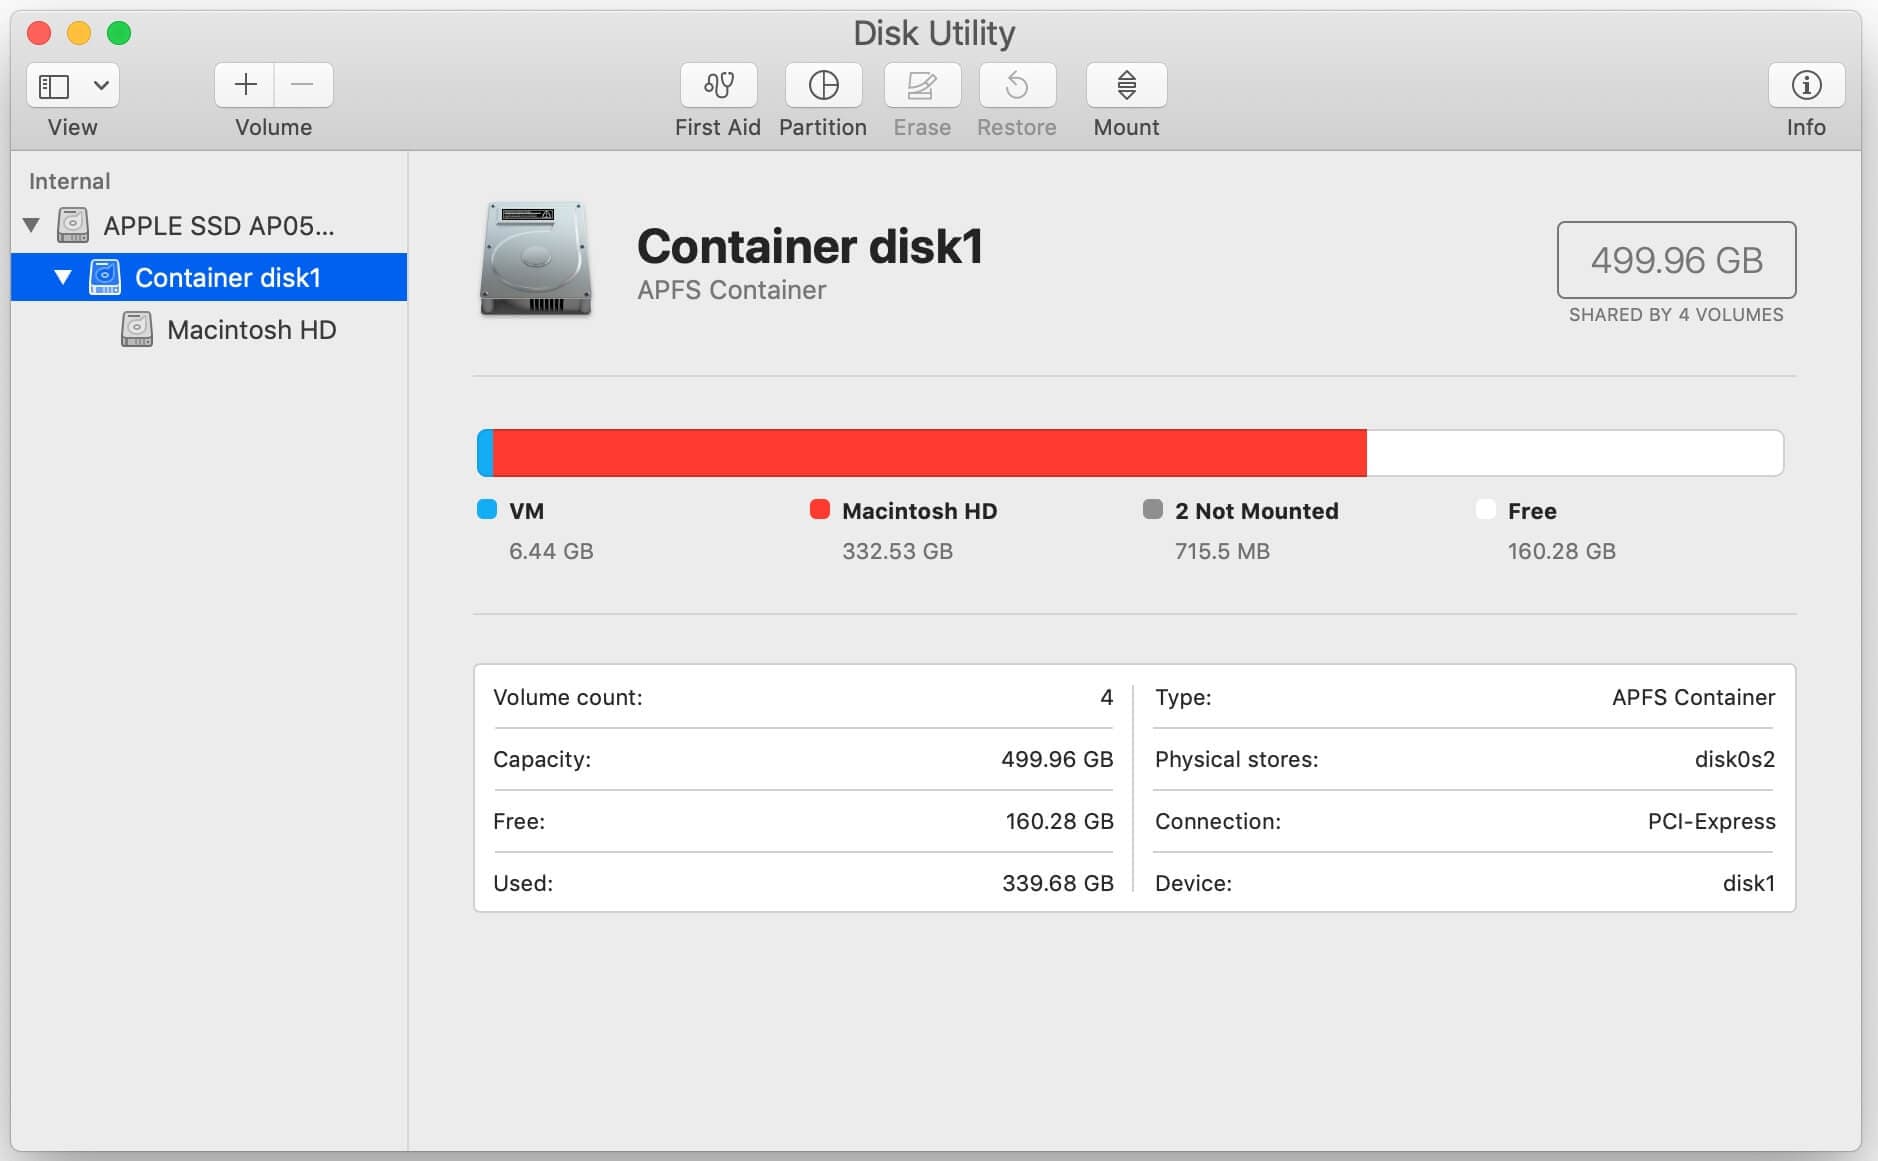
- Select New Image, pick the disk size you want, name it, and click Save.
- Click Burn and pick the newly created image file from the left side of the window.
Method 5: Copy ISO to USB Mac with UNetbootin
UNetbootin is a free and open-source utility that helps you create bootable Live USB drives for Mac OS and other operating systems for ISO or disk images. To use UNetbootin, you will need a blank USB flash drive of at least 2GB capacity.
Download the latest version of UNetbootin for Mac from their website and launch the app.
- In the ISO Image section, click the Browse button and select your desired ISO file.
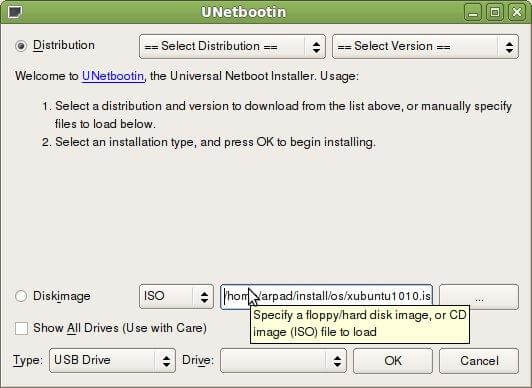
- In the Type section, select the USB Drive option and choose your Drive from the dropdown menu in the Drive Section.
- Click OK and wait until the process completes.
And that’s it! You have successfully burned an ISO to USB with third-party software!
More Related: How to Boot Mac from USB Drive
Conclusion
In this article about how to burn ISO to USB on Mac using third-party software, we’ve discussed completing this task using the Mac Terminal with appropriate commands and Disk Utility feature. We’ve also explored Etcher, UUByte, and Unetbootin software to copy ISO to USB with easy step-by-step instructions.
Hopefully, now you don’t have to worry about Mac booting issues and get your computer working again in no time.
FAQ
-
Why Did the File Copying Process Fail?
If you drag and drop the ISO file onto your USB drive, you’ll create a bootable DVD or CD instead of a bootable USB drive. To create a bootable USB drive, you need to use special software to write the ISO file directly to your USB drive. -
How Much Time Does It Take to Burn Iso to USB?
It generally takes a few minutes to burn an ISO file to a USB drive. However, the time duration depends on the size of the ISO file, your computer’s speed, and the speed of the USB drive. If you’re using a slower hard drive or older laptop, you may need to give yourself more time. -
Can I Drag ISO to USB?
You can't just drag and drop an ISO file to a USB drive and have it work as a bootable drive. To create a bootable USB from an ISO, you need to use specialized software like the ones mentioned above. Just download and install one of these apps or software to get started!


