

 TL;DR:
FFmpeg can potentially repair corrupted MP4 files by remuxing the container, regenerating timestamps, or skipping damaged packets, provided the underlying video and audio streams are still readable.
● Always duplicate the damaged MP4 to a healthy drive and run ffprobe to identify stream readability first, as software repairs cannot physically recover deleted files from failing storage or reconstruct overwritten media bytes.
● Apply a stream-copy remux (-c copy) to fix container-level compatibility without reencoding, or use -fflags +discardcorrupt to salvage playable sections, which requires a full transcode and permanently drops unreadable frames.
● Commands like -movflags +faststart cannot fix a moov atom not found error because they require an existing index to move; you must manually verify the final output using a null-decode pass (-f null -) since a successful zero exit code does not prove the footage is visually intact.
Ask AI for a summary
 ChatGPT
 Perplexity
 Gemini
 Claude
 Grok
Can FFmpeg repair a corrupted MP4? Sometimes. If FFmpeg can still read the video or audio streams, you may be able to rebuild the container, generate missing timestamps, or save the portions that decode. If an interrupted recording never wrote its MP4 index or the actual video bytes have been overwritten, normal FFmpeg commands cannot reconstruct information that is no longer present.
The key is to diagnose the file before typing a fix. This tutorial explains practical FFmpeg video repair options for Windows, macOS, and Linux, with real command examples, expected output, and clear stopping points. All commands shown here write a new file instead of replacing the source. The local demonstration uses FFmpeg 7.1.5 and deliberately generated test media; it is not a claim that every camera or phone recording can be repaired.
In This Article
-
- Method 3. Remux a Readable MP4 Without Reencoding
- Method 4. Regenerate Missing Presentation Timestamps When DTS Exists
- Method 5. Reencode Salvageable Frames and Skip Corrupted Packets
- Method 6. Save an Early Playable Section from a Partially Damaged Recording
- Method 7. Move an Existing MP4 Index with Faststart
Part 1. What Can FFmpeg Actually Repair in an MP4?
FFmpeg is a multimedia toolkit with demuxers, decoders, encoders, and muxers. That makes it powerful for working with a damaged but still readable recording, yet it is not a universal recovery engine. Different symptoms point to different layers of the file, so choosing the right operation matters more than repeating a generic command.
MP4 Container Problems Versus Damaged Video Frames
An MP4 file is a container that typically holds encoded video, audio and timing/index information. A stream-copy command can rewrite the container without recompressing its frames. Reencoding, by contrast, makes the decoder read frames and encode a new stream, potentially skipping damaged frames. Neither technique can recreate a missing recording, and reencoding will normally be slower and may change quality.
| What you observe | Likely next step | What not to assume |
| MP4 opens in FFprobe but fails in one player | Compare players and try remuxing | The underlying video is necessarily corrupted |
| Video seeks incorrectly or timestamps are missing | Try generating PTS when DTS exists | FFmpeg can invent missing video frames |
| Decoder shows damaged packets but continues | Try a copied-file transcode; inspect gaps | A zero exit code means all frames were restored |
| Only an early section remains playable | Extract a usable interval when it can be read | A trimmed file recovers the missing remainder |
| MP4 reports moov atom not found | Check for a complete original or recording finalization | Faststart can create a missing index |
| Original file was deleted from an SD card or drive | Stop writes and recover from the original storage first | FFmpeg can scan deleted filesystem entries |
The Safe Order: Original, Copy, Diagnosis, Then Output
Preserve the original before any test, especially if it is the sole copy from an SD card, security camera or interrupted recording. Copy a readable file to a different healthy drive, and run commands on that copy. Never place the repaired output under the exact input filename. If the original storage is failing, repeatedly disconnecting or producing I/O errors, stop software experiments and seek suitable recovery assistance.
Check another media player with a known-good clip from the same camera before declaring corruption. If VLC alone has a problem, the dedicated VLC video playback troubleshooting page covers application-level checks. That is a different problem from missing MP4 payload data. For a file that is genuinely missing or deleted, skip directly to Part 5 instead of writing more data to its drive.
Part 2. Prepare FFmpeg and Diagnose the Broken Video
A quick version check followed by stream inspection prevents most wasted repair attempts. Do this before converting the video, deleting a file, or running commands that might hide diagnostic errors.
Method 1. Install and Verify FFmpeg and FFprobe
Use this method if commands are not recognized or you are following an old tutorial that points to a retired download mirror. FFmpeg has separate builds for different operating systems. The project lists official source releases and third-party compiled builds on its download page; select a supported build and check its provenance rather than downloading a random codec pack.
Step 1. Install FFmpeg for your system. On Windows, extract the trusted build and add its bin folder to PATH, or run commands from that folder. On macOS or Linux, use an appropriate maintained installation method for your environment. You ordinarily do not need to run the terminal as Administrator just to process a local media file.
Step 2. Open Command Prompt, PowerShell, Terminal, or a Linux shell and run the two version commands below. The test screenshot shows an actual FFmpeg 7.1.5 installation on Debian, not a mocked Windows window.
ffmpeg -version
ffprobe -version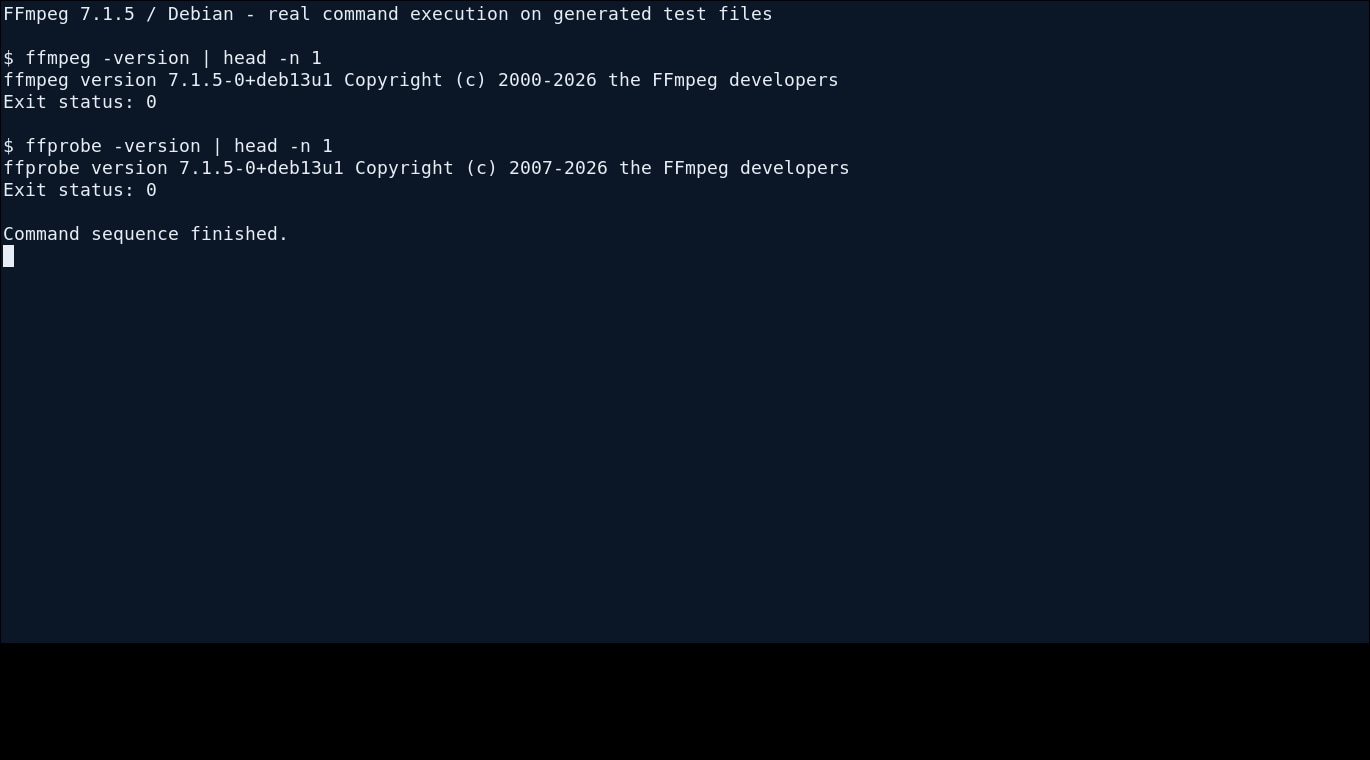
Step 3. Confirm both commands print a version line. If a shell reports that FFmpeg is not recognized, correct the installed path and reopen the shell. Do not proceed to a repair command until FFprobe also works; it is the simplest way to determine whether MP4 tracks are still readable.
Result check: Two version headers are visible. If the shell cannot find either program, the problem is installation or PATH rather than the MP4 file itself. The screenshots in this article are technical demonstrations using self-generated test footage, not proof of a repair on your original recording.
Method 2. Inspect the MP4 Streams and Test for Decode Errors
Use FFprobe before selecting a repair option. A video can exist on disk yet have unreadable metadata, or it may expose valid streams while some media packets are damaged. These are different cases. The official FFprobe documentation describes stream, format and error reporting.
Step 1. Make a copy of the input on a healthy drive. In the command below, replace source.mp4 with that copied filename and keep quotation marks around names containing spaces.
ffprobe -v error -show_entries stream=index,codec_name,codec_type -show_entries format=duration -of default=noprint_wrappers=1 "source.mp4"Step 2. Run the optional decode check to look for errors beyond the header. FFmpeg reads the video and audio but sends the decoded output to a null target, so no repaired file is written.
ffmpeg -hide_banner -v error -i "source.mp4" -f null -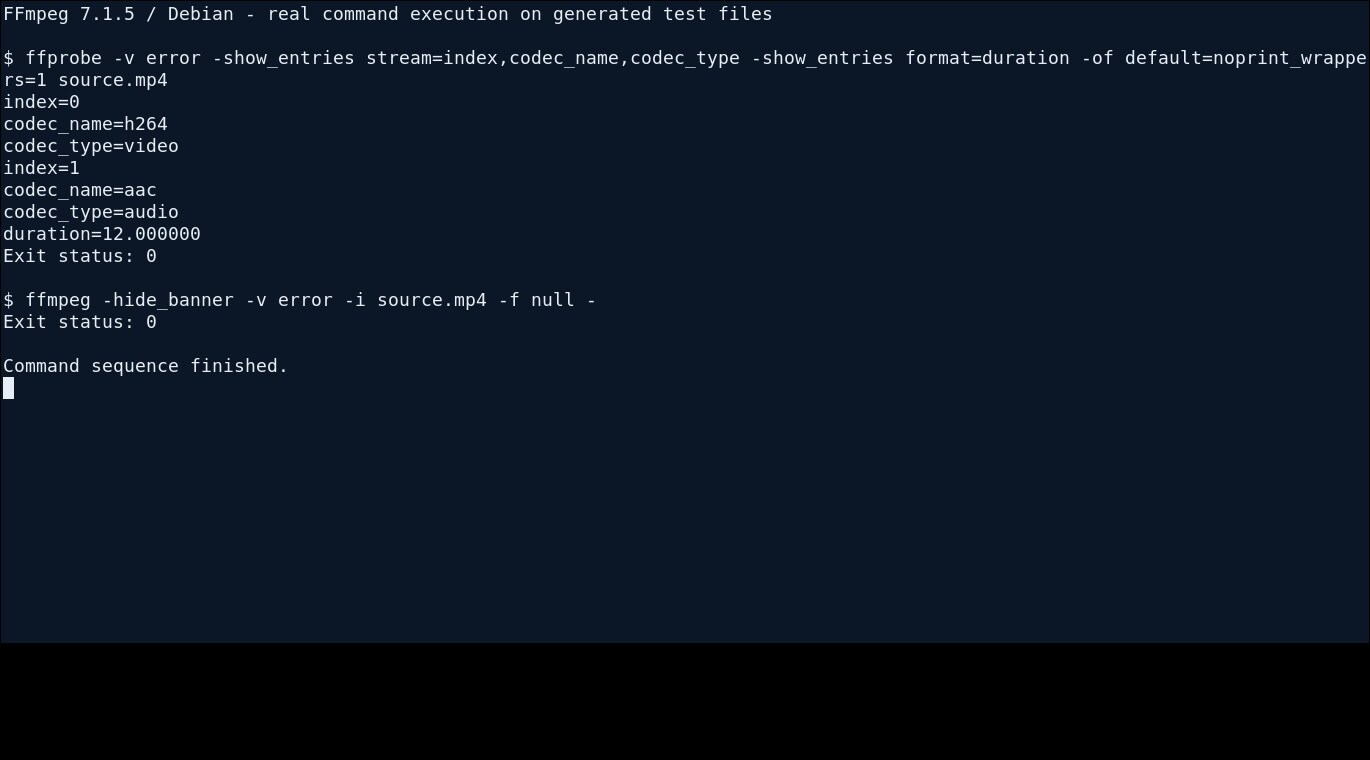
Step 3. Record whether video and audio streams appear, the measured duration, and any errors. An empty decode-error display is encouraging but not a guarantee that every displayed frame is visually correct; inspect the file in a player as well.
Result check: If FFprobe reads streams and the file fails mainly at seeking or opening in one player, start with Method 3. If you see decoder errors, try Method 5 only on a copy. If FFprobe immediately says moov atom not found or invalid data, first read Part 4; blindly rerunning these commands will not supply the missing index.
Part 3. Five FFmpeg Commands for Readable but Broken MP4 Files
These operations are grouped by the kind of damage they can actually address. They are alternatives, not steps that everyone must run in sequence. Execute only the method that matches your FFprobe result, then confirm the output before trying another operation.
Method 3. Remux a Readable MP4 Without Reencoding
A remux is the least destructive FFmpeg fix MP4 experiment when the streams can be parsed but the file has container-level incompatibility, poor indexing or player-specific issues. Stream copy preserves the encoded video and audio packets; it does not correct a damaged frame or conjure an unrecorded segment. The command intentionally maps one video track and an optional audio track to avoid unexpected subtitle or data streams causing MP4 output failure.
Step 1. Confirm the copied input reports a readable video stream with Method 2. If the file contains multiple important audio tracks, adjust the mapping based on FFprobe rather than silently discarding them.
Step 2. Run the following command in the directory containing the copied MP4. The question mark on the audio mapping allows a video-only recording to proceed.
ffmpeg -i "source.mp4" -map 0:v:0 -map 0:a? -c copy "remuxed.mp4"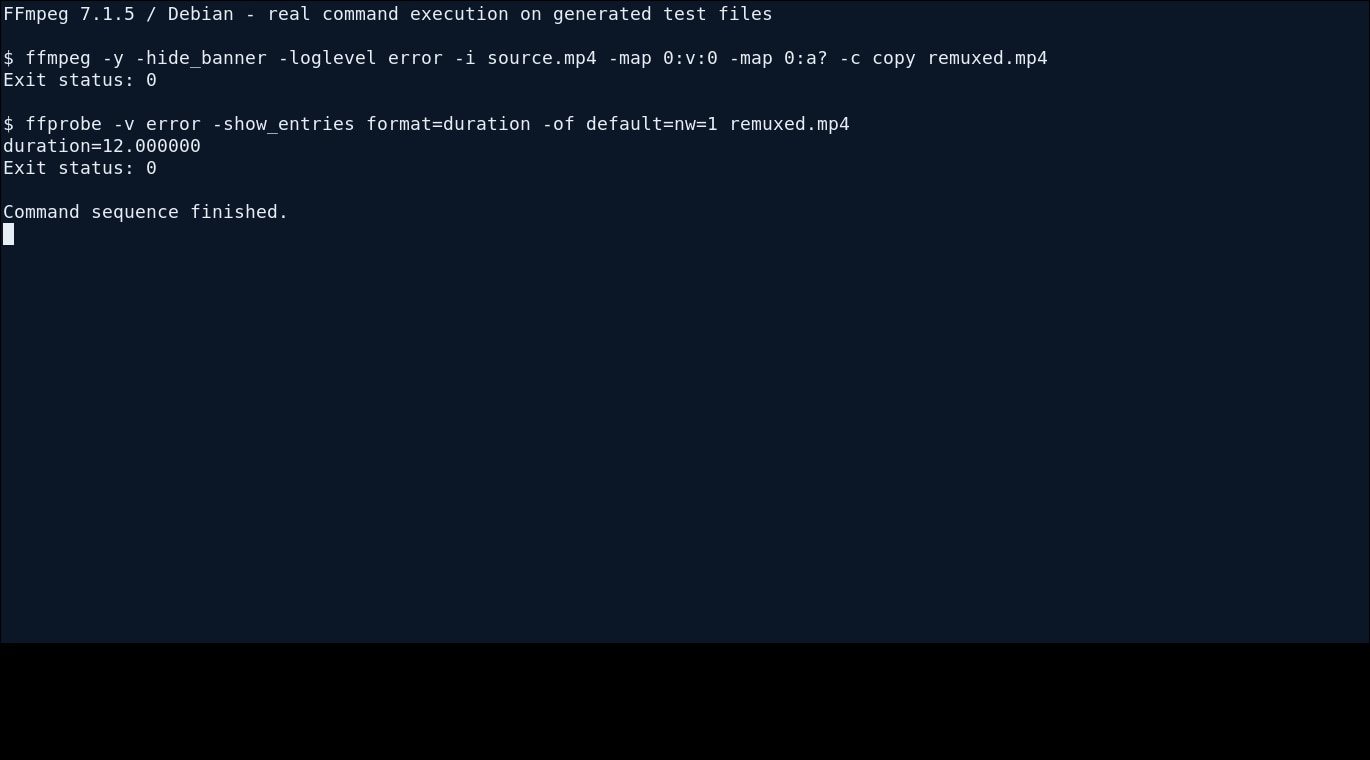
Step 3. Open remuxed.mp4 and inspect the first, middle and last sections. Confirm audio remains present and the file seeks normally. A file that opens but still freezes at the same timestamp may contain damaged encoded packets; copying those packets does not change them.
Result check: Playback and seeking work throughout the remuxed file. If FFmpeg reports that it cannot read the input header, stop and check Part 4. If packet errors persist, Method 5 may save decodable footage, with possible loss of damaged frames.
Method 4. Regenerate Missing Presentation Timestamps When DTS Exists
Malformed presentation timestamps can make an otherwise readable video stutter, seek poorly or show audio-video timing problems. FFmpeg's -fflags +genpts requests generation of missing PTS when decode timestamps are available. It cannot correct every clock discontinuity and should not be applied reflexively to already well-timed footage. This option is explained in the official format flags reference.
Step 1. Check for timestamp warnings and inspect the file's stream information. If the source is a readable transport stream or another demuxable recording that later needs an MP4 container, consider this option before an expensive full transcode.
Step 2. Run this example on a source.ts recording. Replace the input name and use an output extension supported by the streams in your file. The demonstration remuxes readable MPEG-TS content into MP4; it does not prove that a missing MP4 moov atom can be rebuilt.
ffmpeg -fflags +genpts -i "source.ts" -map 0:v:0 -map 0:a? -c copy "timeline.mp4"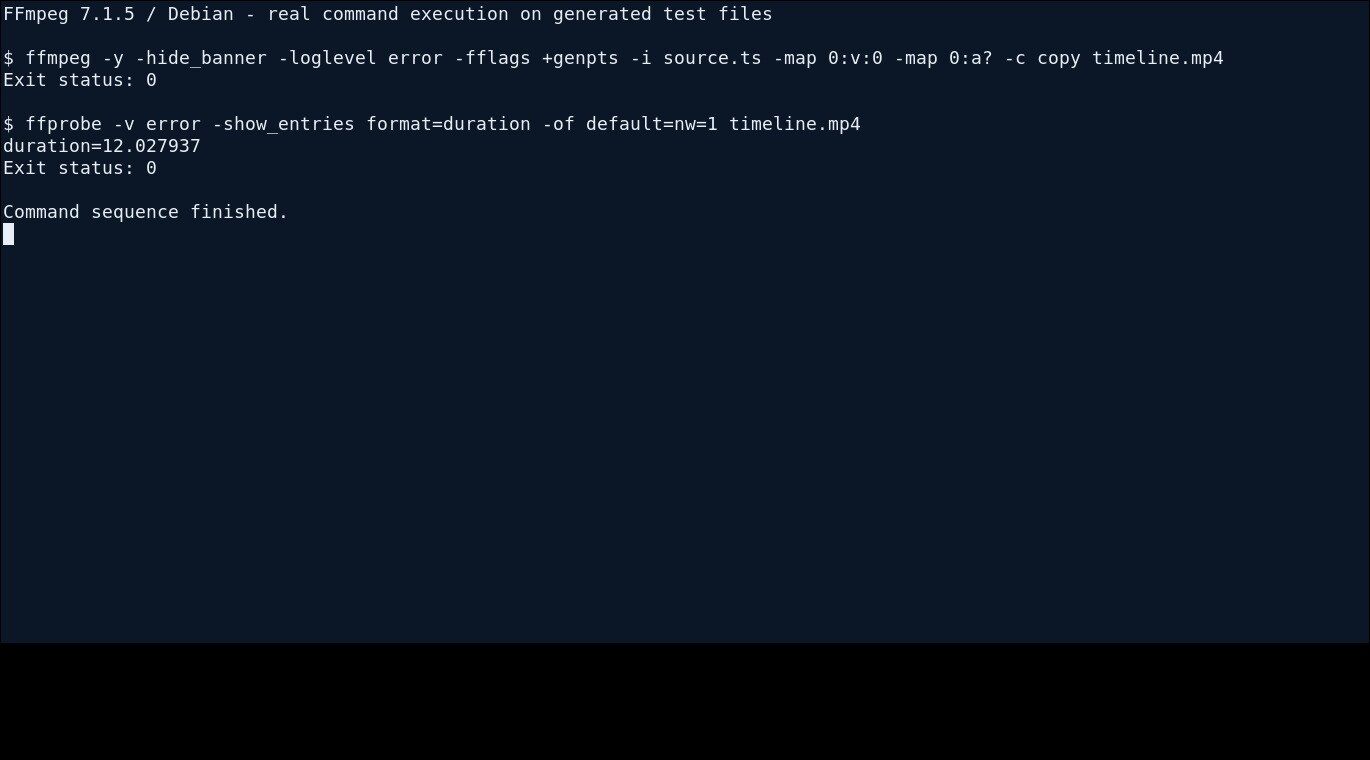
Step 3. Compare seeking and audio sync at several points against the source. Check the new duration using FFprobe. If the audio drifts or the container still reports nonmonotonic timestamps, do not keep applying the same flag; the source may need deliberate timestamp analysis or a reencode instead.
Result check: The exported video has reasonable duration and stable timing in the intended player. For a normal MP4 whose PTS values are already present, this method may change nothing. A missing file index remains a separate problem.
Method 5. Reencode Salvageable Frames and Skip Corrupted Packets
When a video can be opened but a portion produces decoder messages such as invalid NAL unit or corrupt AAC packet, a reencode can sometimes keep the healthy sections. The +discardcorrupt format flag asks FFmpeg to skip packets marked as corrupt. Other errors may still appear, and lost frames or audio samples are not recovered. This is a salvage attempt rather than a lossless restoration.
Step 1. Keep the original and make a fresh copy for this operation. Before transcoding, note the input duration and any visibly damaged timestamp so the output can be compared later.
Step 2. Run a reencode with an H.264 output and AAC audio. This uses a broadly compatible MP4 combination but requires that FFmpeg can decode at least some source frames. The CRF setting is an encoding choice, not a repair-success guarantee.
ffmpeg -fflags +discardcorrupt -i "source_damaged_packet.mp4" -map 0:v:0 -map 0:a? -c:v libx264 -preset medium -crf 20 -c:a aac -b:a 128k "salvaged.mp4"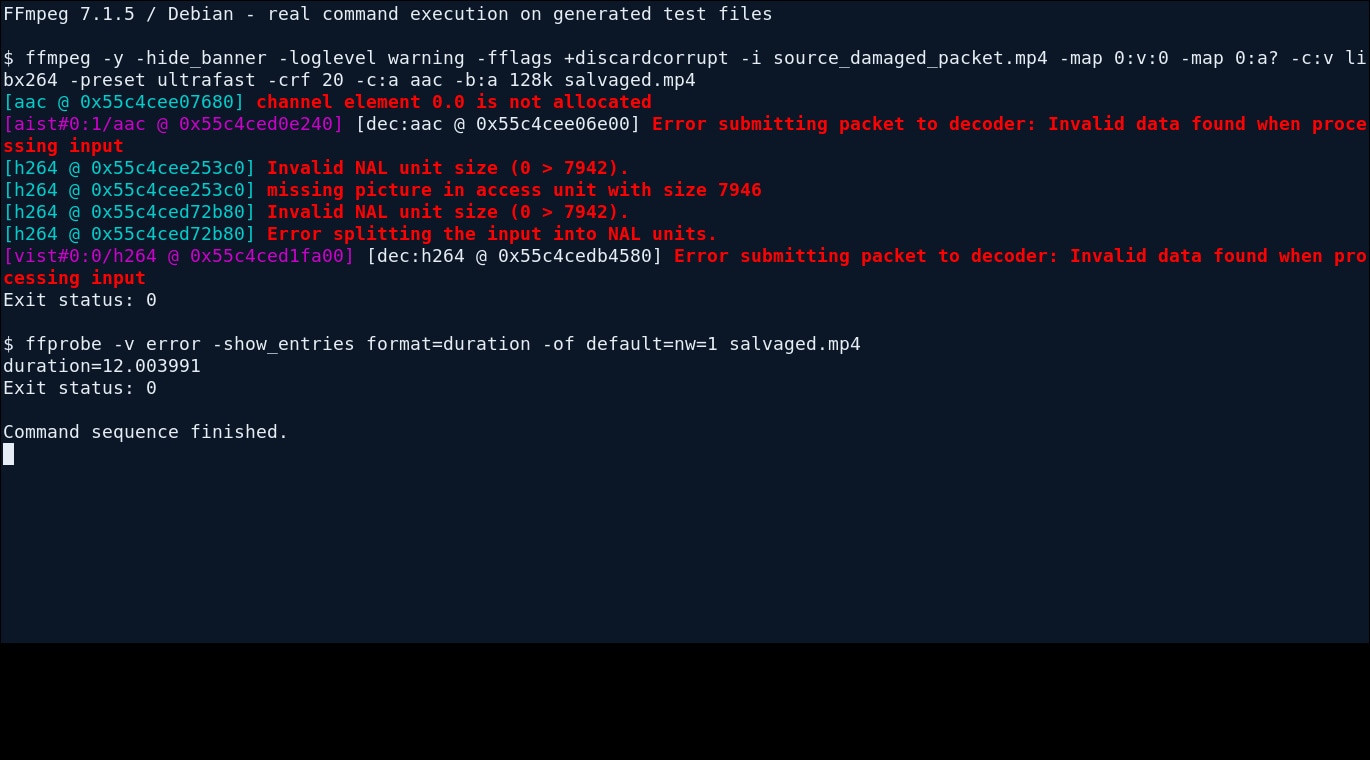
Step 3. Preview salvaged.mp4 around the failure point. In the reproducible demonstration, a deliberately modified packet triggered both H.264 and AAC errors, yet FFmpeg exited with status zero and wrote an output with a measurable duration. That is why you must inspect the actual images and sound: an exit code of zero is not evidence that every damaged frame was reconstructed.
Result check: Usable footage can be decoded and watched, while missing or visibly changed intervals are documented. If FFmpeg stops immediately without recognizing any stream, this path cannot help. If the MP4 remains blank, compare its symptoms with the broader damaged MP4 repair options before discarding the source.
Method 6. Save an Early Playable Section from a Partially Damaged Recording
Sometimes only a portion of a long recording plays correctly. If FFmpeg can open the file and decode its beginning, exporting a known-good interval may preserve important footage without risking an attempt to rewrite the entire damaged file. This is particularly useful for a long interview or surveillance segment whose later sections fail, although a cut made with stream copy may begin or end near a keyframe rather than on an exact requested frame.
Step 1. Use your player and FFprobe to locate an interval that plays without interruption. Decide what duration is genuinely readable. The example below uses five seconds for a short local test; replace this duration with your own verified interval.
Step 2. Export the selected interval to a new file instead of overwriting the source. When cuts must be frame-accurate, a reencode may be necessary, but that adds quality and processing tradeoffs.
ffmpeg -i "source.mp4" -t 00:00:05 -map 0:v:0 -map 0:a? -c copy "partial.mp4"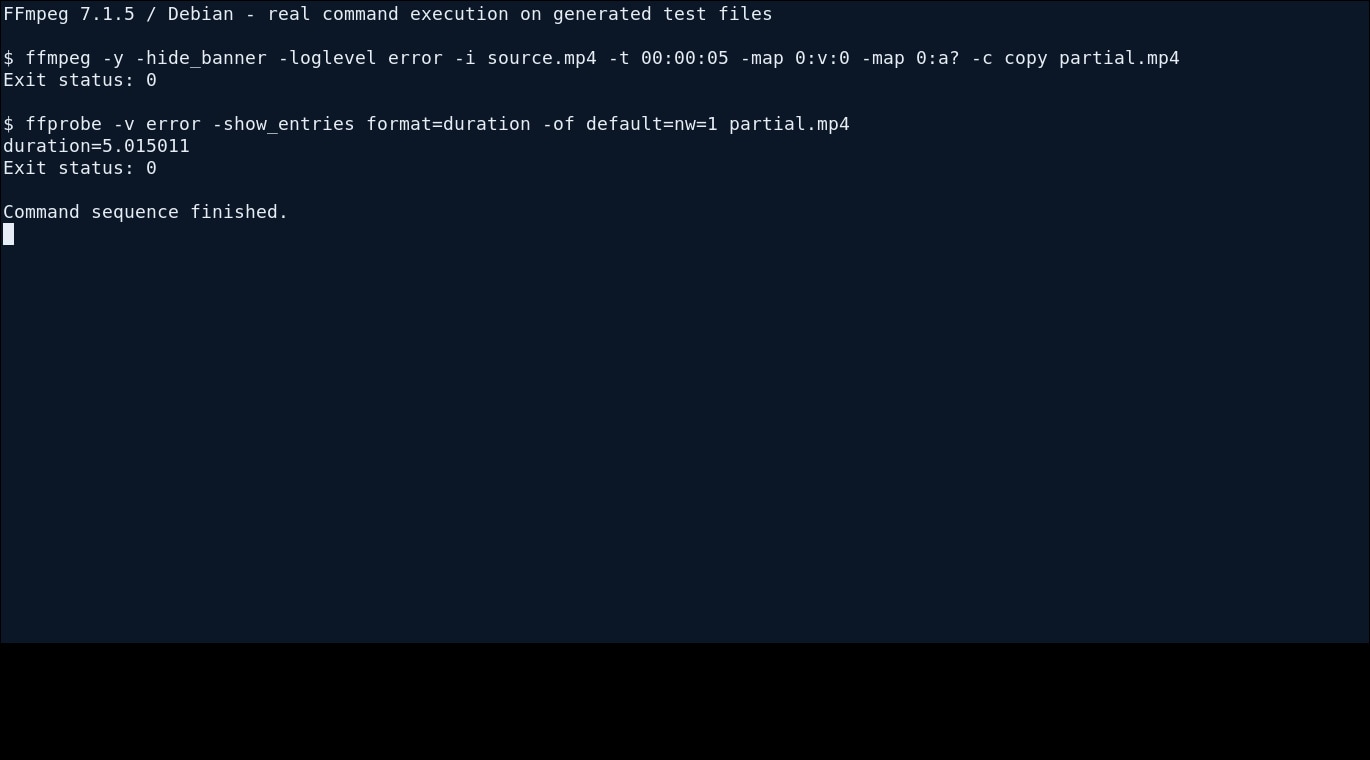
Step 3. Watch partial.mp4 from beginning to end and confirm that the saved duration and sound are acceptable. Keep a note of the original duration to avoid confusing a shorter rescued clip with a complete repair.
Result check: The portion you needed plays independently. If the file has no parseable header or the readable section cannot be located, FFmpeg may be unable to cut anything useful. The missing remainder is not silently restored by the command.
Method 7. Move an Existing MP4 Index with Faststart
For an MP4 that already opens and decodes, -movflags +faststart moves the existing moov index toward the beginning of the output file for more convenient progressive playback. This may help a valid file start sooner on some web players. It is not a cure for moov atom not found, since it first needs to read the original index. It also does not suit every fragmented-MP4 workflow.
Step 1. Confirm the original MP4 opens in FFprobe and your player. If FFprobe reports moov atom not found, do not run the command expecting the missing atom to reappear; see Part 4.
Step 2. Remux to a distinct new filename with the faststart flag. It copies packets and relocates existing metadata but does not reencode the video.
ffmpeg -i "source.mp4" -c copy -movflags +faststart "streamable.mp4"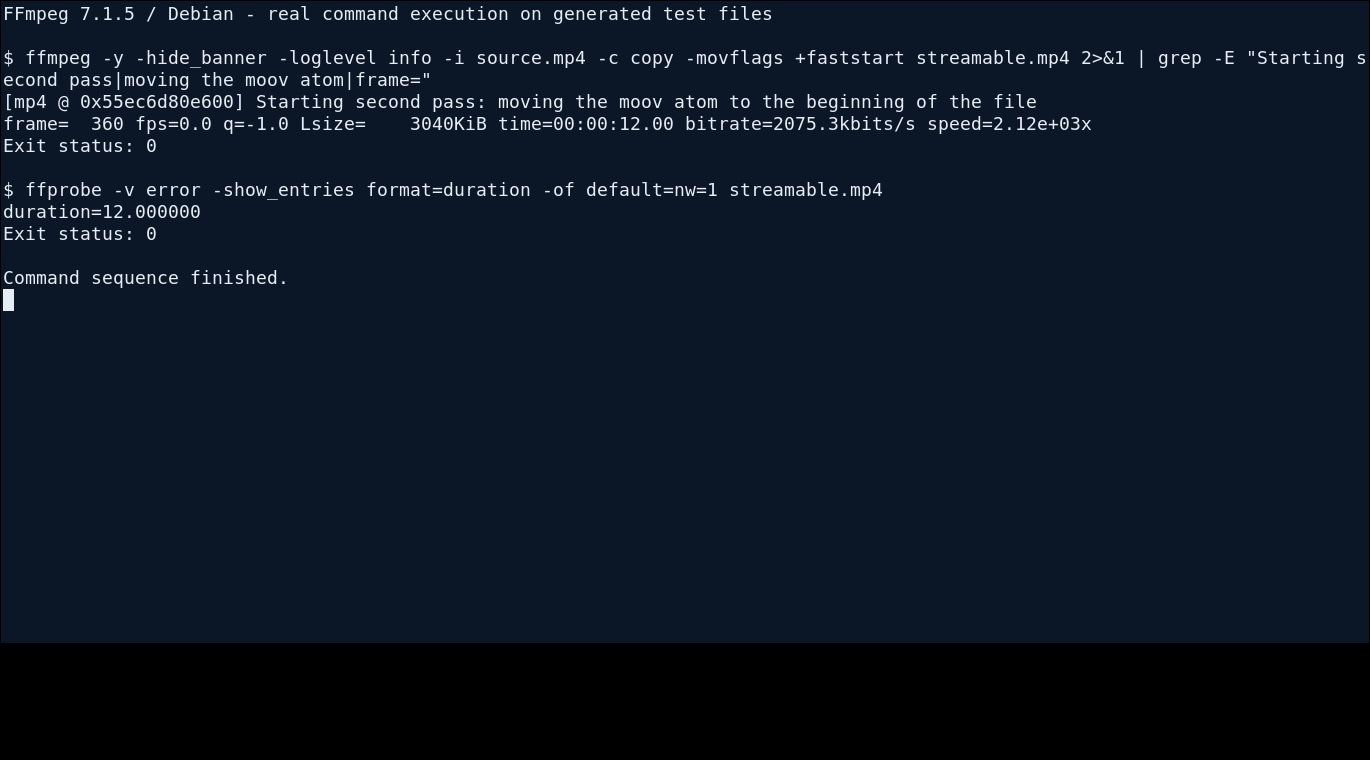
Step 3. Check that streamable.mp4 plays, seeks and retains the expected duration. Use it only if the target workflow benefits from the relocated index; it is not necessary for every locally stored MP4.
Result check: The output opens and its metadata has been moved. A failed read of the input is not fixed by faststart. For the dedicated error and its alternatives, the site also has a separate FFmpeg moov atom not found guide.
Part 4. Why Some Corrupted MP4 Files Cannot Be Fixed with FFmpeg
A failure is often more informative than another command attempt. Missing metadata, overwritten media bytes and physical storage damage are fundamentally different from a container that can still be parsed. In these situations, preserving existing evidence matters more than generating more output files.
Method 8. Check a Missing Moov Atom Before Attempting Repair
MP4 commonly stores a moov atom containing track information required to locate and interpret media samples. In a nonfragmented recording, a shutdown before finalization can leave an mdat payload without the completed moov information. FFprobe may then reject the input before ordinary stream copying or reencoding begins. The FFmpeg project documents the normal MP4 index and fragmentation behavior.
Step 1. Work only with a copy, and run FFprobe on the unreadable file. Compare its size with the original device or download record; zero bytes or a small partial download suggest a different failure from a complete but wrongly ordered index.
ffprobe -v error "source_missing_moov.mp4"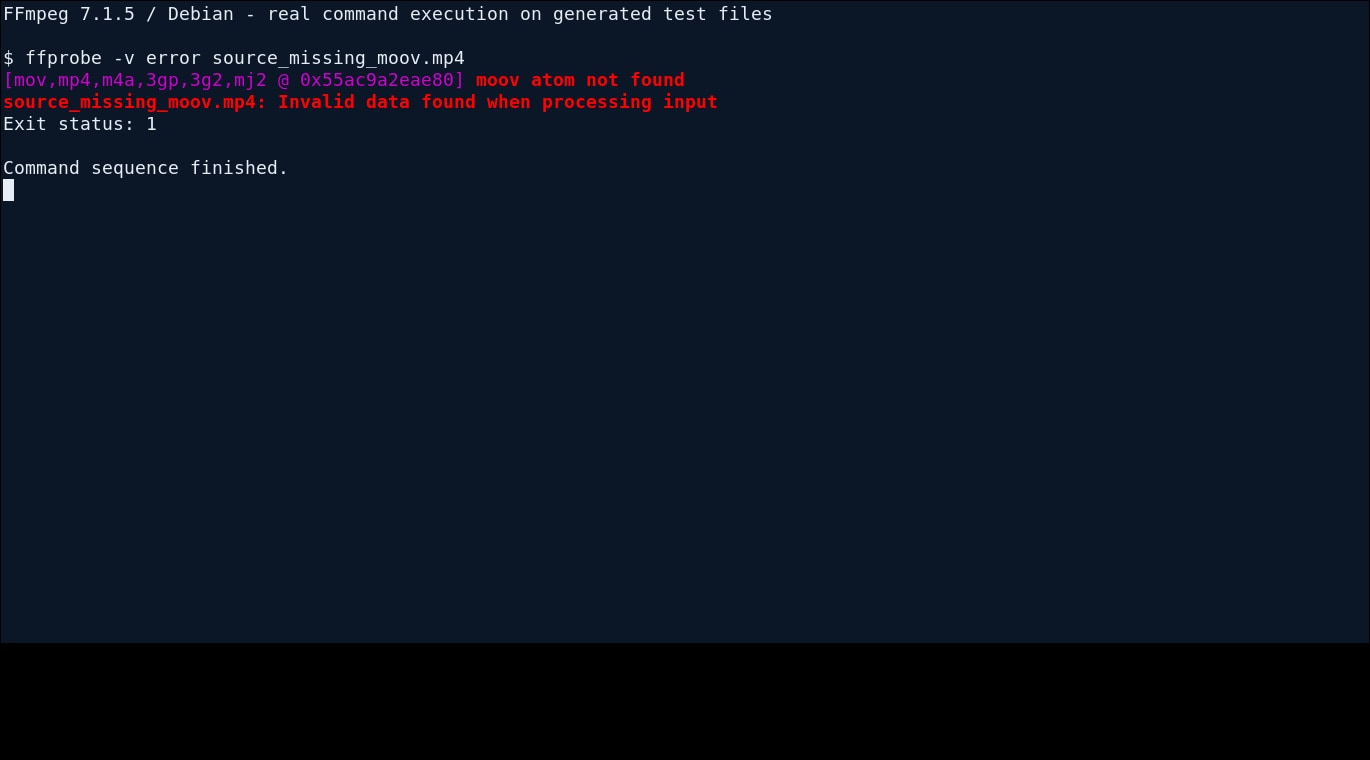
Step 2. If the tool reports moov atom not found, check for an intact camera card, device cache, recording finalization option, backup, or a second complete transfer. In the local test, the moov section was deliberately removed from an otherwise healthy file to reproduce this exact failure; no claim is made that FFmpeg reconstructed the missing table.
Step 3. Do not rename an unrelated file to .mp4, overwrite the sole original, or use +faststart as if it synthesized missing sample offsets. If the media is important, retain the original and consider a specialist or a format-specific repair method that uses a matching sample recording, with realistic expectations.
Result check: The error is correctly diagnosed and the preserved original remains available. A valid replacement source should yield readable track metadata. If it does not, stop repeated FFmpeg attempts: the missing indexes or bytes may require a different process, or may be unrecoverable.
Distinguish Missing Video, Missing Audio, and Hardware Failure
A video that has no sound is not automatically a damaged MP4 container. Check the presence of an audio stream and the player's output settings first. The separate MP4 with no sound troubleshooting article handles that intention more directly. Likewise, a stuttering stream on one slow computer may be caused by decoding performance rather than corrupt media. A drive that disconnects repeatedly, clicks or reports read errors deserves a safety-first storage assessment, not repeated full-file transcoding.
FFmpeg cannot scan an SD card to discover deleted filesystem entries, recreate a camera recording that was never finalized, or guarantee repair of overwritten frames. Do not confuse the function of a dedicated video repair program with file recovery from deleted storage. Keep working copies, originals and any camera-generated sidecar files until a truly playable independent output is verified.
Part 5. What to Do If the Original Video Is Missing or Deleted
If the source MP4 was deleted, lost after a card format, or became inaccessible during transfer, generating new FFmpeg output on that storage could overwrite material you need. Recovery comes before repair in that case. Recoverit is relevant here because the user task has changed from rewriting a readable file to finding missing video data.
Method 9. Recover the Source Video from Readable Storage
Use this method only when your file is genuinely missing or deleted from a computer drive, external disk or readable camera card. It is not a remedy for broken playback settings. The official Recoverit Video Recovery feature explains supported media and the distinction between recovering deleted material and repairing an existing damaged file.
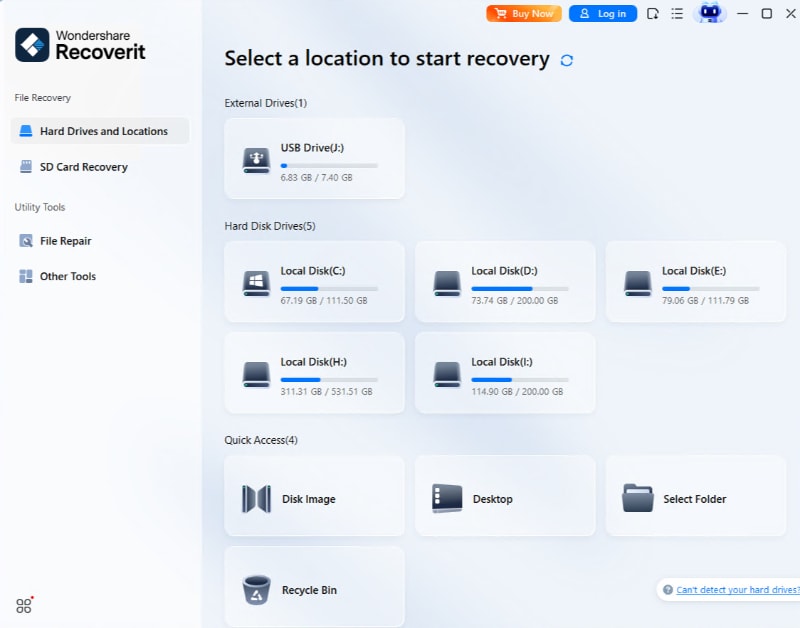
Step 1. Stop recording or downloading onto the source storage. Connect a readable SD card or drive to a healthy computer, start Recoverit, and select the location where the original video went missing. The image below is referenced directly from the official Recoverit Guide and is not included in the article-upload image ZIP.
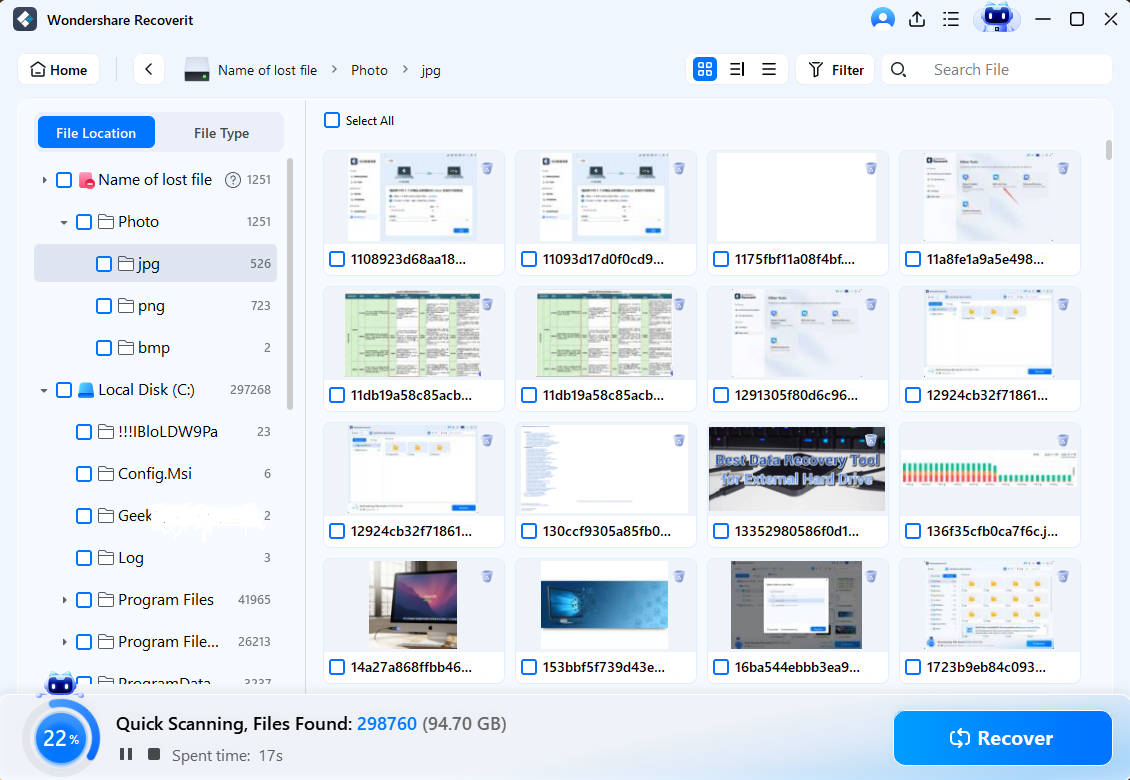
Step 2. Run a scan and review the discovered file list. For large or fragmented videos, check the current version's Enhanced Recovery option when applicable. A listed MP4 filename alone does not prove that its original video data is intact; preview where supported and inspect file size and recorded time.
Step 3. Save any previewable recovered video to a different healthy drive, not the card or location from which it disappeared. Recoverit cannot promise recovery of overwritten data or repair of hardware that cannot be read. If the saved video is still damaged, preserve it and attempt repair only on a further copy.
Result check: The recovered file can be previewed or tested independently without new writes to the original source. If the device is physically failing, encrypted and unavailable, or overwritten, software recovery may not work. The longer deleted-video recovery walkthrough covers different operating systems and storage situations.
Part 6. How to Confirm That an FFmpeg Repair Really Worked
A newly created MP4 and a zero process exit code do not prove that every frame is present, especially after corrupted packets were skipped. Validate the output separately from the command that wrote it, and compare its content to the source where possible.
Method 10. Run Independent Playback and Decode Checks
For an export from Methods 3–7, test with FFprobe and a full decode pass, then watch the first, middle and last parts of the file. Check audio, seeking and duration, especially around the exact place where the original failed. A 12-second output containing missing or frozen frames can still report approximately 12 seconds of duration.
Step 1. Use FFprobe to inspect the video and audio tracks and the output duration. The command below prints container and stream information for the saved file instead of reading only its extension.
ffprobe -v error -show_entries stream=index,codec_name,codec_type -show_entries format=duration -of default=noprint_wrappers=1 "salvaged.mp4"Step 2. Decode the result again without writing a new output. Treat warnings as evidence to investigate, not something to suppress just to get a green exit code.
ffmpeg -hide_banner -v error -i "salvaged.mp4" -f null -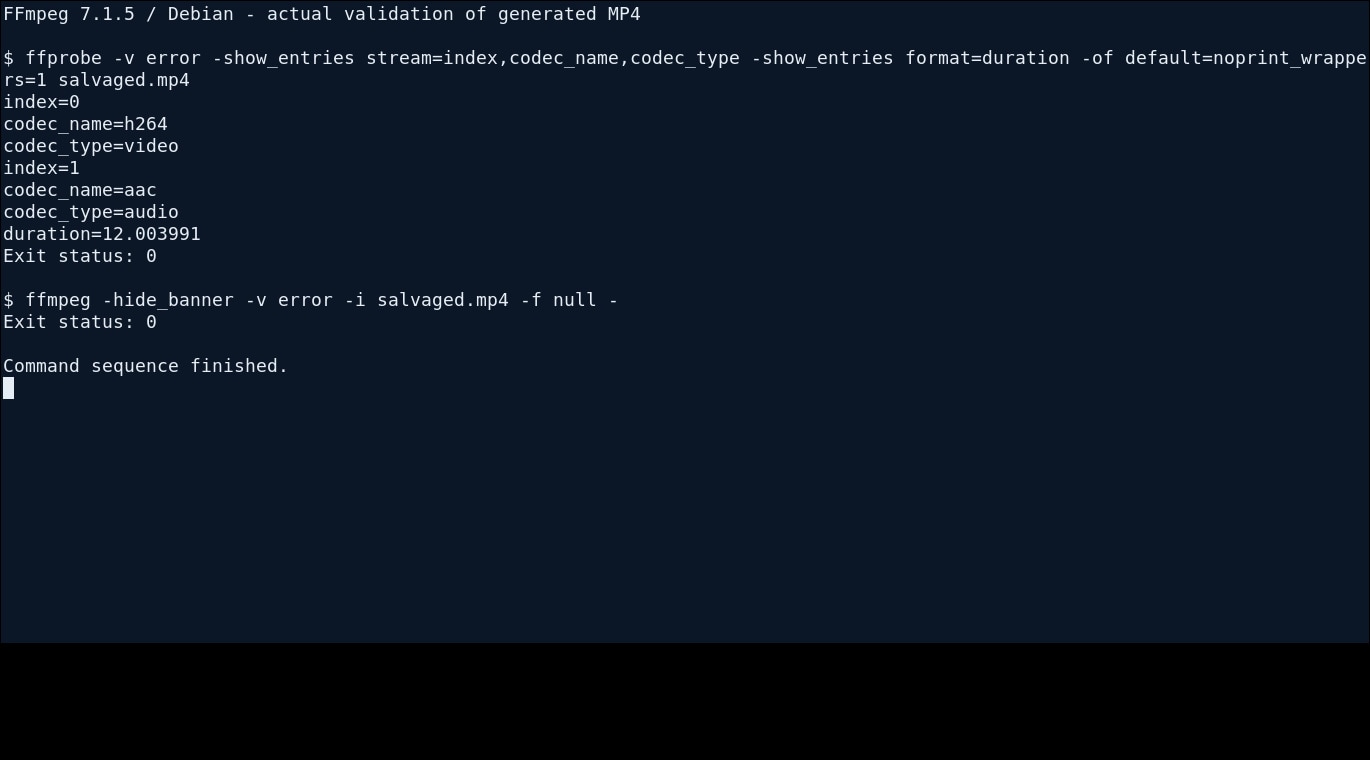
Step 3. Compare frame continuity, sound, length and seek behavior with the source or a known-good device sample. Keep a log of any skipped frames or missing time ranges. If visual defects persist, do not erase the original or call the repair complete.
Result check: The video decodes and plays throughout the content you actually need. If the file is still blank, short or out of sync, return to the original diagnosis; repeating the same command without changed evidence seldom helps.
Conclusion
FFmpeg can repair some MP4 playback problems when enough of the container and encoded streams remain readable. Start with FFprobe, try stream copying for container problems, use timestamp generation only when timestamp evidence supports it, and reencode only if decoding errors make the extra quality and processing tradeoff worthwhile. Faststart relocates an existing index; it does not rebuild a missing moov atom. Test the whole output instead of relying on a successful terminal exit.
If the original video is missing or deleted, stop writing to the source and consider a recovery workflow before further repairs. If important footage is severely damaged, retain the original and use a suitable specialized repair evaluation rather than promising that any single FFmpeg command restores unrecoverable frames.
FAQ
-
Can FFmpeg repair a corrupt MP4 without reencoding?
Yes, if its streams remain readable and the issue is mainly in the container. Use a new-file stream-copy remux. It cannot repair broken frames or replace missing media bytes. -
Does FFmpeg fix moov atom not found with faststart?
No. Faststart moves an existing moov index; it cannot create missing track tables from an MP4 that FFmpeg cannot parse. Seek the complete original or a specialized recovery/repair approach. -
What is the safest first FFmpeg fix for a broken MP4?
Copy the source to a healthy drive, inspect with FFprobe, then choose a command based on the actual error. A remux is a reasonable first experiment when streams are readable and playback or container metadata is the problem. -
Will discardcorrupt recover every damaged frame?
No. It may discard corrupted packets, leading to gaps, freezes, or changed audio. Use it to salvage decodable data and inspect the saved result carefully. -
Can I run these FFmpeg MP4 repair commands on Windows and Mac?
Yes, equivalent FFmpeg command syntax works across supported systems once an appropriate build is installed. Paths, PATH setup and available codecs can differ, so confirm your build's encoder support before transcoding. -
Is video recovery the same as video repair?
No. Data recovery seeks missing or deleted files on storage; video repair works on an existing but damaged file. If the recording is missing, recover a copy first and avoid saving it onto the source device. -
How do I know the repaired MP4 is complete?
Compare the expected duration, streams, audio, seeking, and actual footage across the entire file. A decode scan or FFmpeg exit status by itself cannot certify that every original frame is present.


