

 TL;DR:
Since Microsoft's Media Creation Tool cannot run natively on macOS, you must download the Windows 10 ISO directly from Microsoft's website and use alternative Mac-compatible utilities to create a bootable 16GB+ USB drive.
● Boot Camp Assistant provides a built-in installation method that includes Windows support software, but it strictly requires an Intel-based Mac and will not work on systems with Apple Silicon M1 chips.
● Disk Utility allows for a simple drag-and-drop creation process but is restricted to older macOS versions, requiring users on newer macOS releases to rely on complex Terminal command-line inputs.
● Third-party tools like UNetbootin and PassFab 4WinKey bypass macOS version restrictions to format and burn the drive, though UNetbootin requires the ISO file to be downloaded directly onto the USB first.
Ask AI for a summary
 ChatGPT
 Perplexity
 Gemini
 Claude
 Grok
Grok
Is your Windows 10 PC crashed and not working when you try to turn it on? If so, you may need a bootable Win 10 USB to rescue this situation by running a diagnostic or even installing a new Windows. But what if only a Mac system is available?
While Microsoft's Media Creation Tool does not work on macOS, you have to wonder: can I save my Windows computer/laptop using a Mac computer just by following some simple steps? It turns out this is really possible.
In this article, we'll discuss how to create a Windows 10 bootable USB on Mac. We explored five step-by-step methods to help you complete the task without hassle.
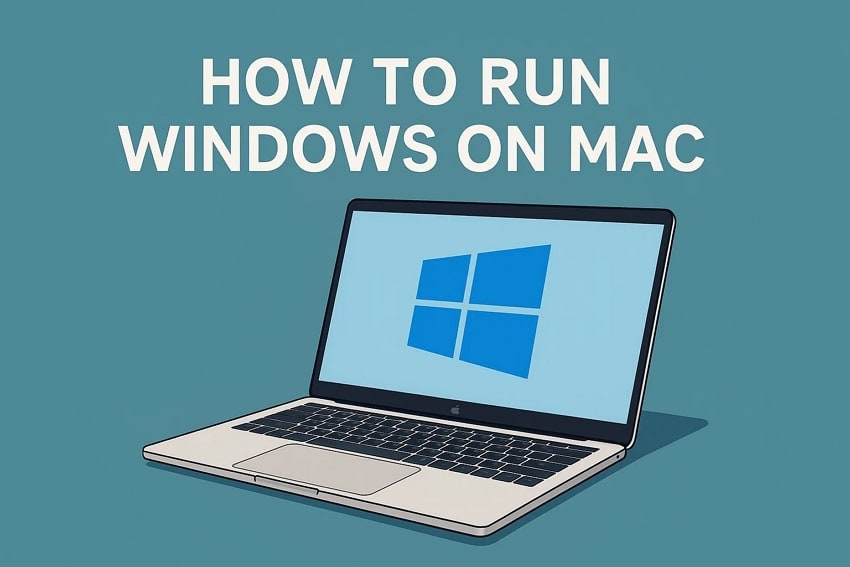
Exploring the most efficient methods to run Windows on Mac without any hindrance.
5 Ways to Make a Windows 10 USB on Mac
Why Windows Media Creation Tool Won't Work on Mac?
Many users look for the "Windows Media Creation Tool for Mac," but Microsoft only offers this tool for Windows. Since macOS cannot execute .exe files natively, you need to download the Windows 10 ISO directly from Microsoft's website and use other tools to burn it to USB.
How to Make a Windows 10 USB Using Your Mac
Below are five different step-by-step methods to help you create a Windows 10 bootable USB on Mac system.
Method 1. Use Terminal to Build a Windows 10 Bootable USB
Mac Terminal (OS) is the macOS operating system's command line interface (CLI). To build a bootable Windows 10 ISO from your Mac's Terminal, follow these steps:
- Plug a USB drive with at least 16 GB of storage space into the USB port on your Mac.
- Press Command + Spacebar, type Terminal, and launch it. Alternatively, go to Finder and click Applications. Open the Utilities folder, find Terminal and launch it.
- Paste the following command into the Terminal and hit the Enter key to get the list of connected devices:
diskutil list - Find your USB name and note it for the next step.
- Now, copy the following command into the Terminal and make sure to replace 'drive name' with your USB drive name.
diskutil eraseDisk MS-DOS “WINDOWS10” GPT'drive name'@ - Next, you have to download the Windows ISO file from the Official Microsoft Website on your Mac. Since the Media Creation Tool does not work with macOS, you will be directed to the official ISO download page.
- Here, select your desired Edition and click the ""Confirm"" option. Next, choose the language and confirm it. You will get two download buttons: 64-bit Download and 32-bit Download. Click the link according to your PC processor, and you will get a file of the Edition.

- Once the Windows 10 ISO file is downloaded, use the following command in the Terminal to mount the folder and prepare it for transfer:
hdiutil mount ~/Downloads/WINDOWS10IMAGE.iso
(Replace "WINDOW10IMAGE" with the downloaded ISO Image name.) - Next, copy the following command in the Terminal(Make sure to replace "MOUNTED" with the name of the mounted ISO.):
cp -rp /Volumes/MOUNTED-ISO/ /Volumes/WINDOWS10/ - Afterward, run the following command and close the Terminal:
hdiutil unmount/Volumes/MOUNTED-ISO
Finally, your USB will become bootable. Eject it from your Mac, and you can use it to fix your crashed Windows PC or install OS on it.
Although this method is very helpful, it is the most complicated one and should only be used as a last resort.
Method 2. Use Disk Utility to Create USB on Mac
Disk Utility is a system utility provided by Apple Inc. for managing disk and disk volume-related operations. Before you begin, you will need the following:
- A 16-32GB USB drive.
- Mac running older macOS.
- Windows 10 ISO file (Latest Version).
Now, to create a bootable Windows 10 USB on a Mac using Disk Utility, follow these steps in sequence:
- Plug the 16-32GB USB drive into your Mac and press Command + Spacebar. Type in Disk Utility, find the app and launch it. Conversely, you can head to Finder > Choose Go > Utilities and double click the Disk Utility icon to open it.
- Right-click the USB flash drive on the left and format it using MS-DOS (FAT) .Now, drag and drop the downloaded Windows ISO file to your USB. The ISO file writing process for the USB will get initiated.

Once the ISO file writing process is completed, you can use the USB to install OS on your unbootable Windows PC or fix the problem with the current OS. This method is really helpful for old macOS users. However, if your Mac runs on a newer version, you have to use other alternative methods.
Method 3. Use UNetbootin to Install USB Driver on Mac
UNetbootin is a free program that allows you to create a bootable USB drive for Windows 10 using your Mac. To do this, you'll need a 16 GB USB drive with a Win 10 .iso file downloaded to it. Afterward, follow these steps to install the USB driver on your Mac:
- Insert the USB with the ISO file downloaded into the USB port on your Mac. Open Disk Utility and click on your USB flash drive to check its details.
- Download the UNetbootin software and install it on your Mac. Launch the app and click the Diskimage button. Next, click the ""..."" icon and select the Windows 10 ISO file you've downloaded on the USB.
- Set Type as "USB Drive" from the drop-down menu and select the name of your USB flash drive.
- Click ""OK,"" wait for some time, and your USB drive will be formatted to a bootable drive.

Above is how to use UNetbootin to make a Windows 10 bootable USB on Mac. If you also wonder how to use this utility tool to make a bootable Mac USB, you can read A Complete Guide: How to Use UNetbootin on Mac and Solve the Common Problems.
Method 4. Use Boot Camp Assistant on Mac
Boot Camp Assistant can help the user to install Microsoft Windows operating on Macintosh systems computer. It is a multi boot program that comes with Apple Inc.'s macOS (formerly Mac OS X / OS X).
To create a Windows 10 bootable USB on Mac using the Boot Camp Assistant, you’ll first need a 16GB USB flash drive and a Windows ISO file installed on your Mac system. Afterward, follow the instructions below step-by-step:
- Head to Finder and click Applications > Utility. Now, launch the Boot Camp Assistant.
- Check the "create a Windows 10 or later version install disk" option and click "Continue."
- Click "Choose" and import the Windows 10 ISO file from Mac's internal storage, and choose the "Continue" option.

- Once the Boot Camp Assistant creates the bootable Win 10 USB drive, check if it is renamed as WININSTALL and eject the USB from your Mac.
The above method is helpful and even allows you to install additional Windows support software. However, this method is only for Intel-based Mac systems and does not support Mac with Apple Silicon M1 chip.
Method 5. Make Windows Bootable USB Mac with PassFab 4WinKey
PassFab 4WinKey is a powerful free, and premium tool that you can use to create a bootable Windows USB on a Mac.
- Download and install PassFab 4WinKey software on your Mac and launch it. Next, insert the blank 16-32GB USB flash drive into the system.
- PassFab 4WinKey will automatically detect the USB. Afterward, click on your USB drive to confirm and click "Burn."

- Wait for the process to complete and click "OK" in the pop-up window. The ISO file will be generated on your USB, and the drive will be converted into a bootable one.
This is a simple method; however, it will take time to complete the process, depending on the Wi-Fi signal strength and internet speed.
More Related: How to Boot Mac from USB Drive
Retrieve Your Data from Crashed Window 10 PC Using Recoverit
Above we have provided five solutions to create a Windows 10 bootable USB on Mac. However, if the solutions mentioned above don't cater to your demand or they don't work on your Mac, there is a good option for you to recover your files and documents on your unbootable Windows PC - Recoverit.
Recoverit is powerful data recovery tool that can run smoothly on Mac. It can recover your data and help you out of the system trouble.
Before starting, you will need another working PC, either Windows 10 or Mac, a blank 16-32GB USB drive, an external hard drive, and the Recoverit software installed on your system.
Step 1: Launch the Recoverit software on your working PC and plug in the USB drive in the USB port. Go to "System Crashed Computer" from the left-hand side menu and click ""Start.""

Step 2: Select the USB drive from the drop-down menu and click ""Start/Create."" A warning message will appear on your screen asking for formatting the USB. Click "Format," and Recoverit will create your bootable USB drive once the formatting process is complete. Eject it from your working PC.
Step 3: Insert the bootable USB into the USB port of the crashed Windows 10 PC and restart it. Press the BIOS entry key when the first screen is displayed. Now, set the attached USB drive as your primary source for booting your crashed PC
Step 4: Now, your unbootable Windows 10 PC will become bootable. Two options will appear on your screen: Hard Disk Copy or Data Recovery.

If you select Hard Disk "Copy," click Copy Directory and connect an external hard drive to your crashed Win 10 PC. Click "Copy," and your data will be copied to the connected external hard drive.
If you select Data Recovery, choose a disk to start scanning, and attach an external hard disk to the crashed computer. Once the process is complete, select the hard drive as the location to save the retrieved data and click ""Recover."" The software will start retrieving your data to the hard disk, and you will get back all your lost data in no time.
Video Tutorial on How to Recover Files from Crashed Windows Computer
Conclusion
In this comprehensive guide, we've explored five step-by-step methods to help you create a Windows 10 bootable USB on Mac. We also discussed an alternative way to retrieve all your lost data from a crashed PC without any issue.
Hopefully, this article resolved all your queries, and you can now fix your unbootable or crashed Windows 10 PC.
FAQ
-
What do I need to create a Windows 10 bootable usb on mac?
To create a Windows 10 bootable USB on a Mac, you will need a few things:
1. A USB drive with at least 16GB of space.
2. A Windows 10 ISO file.
3. A tool for creating a bootable USB drive (such as Boot Camp Assistant or UNetbootin). -
Where can I obtain a Windows 10 ISO file for creating the bootable USB?
The Windows 10 ISO file can be downloaded directly from Microsoft's official website. Visit the Microsoft Software Download page and select the edition and language of Windows 10 you require. Once downloaded, you can use this ISO file to create the bootable USB. -
How to recover data from an unbootable Windows computer?
The most effective way to recover data from an unbootable Windows computer is using Recoverit data recovery software, which works for both Windows and Mac. It will guide you to create a bootable USB drive at first, then instruct you to recover inaccessible data from the unbootable computer in steps. -
Can I use any USB drive to create a Windows 10 bootable USB on a Mac?
Not all USB drives are compatible for creating a bootable USB on a Mac. It's recommended to use a USB drive that is at least 16GB in size and has a fast data transfer speed (USB 3.0 or higher). Additionally, ensure that the USB drive is formatted correctly using the FAT32 or exFAT file system before copying the Windows 10 ISO file onto it. -
Can I use Windows Media Creation Tool on a Mac?
No, the Windows Media Creation Tool is an executable (.exe) file designed only for Windows. It is not compatible with macOS. Instead, you can download the Windows 10 ISO file directly from Microsoft and use Terminal or Disk Utility to create the bootable drive.


