


 TL;DR:
You can recover unsaved or deleted PowerPoint files by checking built-in temporary system folders, recent file lists, or utilizing third-party data recovery software.
● To manually locate unsaved drafts, open File Explorer and navigate directly to `C:\Users\[YourUsername]\AppData\Local\Microsoft\Office\UnsavedFiles` to retrieve temporary `.pptx` files.
● For presentations closed unexpectedly, check the **File > Open > Recent** list within PowerPoint, or rely on the AutoRecover prompt that automatically appears upon reopening the application.
● If a file was permanently deleted rather than just unsaved, scan your system using **Wondershare Recoverit**, and apply **Repairit** if the restored presentation turns out to be corrupted.
Ask AI for a summary
 ChatGPT
 Perplexity
 Gemini
 Claude
 Grok
Grok
Do you know the frustration of losing an important PowerPoint file? It's a common problem, but don't worry. There are a plethora of ways to recover unsaved PowerPoint files.
In this guide, we will cover various methods of recovery for PowerPoint files. Whether you need to recover deleted PowerPoint files or find out how to recover an unsaved PowerPoint. We've got you covered. Keep reading to discover effective solutions for PowerPoint recovery.
Recovering unsaved PowerPoint files can save you time and effort. Let's dive into the different ways you can achieve PowerPoint file recovery.
From using PowerPoint recovery software to navigating Auto Recovery folders. You will learn how to handle PowerPoint recovery.
Try Wondershare Recoverit to Perform Free PowerPoint File Recovery
 Security Verified. Over 7,302,189 people have downloaded it.
In this article

Part 1: Is it Possible to Recover Deleted or Unsaved PowerPoint?
Yes, it is possible to recover unsaved PowerPoint files. With the right tools and methods, you can successfully perform recovery for PowerPoint files. Whether it's a case of an accidentally deleted file or a PowerPoint file not saved. Recovery for PowerPoint is achievable. This section will explain how to recover PowerPoint file not saved. You will also learn how to recover deleted PowerPoint files.
Recovery for PowerPoint involves using specific techniques and tools. Understanding the basics of PowerPoint recovery can make the process smoother. Keep reading to explore the different methods available for PowerPoint file recovery.
If you're wondering how to recover an unsaved PowerPoint, there are multiple ways to do it. From built-in features to third-party software, PowerPoint recovery is accessible to everyone. Learn how to recover PowerPoint file not saved with ease.
Part 2: How to Recover Deleted or Unsaved PowerPoint Files for Free?
Losing a PowerPoint file, whether unsaved or deleted, can be stressful. Fortunately, there are several free methods to recover your important presentations. From using PowerPoint's built-in features to exploring third-party recovery tools. Each approach offers a way to restore your lost files.
Let's explore these methods step-by-step to help you recover unsaved PowerPoint files.
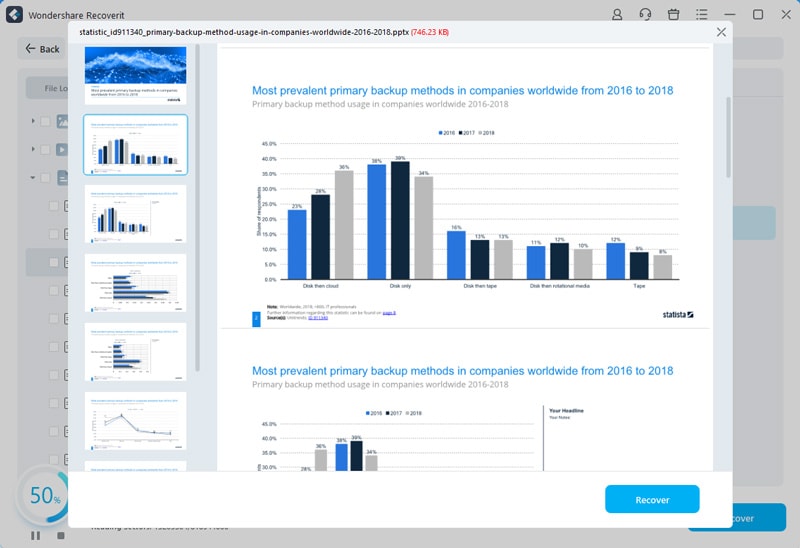
Method 1: Use Recoverit for PPT Recovery
Recoverit is a powerful tool for PPT recovery that works wonders. It can find and restore unsaved or deleted PowerPoint files. This software scans your system to locate missing PowerPoint files. It is user-friendly and simple to use. Even if you are not tech-savvy, you can navigate it easily.
Recoverit has advanced scanning capabilities. It searches for various file types, including PPT and PPTX. This ensures no lost presentation is missed. Recoverit allows you to preview files before recovering them. This adds an extra layer of assurance. It is a reliable tool for both unsaved and deleted PowerPoint files. Many users trust it to restore their important presentations.
Here’s how to use Recoverit for PowerPoint file recovery:
- Download and install Recoverit. Open the software and select the location of the lost file. Click Start to begin the scan.

- Wait for the scanning process of PPT recovery.

- Preview and recover the file.
Using Recoverit simplifies the process of PowerPoint recovery. It's an effective way to recover unsaved PowerPoint and deleted files. Recoverit ensures you can find and restore your important presentations.
Method 2: Navigate to the Auto Recovery Folder
Auto Recovery is a fantastic feature for recovering unsaved PowerPoint files. It saves your work at regular intervals. This means that if your computer crashes or you close PowerPoint without saving. You can still recover.
The Auto Recovery feature is useful. It means you don't lose significant progress on your presentations.
When PowerPoint crashes or closes unexpectedly, it generates temporary files. These files can be found in the Auto Recovery folder. This feature is especially helpful if you often forget to save your work manually.
Auto Recovery helps in PPT recovery without any extra effort on your part. This can save you from the hassle of recreating lost slides and information.
Follow these steps:
- Open File Explorer. Navigate to the Auto Recovery folder. In File Explorer, navigate to the following path:
- C:\Users\[YourUsername]\AppData\Local\Microsoft\Office\UnsavedFiles ```

- Replace [YourUsername] with your actual Windows username. Look for files with a .pptx extension and copy them.
This method helps you recover unsaved PowerPoint files quickly. Auto Recovery stores temporary versions of your presentations.
Method 3: Review the Recent Files List in PowerPoint
You can often find unsaved presentations in the recent files list. This feature provides quick access to files you've recently worked on. If you accidentally close PowerPoint without saving, check the recent files list first. It might save you the trouble of looking elsewhere for your unsaved file.
The recent files list is easy to navigate. Open PowerPoint, go to "File," and click on "Open." In the "Recent" list, you might find your unsaved presentation. This method is straightforward and can be a real lifesaver. It ensures that you can quickly continue working on your presentation.
Here's how:
- Open PowerPoint. Go to File and click Open.

- Look for the file in the Recent list.
The recent files list is a useful tool for recovering unsaved PowerPoint files. It gives you quick access to presentations you recently worked on, making it easy to recover them without hassle.
Method 4: Use PowerPoint's AutoRecover Feature
AutoRecover helps in PPT recovery by saving your work at regular intervals. This feature reduces the risk of losing important data if PowerPoint crashes. It also helps if PowerPoint closes unexpectedly.
With AutoRecover, your presentations are saved automatically. When PowerPoint reopens, it prompts you to recover unsaved files. You can then select the most recent version from the list of AutoRecovered files.
Here's how to use it:
- Start by opening PowerPoint on your computer. Click on File in the top menu, and then select Options at the bottom of the sidebar In the PowerPoint Options window, click on Save in the left-hand menu.

- Ensure that the Save AutoRecover information every X minutes checkbox is checked. Set the interval for how frequently you want AutoRecover to save your work. Check the Keep the last autosaved version if I close without saving checkbox as well.
If PowerPoint crashes or you close it without saving, reopen PowerPoint.
AutoRecover is an essential tool for PowerPoint recovery. It automatically saves versions of your presentation. This makes it easier to recover unsaved PowerPoint files.
Method 5: Check for Backup Copies
Sometimes, backups can save the day when it comes to recovering lost PowerPoint files. Keeping regular backups of your important presentations ensures that you always have a copy available. Backups can be stored on external drives, cloud services, or other storage solutions. By having a recent backup, you can quickly restore your work without needing to go through complex recovery processes.
When you maintain backups, you create a safety net that protects your data. If you accidentally delete a file or experience a system crash, you can simply retrieve the backup and continue working. This method is highly effective. It provides peace of mind, knowing that your important files are safeguarded against unexpected events.
Here's what to do:
- Check your backup location. Look for the most recent PowerPoint backup.

- Restore the file from the backup.
Backup copies are crucial for recovering unsaved PowerPoint files. Regular backups ensure you have access to the latest versions of your presentations.
Part 3: How to Repair Corrupted PowerPoint Files for Free?
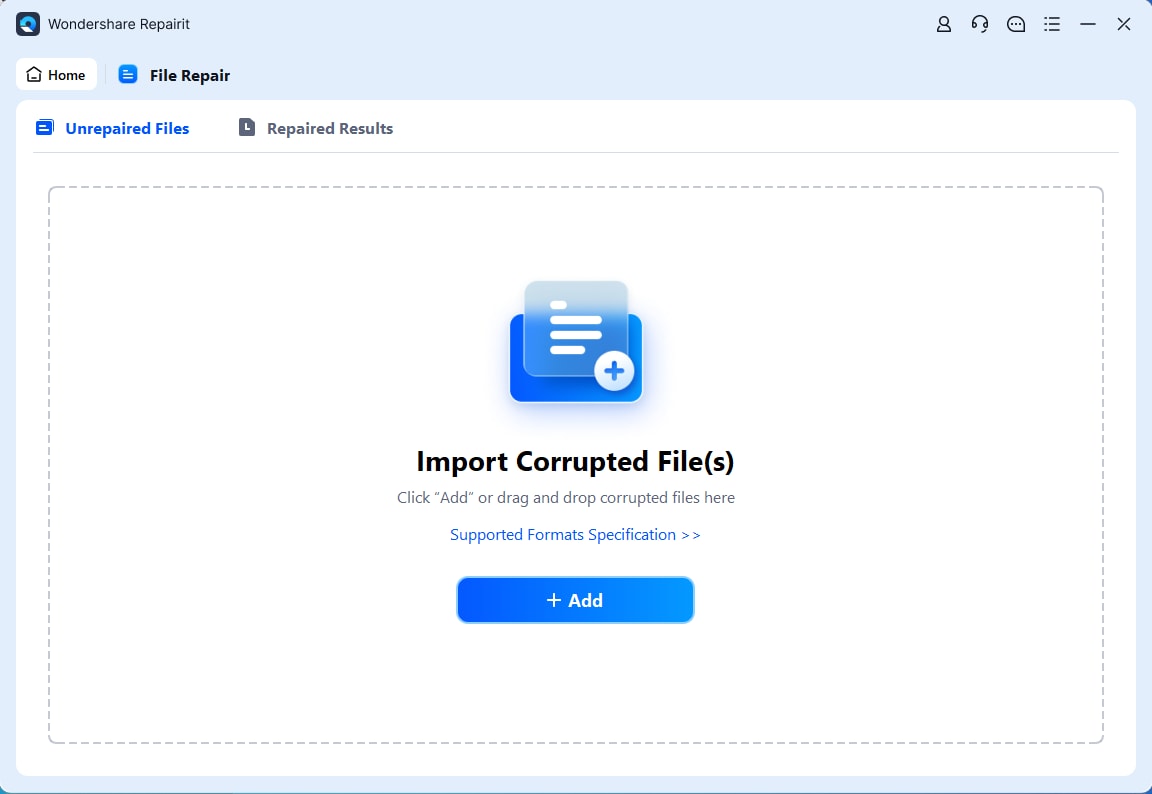
Repairit is a tool designed to repair corrupted PowerPoint files efficiently. It stands out for its effectiveness in restoring damaged presentations. This ensures that your hard work is not lost due to file corruption. This software is user-friendly, making it accessible even to those who are not tech-savvy. With its straightforward interface, users can navigate through the repair process with ease.
The effectiveness of Repairit lies in its advanced algorithms. They can identify and fix corruption issues in PowerPoint files. It supports various PowerPoint formats, ensuring compatibility with different versions of the software.
Repairit scans the corrupted files and repairs them, restoring them to a functional state. This tool is a reliable solution for anyone needing to fix damaged presentations quickly and without hassle. By using Repairit, you can confidently recover and restore your important PowerPoint files.
Here are the steps:
- Download and install Repairit. Open the software and select the corrupted file.
- Click Repair and follow the instructions.

- Save the repaired file.
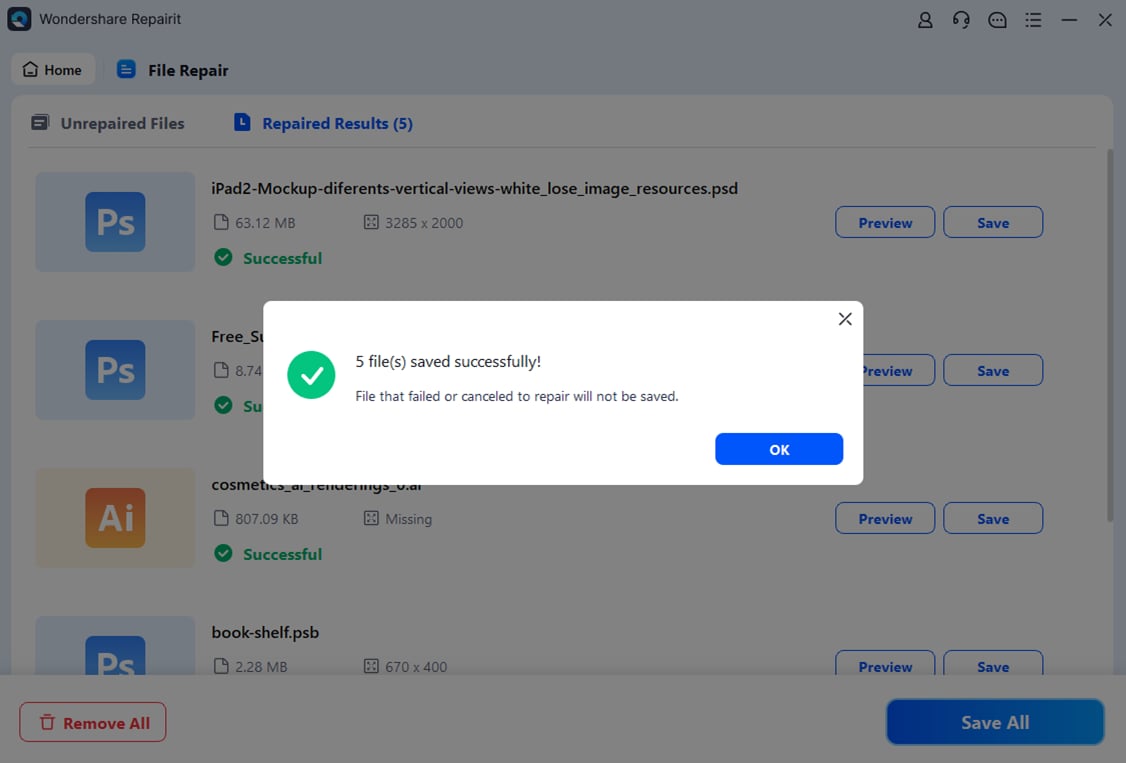
Repairit offers a reliable solution for fixing corrupted PowerPoint files. It ensures your presentations are restored to their original state.
Part 4: Tips to Recover Deleted PowerPoint Files
Recovering deleted PowerPoint files can be challenging. But there are several tips to make the process easier and more effective. Here are some practical tips to help you recover deleted PowerPoint files:
- Regularly Save Your Work: Frequently saving your work ensures that you have the most recent version of your presentation. Use the "Save As" option to create multiple versions, especially during significant changes.
- Enable AutoRecover in PowerPoint: Turn on the AutoRecover feature in PowerPoint. This feature automatically saves your work at regular intervals. This also reduces the risk of losing important data during unexpected crashes or closures.
- Keep Backup Copies: Regularly create backups of your PowerPoint files. Store these backups on external drives, cloud storage, or other reliable storage solutions. Backups act as a safety net, allowing you to restore files easily if they are deleted or corrupted.
- Use Reliable Recovery Software: Utilize trustworthy recovery software like Recoverit and Repairit. These tools can scan your system and recover lost, deleted, or corrupted PowerPoint files efficiently.
- Organize Your Files: Keep your files well-organized and labeled appropriately. Proper organization helps prevent accidental deletion. This makes it easier to locate specific files when needed.
- Check the Recycle Bin: If you accidentally delete a PowerPoint file, check the Recycle Bin immediately. Often, deleted files remain in the Recycle Bin until they are permanently removed.
- Utilize Cloud Services: Use cloud storage services like OneDrive or Google Drive to save your PowerPoint files. Cloud services often have version history features that allow you to restore previous versions of your files.
- Seek Professional Help: Unable to recover your deleted PowerPoint files? Consider seeking professional help. Data recovery specialists can provide advanced solutions to retrieve lost files.
By following these tips, you can improve your chances of recovery. Ensure that your important presentations are protected against data loss.
Conclusion
Recovering deleted or unsaved PowerPoint files doesn’t have to be stressful. With the right methods and tools, you can easily perform PowerPoint file recovery. Remember to regularly save your work and keep backups. Using tools like PowerPoint recovery software can make the process smoother.
Follow these tips and you’ll be well-prepared to recover unsaved PowerPoint files. Knowing how to recover PowerPoint file not saved and how to recover deleted PowerPoint files will help you avoid future stress.
With these methods, recovery for PowerPoint becomes manageable. You’ll be able to recover PowerPoint files efficiently and effectively.
FAQs
How do I recover an unsaved PowerPoint?
To recover an unsaved PowerPoint, you can use the AutoRecover feature, check the recent files list, or navigate to the Auto Recovery folder. AutoRecover saves your work at regular intervals, providing a backup. The recent files list in PowerPoint also helps you quickly find unsaved presentations. These methods are simple and effective for recovering unsaved files.Can I use PowerPoint file recovery software for free?
Yes, you can use free versions of PowerPoint file recovery software like Recoverit. These tools offer basic features to help you recover unsaved or deleted PowerPoint files without any cost. Although some advanced features may require payment. The free versions are usually sufficient for most recovery needs.Is it possible to recover deleted PowerPoint files?
Absolutely, it is possible to recover deleted PowerPoint files. By using recovery software or checking your backups, you can restore your deleted presentations. Tools like Recoverit can scan your system for deleted files and help you recover them. Additionally, regularly creating backups ensures you have a copy to restore from if a file is accidentally deleted.


