


 TL;DR:
The safest way to create or restore a missing Mac recovery partition on modern operating systems like macOS Sonoma or Ventura is to reinstall macOS over your current system without wiping data.
● You can verify the existence of your recovery partition by holding the Option key at startup or by running the diskutil list command in the Terminal application.
● If the standard recovery interface accessed by holding Command + R fails, you can trigger a reinstallation by opening Terminal in Recovery Mode and executing the softwareupdate --fetch-full-installer command.
● Deleting the partition requires running the diskutil eraseVolume command, but this action disables "Find My Mac" and strictly requires a prepared bootable USB installer to prevent OS reinstallation lockouts.
Ask AI for a summary
 ChatGPT
 Perplexity
 Gemini
 Claude
 Grok
Grok
Every modern device has partitions on its hard drive. They store valuable data and separate different sections from one another. Moreover, some store your operating system and backup files for easier access in case of data loss issues.
Like any other device, Mac internal disks have partitions. However, Mac devices also have a recovery partition that can be invaluable in some problematic scenarios.
Read ahead to learn more about the recovery partition on Mac devices, including how to create, delete, and restore it and what to do if you lose it.
Table of Content
What Is a Mac Recovery Partition, and How Does It Differ From a Standard Disk Partition?
A Mac recovery partition is a critical component for recovery needs. It contains a copy of your operating system and essential files to protect if you lose them. Its sole purpose is to carry recovery files you can access if things go sideways.
Unlike a standard disk partition, this component is hidden, and you cannot access it the traditional way. You can only do it if you face malfunctions or data loss.
You can also access the recovery partition if you need to reinstall your operating system, use Disk Utility, or repair firmware.
Why Is the Recovery Partition Crucial?
You can look at the recovery partition on Mac devices as a repair tool that can save your machine from failure. Here are several reasons behind its significance:
- System maintenance and management - You can reinstall your macOS and manage its functions through the recovery partition.
- Disk repair - If your disk starts acting up and you notice some issues, you can use this partition to assess the situation and repair minor and more complex problems.
- Troubleshooting - If you notice general device issues, you can access the recovery partition and troubleshoot your device to get insight into what's causing the trouble.
As you can see, the recovery partition can help you discover and resolve difficulties with your Mac device.
How To Check if You Have a Recovery Partition on Your Mac
You can check if your Mac has a recovery partition in two ways: at startup and using the Terminal.
What to Do If You See "No Recovery Partition"
If `diskutil list` shows mac no recovery partition, it might be due to a cloned drive or accidental deletion. You will need to recreate it using the method in Part 4.
Check macOS Recovery Partition At Startup
The first method you can try to check for a recovery partition on a Mac is at startup. Here's how to do it:
- Restart your Mac.
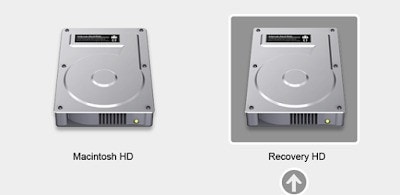
- While the Mac turns on, press and hold the Option key until you see the Startup Disks screen.

- Check for a recovery partition.
Check macOS Recovery Partition Using the Terminal
If you don't see the recovery HD on startup, you can use the Terminal to view available partitions. Follow the steps below:
- Navigate to Finder > Applications > Utilities and double click the Terminal application.

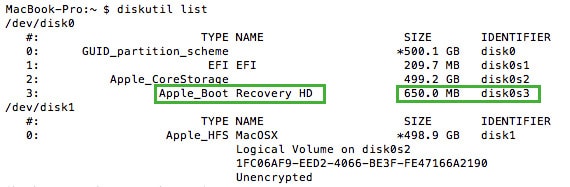
- Run the diskutil list command.
- Check whether a recovery HD is available on the list.
How To Create a Recovery Partition on a Mac
Before creating a recovery partition on your Mac, we advise you to back up all your data. Since the program you'll use will make changes to your drive, there's a chance it'll move or delete some of your files, so create a backup to protect them.
Once you create a backup, check if you have an installer (download one if you don't). Then, download the Recovery Partition Creator from the Apple Store. Follow the steps below to create a recovery partition:
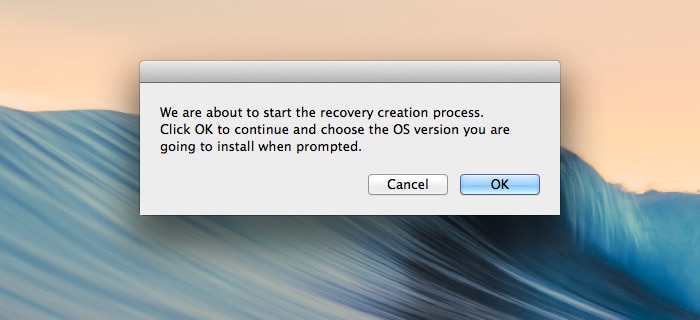
- Open the Recovery Partition Creator and set up the app by clicking OK.

- Choose the drive to install the recovery partition. Click OK.

- Choose the desired installer.
- The program will ask you to check your drive before proceeding. Heed the advice.
- Finally, click OK to create a recovery partition.
Note: Older tools like "Recovery Partition Creator" may not work on macOS Sonoma or Ventura. The safest way to create a recovery partition on Mac today is to simply reinstall macOS over your current system without wiping data. The installer will automatically rebuild the missing recovery partition.
After a few minutes, you can restart your device and check whether you have a recovery partition.
How To Boot Mac in Recovery Partition
Once the recovery partition has been created on Mac, you can use it to overcome different issues. For example, if your Mac system is not able to load in an ideal way or has undergone some serious damage, then you can boot it from recovery partition instead.
The recovery mode in Mac ideally gives us four options - restore data from Time Machine backup, reinstall macOS, get online help, or perform disk utility. The Disk Utility application can help you manage the inbuilt disk on Mac through various features. In order to boot into recovery partition Mac, follow these steps.
- Turn on your Mac and if it is already on, simply go to the Apple menu and restart it.
- When the system is restarting, press the Command + R keys at the same time. You might have to press them simultaneously a few times after hearing the startup chime.
- This will automatically load Mac into recovery mode and will present the following options. You can restore Time Machine backup data, reinstall macOS, get online help, or access Disk Utility.

- You can just pick the option of your choice from here to proceed. For instance, if there is a firmware-related issue, then you can choose to reinstall macOS. Click on the relevant option in macOS Utilities and follow the simple on-screen instructions.

- Click on the Done button in the end and save your choices. Exit the iCloud application and wait for a while as your iCloud photos would be synced to Mac's album.
Bonus: How to Reinstall macOS from Terminal in Recovery Mode
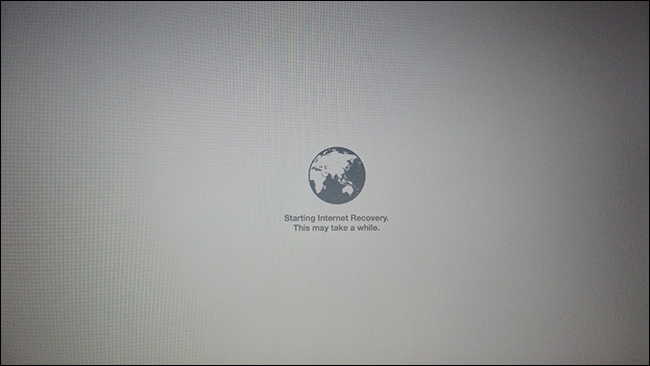
If the standard "Reinstall macOS" option fails, you can use the Terminal in Recovery Mode to trigger the installation. This is often searched as "install macos from terminal recovery".
- Boot into Recovery Mode and open Terminal from the Utilities menu.
- Type the command:
softwareupdate --fetch-full-installer --full-installer-version 13.0(replace 13.0 with your desired version). - Launch the installer from the Applications folder using the command line.
How To Delete a Recovery Partition on a Mac
Using the Terminal is one of the best, most straightforward ways to delete a recovery partition from your Mac. However, check and remember the identifiers of your recovery partition and the system drive to prevent deleting the wrong partition.
Follow the steps below to delete the recovery partition through Terminal:
- Open Terminal and type the diskutil list command. Press Return.
- Find your recovery partition on the list and note its identifier. In this case, the identifier is disk1s3.

- Run the diskutil eraseVolume APFS Blank [RECOVERY IDENTIFIER] command (use the correct identifier).
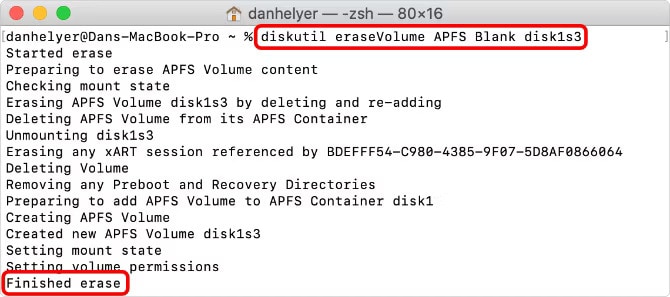
That should successfully delete your recovery partition and create a blank space on your drive.
How To Restore a Recovery Partition on a Mac
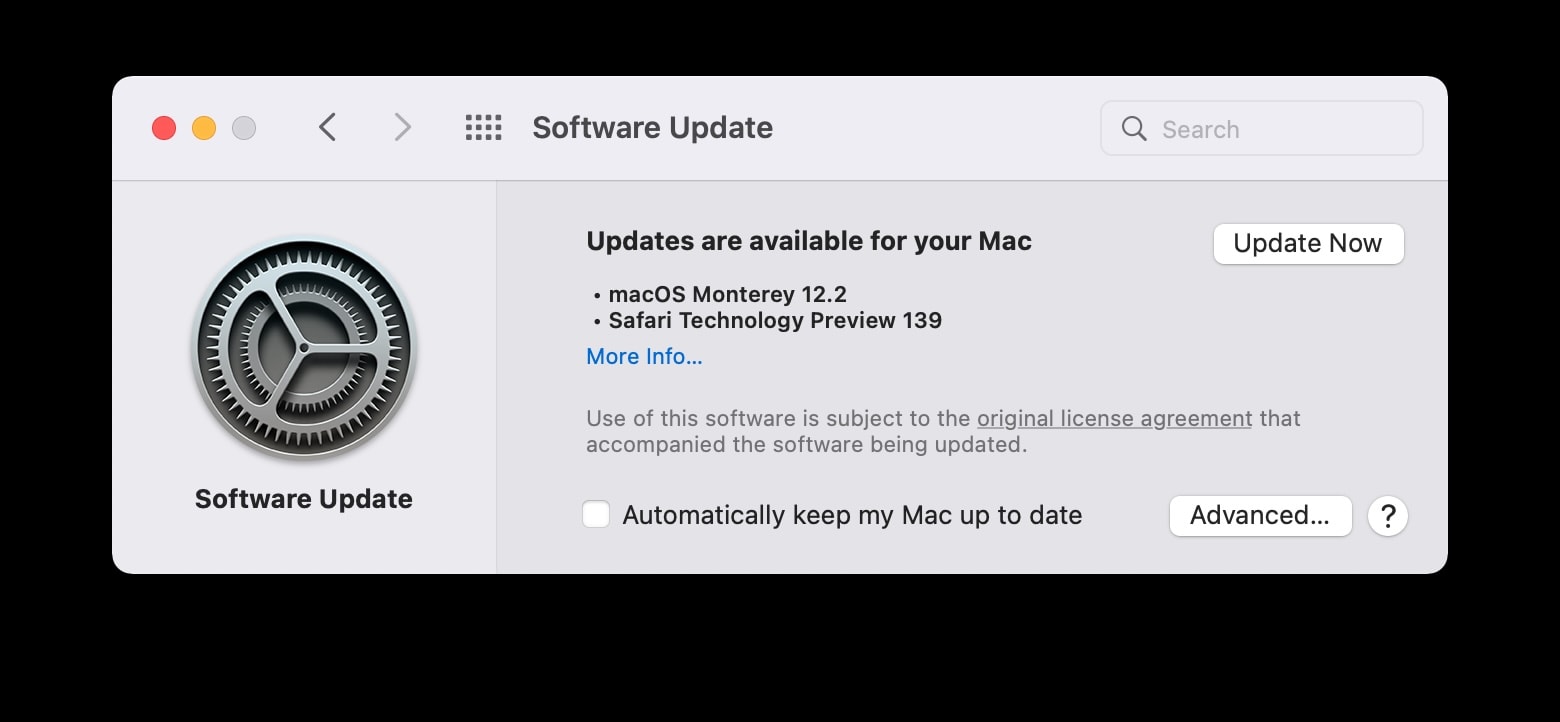
The best way to restore a deleted recovery partition on your Mac device is to update your software. Even though you've deleted the component, updating your device will return it.
Follow the steps below to restore the recovery partition:
- Head to the Apple menu.
- Click About This Mac.

- Find Software Updates.
- Update your device if available.
Should I Delete the Recovery Partition on a Mac?
Since the recovery partition can help you resolve minor and complex issues on your device, we don't recommend deleting it. Instead, you can create a recovery partition on another device, such as an external hard drive, and then delete the one from your computer.
If you're a professional who needs to free up space on the Mac computer, you can delete the recovery partition. The process isn't suitable for beginners and people with no experience in the technology field, as it may lead to further issues.
One of the reasons many people delete the recovery partition is to perform a clean operating system installation. In such cases, it's better to consult professionals who will install it for you instead of deleting it.
If you've deleted the recovery partition and regret your choice, you can restore it by following the steps above.
How To Recover Data From a Lost Recovery Partition on a Mac
The recovery partition may hold some of the most valuable memories you want to have by your side, no matter what. What if you see that your files and data went missing? You probably start to panic. Many factors, including bad sectors and malware, can lead to data loss, but we're here to make things right.
You'll need a capable tool that won't compromise your device to recover data from this secret and hidden component. One of the best solutions is Wondershare Recoverit. It provides dedicated solutions to recover the lost, deleted, and inaccessible content under various scenarios. This includes the recovery of data from a lost partition on Mac.
- Recovers deleted or lost partitions effectively, safely, and completely.
- Enables recovery of data lost due to formatting, disk corruption, virus attack, system crash, and more.
- Works with all popular file systems, such as NTFS, FAT, HFS+, and APFS, among others.

To use this tool, visit the official Wondershare Recoverit website, download the software for macOS, and start the recovery process by following the steps below:
- Open Wondershare Recoverit and select Hard Drives and Locations.
- Choose the disk with the recovery partition.

- Once you specify the storage unit, the program will start scanning. You can suspend the process if needed.

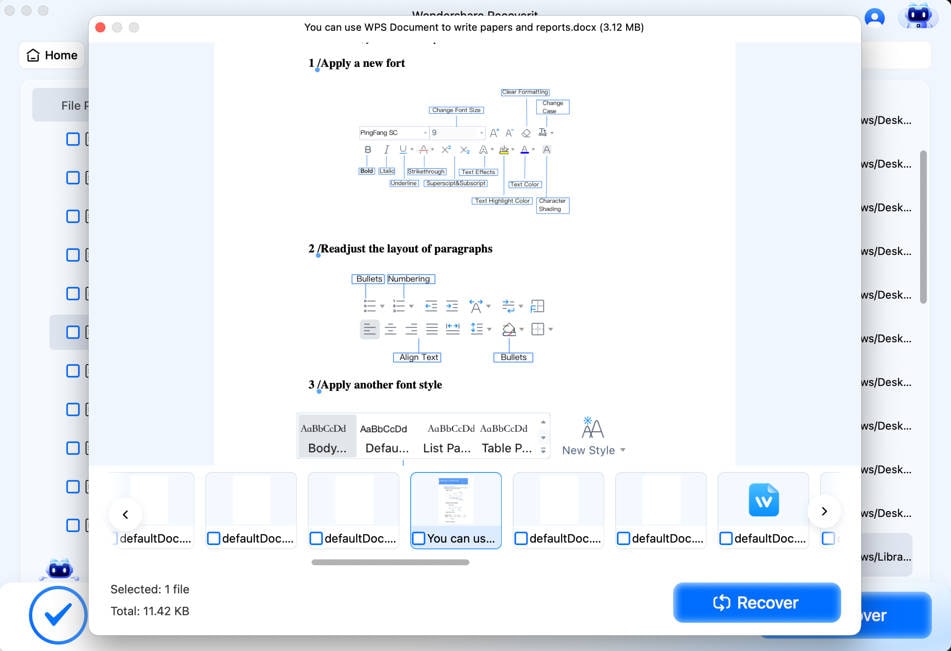
- After the program finishes scanning, preview the recoverable files and select what to retrieve. Click Recover.
- Choose where to save the files.
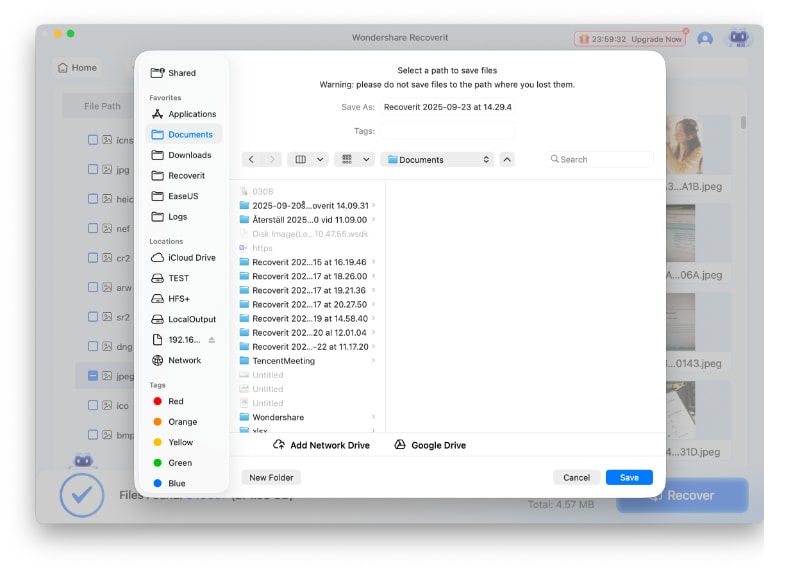
You'll have all your data back in just a few minutes.
Conclusion
Mac devices are among the most advanced tech machines. Most have a recovery partition you can turn to in case of issues with your operating system, disks, or other components. It can be invaluable in various problematic situations.
You've learned to create, delete, and restore a Mac recovery partition. However, we recommend adding reliable data recovery software like Wondershare Recoverit to your toolbox to rely on a trusted solution if things go downhill.
FAQ
-
How do I create a recovery partition on my Mac?
To create a recovery partition, restart your Mac and boot into macOS Recovery Mode by holding Command + R. From there, you can use Disk Utility to partition your drive. If you don't have a recovery partition, you can reinstall macOS to restore it. -
How can I delete the recovery partition on my Mac?
To delete the recovery partition, use Disk Utility in macOS Recovery Mode. Select the recovery partition and choose Erase. Be cautious, as deleting the recovery partition will remove your access to the recovery tools unless you reinstall macOS. -
How do I restore the recovery partition on my Mac if it’s missing?
If the recovery partition is missing, reinstall macOS using macOS Recovery Mode. This will automatically restore the recovery partition along with the system files. Alternatively, you can use Terminal to install macOS from a USB drive if needed. -
Can I install macOS from Terminal recovery if the recovery partition is missing?
Yes, if the recovery partition is missing, you can use Terminal in macOS Recovery Mode to reinstall macOS. Use theinstallcommand to download and install the latest macOS version. Ensure your internet connection is stable during the process.


