Have you ever needed to record a voice memo on your Mac? Maybe you wanted to capture a quick idea, save a lecture, or keep an important conversation. It's easy to do, and there are many ways to get it done.
Recording a voice memo on a MacBook is simple with the right tools. Whether you're using built-in software or third-party apps, you can make high-quality recordings in no time. Plus, you can easily sync iPhone voice memos to Mac and keep all your recordings in one place.
In this article, we'll show you the best ways to record a voice memo on Mac. We'll cover how to use different apps and tools, how to sync your iPhone voice memos to your Mac, and how to recover lost or deleted voice memos on Mac. Let's get started!
In this article
Part 1: How To Record A Voice Memo On Mac
Recording a voice memo on your Mac is a handy skill to have. Whether you need to capture a quick idea, record a lecture, or save an important conversation, it's easy to do with the right tools.
In this section, we'll explore four different methods to record a voice memo on MacBook. Each method is simple and effective, so you can choose the one that works best for you.
Method 1: Use the Voice Memos App
The Voice Memos app is one of the simplest ways to record a voice memo on your Mac. It comes pre-installed with macOS, so you don't need to download anything extra. This straightforward process ensures that you can quickly and efficiently capture your thoughts, reminders, or important conversations.
Follow these steps:
- Open the Voice Memos app on your Mac. It comes pre-installed with macOS. Click the red record button.

- Speak clearly into your Mac's microphone. When you're done recording the voice memo, click the stop button.
- Your voice memo will be automatically saved in the app.
These steps make it easy and quick to record your voice memos whenever you need.
You may also be interested in: How to Recover Deleted Voice Memos on Android
Method 2: Use the QuickTime Player Audio Recorder on a Mac
QuickTime Player is a great choice for recording voice memos on your MacBook. This app is already installed on your Mac, so you don't need to download anything extra.
With QuickTime Player, you can start recording in just a few clicks. This makes it a simple and effective tool for anyone who needs to record voice memos without any hassle. Whether you're recording an important message, a lecture, or just a quick note, QuickTime Player has you covered.
Here are the steps to record a voice memo on Mac:
- Open QuickTime Player on your Mac. Go to the menu bar and select File > New Audio Recording. To begin, click the red record button.

- Speak into your Mac's microphone. Top stop recording, click the red record button.
Method 3: Use GarageBand to Record a Voice Memo on Mac
GarageBand is a powerful tool for creating music, but it's also fantastic for recording voice memos on Mac. While many people think of GarageBand as a platform for composing and editing music, its capabilities extend far beyond that. This adaptable app makes it simple to record high-quality voice memos.
Whether you're capturing a new idea, recording an interview, or making notes for a project, GarageBand provides the tools you need. Its user-friendly interface and advanced features make it simple to produce clear, professional-sounding recordings right from your Mac.
Plus, with GarageBand, you have the added benefit of being able to edit and enhance your voice memos if needed.
Here are the steps to record a voice memo on Mac:
- Open GarageBand, select an empty project, and choose the audio track. Click the record button to start, and click it again to stop.

- Save your recording when you're done.
Method 4: Use a Third-Party Tool to Record a Voice Memo on Mac

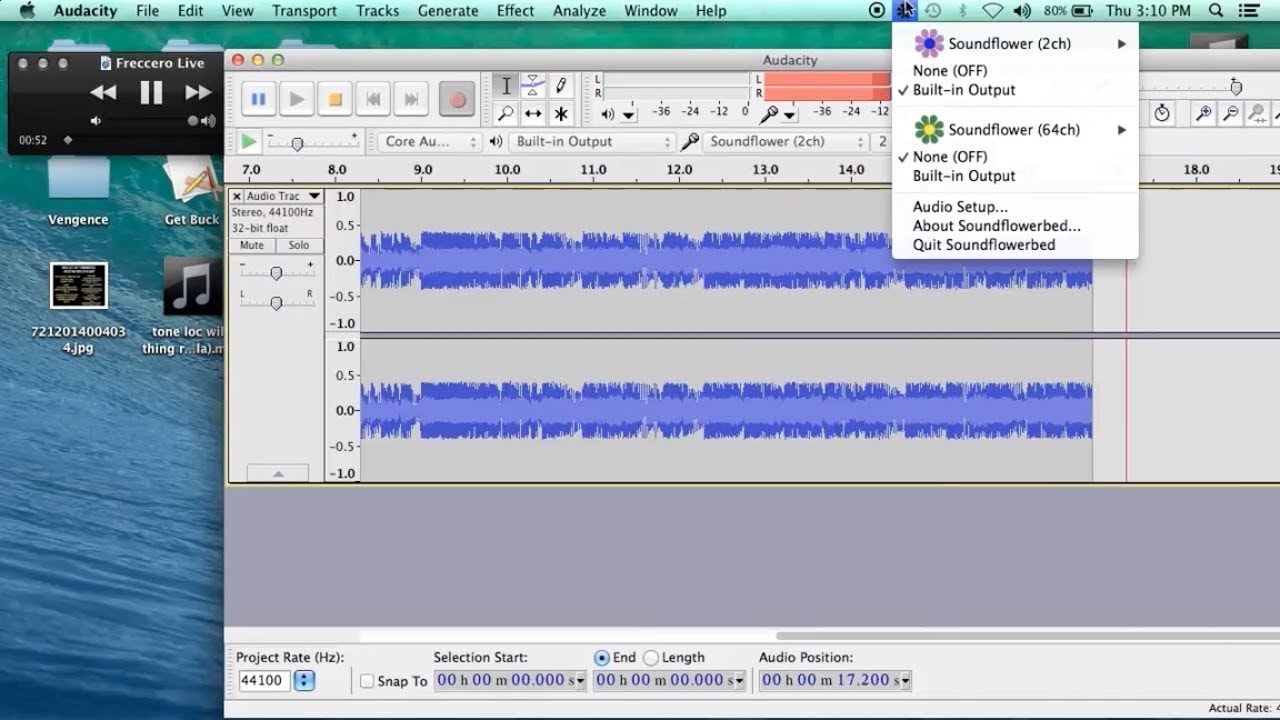
There are many third-party tools available to record a voice memo on Mac. Apps like Audacity or Hindenburg offer advanced recording features. Download and install your preferred app, open it, and follow the instructions to record your memo.
Part 2: How to Sync iPhone Voice Memos to Mac?
Syncing your iPhone voice memos to your Mac is a straightforward process that keeps all your recordings in one place. Whether you want to access your memos on a larger screen or just prefer having them on your Mac, it's easy to do. In this section, we’ll walk you through the steps to sync iPhone voice memos to Mac.
Syncing your iPhone voice memos to Mac is easy. Here are the steps:
- On your iPhone, open the Voice Memos app. Choose the voice memo you want to sync. Tap the share button. Select "Save to Files".

- On your Mac, open Finder and navigate to the saved location. Drag the memo from Finder into the Voice Memos app on your Mac.
Part 3: Recover Lost/Deleted Voice Memos on Mac with Recoverit
Losing important voice memos can be really upsetting, especially if they contain valuable information or precious memories. It can feel frustrating to lose such important files. But you don't need to worry. We have one solution for you!
Recoverit is a handy tool to recover lost or deleted voice memos. It's user-friendly and works quickly to restore your files. So even if your voice memos are missing, Recoverit can help you find and recover them, bringing back your important recordings and cherished memories. With Recoverit, you can feel confident that your valuable voice memos are not lost forever.
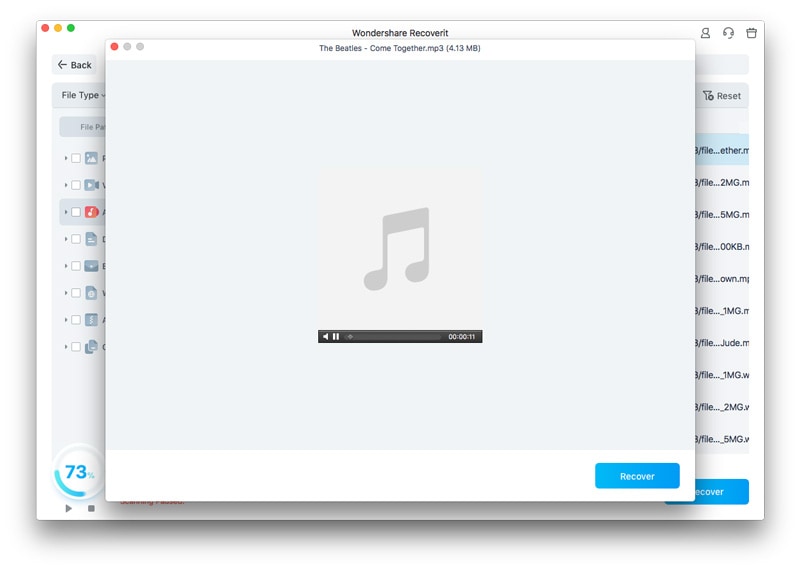
Using Recoverit is simple and effective. The tool scans your Mac for any lost files and allows you to preview them before recovery. This way, you can be sure you're getting back the right files. With its high recovery rate and easy-to-use interface, Recoverit is a great solution for anyone who needs to recover lost voice memos on their Mac.
Why Choose Recoverit?
- High Recovery Rate: Recover most lost or deleted files.
- User-Friendly: Easy to use, even for beginners.
- Wide Compatibility: Supports many file types and drives.
- Quick Scan and Recovery: Fast scanning and recovery process.
- Safe and Secure: Your data is protected during recovery.
Discover more>>: What is the best data recovery software for Mac?
Here’s How To Recover Lost/Deleted Voice Memos On Mac:
- Get Recoverit and install it on your Mac. Choose the location where you lost the voice memo.

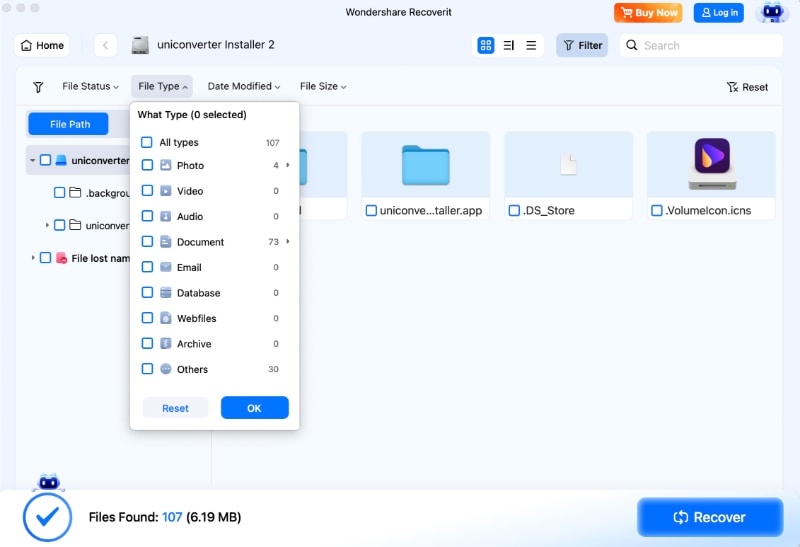
- Run the scan to find lost files. If the results generate too much data, you can use the panel on the right to filter them based on various parameters. This will help you narrow down the information to what you specifically need.

- Preview the found files and recover your voice memo.

Part 4: Tips For Moving Voice Memos From iPhone To Mac
Moving voice memos from your iPhone to your Mac can be straightforward and efficient with the right methods. Here are some tips to help you transfer your recordings smoothly:
- Use iCloud Sync: Enable iCloud for Voice Memos on both your iPhone and Mac. This way, your voice memos will automatically sync across devices without any extra effort.
- AirDrop: AirDrop is a quick and easy way to transfer voice memos wirelessly. Ensure both your iPhone and Mac have AirDrop enabled, then select the memo and send it directly to your Mac.
- Email: For smaller voice memos, you can email them to yourself. Open the Voice Memos app, select the recording, and use the share option to send it via email. Open the email on your Mac and download the memo.
- Save to Files App: Save your voice memos to the Files app on your iPhone. Then, you can access these files from your Mac using iCloud Drive or another cloud service.
- Use Finder: Connect your iPhone to your Mac using a USB cable. Open Finder, select your iPhone and navigate to the Voice Memos section to transfer the files directly.
By using these tips, you can ensure that all your important voice memos are safely and conveniently moved from your iPhone to your Mac.
Conclusion
Recording a voice memo on Mac is easy with the right tools. Whether you use the Voice Memos app, QuickTime Player, GarageBand, or a third-party tool, you can make high-quality recordings in no time. Syncing iPhone voice memos to Mac and recovering lost or deleted voice memos on Mac are also simple tasks with the right steps.
Remember to use Recoverit if you ever lose important voice memos. This powerful tool can help you recover your files quickly and safely.
By following the tips and methods in this article, you can easily manage and record your voice memos on MacBook. Whether you're capturing ideas, saving lectures, or keeping important conversations, these tools will help you get the job done.
FAQ
-
How can I record a voice memo on Mac without any apps?
You can't record a voice memo on your Mac without using an app. But don’t worry, you have built-in apps like Voice Memos and QuickTime Player which are very easy to use and free. Just open one of these apps, press the record button, and start speaking. These apps make it simple to record and save your voice memos. -
Can I sync my iPhone voice memos to Mac automatically?
Yes, you can sync iPhone voice memos to Mac automatically using iCloud. Simply enable iCloud for Voice Memos on both your iPhone and Mac. This way, any new voice memos you record on your iPhone will automatically appear on your Mac without any extra steps. It's a convenient way to keep your recordings up to date across devices. -
What should I do if I lose my voice memos on Mac?
If you lose your voice memos on your Mac, you can use a recovery tool like Recoverit to get them back. Recoverit scans your Mac for any lost or deleted files, including voice memos. Once it finds them, you can preview and recover the files you need. This tool is easy to use and has a high success rate, making it a reliable option for recovering lost voice memos.


 ChatGPT
 Perplexity
 Google AI Mode
 Grok
Grok


