
 TL;DR:
The "FFmpeg Moov atom not found" error prevents video playback due to missing or misplaced metadata caused by unexpected device shutdowns or interrupted transfers, which can be resolved by shifting the metadata location via command lines or processing the file through repair software.
● Users comfortable with command interfaces can utilize the open-source FFmpeg platform to relocate the Moov atom to the beginning of the MP4 file by executing the command: ffmpeg -i input_video_file.mp4 -vcodec copy -acodec copy -movflags faststart output_video_file.mp4.
● For severe file corruption or novice users, Wondershare Recoverit serves as a GUI alternative featuring an Advanced Repair mode that strictly requires a functional sample video of the exact same format generated by the identical recording device.
Ask AI for a summary
 ChatGPT
 Perplexity
 Gemini
 Claude
 Grok
Grok
Can I Solve FFmpeg Moov atom not found?
Read the guide and find out the practical solutions to resolve FFmpeg Moov Atom Not Found.
You need to be well-aware of the “FFmpeg Moov atom not found” error message if you are more into video recordings!
The error usually appears if your recording device shuts off unexpectedly, leading to the missing Moove atom. It simply indicates that your video’s information is missing and hence, you are unable to play the media file. But there is no need to freak out as the error can be fixed easily. Keep scrolling the page and learn about the major reasons that trigger the trouble, along with the effective solutions to resolve the same.
Part 1: Understand Error “Move Atom Not Found”
Imagine you have recorded a video and transferred the file to a laptop. As soon as you click the file, it displays the “FFmpeg Moov atom not found” error. Sounds disappointing?? This error makes your video file inaccessible, leaving you disheartened.

Since this error is caused by the missing Moov atom, it is essential to understand the same a bit more. Move atom features the metadata and the index of the video. It contains details about the duration, display characteristics, and timescale of a video. The video is useless and unplayable without this element, making it obligatory to be present at the end of the file.
Are you facing a “Move atom not found” error message while trying to play a video but don’t know how to fix it? Here’s the comprehensive guide to the best solutions that easily fixes the error in MP4 and other video files.
Part 2: Why Do You Get Move Atom Error Code?
Mp4 Moov atom error code mainly occurs when the video is missing out on the Moov atom. While this element stores the information about the video that a media player needs to play the video, the sub atoms feature the information of each track in the video.
When the recorder is accidentally turned off while creating videos, the Moov atom gets missing, causing this error message to generate. To put it simply, the error indicates that your video details are missing due to which you are unable to play the file.
Since the Moov atom cannot be reserved at the starting of the video, it is located at the beginning of the end of the video file. While accessing a video file in the media player, it first reeds the metadata information so it won’t be able to play the video in the absence of the Moov atom.
Additionally, this error message also indicates that either your file has not been downloaded properly or has turned corrupt. Some other reasons that might trigger the “FFmpeg Moov atom not found” error message is:
- Video ripping
- Playing shared or recorded videos on android
- When you process metadata in FFmpeg or other apps
- Play inappropriately downloaded videos in VLC or other media player
Part 3: Solutions to Fix Move Atom Error Code
As you are now aware of the FFmpeg Moov atom code error and the possible reasons due to which it triggers, it’s time to unwrap some of the practical solutions to fix the issue. Check them out here.
Solution 1: Download the Video Again
The easiest way to fix the trouble is to get the video again from the source, be it the internet, Android, recording device, CD/DVD, and more. Download the video from the authentic source and make sure the file is appropriately and completely downloaded or transferred this time without any interruption. Keep your devices plugged in to avoid an unexpected shutdown and ensure a strong network connection while the downloading process is going on.
Solution 2: Using Video Repair Tool To Fir Move Atom Error
Sometimes, the “FFmpeg Moov atom not found” error occurs when the video file gets corrupted or damaged either at the time of downloading or transferring. In that case, you need a third-party app that can repair the video file and make things work.
Wondershare Recoverit is one such tool to go for. With an intuitive interface and high success rate, this software is able to fix almost any video file, regardless of the issue and size.
Now you could download this video repair tool and follow the step-by-step guide mentioned here to use the tool appropriately.
Step 1: Upload Corrupted Video Files
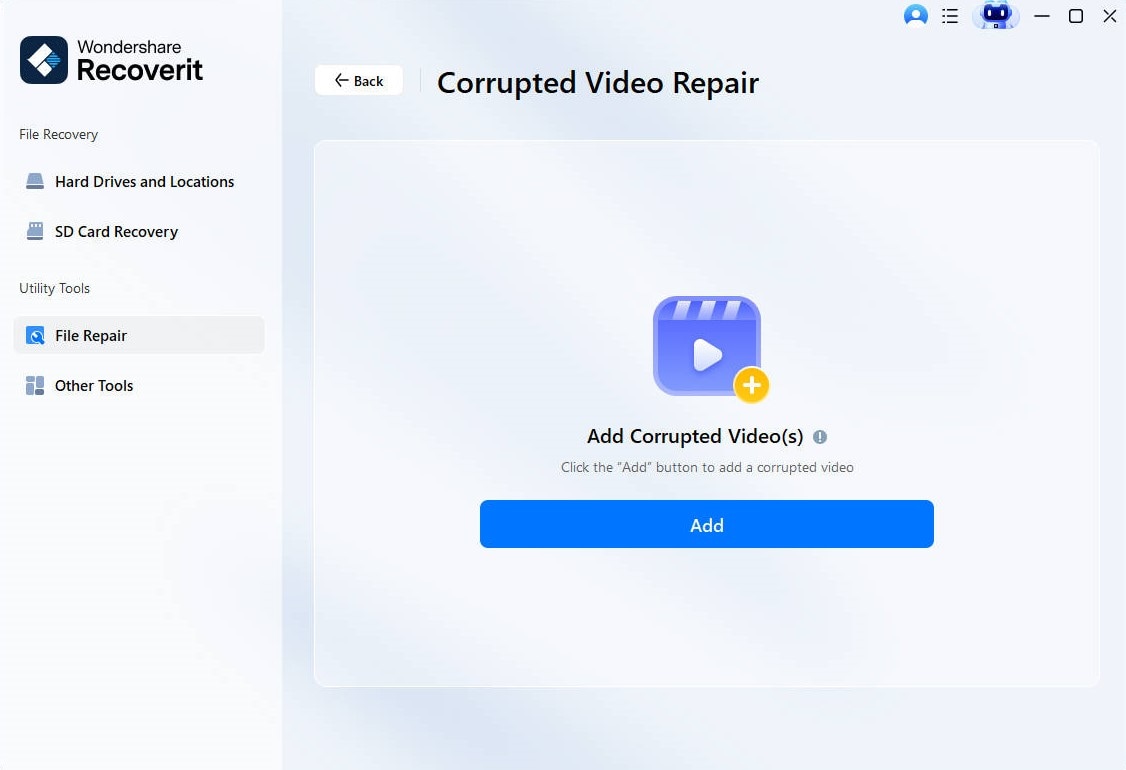
- To begin the process, download and launch the Wondershare Recoverit software on your PC. Go to the left dashboard and select the “Corrupted Video Repair” option.
- Now, you will find the “Add Video” button on the window. Click on it to open a browser window and reach the location where the damaged video file is stored. Select the file and upload it to the software.
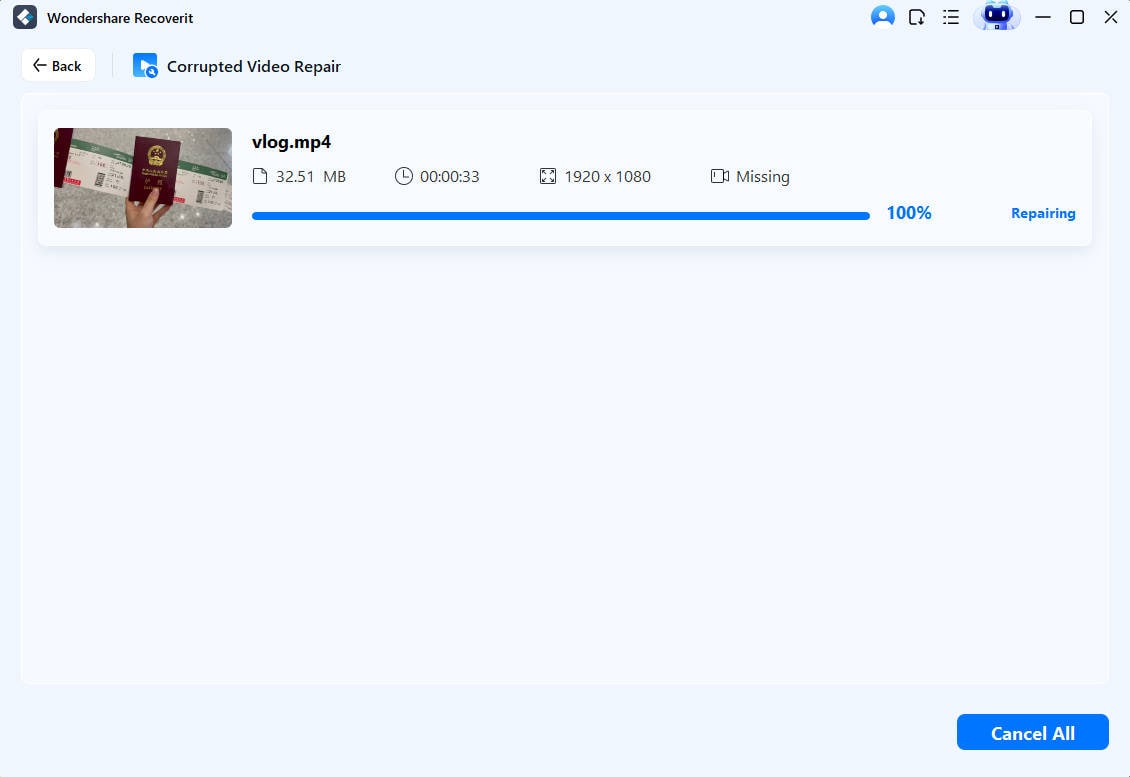
Step 2: Repair the Damaged File
- Once you have added all the corrupted video files, click on the Repair option to start the repairing process.
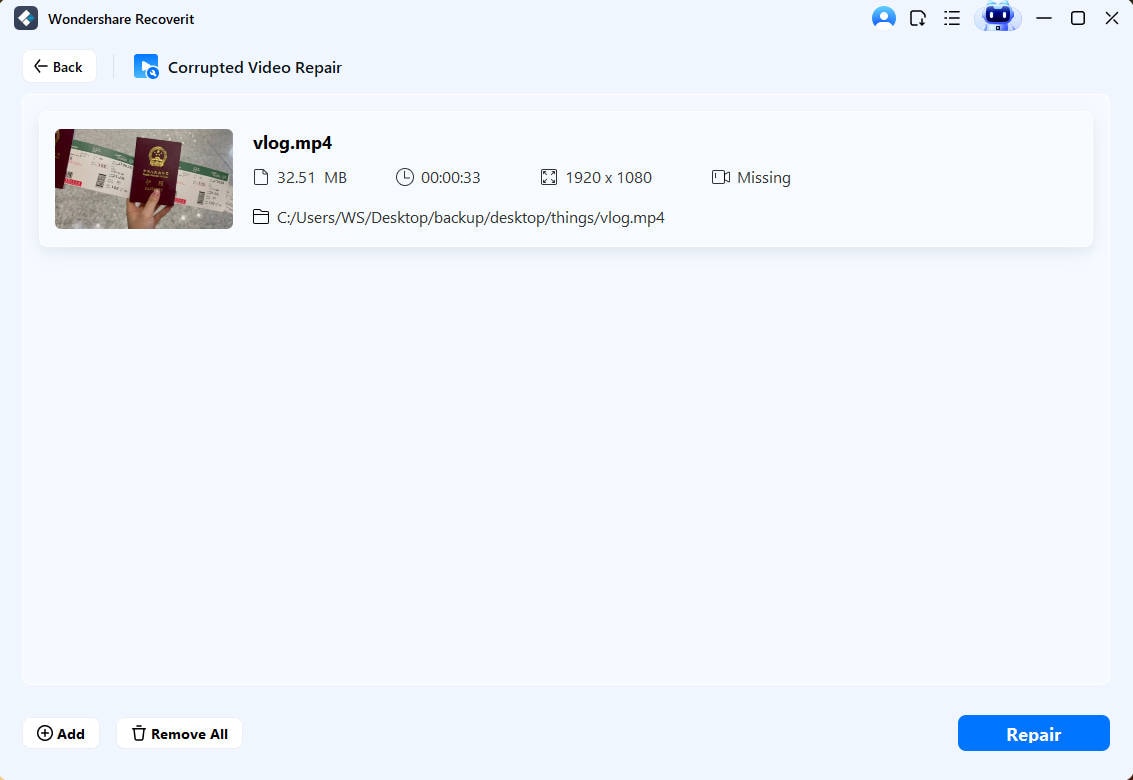
- Wondershare Recoverit will take a while to complete the process and until then you can check the progress on-screen and wait patiently for the repairing to be done. Once it gets completed, the notification will appear on the screen.
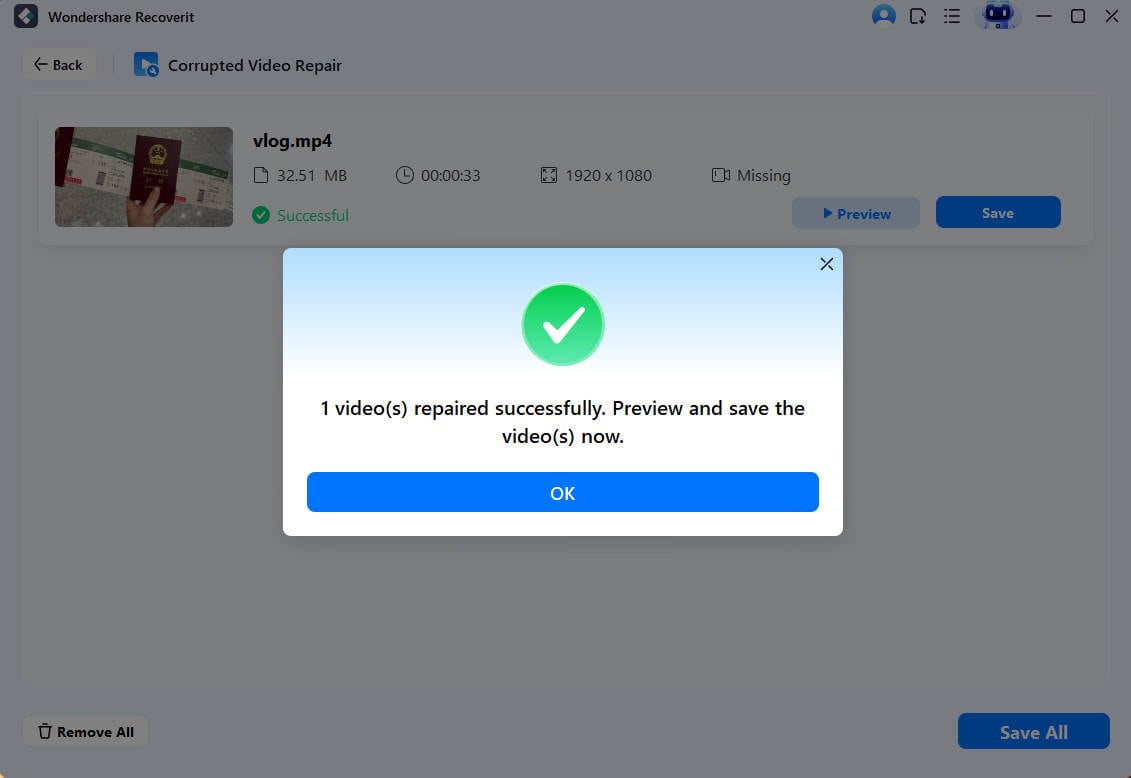
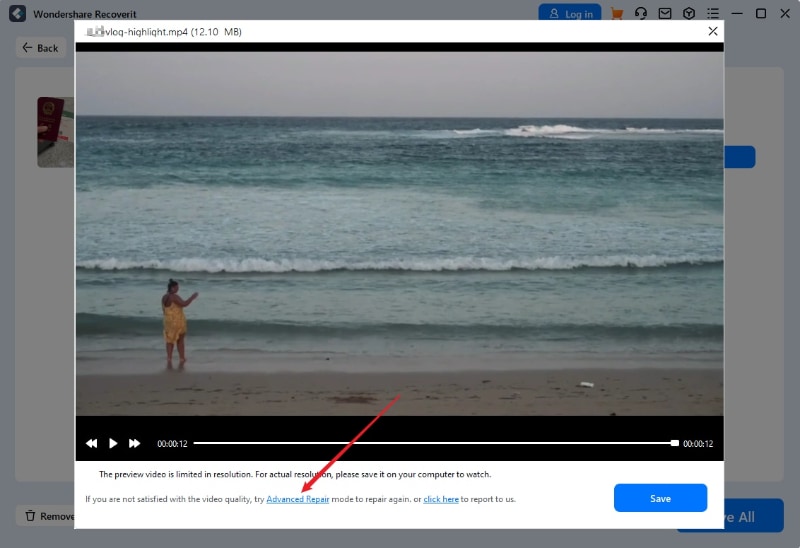
Step 3: Preview the repaired file
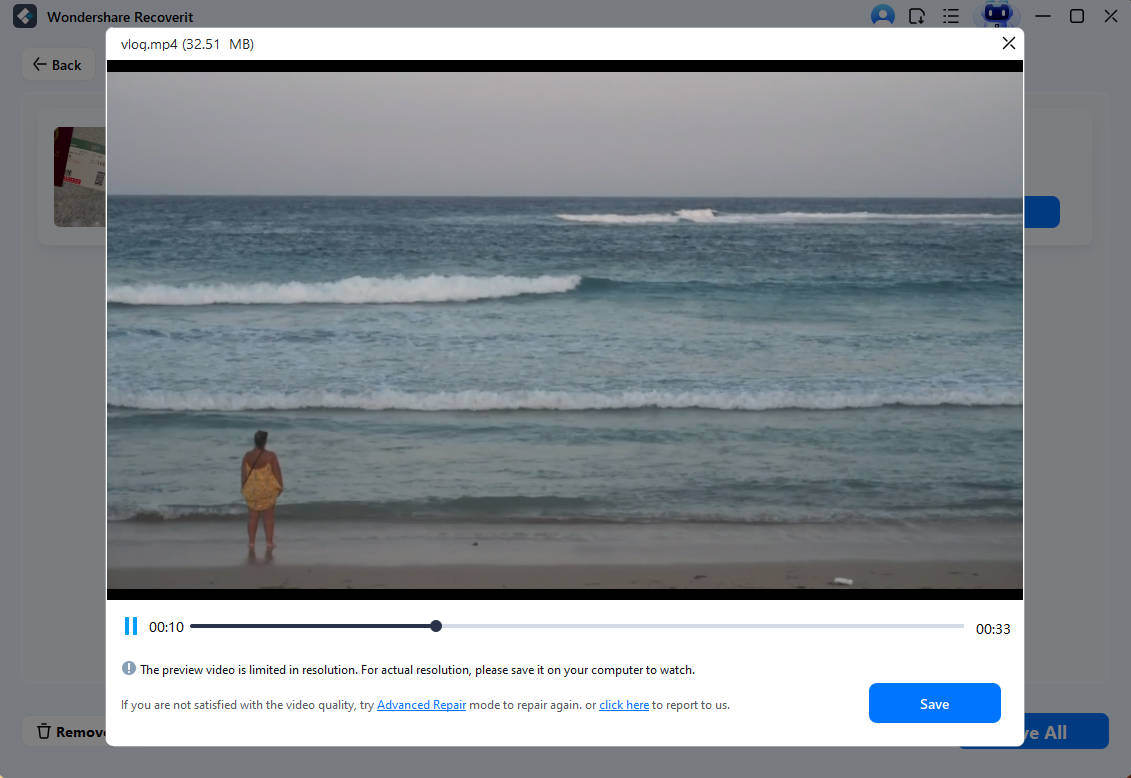
- As soon as you get notified of the completion of the repairing process, click on the “Preview” button to check whether the quality is intact or advance repair is needed.
- Tap on the Save button if you are satisfied with the repaired video file or else move to the next step.
Step 4: Advanced Repair
- Wondershare Recoverit offers an Advance Repair feature to the users if they are not satisfied with the repaired video. Sometimes a video is damaged beyond imagination and a standard repair is not enough to fetch the quality.
- Click on the Advance Repair option to improve the overall quality of the corrupted file.
- To initiate the Advance Repair process, add a sample video that should be of the same format as the corrupted video file. Also, it should be uploaded from the same device.
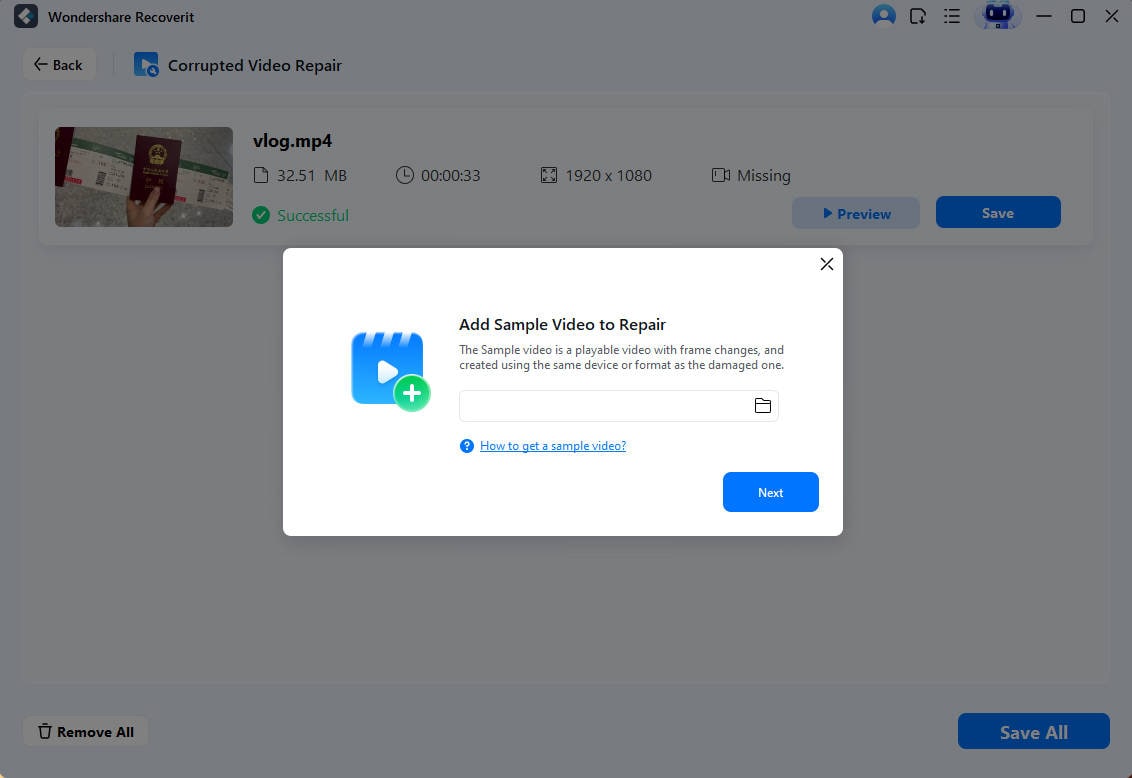
- Once you add the sample video, the tool will match the current and the previous file.
- A “Repair” option will appear on the screen as soon as the sample video matches with the previous file. Click on the “Repair” button to begin the repairing process.
Step 5: Preview and Save the Repaired Files
- You can preview and save the repaired files once the repairing process is completed. A browser window will open so you can choose the location to save the repaired video file.

Solution 3: Fixing the Move Atom Error Code with FFmpeg
The users can also use the FFmpeg platform to fix the mp4 Moov atom not found error message. This is a complete, cross-platform solution to record, stream, and convert audio and video files. This open-source platform comprises a suite of libraries and programs for handling videos and other multimedia files.
Enter the command “faststart” in the cmd window or command prompt and check if it resolves the trouble. The command shifts the position of the Moov atom to the start of the video file to fix the trouble. Carry out the following steps to use the FFmpeg platform.
- To initiate the process, download and launch FFmpeg on your system.

- Use qt-faststart (a utility in FFmpeg) if the output if “IsStreamable:No” to shift the Moov atom.
- Go to the cmd window and add the corrupt video file’s location followed by the command line using “qt-faststart.”

- Run the command line mentioned here as follows:
ffmpeg -i input_video_file.mp4 -vcodec copy -acodec copy -movflags faststart output_video_file.mp4.
- Check if the command has fixed the “Moov atom not found” issue in the video file or not.
Video Tutorial on How To Fix Video ‘Moov Atom Not Found’ Error?
Final Thoughts
So, do you like our homework? We hope our guide will give you a detailed insight into the “FFmpeg Moov atom not found” error so you can resolve it without putting in much effort. The best thing about this error is that you won’t encounter it again once you learn about the major reasons that trigger it.
However, if you get the error message still after taking all precautionary measures, look no further and use any of the solutions mentioned above. While the open-source tool like FFmpeg is available for free, it might be difficult to use for a novice who doesn’t have much knowledge about the commands.
Therefore, it is advised to go for a simple alternative i.e. Wondershare Recoverit. All you need to do is add a corrupted video file and let the tool perform its task.


