
 TL;DR:
To fix Twitch stream buffering and lag, close unused bandwidth-consuming background applications via Task Manager, switch to lighter web browsers like Safari or Mozilla Firefox, or use a dedicated VPN tool to bypass geo-restrictions.
● Disable the Use Hardware Acceleration When Available feature located in Google Chrome advanced settings and delete unnecessary third-party extensions to prevent local processing bottlenecks.
● Manually change your Windows Internet Protocol Version 4 network properties to use Google DNS server addresses if your default system configurations fail to maintain a stable stream.
● Repair corrupted downloaded Twitch videos with Wondershare Recoverit by applying Standard Repair, or use the Advanced Repair mode which requires a working sample video to match codec settings for severe damage.
Ask AI for a summary
 ChatGPT
 Perplexity
 Gemini
 Claude
 Grok
Grok
Quick Fix to Twitch Lag
Check out 10 of the most effective solutions to deal with Twitch lag or Twitch keeps buffering error and watch Twitch streams uninterrupted.
Over the past few years, Twitch has evolved to become one of the best video streaming platforms. From gamers to regular entertainers, many creators use Twitch to live-stream their videos and interact with their followers in real-time. For the end-users, Twitch is nothing short of an entertainment hub as they can find a plethora of videos to quench their thirst. However, watching live streams on Twitch can often become a nerve-wracking task. Since Twitch attracts millions of daily users on its website, the Twitch lag or Twitch keeps buffering is quite common and can be encountered by anyone.
Part 1: Understand Why Twitch Lagging While Watching
Ideally, there are three common reasons why Twitch might buffer on your device.
- There are problems with the backend and Twitch’s own server might be down
- You are trying to run Twitch on an older device whose system configurations can’t handle the bandwidth required to run Twitch smoothly
- Finally, an unstable Internet connection can also be a major reason behind the “Twitch stream keeps buffering” error
Fortunately, the good news is you can implement a few solutions to fix the unexpected Twitch lag on your device. Today, we have penned down a few of these solutions that’ll help you avoid buffering/lags on Twitch and watch your favorite creator’s live stream uninterrupted.
So, without any further ado, let’s get started.
Part 2: 10 Methods to Fix Twitch Lagging/ Buffering
Method 1: Update Your Web Browser
First and foremost, it’s worth noting that Twitch will only deliver if you are running the latest version of a web browser on your system. In case your browser is outdated, you are most likely to witness lags or other unexpected errors while watching Twitch streams. So, before implementing any advanced solutions, go ahead and update your web browser to the latest version. To do this, click the “Menu” icon at the top-right corner in your browser’s window and tap the “Settings” option.
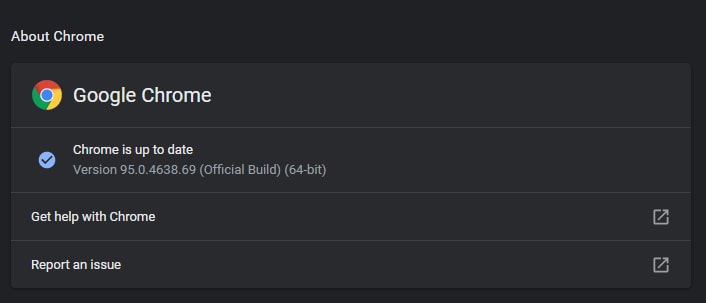
Then, click the “About Chrome” button on the left side panel. In case there are any pending updates, you’ll see them listed under the “About Chrome” tab. Simply install these updates and restart your web browser to fix the Twitch lags. In case, you are already running the latest version of Google Chrome, move towards the next solution.
Method 2: Change Your DNS
If updating the web browser doesn’t resolve the problem, the next step would be to change the DNS settings. In general, the DNS settings are set by your system automatically. But, if you are frequently encountering Twitch lags on your system, you can also change the DNS settings to Google’s DNS manually.
Follow these steps to change DNS on a Windows system.
Step 1 - Open the “Control Center” and click “Network and Internet” on the sidebar.
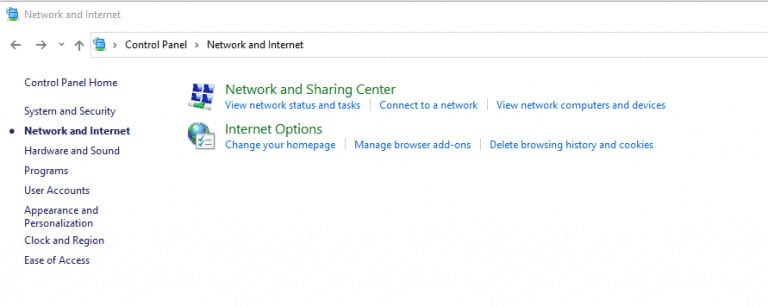
Step 2 - Under the “Network and Sharing Center”, click “View Network Status and Tasks”.
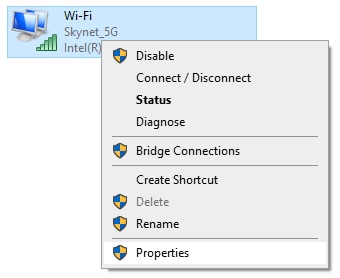
Step 3 - Now, tap the “Change Adapter Settings” option. Right-click on your current network and tap on “Properties”.
Step 4 - On the next window, click “Internet Protocol Version 4” and tap on “Properties”.
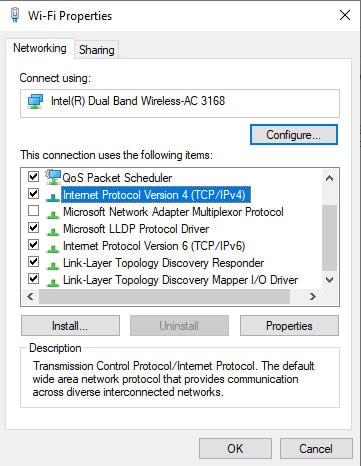
Step 5 - A pop-up window will appear on your screen. Here select the “Use the Following DNS Server Addresses”. Then, enter the following code in “Preferred DNS Server” and “Alternate DNS Server” respectively.
- In preferred DNS server: 8*8*8*8
- In alternate DNS server: 8*8*4*4
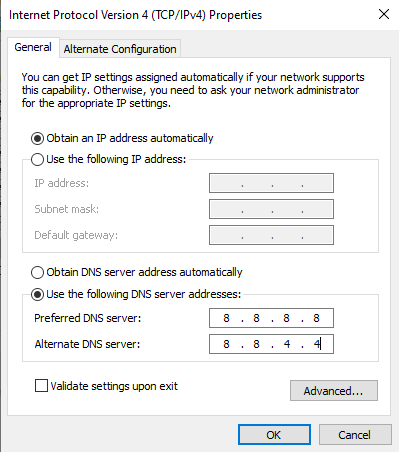
Step 6 - Finally, click “Ok” to complete the process.
Method 3: Check Your Network Condition
Now, it’s quite possible that your Internet connection might be dealing with unexpected issues. To rule out this possibility, try opening another website or live streaming platform like YouTube. In case you still see the buffering issues, you are definitely dealing with network-related errors. In this situation, you can either restart the Wifi router or wait for a while until the network connectivity restores.
Method 4: Change Your Web Browser
In some situations, the web browser you are using might be the reason why Twitch keeps buffering on your system. If that’s the case, you can simply switch to a different web browser to fix the issue. For instance, if you were using Google Chrome earlier, either install Mozilla Firefox or Safari on your system and use it to run Twitch streams.
And, in case you are using a low-configuration system, try using the light version of a web browser to get the job done. As opposed to regular web browsers, the lighter versions don’t require as many resources to run properly.
Method 5: Disable Browser's Extensions/Add-ons
As surprising as it may sound, you can also fix Twitch lags by simply disabling the browser extensions and add-ons. For readers who don’t know, browser extensions are designed to provide different functionalities to the users. However, when your browser has too many unnecessary extensions, they might act as a barrier and affect the normal functionality of the browser. So, take a look at all the installed extensions/add-ons and remove the ones that you don’t need.
Here’s how you can disable browser extensions and add-ons in Google Chrome.
Step 1 - Open your web browser and tap the “Menu” icon at the top of the screen.
Step 2 - Select “More Tools” and then tap on “Extensions” in the menu.
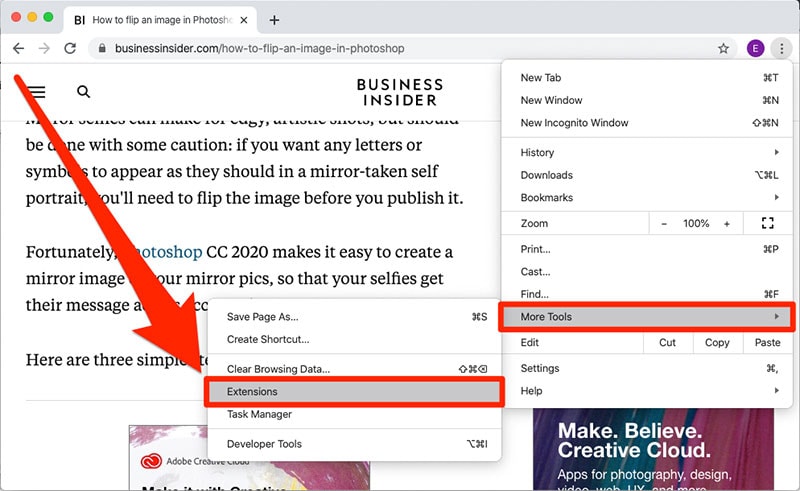
Step 3 - On the next screen, you’ll see a list of all the installed extensions on your systems. Browse through this list and delete the extensions that are unnecessary. To do this, all you have to do is click the “Remove” button next to the desired extension.

Once you have removed the extensions, restart your web browser and try streaming a video on Twitch. If a third-party extension was triggering the buffering, you won’t see it anymore.
Method 6: Turn off Hardware Acceleration of Browser
Hardware acceleration is a common feature that many Chrome users rely on to enhance the performance of their web browser. Basically, when hardware acceleration is enabled, Google Chrome automatically maximizes its performance by utilizing the system’s GPU more rigorously.
While it’s a great feature to enhance the overall user experience, hardware acceleration can also cause a wide variety of issues on a Windows system. So, if you have also enabled “Hardware Acceleration”, make sure to disable it and check if this resolves the “Twitch keeps buffering” error or not.
Here’s how you can turn off hardware acceleration in Google Chrome.
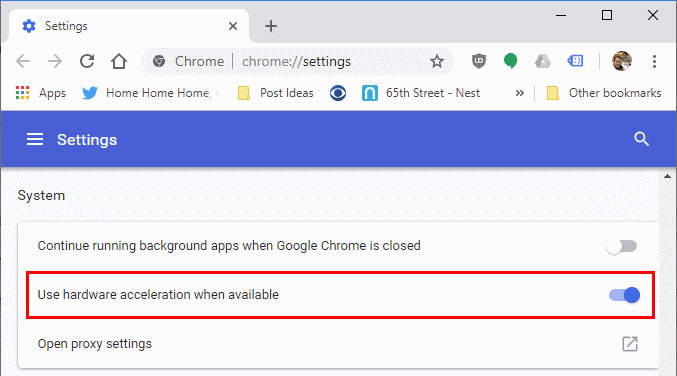
Step 1 - Again, open the “Settings” window in Google Chrome and click on “Advanced”.
Step 2 - Scroll down to the end of the screen. Now, uncheck the checkbox next to the “Use Hardware Acceleration When Available” option.
Finally, restart your browser and enjoy watching a video on Twitch without any interruption.
Method 7: Clear Browser's Cache and Cookies
Clearing browser caches and cookies is another effective way to resolve the “Twitch stream lagging” error. Cookies are basically temporary files that a web browser automatically creates to speed up the login process and offer a better user experience. However, when there are too many uncleared cookies, they are most likely to affect the normal functionality of the web browser. So, in case you had no luck so far, go ahead and clear the browser cookies and cache files.
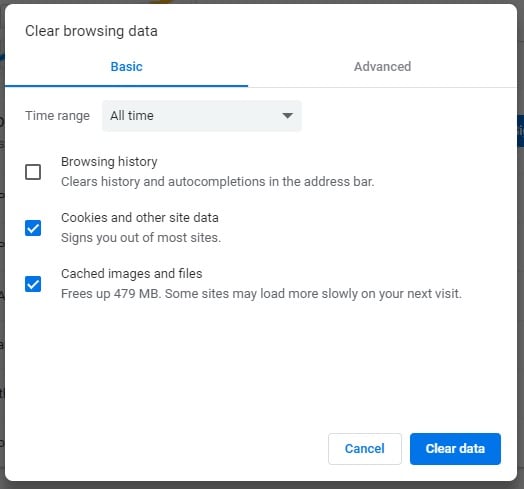
Step 1 - Open Google Chrome and tap the “Settings” icon.
Step 2 - Drag your mouse over the “More Tools” option. Then click on “Clear Browsing Data”.
Step 3 - A pop-up window will appear on your screen. Here select the “Cookies and Other Site Data” and “Cached Images and Files”. Click the “Clear Data” button to delete the uncleared cookies and cached images.
Once the browser cookies are cleared, simply restart your web browser and try playing the Twitch videos again.
Method 8: Switch to A More Powerful VPN
Now, if you are new to Twitch, you may not know that Twitch enforces geo-restrictions. This means all the Twitch content is not available in every country. So, if you are trying to watch a geo-restricted stream in your country, you are most likely to encounter unexpected Twitch lag. To avoid this situation, you can install a dedicated VPN tool on your system. A VPN will allow you to change your device’s IP address and you’ll be able to watch geo-restricted content without any hassle.
Method 9: Close the Unused Background Applications
Here’s the thing; your system automatically runs several background applications to deliver optimal performance. While these processes may not cause any issues in the majority of the cases, they may trigger a few unexpected errors sometimes.
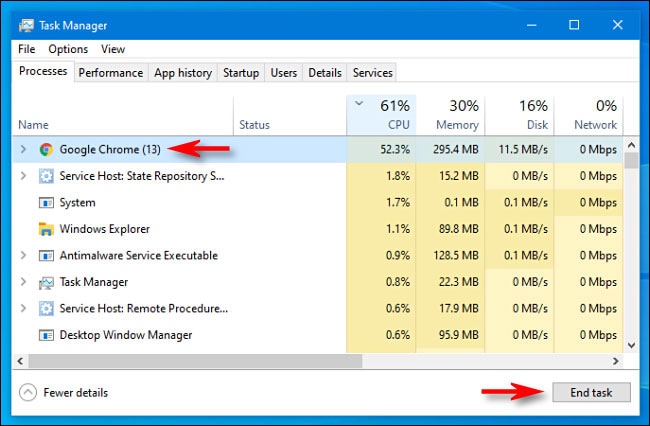
In this situation, all you have to do is close the unused background applications using the Task Manager. Simply type “Task Manager” in Cortana’s search bar and go through the application list. Now, select the applications that are consuming too much bandwidth and click the “End Task” to turn it off. From now on, you’ll be able to watch all the Twitch streams easily.
Method 10: Upgrade Your Computer Hardware for 4K
As we mentioned earlier, old computer hardware might be a reason why Twitch keeps buffering. If that’s the case, the only way to fix the solution would be to upgrade your PC’s hardware. We recommend using a system configuration that supports 4K video playback. Why? Because the majority of YouTube videos are available in 4K and if you want to watch them without encountering any interruptions, it would be crucial to use hardware that supports 4K videos.
Bonus: When Your Videos Downloaded from the Browser Get Corrupted, How to Fix?
Now, some users also download Twitch streams instead of watching them live. But, in many cases, these videos end up getting corrupted, mainly due to their heavy size. If you are also stuck in a similar situation, we recommend using Wondershare Recoverit. It’s a professional data recovery tool that’s designed to recover deleted files on different storage devices. The tool supports multiple file formats, which means you can use it to recover almost everything, be it images, videos, documents, etc.
However, the tool also comes with a dedicated video repair feature that’ll allow you to repair corrupt videos all by yourself. It doesn’t matter what corrupted your video, Recoverit will automatically diagnose the problem and implement an appropriate solution to fix it.
Note:There're two different ‘repair modes’ in Recoverit, i.e., Standard Repair and Advanced Repair. In the majority of the cases, the “Standard Repair” mode will help you repair the corrupt video quickly. But, in case a video is severely damaged, you can also choose the latter to get the job done. If you choose the “Advanced Repair” mode, you’ll have to add a sample video. Recoverit will then match the codec settings of the corrupt video to that of the sample video and fix it instantly.
Here’s how you can repair corrupt Twitch videos on your computer with "Standard Repair".
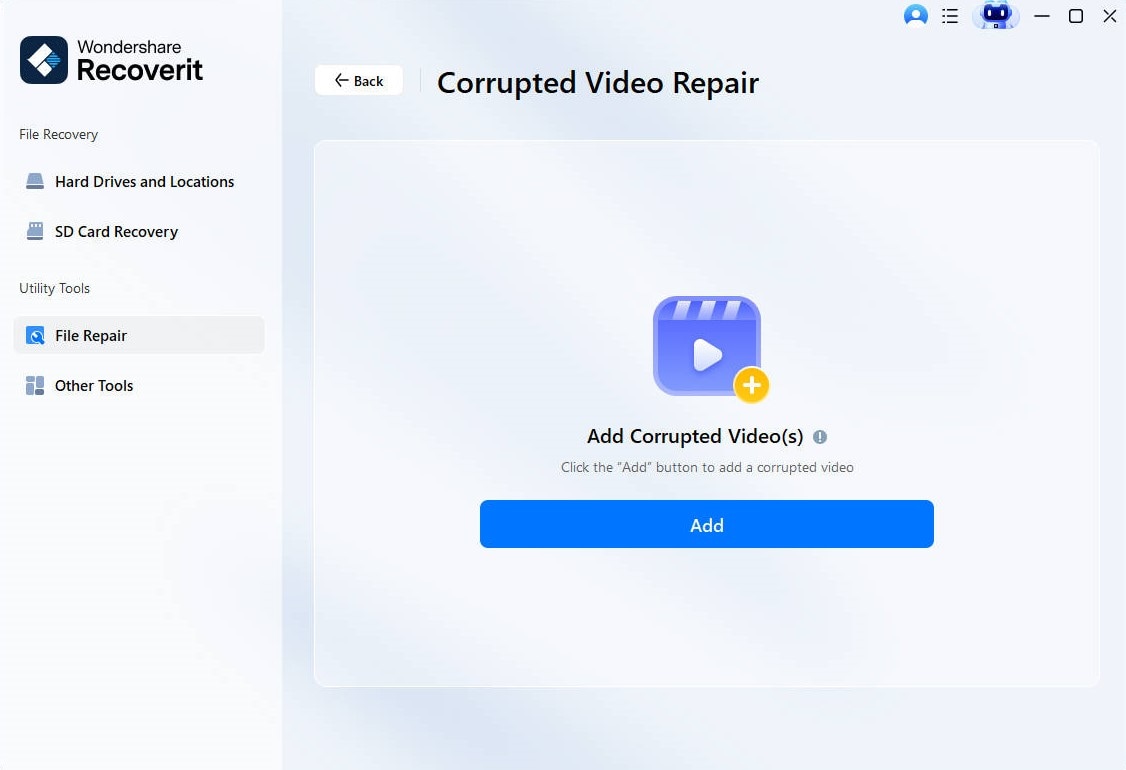
Step 1 - Install and launch Wondershare Recoverit on your system and select “Corrupt Video Repair” from the left sidebar. Then, click on “Add Video” and choose the videos that you want to repair. Keep in mind
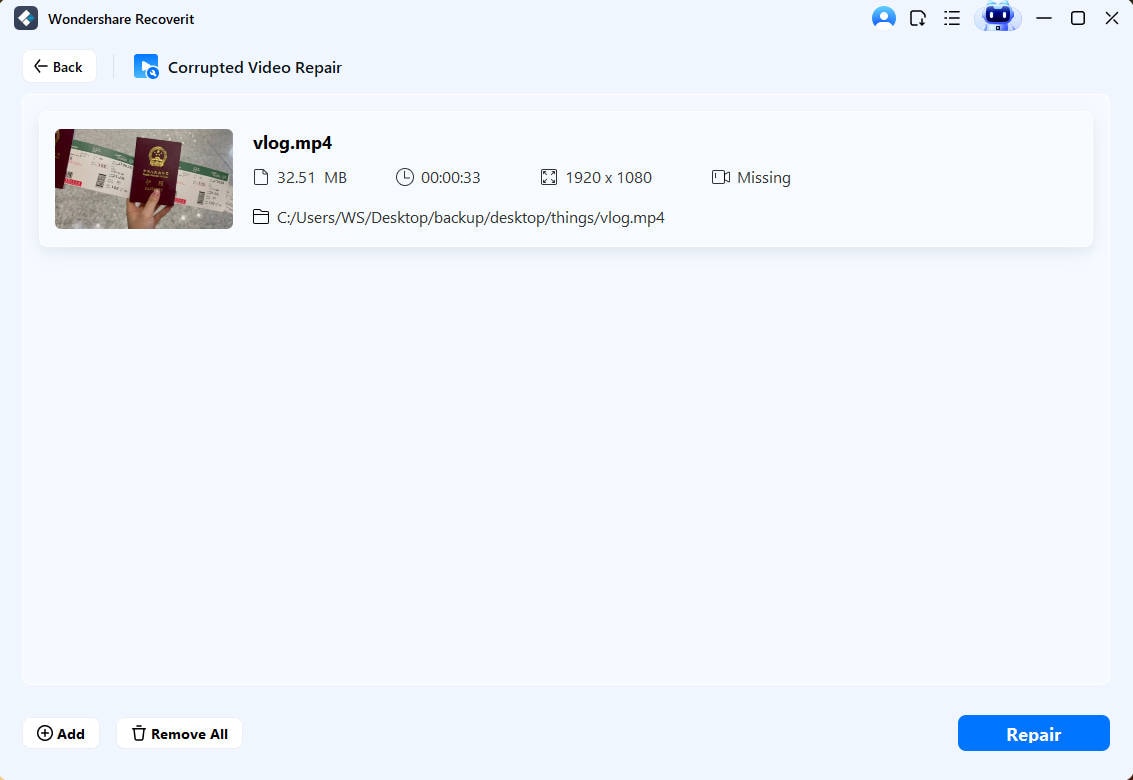
Step 2 - Wait for the videos to get loaded in Recoverit’s timeline. Then, click the “Repair” button at the bottom-right corner.
Step 3 - The tool will start repairing the selected videos. Once the process completes, you’ll see a confirmation message on your screen.
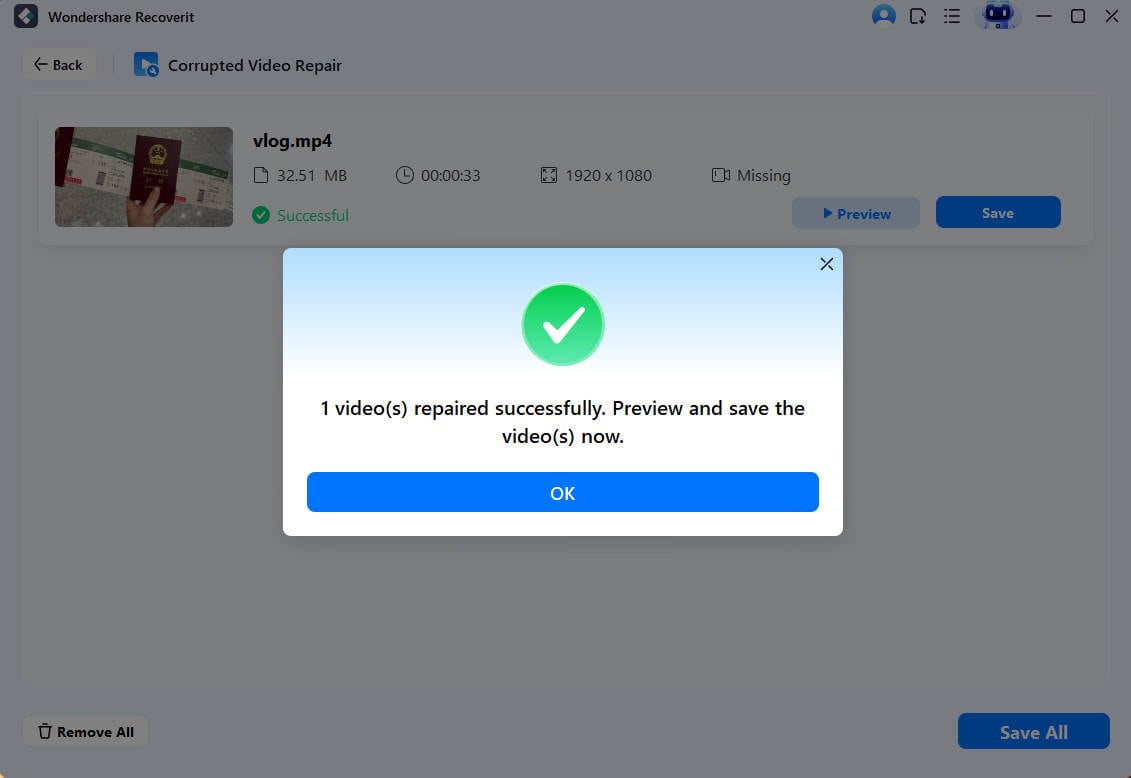
Step 4 - Now, tap the “Preview” button to watch the video to ensure it is successfully repaired. Then, click “Save” and choose a destination folder where you want to save the repaired video.
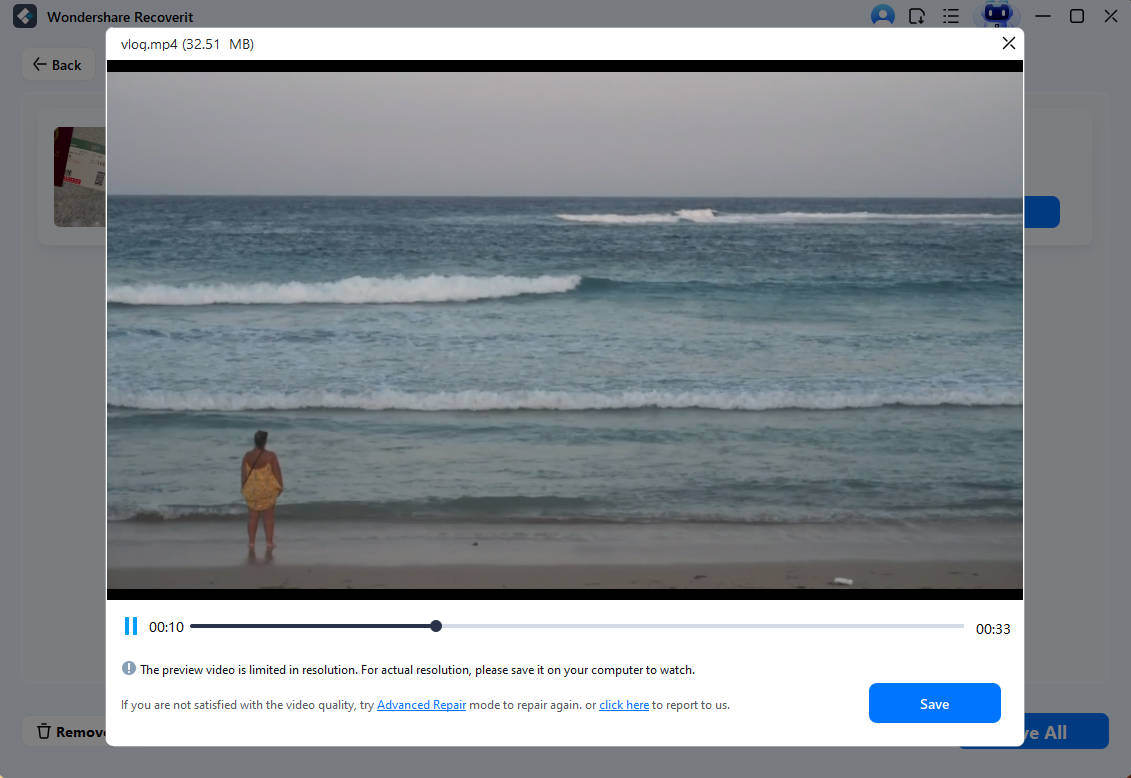
If your videos still cannot play after the Standard Repair, you could use the Advanced Repair mode .
Conclusion
Twitch’s popularity among the younger generation is unparalleled. That’s why millions of hours worth of content is uploaded on the platform every single day. But, due to the heavy influx of traffic, you may also encounter unexpected errors such as Twitch lags while watching Twitch streams. But, thanks to the above-mentioned solutions, you’ll be able to troubleshoot the “Twitch keeps buffering” error and watch the desired streams without any interruption.


