


 TL;DR:
A TIFF (Tagged Image File Format) is a platform-independent raster graphics file that utilizes lossless LZW or ZIP compression to preserve uncompromised image data and extensive metadata, making it the standard choice for professional photography, medical imaging, and high-resolution CMYK print workflows.
● Due to their detailed data retention, TIFF files generate large file sizes capped at a 4GB maximum limit, rendering them highly resource-intensive to edit and completely unsuitable for web applications or fast real-time sharing.
● The format natively supports multi-page document storage and flexible color spaces, and users can directly open these files without specialized software by using the built-in Windows Photo Viewer on Windows or the Preview app on macOS.
● In the event of data loss, deleted TIFF files can be retrieved using Wondershare Recoverit, a dedicated recovery software that features Quick and Deep scanning capabilities to restore lost data directly from disk image files without damaging the source disk.
Ask AI for a summary
 ChatGPT
 Perplexity
 Gemini
 Claude
 Grok
Grok
If you work with images of intricate details and vibrant colors, they need to be preserved in their purest form. Instead of using JPEGs, which compresses data, photographers prefer the TIFF format. Known for its lossless compression, it ensures that when the catalog goes to print, each photograph looks just as breathtaking.
However, if you are curious to know what is a TIFF file, you are in the right place. In this guide, we will explore why it is different from others and its real-life use cases. In the following article, you will also get introduced to a recovery software to restore your lost TIFF files.
Try Recoverit to Perform TIFF File Recovery
 Security Verified. 3,591,664 people have downloaded it.
In this article

Part 1. What is a TIFF File?
A TIFF file, short for Tagged Image File Format, is a widely used raster graphics file designed for storing detailed, high-quality images. It is capable of holding monochrome, grayscale, palette-color, and full-color image data, making it ideal for professional photography.
Origin and Development
TIFF was first introduced in the mid-1980s by Aldus Corporation to standardize image formats for desktop scanners. Initially, it only supported the binary format, but as technology evolved, it is now able to handle grayscale and color with various compression methods. Adobe acquired Aldus in the 1990s, continuing development and maintaining the official TIFF specification. The most important update, Revision 6.0, was published in 1992, solidifying TIFF’s format status.
Purpose of TIFF
Before you dive into what is a TIFF format, let's explore its primary purposes to understand the reason behind its wide usage:
- Image Storage of High Quality: TIFF format is ideal for storing fine details of the photograph in archiving and preserving high-quality images.
- Lossless Compression: It is formed across an active lossless compression algorithm (LZW, ZIP), as it does not lower the actual quality of images.
- Printing and Scanning: TIFF format is widely used in publishing and desktop scanning, where detail and color accuracy are critical.
- Multi-Page Document Support: It can store more than one image or document page in a single file to make workflow scanning and documentation much easier.
- Flexible Color Spaces: This image format is highly flexible and available in a range of modes, such as RGB, CMYK, and grayscale, depending on the needs of digital and print applications.
- Secure Document Management: Users can easily amend hidden data while providing security to data, which is frequently used for business and medical records.
- Compatibility: As a very compatible format, it can be easily viewed and edited across most systems and, therefore, is a universally accepted and supported image format.
- Computer Vision and Analysis: TIFF is the best format when it comes to GIS, medical imaging, and machine learning applications, where it is necessary to have visual data that cannot be compromised.
Advantages and Disadvantages of a TIFF File
For your better understanding of what is a TIFF file, we have provided a detailed comparison table of its strengths and weaknesses below:
| Advantages | Disadvantages |
|---|---|
| Lossless compression ensures maximum image quality | Large file sizes require substantial storage space |
| Supports multiple color spaces (RGB, CMYK, grayscale) | Not ideal for web use due to slow loading and large size |
| Suitable for professional printing and high-resolution scans | Limited to 4GB maximum file size |
| Multi-layer and transparency (alpha channel) support | Editing can be complex and resource-intensive |
| ●Platform independent ●compatible with most systems |
Sharing and transferring files may be difficult |
| Stores extensive metadata for archiving and analysis | May require specialized expertise to edit properly |
| ●High security ●less vulnerable to hidden data exploits |
Not suitable for quick real-time or web applications |
| ●Flexible compression options ●choice of lossless or uncompressed |
It can be distorted if frequently resized due to the raster format |
| Ideal for archiving and long-term preservation of images | Limited browser and device support; conversion often needed for sharing |
| Widely used for scientific, medical, and GIS imaging | Individual file components lack granularity in security settings |
Part 2. Key Features and Use Cases of a TIFF File
While exploring what is a TIFF format, you may want to explore its more details, so let's go through the following.
Key Features of TIFF Image Format
Here, we will explore the key features that set the TIFF format apart from other image file types:

- Metadata and Tags: Its robust tag system allows storage of detailed metadata, including information about image dimensions, color, and author.
- Multi-Page and Multi-Layer: The TIFF file format supports lossless and lossy (TIFF contains the JPEG compression) formats.
- Platform Independence: This application is very well adapted to most operating systems and devices, and has wide support when it comes to editing software.
- High Resolution Printing: It is highly beneficial for professional applications that require maximum detail and color accuracy.
- Customizability: Users can custom sample structures for scientific, GIS, or advanced imaging use cases.
Use Cases
Upon knowing its key features, if you are exploring what is TIFF used for, have a look how it can be put to use:
- Professional Photography: Photographers extensively use this method to store high-resolution images without quality loss, thereby streamlining their editing and printing workflows.
- Artwork and Graphic Design: This is an essential format since magazines, newspapers, and catalogs are required to support CMYK color and retain high detail in print media.
- Medical Imaging: It is commonly applied in storing detailed images of X-rays, MRIs, or pathology slides and maintaining all pixels for diagnostic accuracy.
- Scientific and GIS Applications: TIFF files are perfect for geospatial mapping, satellite imagery, and multispectral image analysis in research and environmental studies.
- Document Archiving and Scanning: This type is extensively used when it comes to the archiving of some important documents and records, so that future data retrieval can be easily done.
Part 3. How to Create a TIFF File?
If you are a journalist and want to generate a TIFF file, then you can create an instant one by using Microsoft Word on any operating system. It is an ideal method to create a TIFF file as it allows complete control over compression and color options. Thus, if you are eager to explore how to create a TIFF file, then follow the provided easy step-by-step guide:
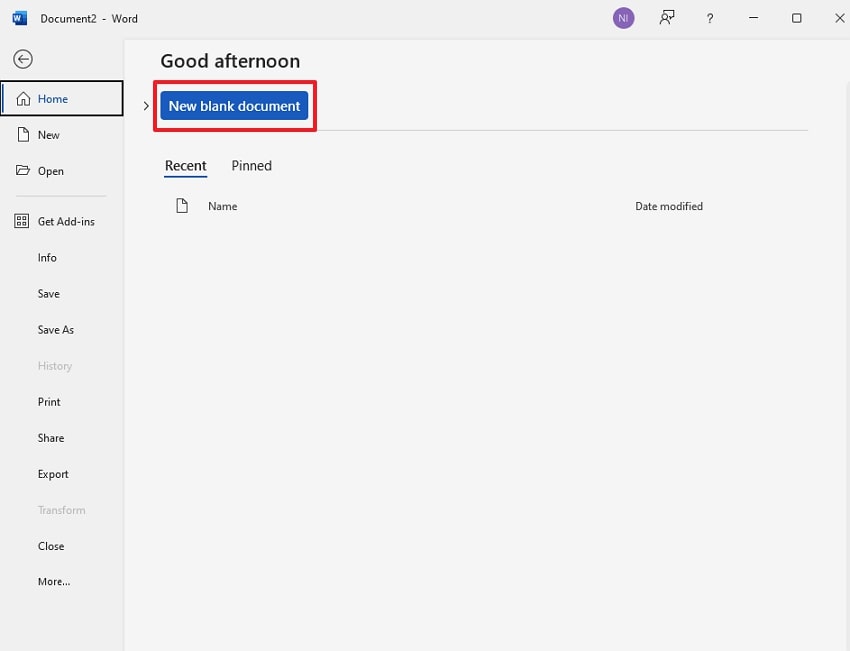
Step 1. Initiate by going to the MS Word app and clicking on the "New" button to open a new document.
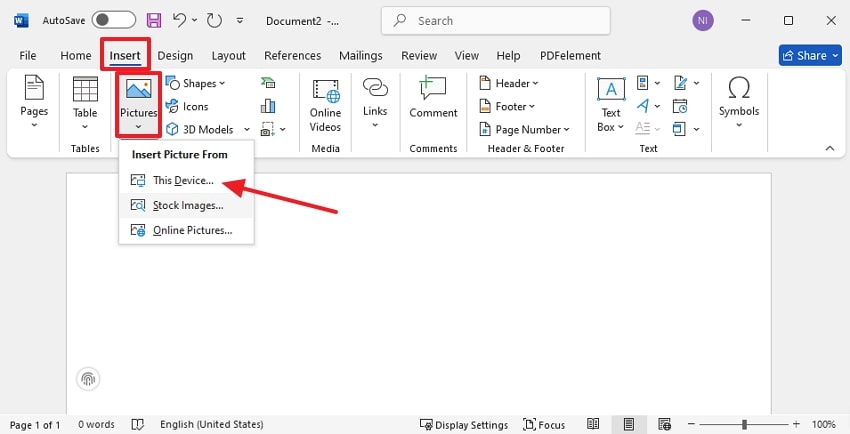
Step 2. Upon entering the new file, click on the "Insert" tab and select the "Pictures" option. Afterwards, tap on the "This Device" option to insert the image, or you can select another option to import from online sources.
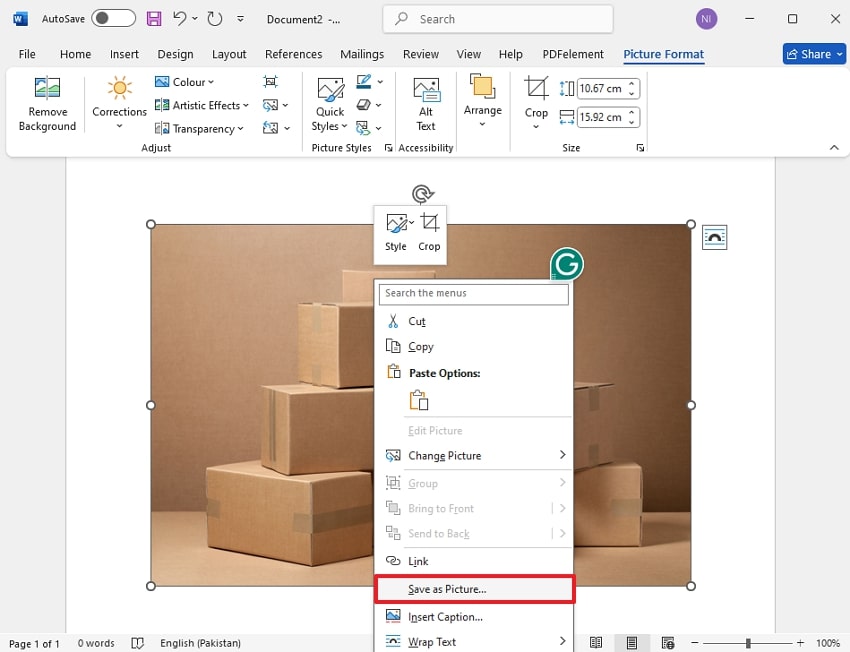
Step 3. Upon importing the picture, click on the “Save as Picture” option from the pop-up menu available.
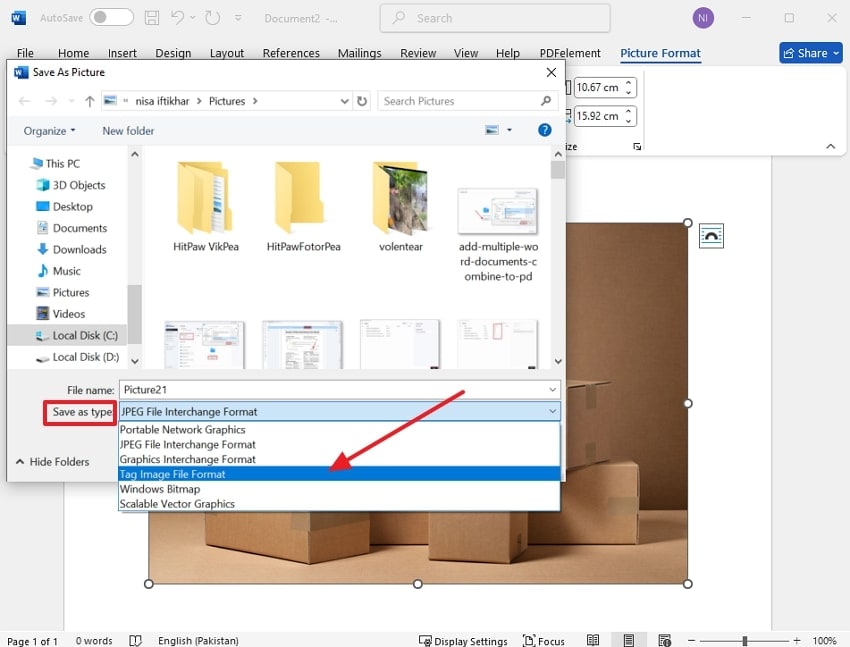
Step 4. Here, click on the “Save as” type menu to further choose the “Tag Image Format (TIFF)” from the options available, and click “Save” to export in TIFF format.
Part 4. How to Open a TIFF File on Windows and Mac
If you have already created a TIFF file and want to know how to open a TIFF file, follow the given procedures:
Open a TIFF File with Windows
Users can easily access their TIFF files by using their built-in File Manager app within Windows. They simply select the file and open it with the required software, like Paint or the “Photo Viewer” app. It provides a fast, accessible way to view and edit TIFF files, so let's go through the guide:
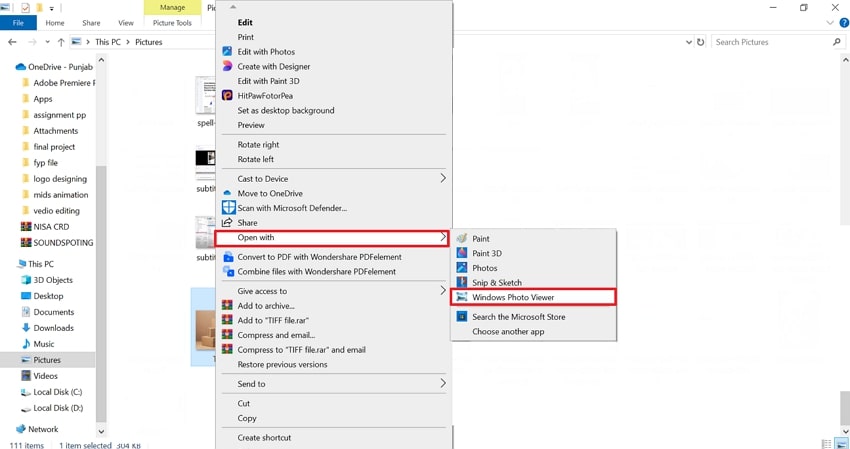
Step 1. Begin by accessing the File Explorer, choosing the “Pictures” tab, and selecting the desired “TIFF” file from the pictures.

Step 2. Right-click the image, choose "Open With," and select the "Windows Photo Viewer" to open the desired TIFF file.
Access the TIFF File on Mac
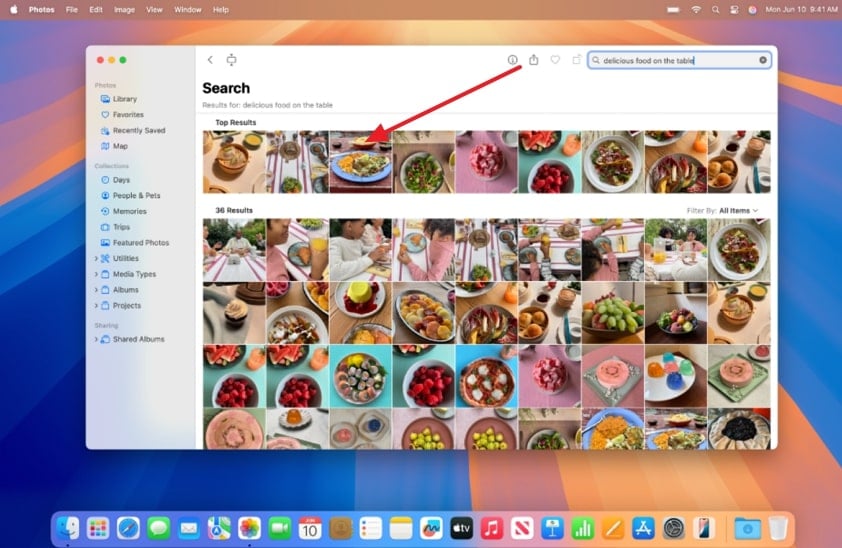
If you are a Mac user and want to open a TIFF file, use the "Photo Preview" feature. In this method, users select the desired TIFF picture, and it will be easily accessible. Its Preview feature supports multi-page TIFFs, basic editing, printing, annotation, and exporting to other formats, making it versatile. Being a native app of the Apple ecosystem, optimized for system compatibility, so have a look at the following guide:
Instructions. Go to the Mac’s “Photos” app and navigate to the desired TIFF file from the available options. Upon navigating to the desired image, double-click and it will automatically open the TIFF picture in its built-in Preview app.
Part 5. What if TIFF Files Get Lost - How to Recover TIFF Files?
Suppose you are a photographer and use the TIFF format to store your essential data. However, one day, when you open your file, you find out that it has been deleted due to some uncertain reasons. In this situation, we recommend using Recoverit, which retrieves your data without ruining it. The platform provides a batch processing system to recover all files at once, saving extra time. With just simple operation, you can get your TIFF files back.
It lets you restore your data effortlessly with support for 1000+ file types and 2000+ storage devices. Furthermore, users are able to restore their lost files from 5000+ scenarios, including formatted device recovery, damaged hard drive recovery, or partition recovery. Recoverit can directly recover data from a disk image file without causing any damage to the source disk, making it an ideal option.
Key Features
- Scanning Options: This tool provides your Quick Scan for scanning easy files and Deep Scan to retrieve lost files due to complex issues.
- Preview Feature: It provides a Preview feature to examine the restored files and their accuracy before exporting to the devices.
- Patented Technology: Recoverit has been awarded 35 patents for its innovative data recovery method with a 99.5% success rate.
Detailed Guide to Use Recoverit to Retrieve TIFF Files
After knowing the features of Recoverit, if you want to learn how to recover corrupted TIFF files, then go through the following detailed guide:
Step 1. Access the Tool and Select the Location of the File
As you enter the tool, click on the “Hard Drives and Locations” option from the left tab and then select the desired location of the image from the “Quick Access” tab.

Step 2. Scan the Desired Location for lost Files
After selecting the location, it will automatically start scanning to recover your lost TIFF file from the device.

Step 3. Preview and Render the Restored TIFF File to the Device
As your TIFF file has been recovered, now you can preview it or directly render it to your designated folder on your device by clicking the "Recover" button.

Conclusion
Summing up, most professionals are now opting for the TIFF file format as it preserves their files intact. In this article, we have covered all the essential details to learn what is a TIFF file. However, if you lost your TIFF file due to any uncertain reason, then we recommend using Wondershare Recoverit, which lets you retrieve your essential data with a 99.5% accuracy rate.
FAQ
-
1. Why would someone use a TIFF instead of JPEG or PNG?
Most of the professionals opt for TIFF files as they preserve all original image data and fine details. While knowing what is a TIFF format know that it is ideal for editing, printing, and archiving, while JPEG loses quality with each save. -
2. Does TIFF support various color spaces and bit-depths?
Absolutely, a TIFF file can contain multiple pages or images in a single file, which is beneficial for scanned documents. However, "layers" as in Photoshop PSDs are not fully supported, though some programs allow for transparency and multiple images. -
3. Is TIFF suitable for web use?
Being a large file, it is not possible to use it on web pages. However, for web use, formats like JPEG or PNG are better suited because they offer smaller file sizes and faster loading times. -
4. Are users able to restore TIFF files if they get lost due to uncertain reasons?
Yes, you can easily retrieve your lost files using data recovery software. There are numerous tools available, among which we recommend using Recoverit, which provides both "Quick and Deep scanning" options.


