
Imagine you are enjoying your favorite videos on YouTube and all of a sudden, it starts pausing and stuttering. Sounds irritating? Well, it is definitely annoying. The YouTube lagging occurs due to various reasons, like slow internet, corrupted file, incompatible video player, and more. However, Adobe Flash plugins are majorly responsible if the problem is occurring in Chrome.
But there's no need to panic as we have got solutions for you. The guide will walk you through the major reasons that trigger the YouTube Stuttering error and some effective ways to resolve the issue quickly.
Part 1: Reasons Why YouTube Stuttering Problem Occurs
YouTube buffering is nothing new as it usually happens when you are playing videos on slow internet. But there could be some specific reasons when you start facing stuttering in Chrome. Here, we have listed some of them.
- Outdated Adobe Flash Plugins
YouTube video will definitely stutter if you use an outdated version of the flash player. This can affect the video-watching experience and needs to get sorted as early as possible.
- High resolution
The YouTube lagging problem also occurs if you watch a video in 1080p Full HD resolution. In such a case, you can lower the resolution value and check if it resolves the trouble.
- Hardware acceleration
Yet another major cause that triggers YouTube video stuttering error is the hardware acceleration. If this option is enabled on old computers, it slows down the system, thus leading to trouble.
- Slow network connection
The reason for YouTube Stuttering Chrome doesn't have to be serious all the time. Sometimes, the error occurs due to a slow or poor network connection. It is advised to check the internet connectivity before getting into the technicality of the issue.
Tips: Learn How to Watch Deleted YouTube Videos
Part 2: Effective Ways to Fix YouTube Video Stuttering
Here's the rundown of the practical methods to fix the YouTube stuttering trouble. Try any of them and enjoy your preferred YouTube videos without any lag or buffer.
Method 1: Check the internet
The basic reason that triggers the YouTube lagging issue in Chrome is the poor internet connection. So, before jumping into the technical mess, it's recommended to check on the network connection first. Make sure your Wi-Fi or other network source is giving enough speed to load the YouTube video. Also, you need to check that Wifi hasn't blocked the specific IP address.
Here are a few tips to improve your internet connection.
- Restarting the system can solve a majority of problems and internet connection is one of them. Try start the PC again and check if it fixes the internet problem.
- Some computers feature a switch for an adaptor. Check if the wireless adaptor is turned on or off.
- Unplug the router and modem and wait for a few seconds before switching it on.
- Reset your network to clear the respective caches.
- Close all the programs and chrome tabs that are using the internet.
- Update your network driver to improve internet stability. Right-click the Start button to launch the Device Manager. Select "Network Adapters" and right-click the listed drivers. Click "Update Driver" and continue to update all the listed drivers.

Method 2: Get the latest version of Adobe Flash Player
YouTube Video Stuttering Chrome is mainly triggered when you keep using the outdated version of Adobe Flash Player. Hence, try updating the same to the latest version and check if it resolves the error or not. Follow the instructions mentioned below to make an update.
- Navigate to the official website of the Adobe Flash Player. Click on the "Install Now" button to begin the downloading process.

- Once the process completes, double-click the downloaded file and follow the on-screen prompts to complete the installation.
- Play the video again and check whether the YouTube lagging resolves or still continuing.
Method 3: Turn on Javascript on Chrome
YouTube also starts stuttering on Chrome if javascript is turned on. Hence, you can turn it on and check if it helps. Here's the step-by-step guide.
- Launch Google Chrome on your system.
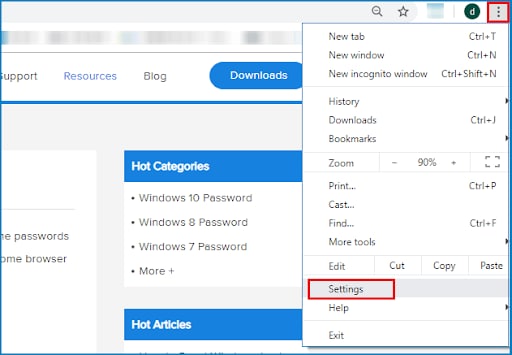
- Go to the Settings tabs or three vertical dots on the rightmost corner of the screen.
- Hit the Privacy and Security Now and click "Site Settings."

- Under the "Permissions" tab, click Javascript.

- Tap on the slider to turn on Javascript in your Chrome. You will find that now the status of Javascript will be turned from Blocked to Allowed.

- Now, go to YouTube and play the video again to check if Javascript has resolved the issue or not.
Method 4: Download the updated version of Google Chrome
Still, facing the YouTube Video Stuttering Chrome? Sometimes, the error occurs when you try playing videos in the outdated version of the browser. In that case, try updating it and check if it fixes the trouble. Follow the steps to update Google Chrome successfully.
- Launch Google Chrome on your system and click on the three vertical dots on the top right corner.
- There, you will find an option to update the browser. However, if you are unable to find any such option, it means that Google Chrome is already updated and no latest update is available.

- Hit the re-launch option and go to YouTube again to play the video without any trouble.
Method 5: Disable/ Enable Hardware Acceleration
This solution is ideal for both old and new computers. Enabling Hardware Acceleration in new and turning it off in old mostly fix the YouTube Stuttering problem. Here are the step-by-step instructions to carry out the process.
- Open the Search Bar on your computer and open the "Control Panel."
- Change the view mode to Large Icons to get an accurate view of what's there.
- Click on the "Display" tab and tap on the Change Display Setting option.
- Locate "Advanced Display Settings" and you will there find a new dialogue box.

- Hit the Troubleshoot tab and then the "Change the Settings" button.

- There, you will locate the Hardware Acceleration section. Move the pointer to the "full" to enable it and take the pointer to the "low" to disable it.

- Click the "Ok" button and then restart the computer to check if the problem of YouTube lagging
Part 3: A One-Stop Solution - Wondershare Recoverit
If you have tried all the methods listed above but still, the problem persists, consider trying Wondershare Recoverit. Sometimes the problem of YouTube lagging occurs due to the broken link or corrupted media file. In that case, you should turn to professional, third-party software that is capable of recovering the data.
Wondershare Recoverit is a high-tech data recovery tool that retrieves the content from all lost scenarios.
Features:
- It supports all popular video formats.
- The tool recovers multiple files at once.
- It offers both Basic and Advanced repair options.
- It has the highest recovery rate in the industry.
Follow the step-by-step instructions to use Recoverit. First, let's download Recoverit from the buttons below.
Step 1: Add the corrupted video
- Firstly, the users need to download and install the Recoverit application on their systems. Launch the tool and move your cursor to the "Corrupted Video Repair" option on the left dashboard.
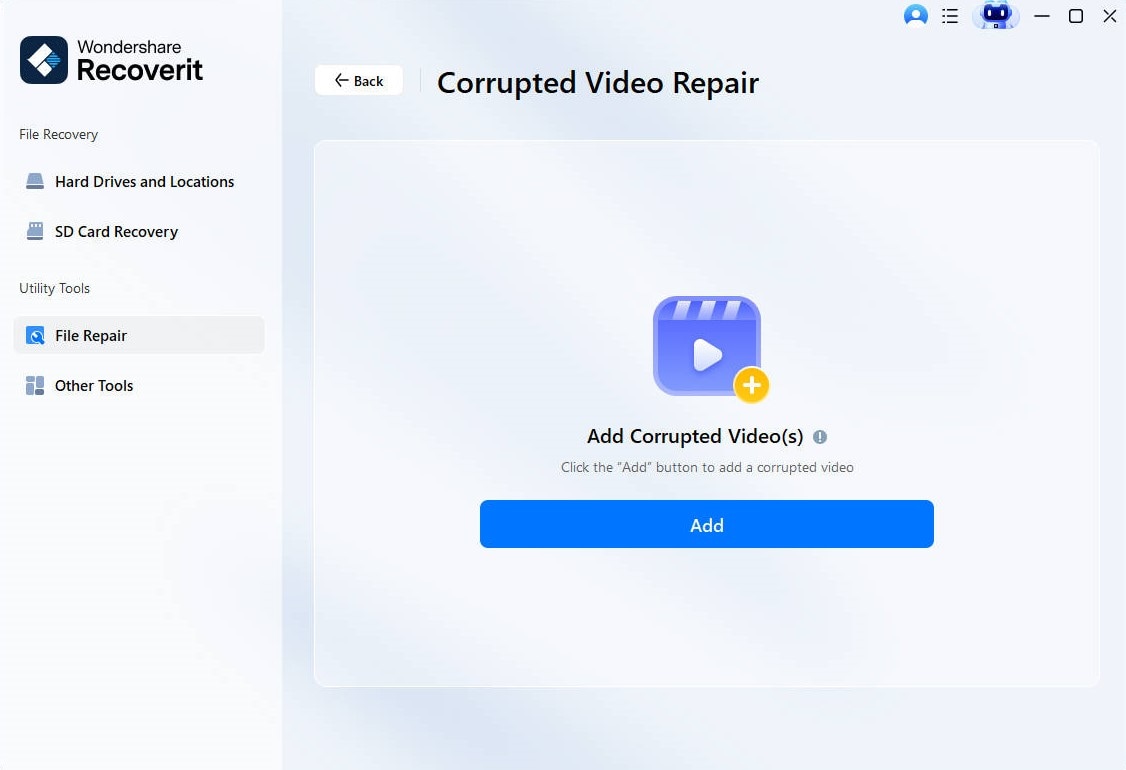
- Tap on the "Add" button and browse the folder where the corrupted video is available. Select the file and upload it to the software.
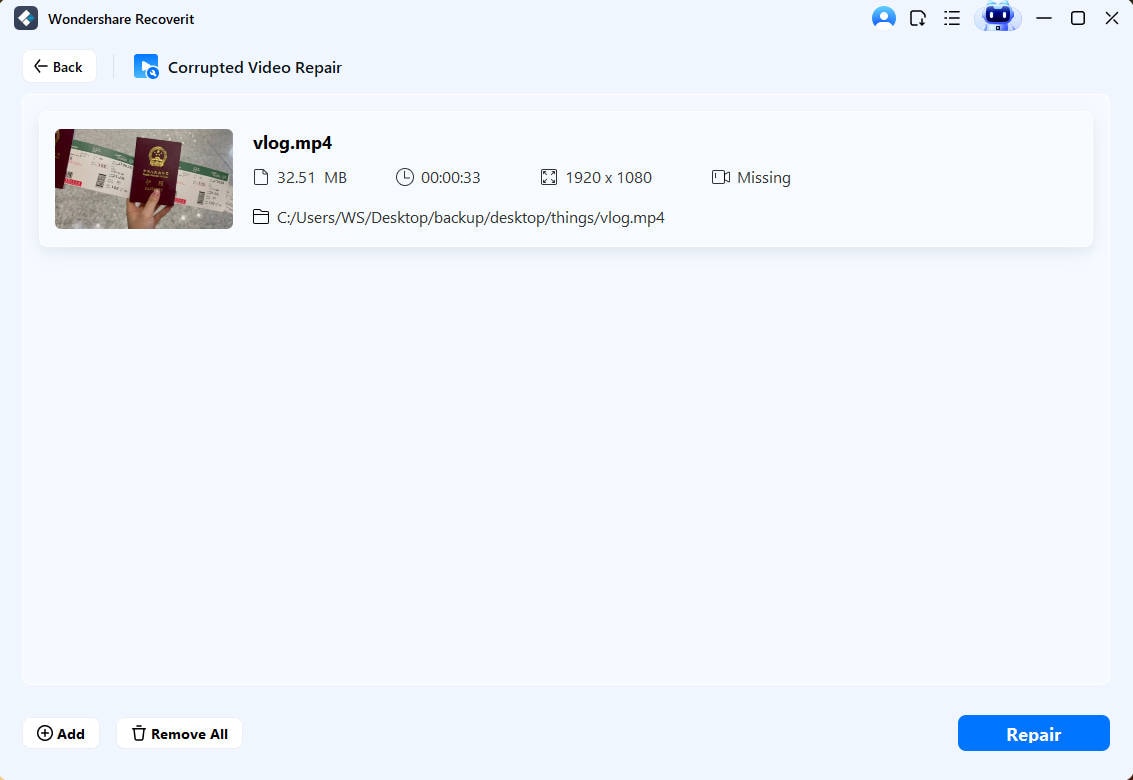
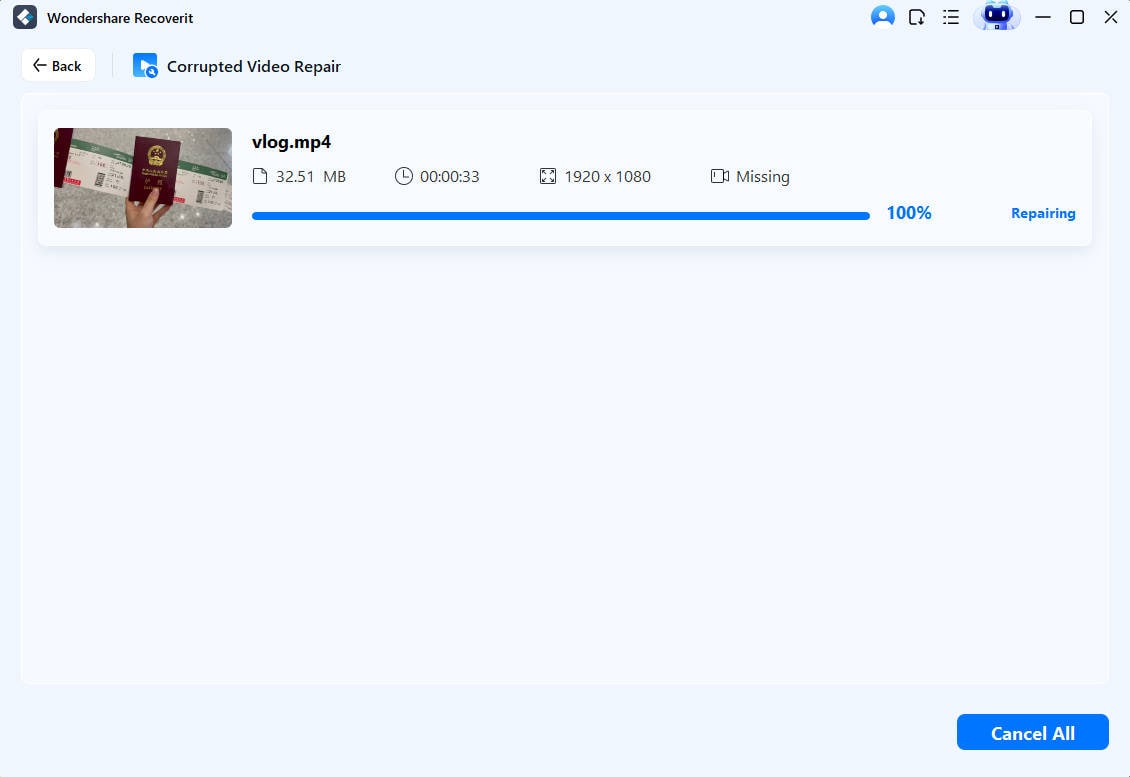
Step 2: Initiate Repair
- As soon as you are done with uploading video files, tap the "Repair" button to begin the process.
- You can also check the progress of the repairing process on the screen.
- The Recoverit tool will take a few minutes to complete the process and will notify you once it gets done with file repairing.
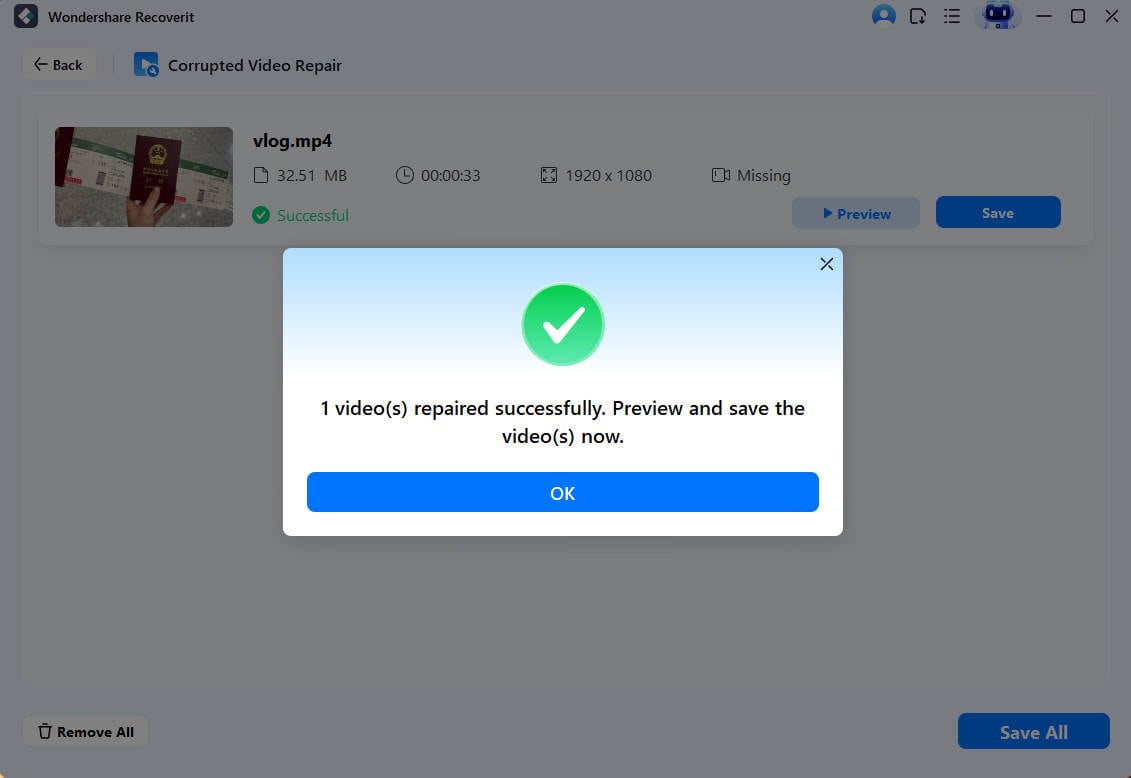
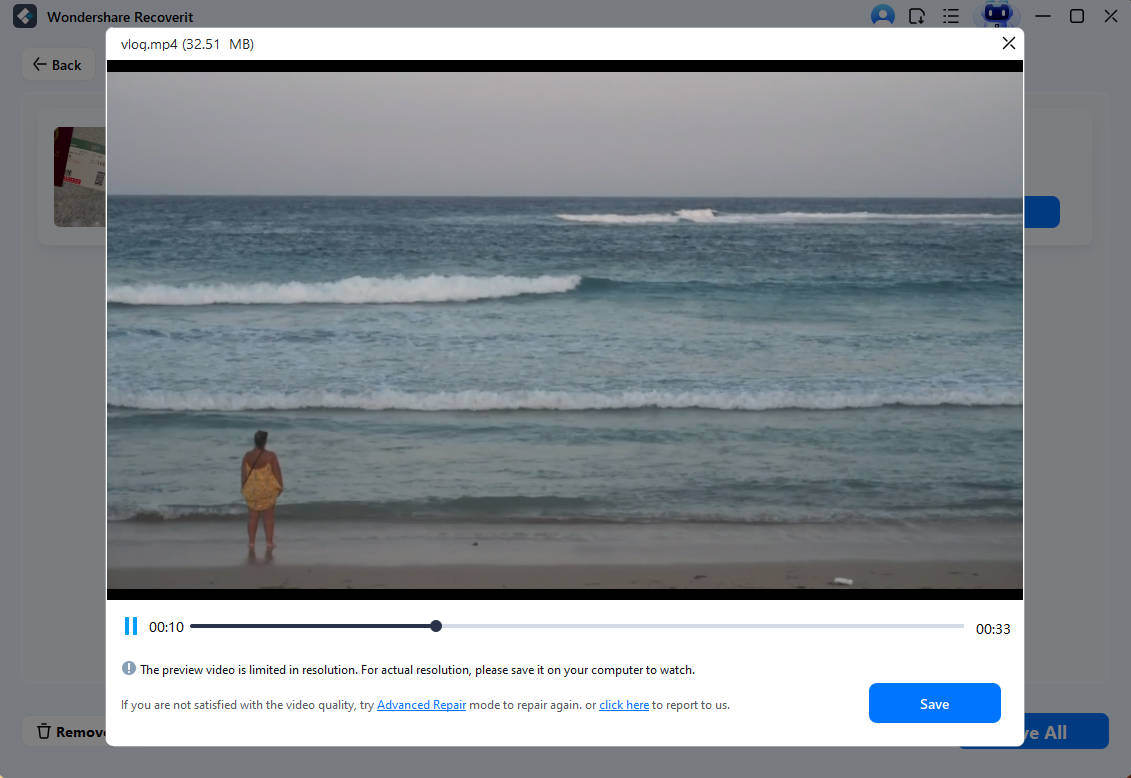
Step 3: Preview the Repaired File
- Hit the "Preview" button to check the repaired file. Save the video if it meets the quality requirements.
Step 4: Advanced Repair
- Not satisfied with the repaired video? Click on the "Advance Repair" option and upload a sample video of the same format as the original one and from the same device you used earlier.
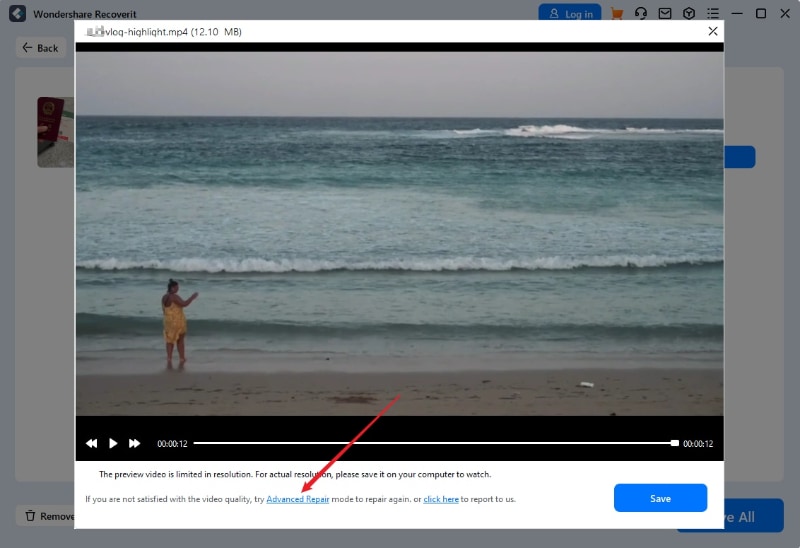
- Tap the "Repair" option to begin the file repairing process once the sample and previous video match with each other, you can
Step 5: Preview and Save
- Tap the "Preview" option to check the repaired file and click on the Save button to store the repaired video to the preferred location.
Conclusion
There is no second thought that YouTube Stuttering is one of the most annoying problems and thus needs to be resolved as early as possible. We hope this guide will help you in fixing the trouble so you can enjoy your favorite movies and videos without any hassle. All the methods listed above are tried and tested. We recommend you perform the basic troubleshooting steps before getting into the technicalities.
However, if you are looking for a 100% reliable and safe solution to get rid of the YouTube Video Stuttering Chrome, look no further and download Wondershare Recoverit. This third-party tool effectively retrieves the corrupted video file while fixing the issue in a few simple steps.
 ChatGPT
 Perplexity
 Google AI Mode
 Grok
Grok


