
 TL;DR:
Resolving Facebook video upload failures requires verifying the file meets platform limits, troubleshooting cache and network interferences, and fixing incompatible or corrupted media files.
● Facebook strictly restricts video uploads to a maximum file size of 4 GB and a total duration of 240 minutes.
● If the upload fails due to an unrecognized format, convert the video to a supported format like MP4 or MOV using tools such as Wondershare UniConverter.
● To repair severely damaged files preventing uploads, use the Advanced Repair feature in Wondershare Recoverit, which requires providing a working sample video recorded on the exact same device.
Ask AI for a summary
 ChatGPT
 Perplexity
 Gemini
 Claude
 Grok
Grok
7 Fixes to Facebook Video Not Uploading
This article will comprehensively explain the reasons and provide facile ways to fix Facebook video not uploading problem.
Who does not like to share their favorite memories through videos and photos on Facebook? Facebook is notorious for making people connected from a single platform; however, many people face issues of Facebook video not uploading. For instance, when someone tries to upload a video on Facebook, an error message pops up, and as a result, the video gets failed to process.
This interruption in video not uploading to Facebook causes major distress among users. To get rid of this problem, this article will explain the major causes of this error and provide you with the top eight easy solutions.
Part 1: Know Why Facebook Video Not Uploading
Are you facing a problem of video not uploading to Facebook? This section will shed light on the most commonly occurring causes that disturb users in uploading video on Facebook smoothly. Let’s dive into details:
Slow Internet Connection
To use any social media platform smoothly, you need a strong internet connection. It needs a stronger internet connection to upload a video due to the large file size. Sometimes, due to poor internet connection, we cannot upload videos, and errors occur.
To avoid this, try to use a stronger and reliable internet connection while uploading the video on Facebook.
Issue with Server
For sharing any post on Facebook, the servers receive the information and circulate it to the network of your friends. But sometimes, while uploading the video, Facebook servers disrupt the process. There can be the presence of any bug on servers that may restrict the video to upload.
Corrupted Video
There can be a high chance that the video you are trying to upload is corrupted or damaged. It can get corrupted due to incomplete downloading or the presence of any virus on your computer.
Inappropriate Video Format
The compatibility of video format to Facebook servers is very important. If the video format is inappropriate or incompatible with Facebook, then the video will be failed to process. Furthermore, if the file size is way too large, it will also cause a hurdle in the uploading process. As Facebook supports the maximum file size of 4 GB, you can only upload the video for not more than 240 minutes. If your video does not meet these requirements, you will be unable to upload it on Facebook.
Problem in Settings of Smartphone
If you are trying to upload a video on Facebook through your mobile phone, it needs permissions from your settings to access your gallery. If the access has not been given to Facebook, it won't upload any video in your privacy settings.
Cache Files
Due to extensive internet use, your browser may get burdened due to cache files. The cache files block the browser and slow down the speed of the internet, which also disrupts uploading videos on Facebook.
You might also want to know:
How to solve FaceBook Having Issues on Video Playing.
How to Save Facebook Videos To Your Camera Roll?
Part 2: Try these Methods One by One to Fix This Problem
This section will offer you different and easy steps to help you upload videos on Facebook without any inconvenience. These methods would be able to answer questions of users about why won’t my video upload to Facebook. Pay attention to the following methods:
Method 1: Re-Login your Facebook Account
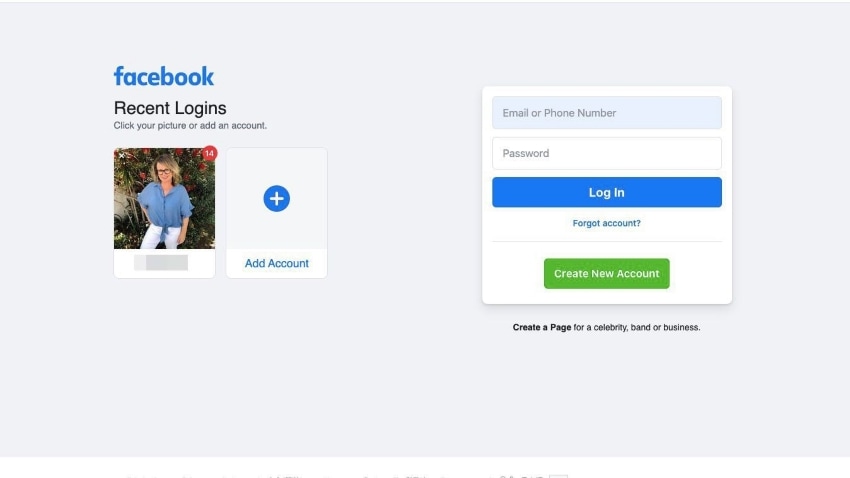
You should first perform by logging out of your Facebook account. It will refresh Facebook's connection with its servers to help upload the video. Following are the steps to log out:
Step 1: When your Facebook account is open, go to the “Accounts Button” by clicking on it. It will display a menu to select “Log Out” by clicking on it.
Step 2: Once you are done logging out, re-enter your information to your account to log in again, then upload a video.
Method 2: Clear your Browser Cache and Cookies
Cache files and cookies on your browser directly impact the performance of your browser. To get rid of unwanted cache files running on your browser, follow the below steps:
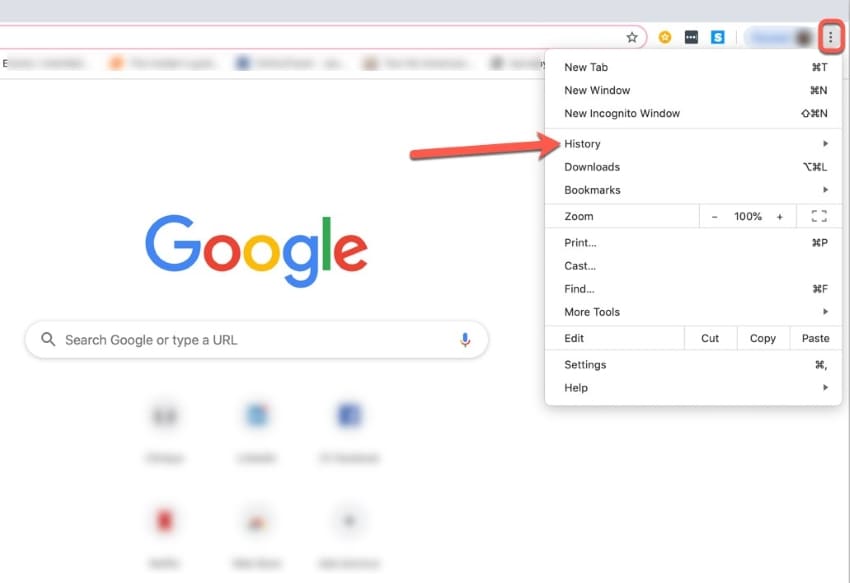
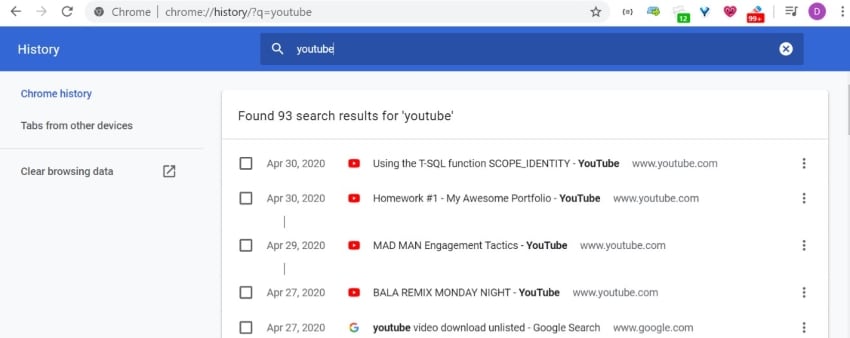
Step 1: To open your browser's history, select "Three dots Icon" from the top right corner. Then explore the option of "History" and click on it. You can also directly open the history page by pressing "Ctrl + H" from your keyboard.
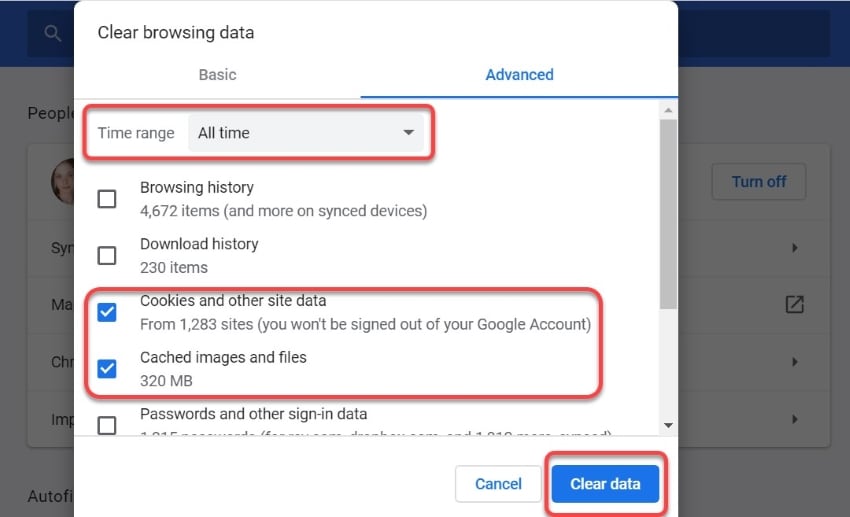
Step 2: To clear the browser cache, choose “Clear Browsing Data” from the left section of the menu. Then click on “Time Range” to proceed to decide the range of browsing data that you want to delete.
Step 3: You can explore options of "Cached Images and files" or "Cookies and other site data." Once done, tap on the "Clear Data" option and wait patiently for the procedure to end.
Method 3: Turn Off VPN
Many people use VPN to secure their data from online platforms. But sometimes, VPN causes a hurdle in uploading the videos as it slows down the connection with Facebook servers and brings instability in the internet connection. Hence, turn off your VPN from your device and upload a video on Facebook.
Method 4: Check for App updates
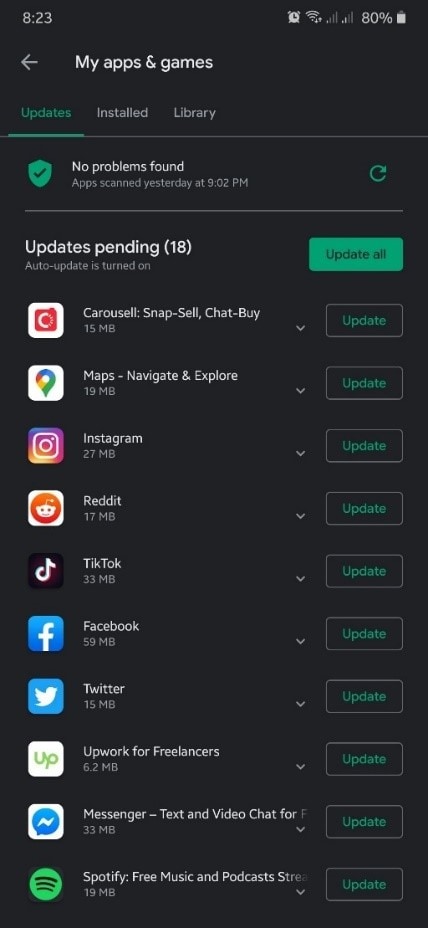
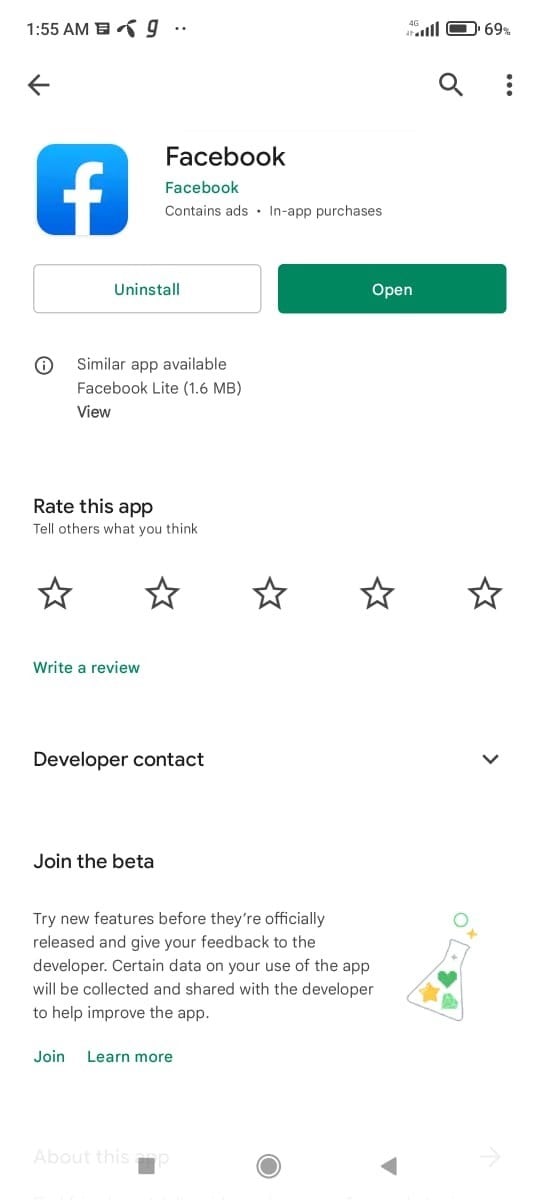
If your Facebook app is not updated, it slows down the performance and speed of your application. Outdated app versions may show incompatibility with the video you are trying to upload. To update the Facebook app on Android devices, the steps are:
Step 1: Firstly, go to “Google Play Store” on your device and select “Menu Button” by clicking on it.
Step 2: Now click on "My Apps and Games" and click on "Update Button," which is right next to the "Facebook" app.
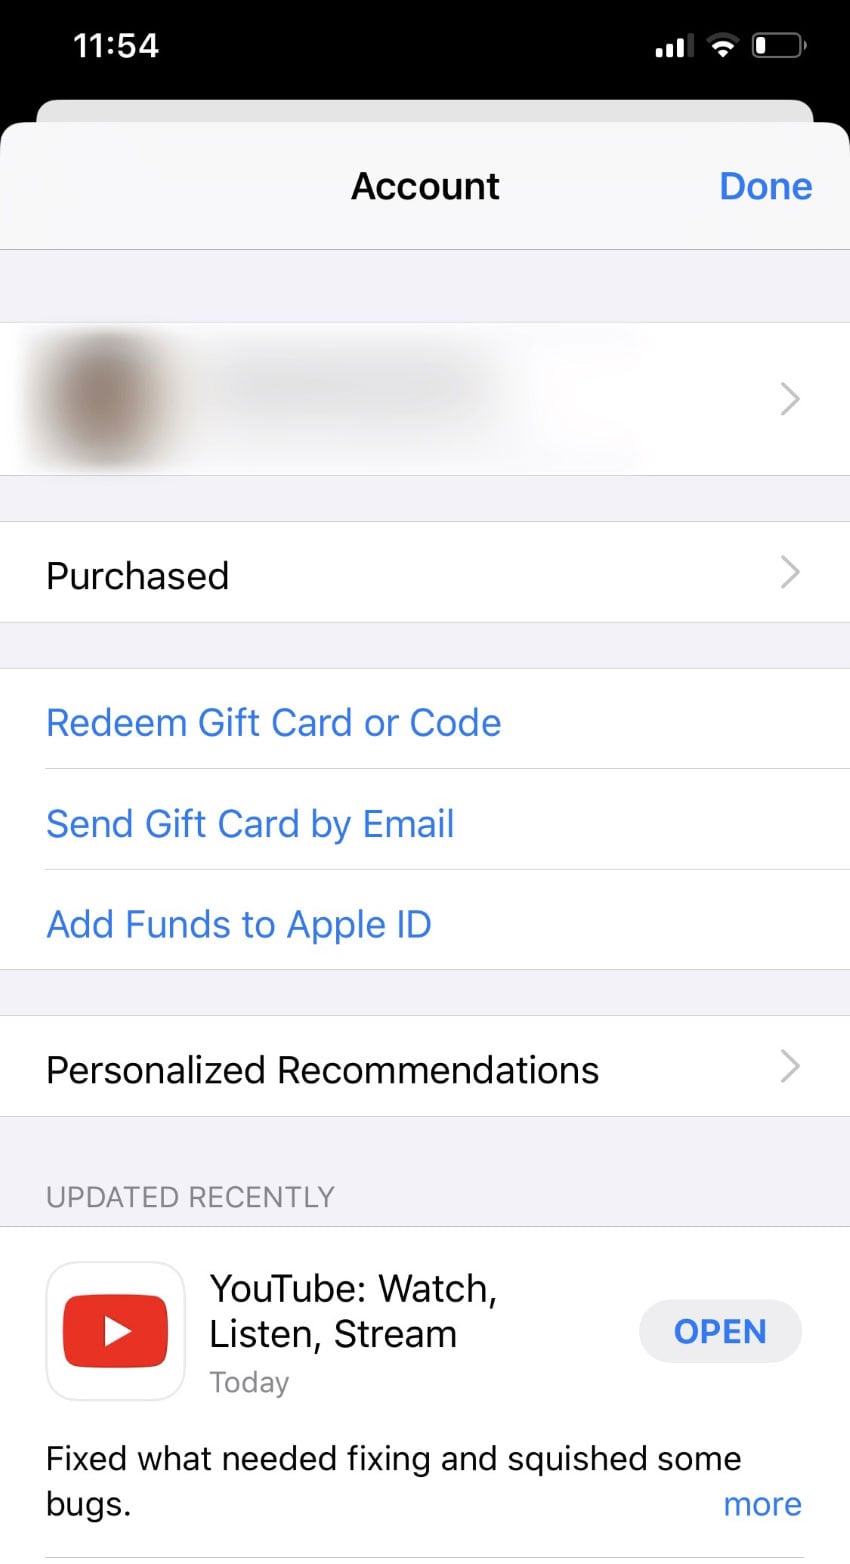
For iOS devices, the steps are:
Step 1: Click on “App Store” from your phone and open it. Afterward, click on the “Profile” icon of yours present on the top right corner.
Step 2: If the update for Facebook is available, click on the "Update" button to get rid of the outdated version.
Method 5: Check if Video Meets Facebook Requirements
To upload a video on Facebook, there are some minimum requirements that every video should meet. If the video you are trying to upload is not meeting these below-mentioned requirements, then eventually, you won't be able to upload it. The requirements are:
- The file size should not be larger than 4 GB
- The file should not exceed 240 minutes
Method 6: Convert Facebook Video Format
The video file format is very important as it should be compatible and supported by Facebook. If Facebook does not recognize your video format, use Wondershare UniConverter to convert your file to MP4 or MOV easily.
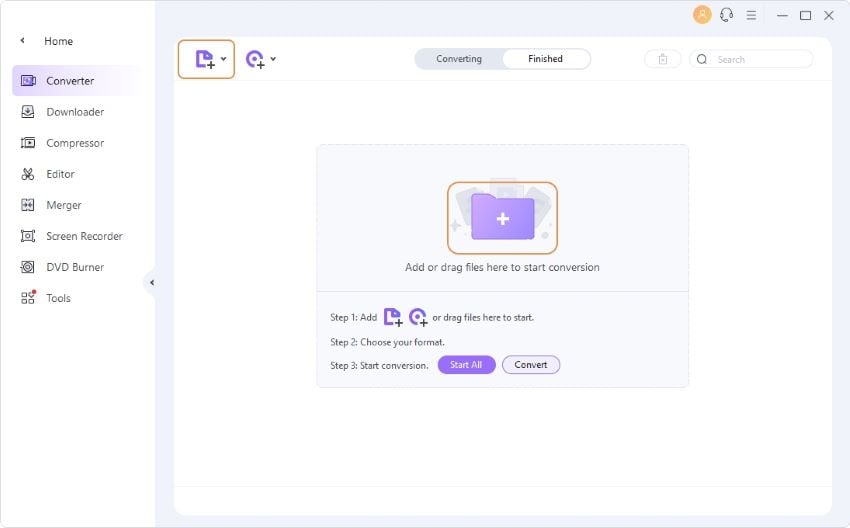
UniConverter is an excellent tool for converting video files into multiple formats within seconds. It converts your video files to another format by keeping their high quality. To do so, follow the given steps:
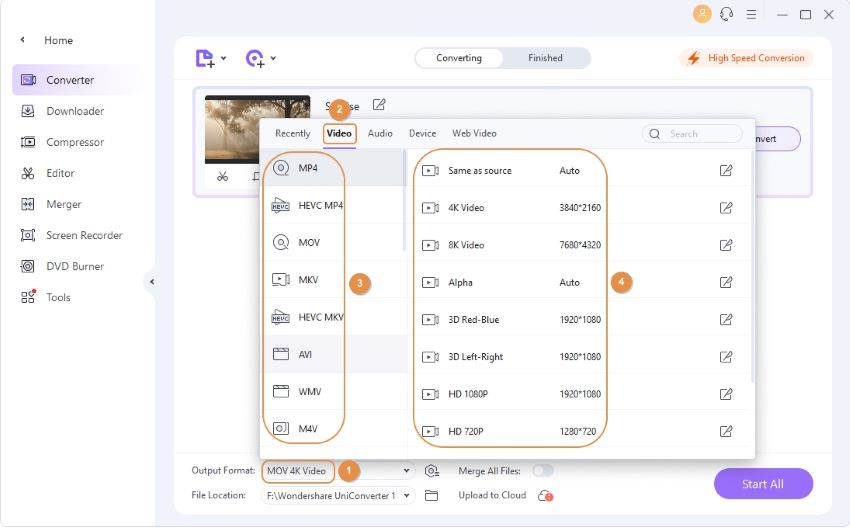
Step 1: Install Wondershare UniConverter on your computer to initiate the process. Open this tool and click on the “Converter” section. Afterward, import your video file by selecting the “Add Files” option.
Step 2: Now, choose "Output Format" from the left bottom of the tool. It will lead you to another window where you click on the "Video" section and select the output format, which can be either MP4 or MOV.
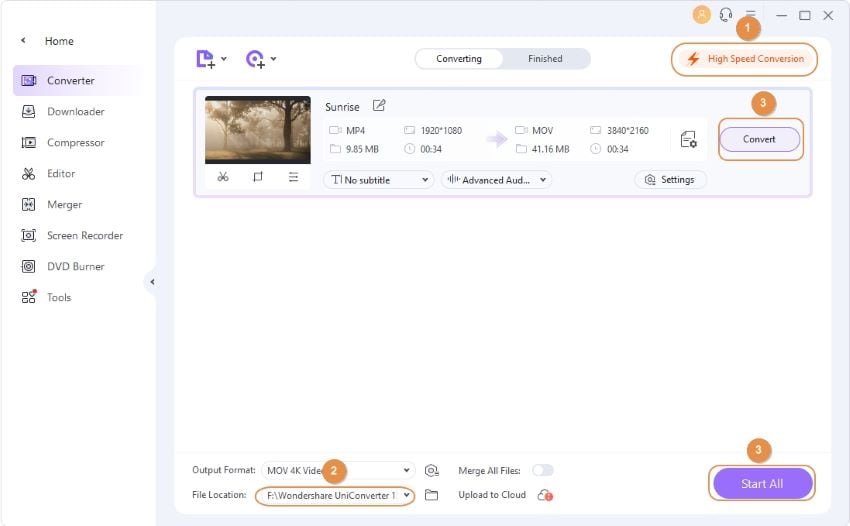
Step 3: Now select the folder where you want to place the file from the bottom by "File Location." Once done, tap on the "High-Speed Conversion" heading and tap on "Convert" to proceed.
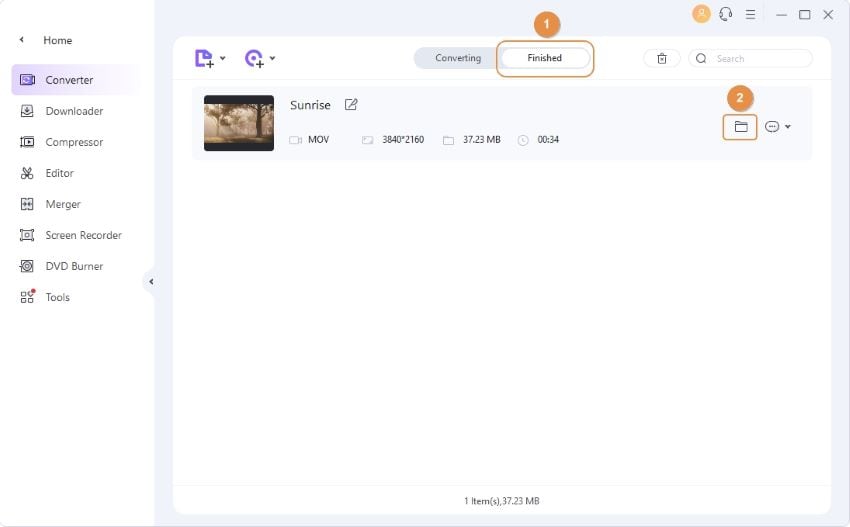
Step 4: After the successful conversion, you can check your converted video file by clicking on the “Finished” option on top of the screen.
Method 7: Repair the Video using Wondershare Recoverit
To ensure that your video is flawless, use Wondershare Recoverit to repair your corrupted video files. As we mentioned above, corrupted video files cannot get uploaded on Facebook; try to use this tool to get rescued.
Wondershare Recoverit is different than any other repair tool as it comprises two peculiar features. The features are quick to repair and advanced repair that can be a game-changer for anyone looking to repair their damaged video files. Quick repair allows you to get your desired result within seconds by following their easy steps.
On the other hand, advanced repair helps you find your original video file through a sample video. A user of a similar format submits a sample video as your original video through which advanced repair runs a scan and explores similar elements of your original video file.
To repair your video not uploading to Facebook, pay attention to the following steps:
Step 1: Get Wondershare Recoverit
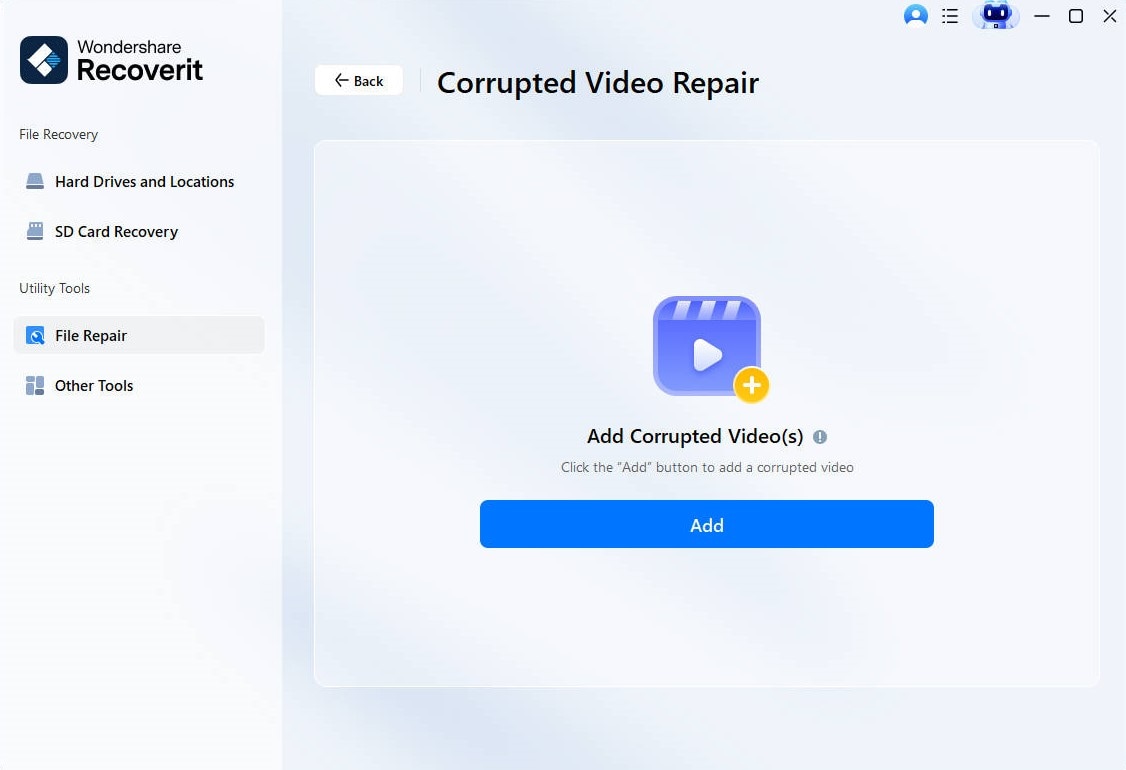
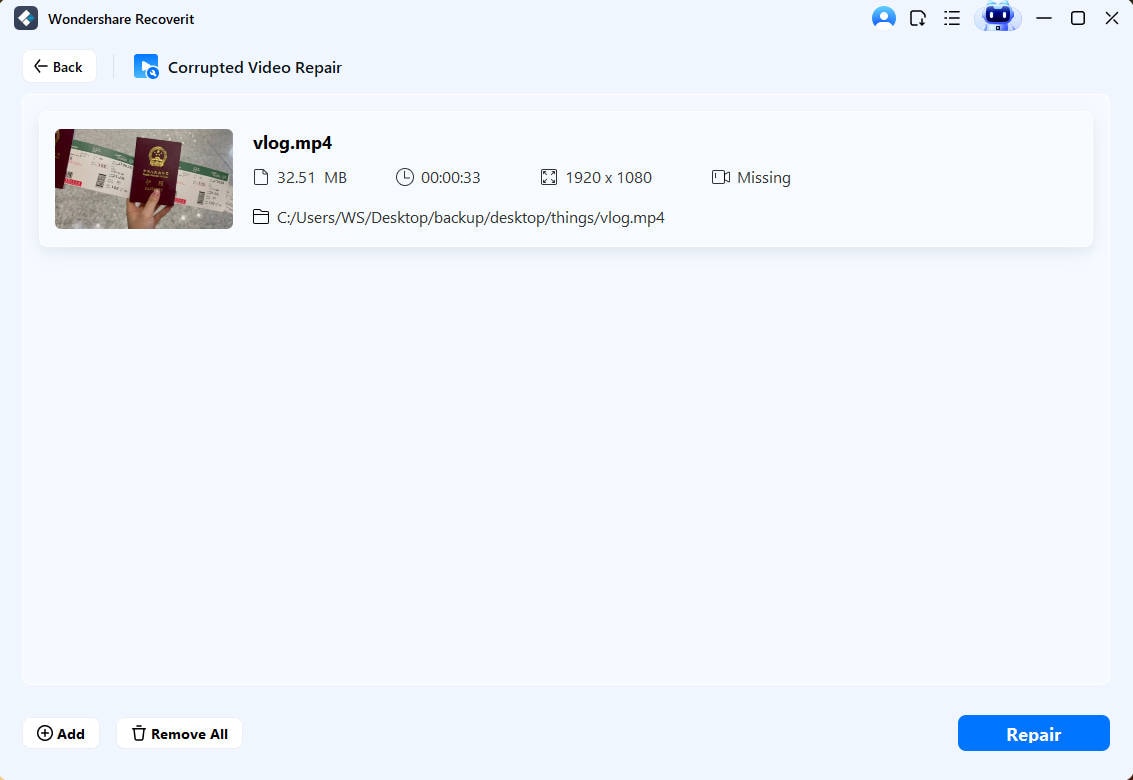
First, launch Wondershare Recoverit on your computer to use it comfortably. Then to upload the file on this tool, tap on the "Add Buttons" option and upload your video file.
Step 2: Start Repairing Video
Now tap on the option of “Repair” to initiate the procedure of repairing your video file. It may take some time so wait patiently.
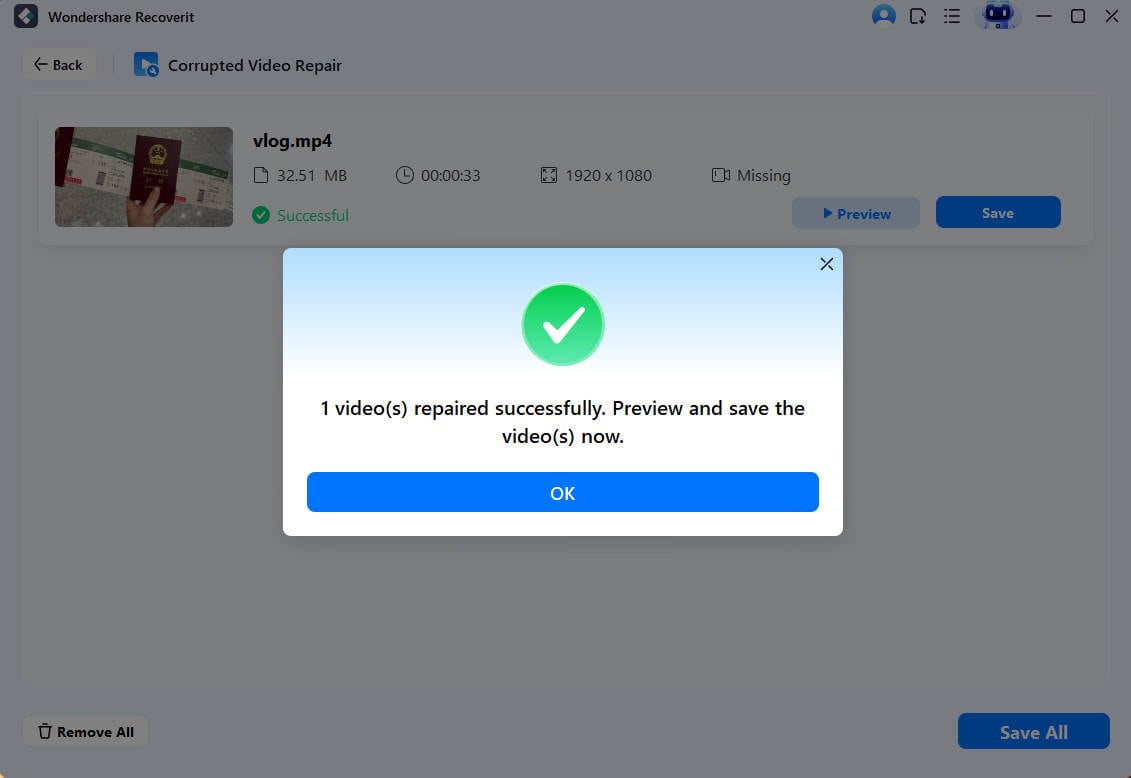
Step 3: Preview the Video
Once done with the repairing procedure, you can preview your video file. If you are happy with the result, you can save the file on your PC.
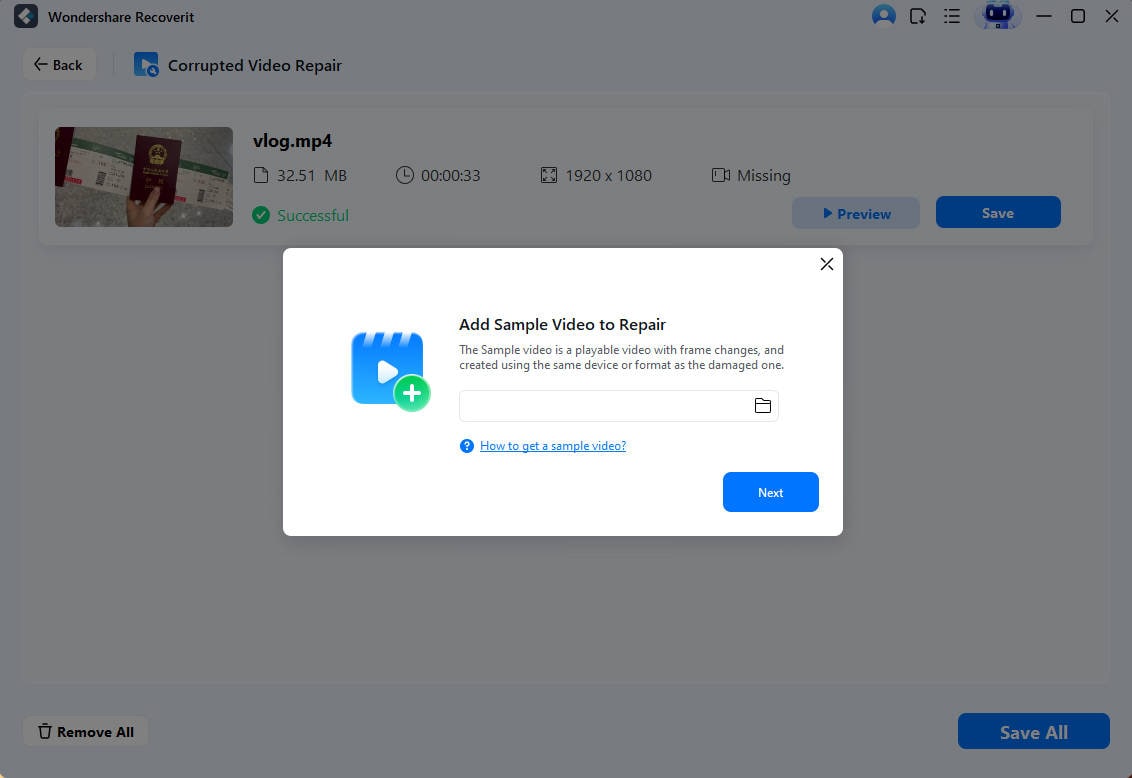
Step 4: Use Advanced Repair
Videos that are severely damaged do not come across the results in standard scan. In such circumstances, it is viable to use the Advanced Repair feature of the tool. Click on the “Advanced Repair” option and proceed with adding a sample video. This sample video file should be of the same format and should be shot across the same device as the corrupted video file. Once added, tap on “Repair” to initiate.
Step 5: Preview Results
As the process concludes, the repaired video can be previewed and saved across the device. The user can easily save the repaired file, as desired.

Method 8: Update or Reinstall Facebook App
You can fix the issue by reinstalling the Facebook app by making a fresh start. The ultimate guide to reinstalling the Facebook app on Android are:
Step 1: On the phone's home screen, tap on the icon of "Facebook" and hold it till you get the option "Uninstall." Click on it to remove the app from your device.
Step 2: Now go to the “Google Play store” to reinstall the Facebook app. Afterward, try to upload a video on Facebook.
For iOS users, the steps are:
Step 1: On the phone's home screen, tap on "Facebook" and hold it till a pop-up menu appears. From the pop-up menu, choose "Remove App."
Step 2: By clicking on "Remove App," the Facebook app will be uninstalled from your device. Now go to "App Store" and reinstall the Facebook app.
Part 3: How to Upload Video on Facebook?
Everyone wants to share their cherishable memories with their friends on Facebook. This section will give you a step-by-step guide to upload a video on Facebook easily and solve your issues of why won’t my video upload to Facebook.
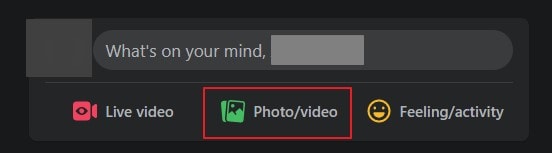
Step 1: Tap on Photo/Video
Firstly, to upload a video from the website, open your Facebook account and tap on the option of "Photo/Video."
Step 2: Add your Video
Now click on the "Add Video" option, which will lead you to the file browser of the videos. From the files, choose the video you want to upload. Ensure that the video is not larger than 4.0 GB and does not exceed 240 minutes in length.

Step 3: Customize Video Settings
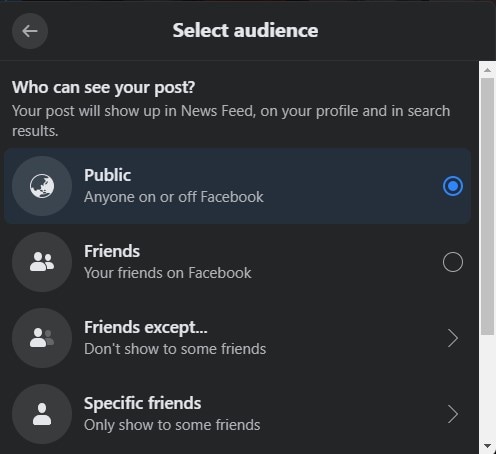
Now title your video before sharing it with the world. You can use stickers and can also tag your friends here. The viewers will get to know more about your posted video by adding the title. To control the audience, click on the option below your Facebook name. From here, you can select the view settings.
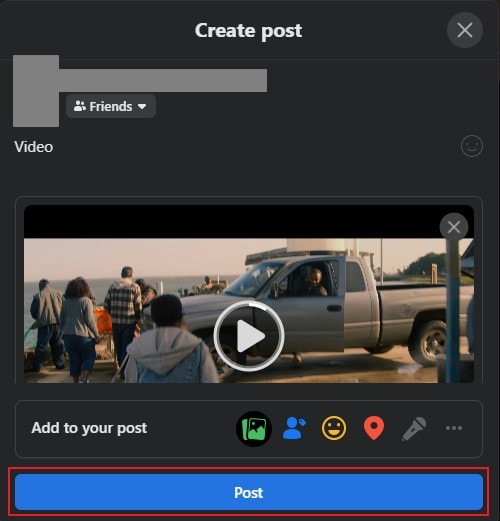
Step 5: Click to Post
Once done with all settings, click on the "Post" option to upload your video. If your video is long, then it may take some time. The videos get posted on the News Feed section, and you can see your uploaded videos by opening the "Albums" section.
Conclusion
Who does not want to share their good memories with their family and friends on Facebook? To avoid problems of video not uploading to Facebook, this article has touched upon all the causes that generate this problem, like slow internet connection or cache files. Also, we have provided different ways to eradicate this error for your ease and solve the issues with Facebook video not uploading.


