
 TL;DR:
To recover deleted files from an NTFS drive in Linux using ntfsundelete, boot your system with a Linux Live CD, unmount the target drive, scan for deleted inodes, and restore the data to a separate directory.
● You must install the ntfs-3g package and ensure the NTFS drive is unmounted before beginning, which allows ntfsundelete to safely scan and read the volume without overwriting existing data.
● Restore specific files by targeting their Inode numbers or filename patterns, and apply the --truncate flag during the undelete process to prevent recovered files from being padded to the nearest 512-byte block size.
● Wondershare Recoverit provides a GUI-based alternative for users who want to avoid command-line operations, offering pre-recovery file previews and expanded support for additional file systems like FAT, EXT4, HFS+, and APFS.
Ask AI for a summary
 ChatGPT
 Perplexity
 Gemini
 Claude
 Grok
Grok
Losing important files is a stressful and frustrating experience. Well, we've got you covered! This article will discuss recovering deleted files from an NTFS drive using ntfsundelete in Linux. We will cover how to use the ntfsundelete command-line tool to undelete files from an NTFS drive in Linux OS and troubleshoot common issues that may arise during recovery.
Part 1. What Is ntfsundelete?
ntfsundelete is a command-line tool for undeleting files from the NTFS file system in Linux. It is part of the ntfsprogs package, a set of utilities for managing NTFS file systems in Linux. ntfsundelete scans the file system and attempts to recover files that have been deleted but have yet to be overwritten. It works by scanning the file system for deleted files and restoring them to their original location. The tool can recover files from a specific directory or the entire file system. It is commonly used to recover deleted files from a Windows NTFS drive connected to a Linux or dual-boot system.
ntfsundelete operates in three modes: scan, undelete, and copy.
- Scan: The default scan mode simply reads an NTFS volume and searches for deleted files. It will print a list with the inode number, name, and size.
- Undelete: The undelete mode recovers as much data as possible from files that match the regular expression (option -m) or are specified by inode expressions. It saves the outcome to a different location. Partly for safety but primarily because NTFS write support is incomplete.
- Copy: It is an option available to wizards. A portion of the MFT will be saved to a file. This feature will most likely only be helpful when debugging ntfsundelete.
Note: ntfsundelete reads only from the NTFS Volume. The volume will always remain the same by ntfsundelete.
Part 2. How To Undelete Files From an NTFS Drive in Linux Using ntfsundelete
Prerequisite:
The Windows OS must be booted with Linux live CD. For detailed steps, read this article to boot up the Windows system with Linux Live CD/USB.
Steps to Undelete Files From NTFS Drive in Linux
Step 1. Open the Terminal
After booting to Linux, launch the Terminal application.
Step 2: Locate the NTFS Drive for Recovery
- First, find the NTFS drive name using the following command:
$ sudo lsblk
- Now, use the following command to unmount the NTFS drive:
$ sudo umount /dev/sdb1
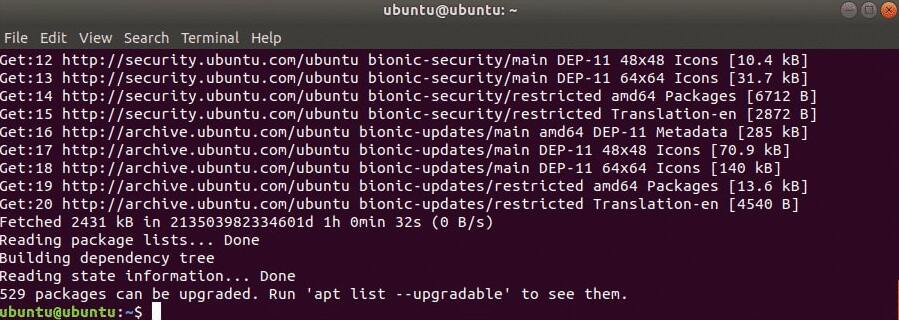
- Run the command below to install ntfs-3g:
$ sudo apt install ntfs-3g
- To confirm the installation, press Y and then Enter.

- Check whether the ntfsundelete command is available now by doing the following:
$ whereis ntfsundelete
- ntfsundelete can be found at /sbin/ntfsundelete.

Step 2: Locating Deleted Files
- You can search for deleted files in the drive from which they were removed by doing the following:
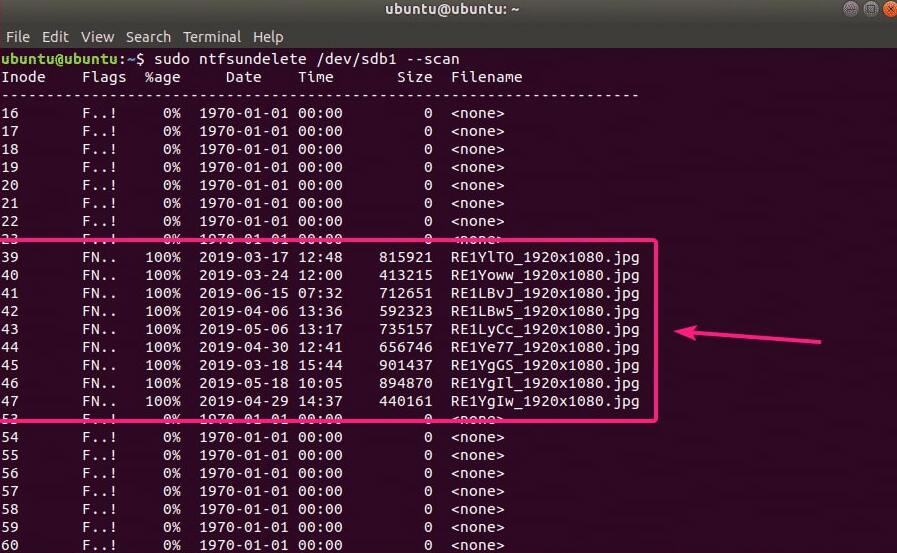
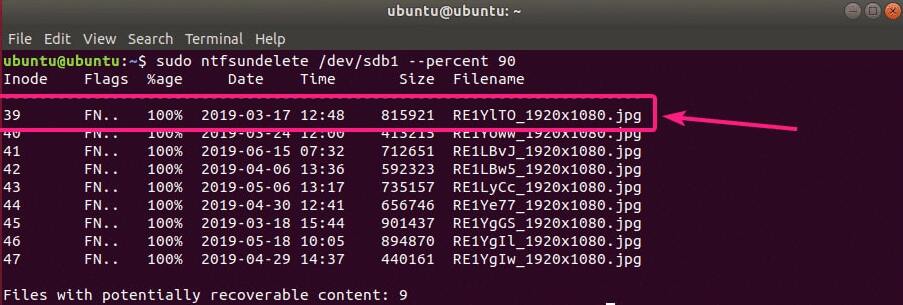
$ sudo ntfsundelete /dev/sdb1 --scan
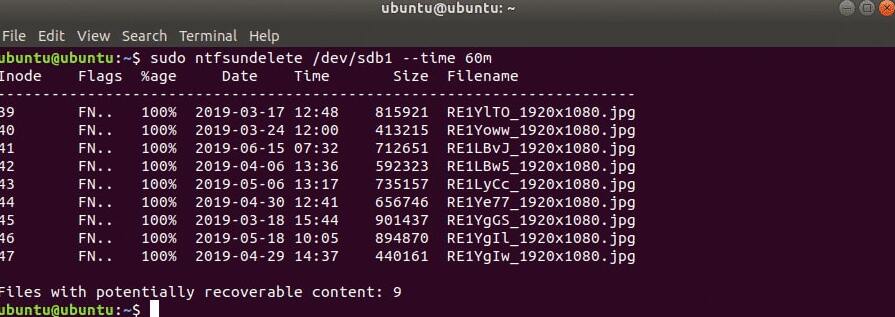
- As you can see, all of the files that have been removed from the NTFS drive are listed in a tabular format. You can find the Inode number of the deleted files, how much of each file is recoverable, its last modified date and time, its size (in bytes), and its name. You can also specify the scan criteria for the files that have been removed.
Step 3: Restoring Deleted Files.
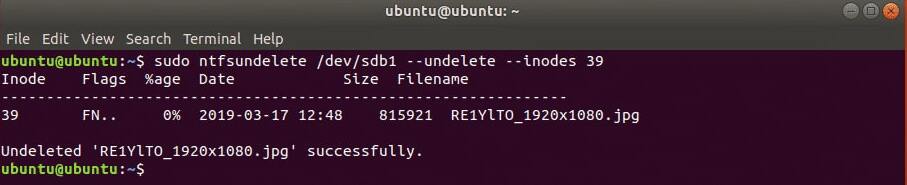
- Assume you want to recover a file with Inode number 39.
- To do so, enter the following command:
$ sudo ntfsundelete /dev/sdb1 --undelete --inodes 39
- The recovered file should be saved in the current working directory.
- You can also specify a range of file Inodes to recover as follows:
$ sudo ntfsundelete /dev/sdb1 --undelete --inodes 39-42
- You can also combine specific Inode numbers and Inode ranges as follows:
$ sudo ntfsundelete /dev/sdb1 --undelete --inodes 39,40-42,55,59-62
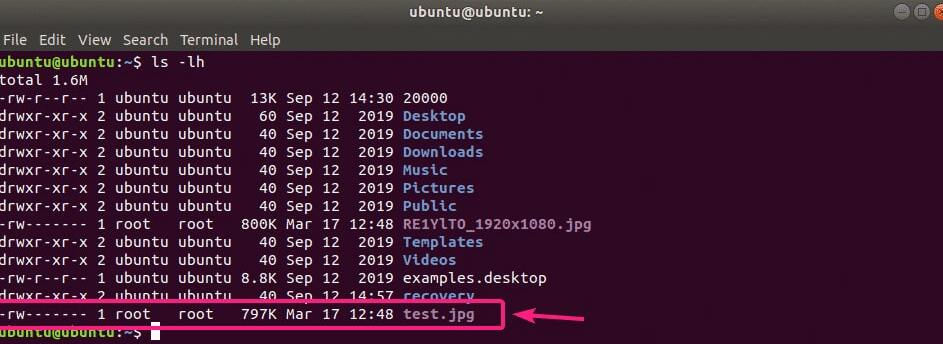
- ntfsundelete rounds file sizes to the nearest multiples of 512 bytes by default (block size). As a result, the recovered file will be slightly larger. To avoid this, use the -truncate option, as shown below:
$ sudo ntfsundelete /dev/sdb1 --undelete --truncate --inodes 39
- The recovered image file is named test.jpg, as you can see.
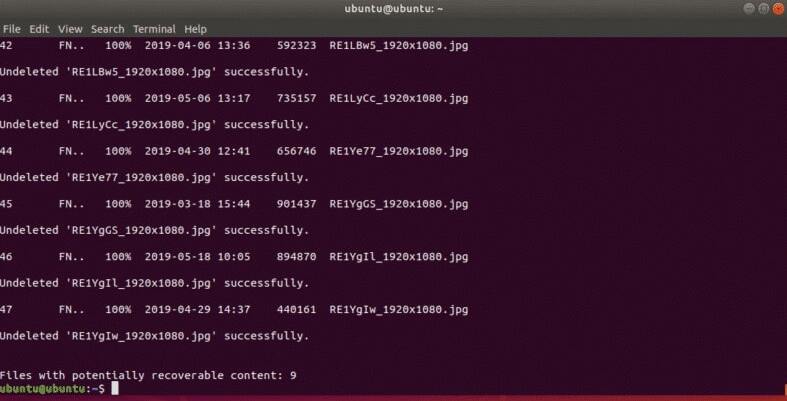
- You can specify a filename pattern to recover all files that match the pattern simultaneously, as shown below:
$ sudo ntfsundelete /dev/sdb1 --undelete --truncate --match '*.jpg'
- Besides, it is recommended to save the recovered file in a different location. To begin, create a new directory called recovery/ as follows:

- Now, recover the files and save them as follows in the recovery/ directory:
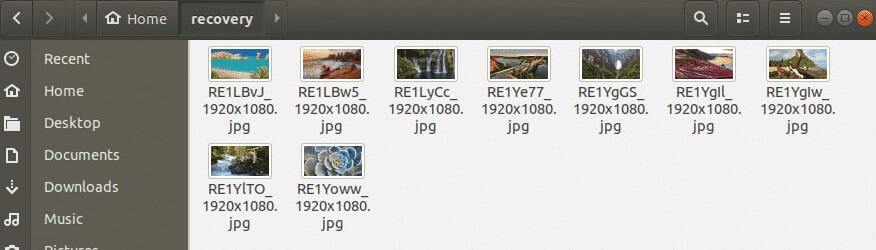
$ sudo ntfsundelete /dev/sdb1 --undelete --truncate --match '*.jpg'
- The files will be saved and recovered.
- Now, add the following read and write permissions to the recovered files.
$ sudo chmod -Rfv a+rw recovery/
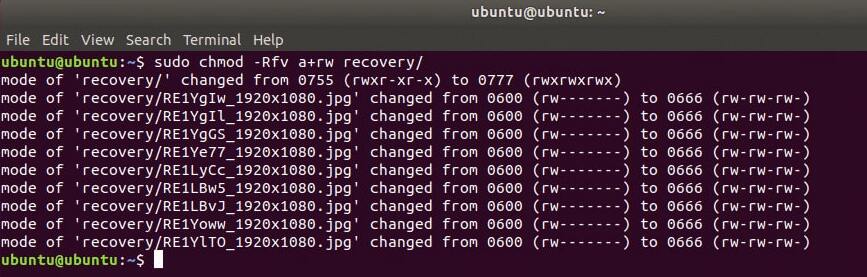
- You can now save these files from NTFS drive in your Linux computer.
Part 3. A Simpler Alternative to ntfsundelete to Recover Files From NTFS Drive
Users may prefer a more user-friendly alternative to ntfsundelete as it can be challenging to navigate and understand for those who need to become more familiar with command-line tools. A more straightforward option like Wondershare Recoverit can provide an easy-to-use interface, making the data recovery process less complicated. Additionally, Wondershare Recoverit can offer additional features, such as undeleting files from different storage devices and operating systems, including Windows, Mac, and Linux.

Wondershare Recoverit – Leader in Data Recovery
5,481,435 people have downloaded it.
Ability to recover 1000+ file types from almost any storage media, including Windows/Mac/Linux PCs, NAS Servers, USB drives, SD cards, digital cameras, etc.
Efficiently handle various data loss scenarios, including accidental deletion, emptied recycle bins or trash, formatting, lost partition, virus attack, RAW, and RAID.
Work with any file system, such as NTFS, FAT, HFS+, EXT4, and APFS.
An intuitive interface that lets you preview the files before recovery. No payment is required if the files are unrecoverable.
Follow these three steps to recover data from an NTFS drive using Wondershare Recoverit:
Step 1: Select the Data Loss Location
Launch the NTFS data recovery software after installation. It will present Hard Drives and Locations by default. You can choose your NTFS drive from the Hard Disk Drives tab.

Step 2: Scan for Lost Files
To begin scanning at the specified location, click Start. Recoverit has significantly sped up the scanning process, saving you time during recovery. Meanwhile, you can view and verify the scanning results at any time. You can also pause or stop scanning at any time.

Step 3: Data Preview and Recovery
Users can preview the recoverable files before proceeding to the recovery step with this ntfsundelete alternative. It lets you check almost any file type, such as images, videos, audio, Outlook emails, documents, etc.

After previewing the files in your NTFS drive and confirming that they are what you want, you can now undelete them. Just click Recover and select a new location to save the recovered files.

For Windows XP/Vista/7/8/10/11
For macOS X 10.10 or later
Summing Up
So, that is how to undelete files from an NTFS drive in Linux using the ntfsundelete command-line tool. You can also try Wondershare Recoverit as a simpler alternative for recovering files from various storage devices and operating systems with additional features.


