
 TL;DR:
Fix the VLC media player no audio error by adjusting internal playback settings, modifying the output module, or resolving underlying codec incompatibilities and file corruption.
● Restore basic audio functionality by verifying the volume icon is unmuted, checking Enable Audio in the Preferences menu, or clicking Reset Preferences to clear misconfigured settings.
● Resolve hardware conflicts by navigating to advanced settings to change the VLC Output Module to Multimedia Device Output or Waveout, and disable all sound effects in the Windows Control Panel.
● Overcome unsupported codec limitations by converting the video to MP4 or MOV using Wondershare UniConvertor, or use Wondershare Recoverit to restore the file if the audio loss stems from data corruption.
Ask AI for a summary
 ChatGPT
 Perplexity
 Gemini
 Claude
 Grok
Grok
Quick Fix to VLC Media Player No Sound
In this article, we will explore the causes and solutions regarding this error.
Sometimes, people complain about VLC no audio error while running a video on this media player. It can occur due to several root causes that we will discuss later in this article. Also, we will provide you with simple solutions to fix this problem at home easily.
In this article
Why VLC Media Player No Sound?
As every error occurs due to some existing problem, the VLC media player no sound error also has some causes that you may not know. In this section, we will briefly touch on some important root causes that result in no sound in VLC player.
Corrupted Video
The most commonly occurring cause is damaged or corrupted video files. There is a possibility that the video you want to play on the VLC media player is corrupted. The video file may get corrupted due to some interruption while downloading or due to the presence of any sort of virus.
Inappropriate Codecs
Sometimes, VLC media players show incompatibility with certain codecs of the video file. Codecs are basically used to make the transferring of data smoother by making it compressed. So when you download a video file from the internet, it is compressed using codecs.
Sometimes, VLC media players show incompatibility with certain codecs of the video file. Codecs are basically used to make the transferring of data smoother by making it compressed. So when you download a video file from the internet, it is compressed using codecs.
So, there are chances that the VLC media player is not supporting the codec of your video file that eventually is causing the VLC media player no sound error.
Problem with Configuration Settings
Changes in configuration settings of the VLC media player also cause VLC no audio. Sometimes, the operating system in your computer automatically disables the audio settings on the VLC media player, and the user is unable to hear the audio in the playing video.
Outdated Version of VLC Media Player
If your computer has not upgraded to the latest version of the VLC media player, it can impact the functionality of the media player. Hence, VLC no audio error occur that can completely ruin your experience. So, in order to avoid this error, you must have the attest version of the VLC media player.
You can also learn how to create video clip in VLC.
Troubleshooting VLC No Audio Problem
In this section, we will present you with some of the simplest ways to solve the VLC no audio problem without any professional help.
Method 1: Check If You Unmute the VLC Player
Many times, due to the changes in configuration settings, the audio setting on the VLC media player gets muted. To unmute the audio settings on the VLC media player, the steps are:
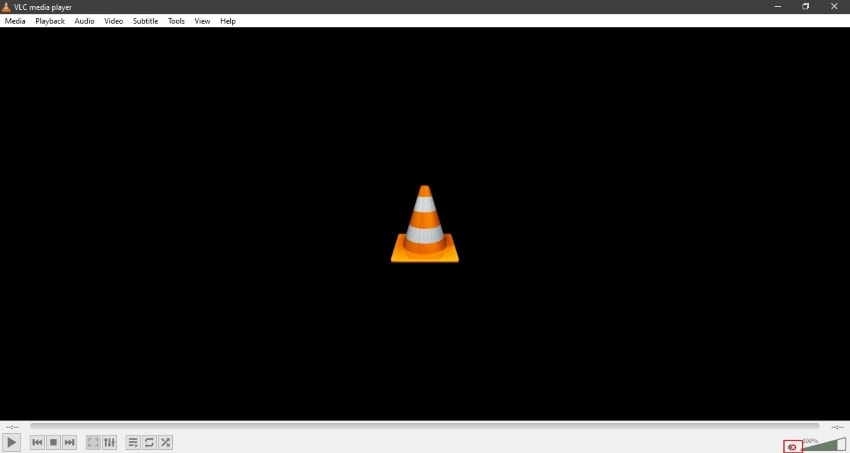
Step 1: To start, first open your VLC media player. Then on the right bottom, check the icon of volume and make sure that there is no red mark on this icon.
Step 2: If you see a red mark on the volume icon, it means that the audio is muted. To unmute, click on the volume icon with the help of your mouse.
Method 2: Enable your VLC Audio
In VLC media player settings, you can enable or disable the audio settings manually. To make sure that your audio is enabled, pay attention to the following steps:
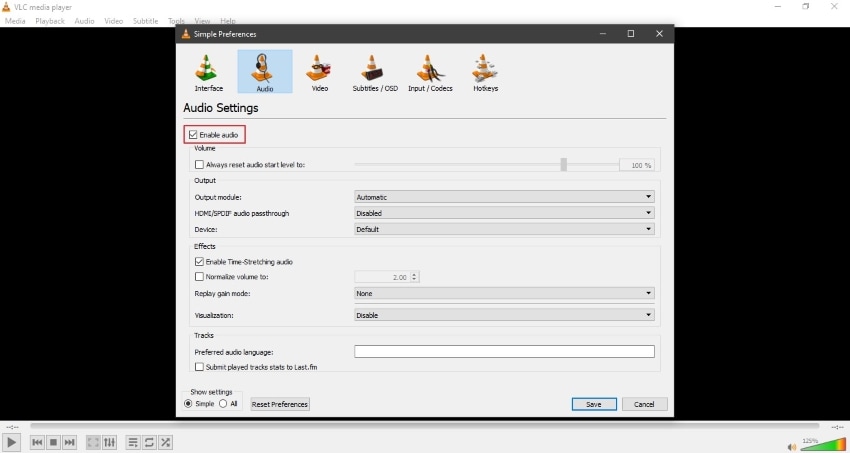
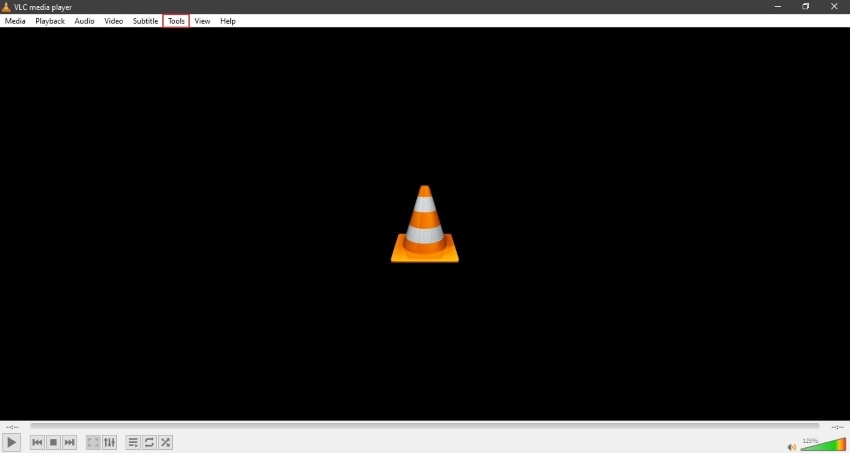
Step 1: Open your VLC media player on your computer and select the option of “Tools” from the toolbar given above.

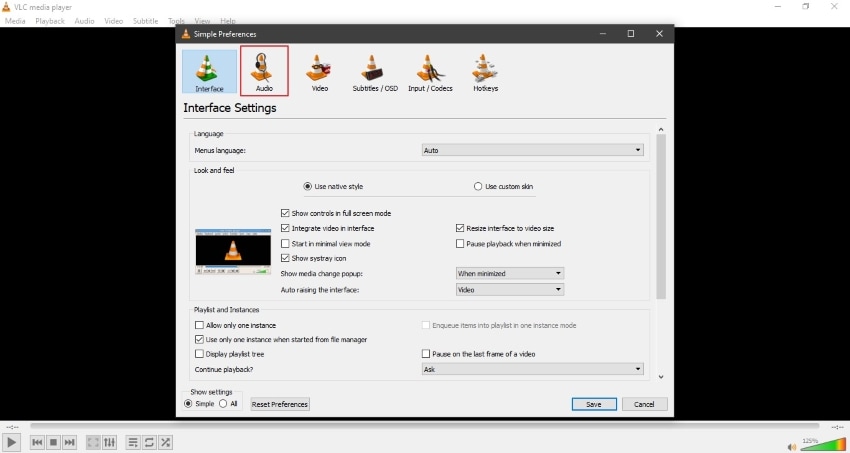
Step 2: From tools, tap on “Preferences” to open the audio settings. A window will pop up from where you click on the section "Audio."

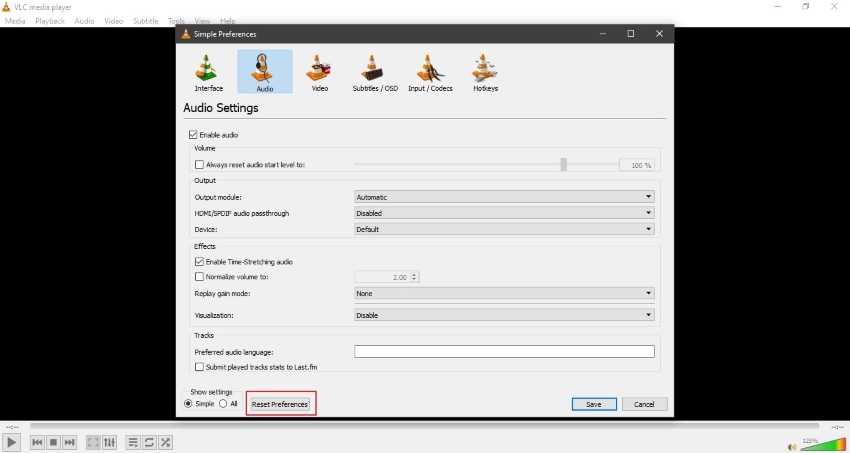
Step 3: In the section of "Audio," you can tick mark the option of "Enable Audio." Once done, try to play your file to check if the problem is removed or not.
Method 3: Update your VLC to the Latest Version
As we mentioned earlier that the outdated version of the VLC media player also causes VLC no audio error. To update your VLC media player, we are jotting down the simple steps for you:
Step 1: Open your VLC media player and click on the option of “Help” from the toolbar given above to check whether an update is pending or not.
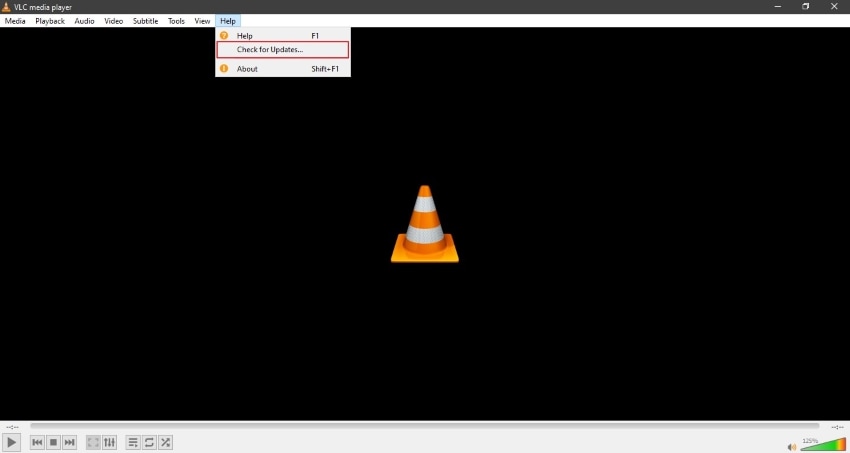
Step 2: If an update is pending, a window will appear from which you can initiate the process to update. Tap on "Yes" from the displayed window, and the latest version will start installing on Windows.
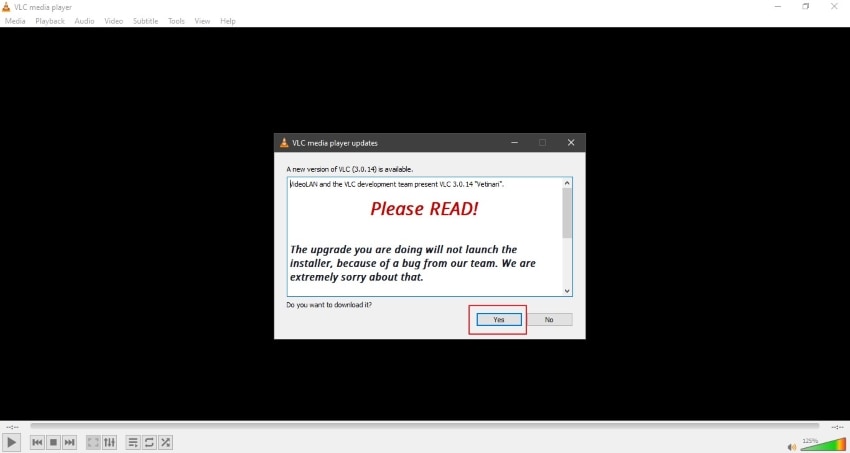
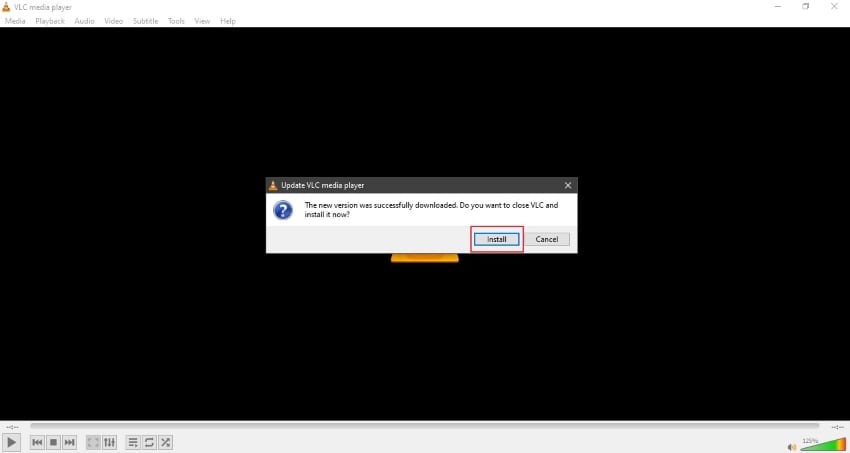
Step 3: Afterward, a pop-up message will appear to close the VLC media player and to install the latest version. Select “Install” to proceed. To install VLC, you can also tap on “Upgrade VLC using previous settings (recommended)” to preserve the options of your current media player.
Step 4: Once done with the installation, tick mark on “Run VLC Media Player” and tap on “Finish” to end the process.

Method 4: Reset the VLC Player Preferences
By resetting the VLC player preferences, you can fix no sound in VLC player problem. To perform this task, here are the following steps:
Step 1: Open your VLC media player from your PC, and from the toolbar displayed on top of the screen, select "Tools" by clicking on it.
Step 2: After opening the tools, select the option of "Preferences" to open the settings. A window will appear from where go the category of "Audio."
Step 3: In the "Audio" tab, scroll down and select "Reset Preferences." After clicking on it, wait for some time to finish the process. Try to play the file on VLC again when the reset process is completed.
Method 5: Disable all Enhancements in Control Panel
In this method, we will change the settings from the control panel to fix VLC audio not working. The steps are:
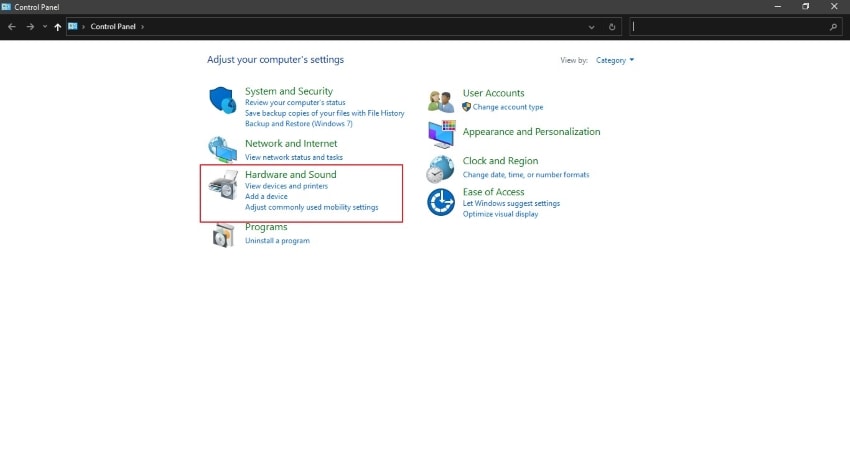
Step 1: Go to the “Start Menu” and open the “Control Panel” by searching for it. Once you open the Control Panel settings, you can see several options from where you select “Hardware and Sound” by clicking on them.
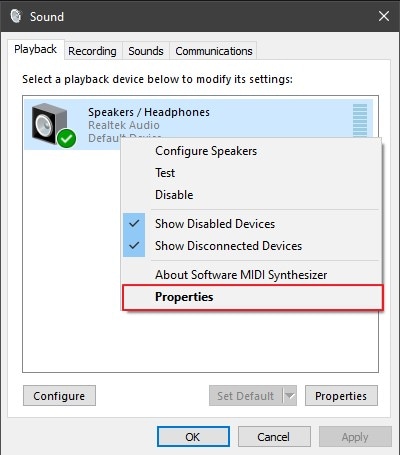
Step 2: After that, select the option of "Sound" from the "Hardware and Sound" settings. Now, a window will show up from where you will select "Speakers," and by right-clicking on them, open its "Properties."
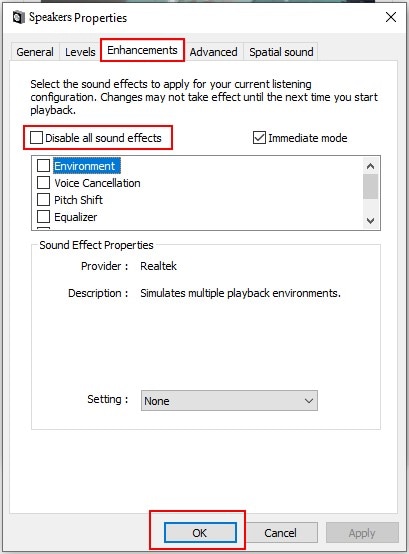
Step 3: Afterward, from the properties of speakers, tap on the category of "Enhancements." Now tick mark on "Disable all sound effects” and click on “OK” to implement the changes.
Method 6: Convert the Video to Another Format
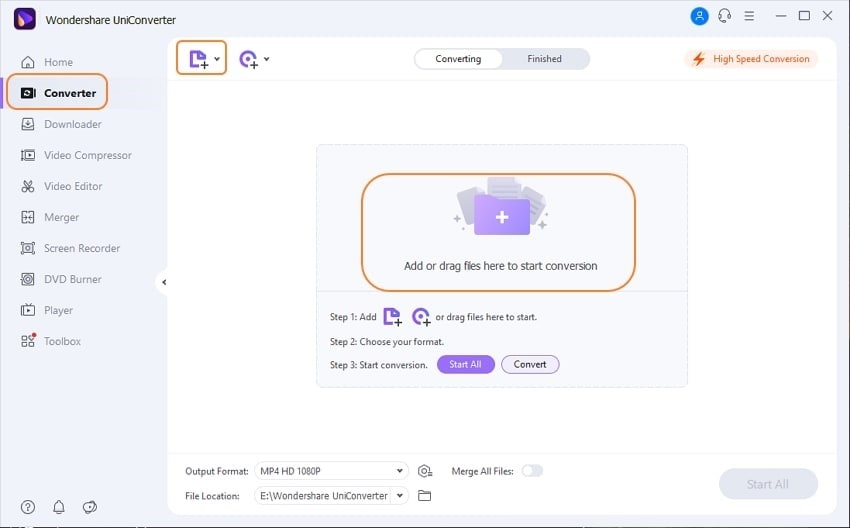
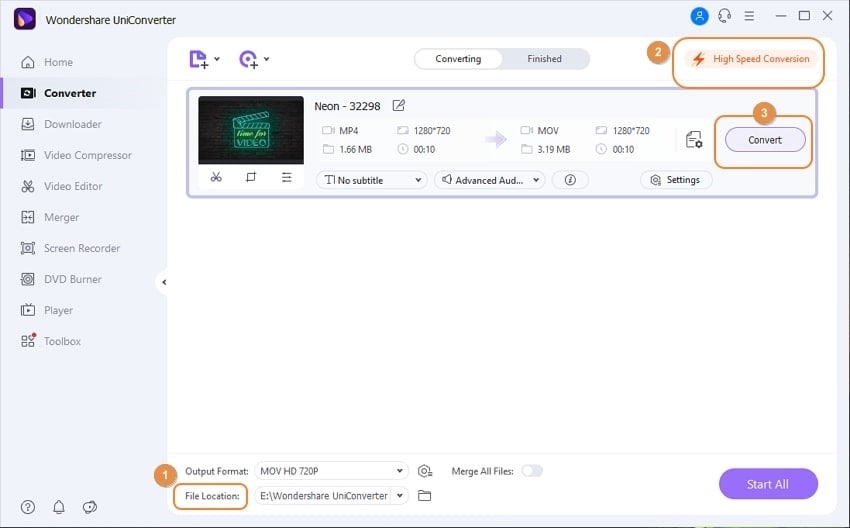
Sometimes the video file format is not supported by the VLC media player. To convert the video file format to MP4 or MOV, we are recommending you Wondershare UniConvertor. This tool converts the file format by maintaining the quality of the file and also supports every file format. To convert the video to another format using Wondershare UniConvertor, follow the steps given below:
Step 1: First, launch Wondershare UniConvertor on your PC. Then open this tool and import the video file you want to convert by tapping on "Add Files." You can also drag the file and drop it on the box.
Step 2: Now select the “Output Format” from below and then select “Video Tab” from the displayed video. You can either select MP4 or MOV file format from the given options.
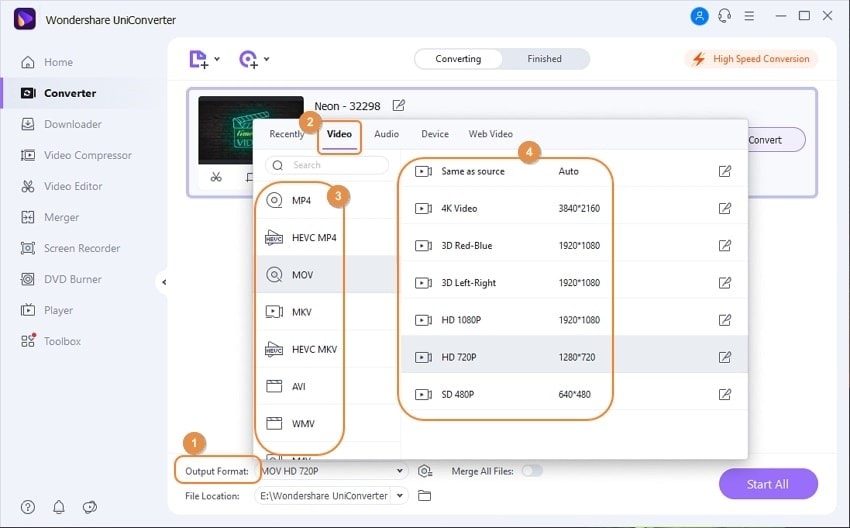
Step 3: Now, choose "File Location" from below and decide where you want to place your video file. Afterward, tap on "Convert" to initiate the process of conversion. Once done, you can preview the file and can save it on your computer.
Method 7: Change the VLC Output Module
Output modules are used to control devices by transferring data and signals to those devices. Sometimes, we face VLC no audio problem due to the problem in the output module. Here are the following steps to change the VLC output module:
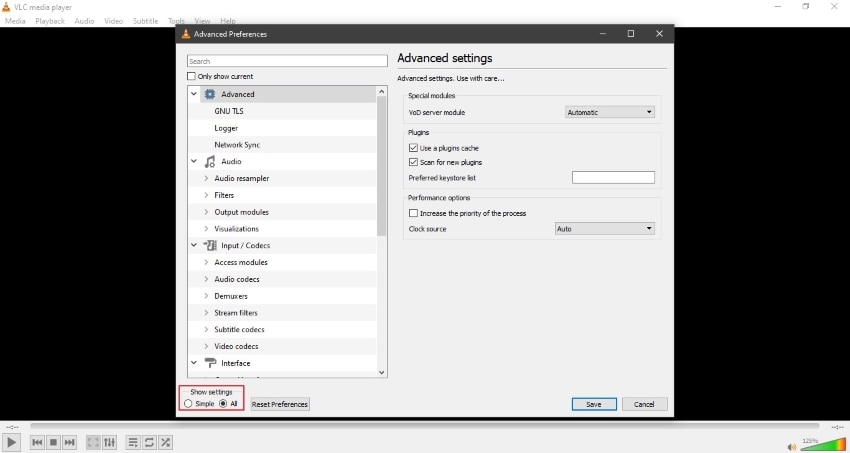
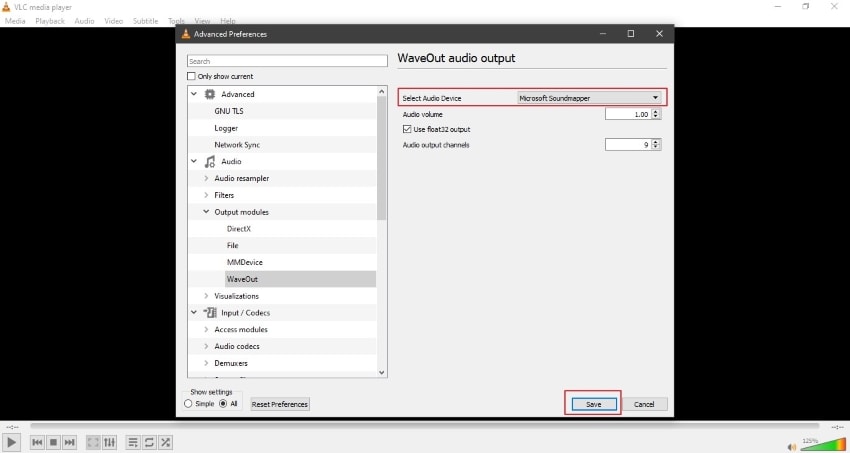
Step 1: Open the VLC interface and select ‘Tools” from the toolbar given above. Then click on "Preferences" to open the settings from where a tap on "All" below "Show Settings." This will lead you to advanced options.
Step 2: Under the section of "Audio Tab," select "Output Modules" by clicking on it. Now from the drop-down menu, select "Multimedia Device Output" and click on "Save" to implement the changes.
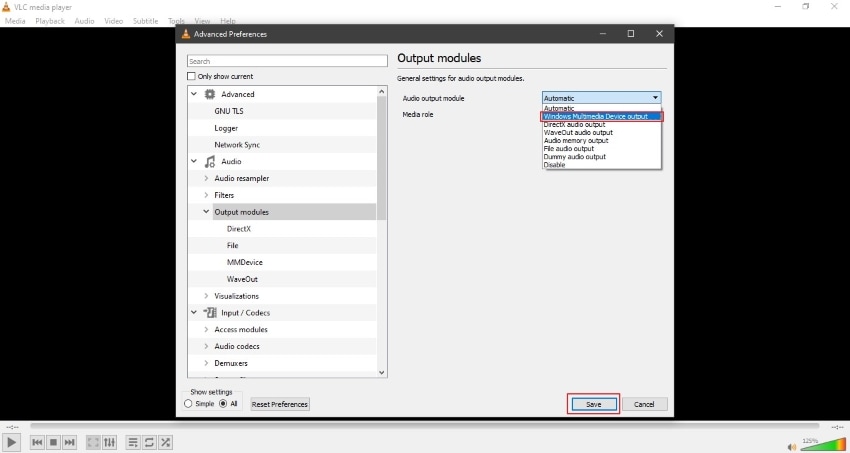
Step 3: From the option of "Output Modules," you can select "Waveout” and then choose the device from “Select Audio Device” from the drop-down menu. Tap on the "Save" button to save your new VLC settings. Now reopen VLC and play your video to check if it’s audible or not.
Method 8: Enable the VLC Audio Track
By making some minor changes in VLC, the VLC audio not working problem can be resolved. You can enable the VLC audio track manually by making some changes in its settings. To do so, here are the easy steps:
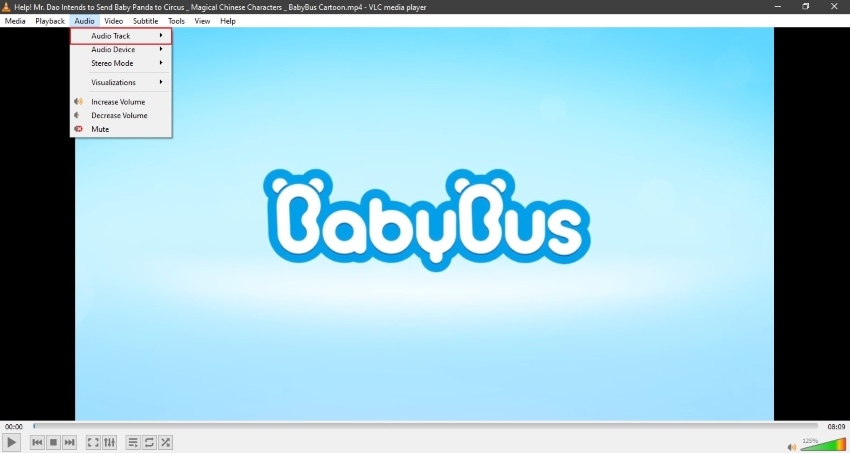
Step 1: While you are playing the video on VLC, click on the “Audio” option from the toolbar without pausing the video. Now select “Audio Track” by clicking on it.
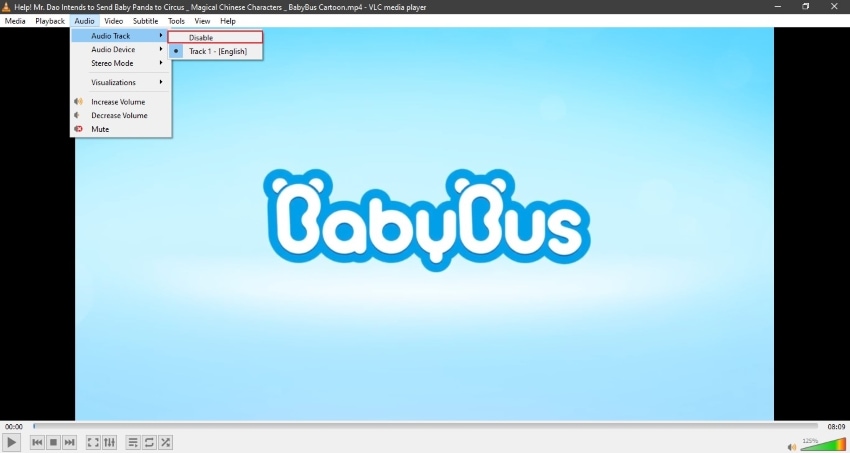
Step 2: Now tap on the “Disable” option first and then re-enable it by going to the same option. Afterward, try to play your video again to see if the problem got resolved or not.
Bonus Tips for Video in Your PC
In this section, we will give you some bonus tips that can save your videos from getting damaged or lost and a powerful video recovery tool for recovering your lost videos without losing any video fragment.
How to Prevent Video Loss?
When your video file gets corrupted automatically, it loses its functionality. Also, it wastes our time and energy in repairing the damaged video. As prevention is better than cure, here are some guidelines to prevent video loss:
- Install antivirus software on your computer that can protect important files and information from malware and virus attacks. Make sure that the antivirus software is launched on your PC from an authentic source.
- For a backup, always save the original video file on your computer. As if any damage occurs to your file, you have a backup plan.
- Avoid unnecessary interruption while downloading the video file. As interruption in downloading may corrupt the video file.
- Always make sure that the battery of your devices, such as the camera, is fully charged. In many cases, the video gets corrupted due to loss of power.
- Carefully use the storage devices such as USB and SD cards as they are vulnerable to any sort of damage.
What to do When Video Loss Happens?
If your video file gets damaged, you still don’t need to worry as we are bringing you the most helpful tool for your ease. Wondershare Recoverit is a beneficial tool that can solve all your concerns regarding video files as it offers millions of features.
Wondershare Recoverit gives an exclusive feature of Enhanced Recovery, which enables users to recover lost or corrupted audio or video data instantly. You can recover the deleted data from digital cameras or DSLRs by preserving their quality. It also gives the option to recover HD, 4K, or 8K videos easily. Moreover, you can also recover the lost data in fragments which means this tool takes care of minute details while recovering the file.
To use Enhanced Recovery from Wondershare Recoverit, the steps are:
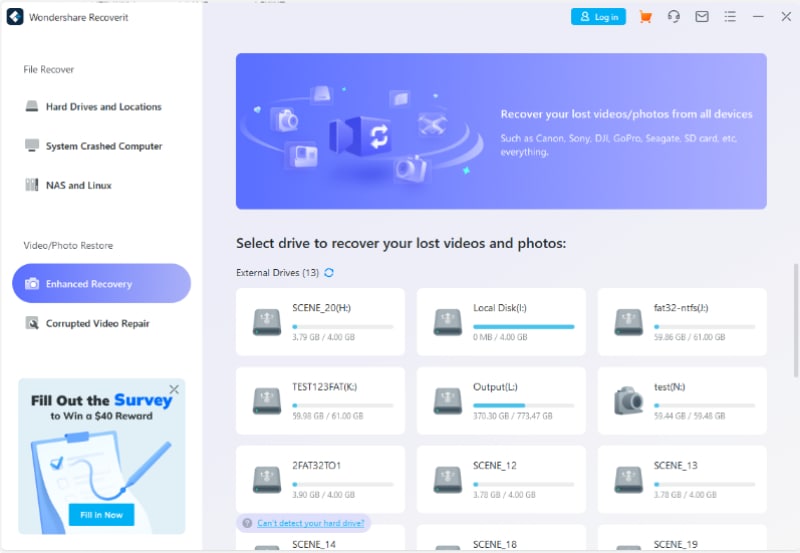
Step 1: Access the Enhanced Recovery Feature
Firstly, download the interface of Wondershare Recoverit. Once done, select the mode of “Enhanced Recovery” from the left section. After choosing it, tap on the “Start” button to initiate the process.
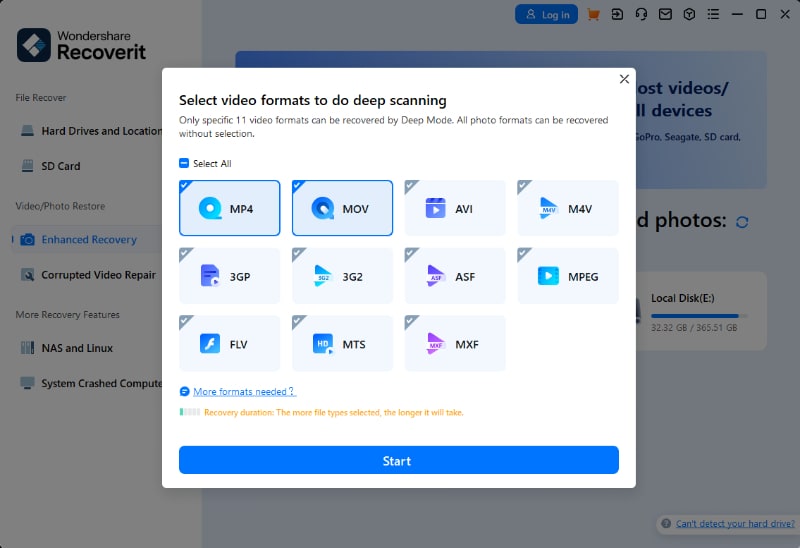
Step 2: Select Destination and Video File Format
You can select the video file recovery from either device, such as a camera or USB. Or you can directly select it from your PC. Now choose the video file format you want to recover the file and then tap on "Start" to proceed with enhanced recovery of your file.
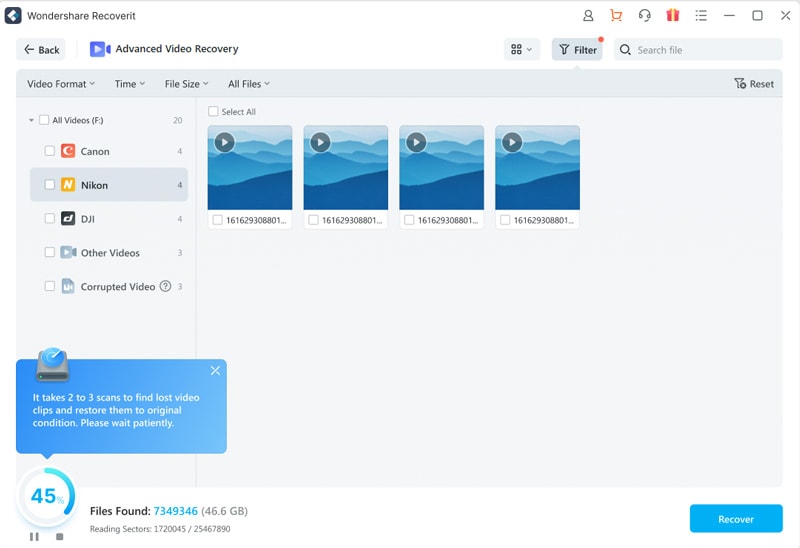
Step 3: Start Scanning Video Files
The Enhanced Recovery runs two deep scans to recover your file to ensure that you get the best result. In the first scan, it finds the lost data, and in the second scan, it combines the fragments of your video file. This process may take some time so wait patiently.
Step 4: Preview and Recover File
After finishing with scanning, you can preview the result. If you are satisfied with the result, you can decide the file location and save the recovered file on your computer directly. In order to save the file, tap on the "Recover" option.

Final Thoughts
VLC media players are meant to play the multimedia files smoothly, but sometimes it ruins our experience by displaying VLC media player no sound. In this piece of writing, we briefly touched upon the facts that why this error occurs, such as corrupted video files or problems in configuration settings. We also shared many easy solutions that you can try to fix this error without requiring any professional help.


