


 TL;DR:
You can safely delete an OEM partition to free up disk space as long as you create a Windows USB Recovery Drive first, though doing so permanently disables built-in manufacturer recovery tools like Dell SupportAssist, HP Recovery Manager, or Lenovo OneKey Recovery.
● For advanced users, use the Windows command-line tool DiskPart and execute the specific `delete partition override` command, which is strictly required to bypass the OEM protection attribute that prevents standard deletion.
● Beginners should use graphical third-party software like Partition Expert to visually manage the deletion, but all users should avoid deleting Microsoft Surface Bare Metal Recovery (BMR) partitions due to severe driver reinstallation difficulties.
● If an incorrect index selection during the process causes the disk to appear as "Unallocated" or "RAW," use Wondershare Recoverit's Advanced Partition Recovery mode to reconstruct the original partition table rather than performing a standard file search.
Ask AI for a summary
 ChatGPT
 Perplexity
 Gemini
 Claude
 Grok
Grok
Have you ever stumbled upon an OEM partition on your disk and wondered what it is and if it can be safely removed? An OEM partition is a crucial component for many computer systems, often hidden away from casual users but playing an essential role in the system's functionality and recovery processes. However, for those looking to reclaim space or repurpose their drives, understanding and managing these partitions can be important.
This article covers what is an OEM partition, why you might consider deleting OEM partition, and the safe methods to do so. We’ll also discuss the implications of removing an OEM partition, the steps to recover any lost data, and provide essential tips for those looking to manage their disk partitions effectively. Let's get into the nuts and bolts of managing your OEM disk partition。
In this article

Part 1: What is an OEM Partition?
An OEM partition is a section of the hard drive reserved by the computer's Original Equipment Manufacturer (OEM) for system recovery and diagnostic tools. It typically includes software that allows you to restore your system to factory settings and troubleshoot issues.
These partitions are hidden and often labeled as "OEM Partition" in disk management tools.
Part 2: Why Delete OEM Partition?
Here are some reasons why you might want to delete an OEM partition:
- Free-Up Disk Space: OEM partitions can take up significant disk space, which could be used for other purposes. Deleting them can provide you with additional storage capacity.
- No Longer Needed: If you have already created recovery media or have another backup solution, the OEM partition might become redundant.
- Custom Installations: For users who prefer to perform clean installations of the operating system, OEM partitions might not be necessary and can be removed to simplify the disk layout.
- Avoid Confusion: Having multiple partitions can sometimes cause confusion during disk management or system updates. Removing unnecessary partitions can make it easier to manage your system.
- System Optimization: Deleting unnecessary partitions can help optimize your system's performance by reducing the complexity of the disk structure.
- Personal Preference: Some users might simply prefer a cleaner disk structure without extra partitions.
Understanding these reasons can help you decide whether or not deleting the OEM partition is the right choice for your needs.
| System Brand | OEM Partition Content | Safe to Delete? | Impact of Removal |
| Dell / Alienware | SupportAssist OS Recovery | Yes* | Loss of BIOS-level local recovery |
| HP / Compaq | HP Recovery Manager | Yes* | Cannot use F11 'System Recovery' |
| Lenovo | OneKey Recovery (OKR) | Yes* | NOVO button will no longer work |
| Microsoft Surface | Bare Metal Recovery (BMR) | No | Difficult to reinstall specialized drivers |
*Only safe if you have created a Windows USB Recovery Drive first.
Part 3: How to Safely Delete OEM Partition: 2 Simple Methods
Deleting an OEM partition can free up valuable disk space and simplify your system's structure. If you're looking to remove an OEM partition safely, here are two straightforward methods to help you achieve this.
Method 1: Use the DiskPart Command
DiskPart is a command-line tool in Windows that lets you manage your disk partitions, including deleting OEM partitions. It offers precise control over your storage, making it great for advanced users.
Here are scenarios where using DiskPart is ideal:
- Advanced Disk Management: For users needing precise control over disk partitions beyond what graphical tools offer.
- Automation: When scripting or automating disk management tasks.
- Troubleshooting: To fix disk issues when graphical tools are unresponsive.
- Clean Installations: Preparing a disk for a clean OS installation.
- Server Management: Managing disk partitions on servers without a GUI.
Here’s how to delete OEM partition safely using Diskpart.
- Open Command Prompt as an administrator. Type diskpart and press Enter. Now, enter list disk to see all disks.

- Select your disk with select disk X (replace X with your disk number). List partitions using list partition.

- Select the OEM partition with select partition X. Type delete partition override and press Enter.
Method 2: Use Partition Expert
Partition Expert is a third-party tool with an easy-to-use graphical interface for managing disk partitions. This makes it simple for users to remove an OEM partition without dealing with command-line instructions. With just a few clicks, you can create, delete, resize, and format partitions. This tool is perfect for those who prefer a straightforward and visual approach to disk management.
Here are scenarios where using Partition Expert is ideal:
- User-Friendly Experience: Perfect for those who prefer a graphical interface over command-line tools.
- Beginner-Friendly: Ideal for users with little to no technical expertise.
- Visual Management: Great for those who want to visually see and manage their disk partitions.
- Complex Operations: Simplifies complex partitioning tasks with easy-to-understand options.
- Error Reduction: Helps reduce the risk of errors by providing a clear and intuitive interface.
- Quick Changes: Allows for fast and efficient partition modifications with just a few clicks.
Here’s How to delete OEM partition safely using Partition Expert:
- Download and install Partition Expert. Launch the application and select your disk. Identify and select the OEM partition.

- Click on the delete option and confirm your choice. Apply changes to remove the partition.
Part 4: Lost Data Due to Deleting OEM Partition? Try Recoverit Today!
If you’ve lost data due to deleting an OEM partition, Recoverit can help you recover it. Recoverit is a professional data recovery tool designed to handle challenging scenarios like partition deletions.
With advanced scanning algorithms, Recoverit can retrieve lost files quickly and efficiently.
Here are the steps for OEM partition recovery using Recoverit:
- Download and install Recoverit on your PC. Launch the program, select the location where the files were originally stored, and click "Start" to begin the scan.
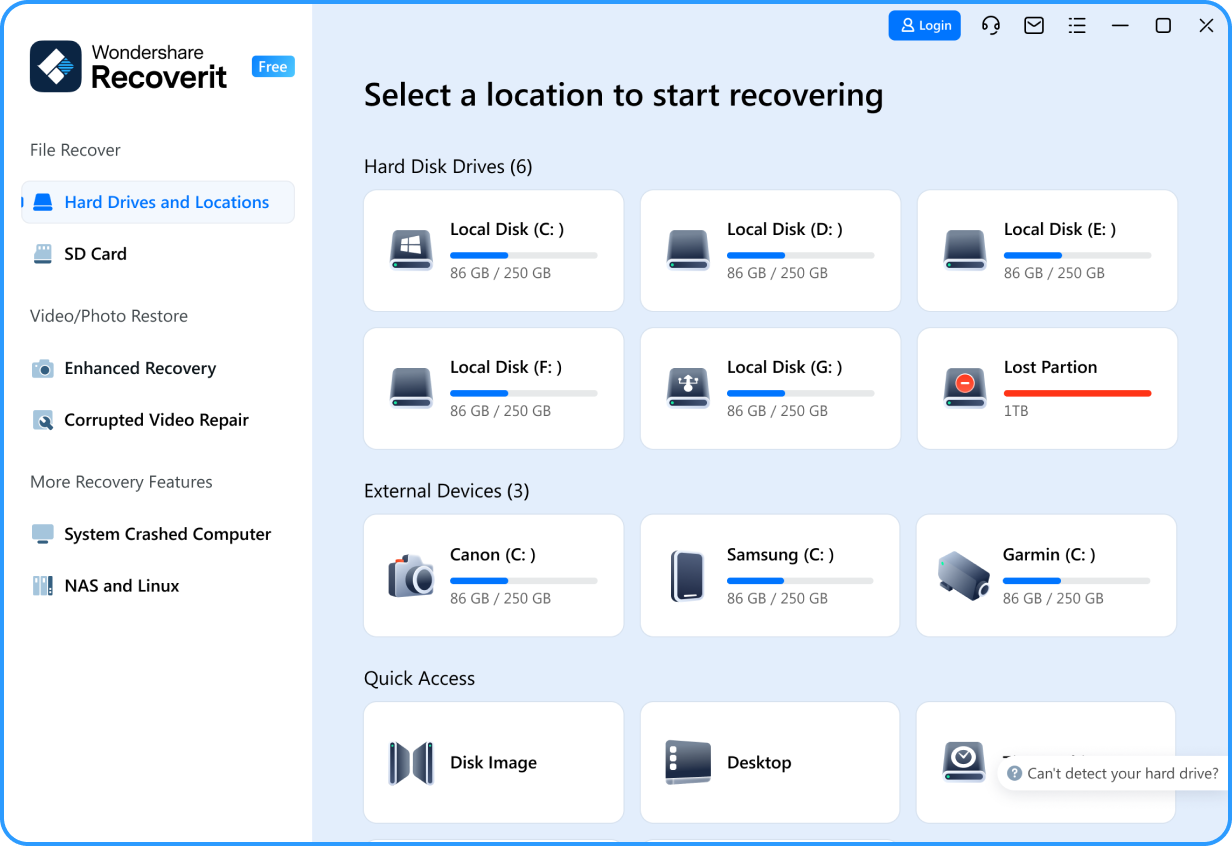
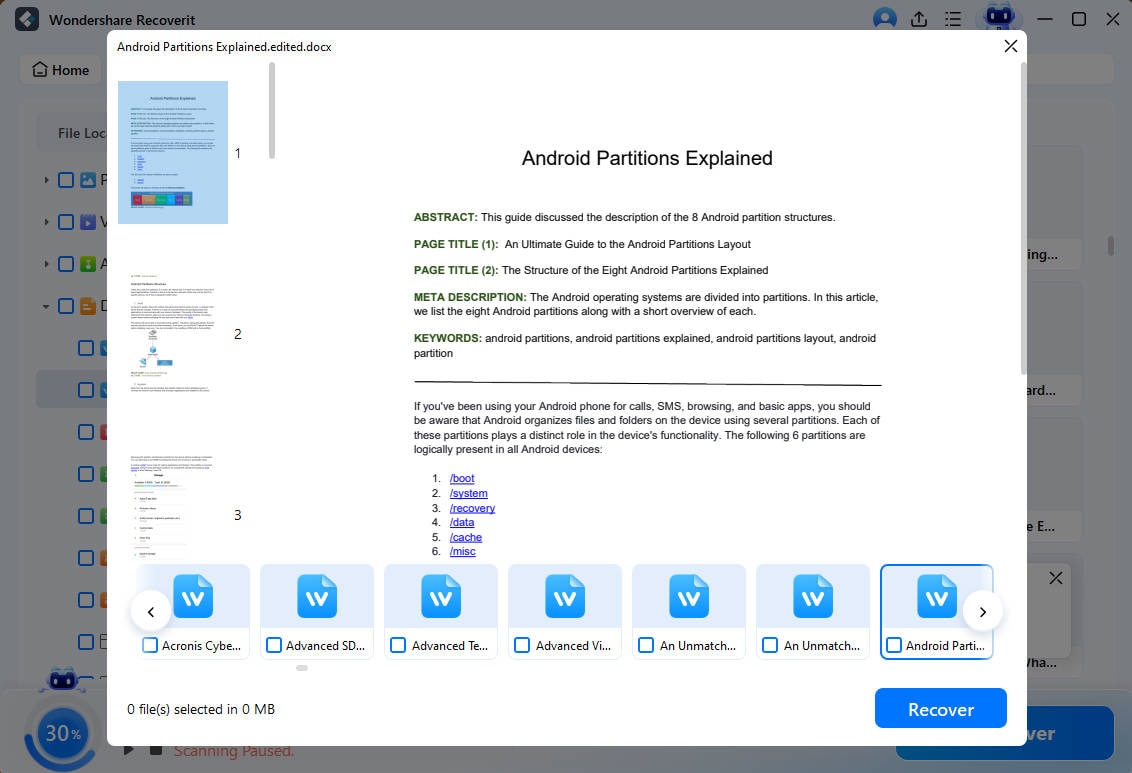
- Recoverit will scan the chosen location to find any lost data.

- After the scan is finished, preview the recoverable files, select the ones you need, and click "Recover" to save them to a secure location.
Learn more >>:
Why Recoverit is the best SD data recovery software?
Hard Drive Space Disappeared After Partition Shrink? Try These Fixes!
Managing Partitions In Linux: A Complete Guide!
Part 5: Is it Safe to Delete OEM Partition: Should we delete OEM reserved partition?
Deleting an OEM partition can be safe if done correctly, but it's important to understand the implications. The OEM partition often contains essential system recovery and diagnostic tools that can help you restore your system in case of severe issues. Removing it without having a proper recovery plan or alternative can leave you without a fallback option if something goes wrong with your system.
Should we delete OEM reserved partition? It depends on your needs and circumstances. If you have a reliable backup and recovery system in place, or if the OEM partition is corrupted and non-functional, you might consider deleting it. However, always ensure you have a backup of all important data and system recovery options before proceeding.
Part 6: Tips to Remove OEM Partition Safely
Here are some tips to help you remove an OEM partition safely:
- Backup Data: Before making any changes, ensure all important data is backed up. This includes creating a full system backup to avoid losing any critical files.
- Understand the Purpose: Make sure you understand the purpose of the OEM partition. Sometimes it contains recovery tools or important system files provided by the manufacturer.
- Use Reliable Tools: Use trusted and reliable disk management tools. DiskPart and Partition Expert are good options for managing partitions safely.
- Follow Step-by-Step Guides: Use detailed, step-by-step guides to delete the OEM partition. This reduces the risk of errors during the process.
- Check for Hidden Files: OEM partitions may contain hidden files that could be important. Ensure you have checked for and moved any necessary files before deletion.
- Disconnect External Drives: To avoid confusion and potential mistakes, disconnect any external drives that are not involved in the process.
- Stay Updated: Ensure your system is fully updated before making changes. This can help prevent unexpected issues during the process.
- Read Warnings Carefully: Pay attention to any warnings or prompts from the disk management tool. These warnings can provide critical information to avoid accidental data loss.
- Seek Professional Help: If you are unsure about any step in the process, consider seeking help from a professional to avoid any potential risks.
By following these tips, you can safely remove an OEM partition from your system.
Related Video Tutorial: How to Recover Lost Partition Data?
Conclusion
Deleting an OEM partition can free up valuable disk space and streamline your system, but it must be done carefully to avoid data loss. OEM partitions often contain important recovery tools and system files provided by the manufacturer. Understanding the purpose of the OEM partition and following safe removal practices are crucial.
Tools like DiskPart and Partition Expert can help you delete the partition safely, but always ensure you have a complete backup before proceeding.
By being cautious and well-informed, you can manage your disk space more effectively without compromising the stability of your system. If data loss occurs during the process, reliable data recovery tools like Recoverit can help you retrieve lost files. Remember, while removing an OEM partition can be beneficial, it’s important to evaluate the necessity and implications of doing so.
Try Wondershare Recoverit to Recover Lost Data
 Security Verified. Over 7,302,189 people have downloaded it.
FAQ
-
Q1: What is an OEM partition?
An OEM partition is a reserved section of your hard drive created by the device manufacturer. It often contains essential recovery tools, system files, and diagnostic utilities needed to restore your system to its factory settings. This partition helps ensure that if something goes wrong with your system, you can quickly and easily return it to its original, out-of-the-box state. -
Q2: Should we delete OEM reserved partition?
Deleting an OEM reserved partition can free up disk space, but it’s crucial to understand its purpose first. If this partition contains important recovery tools, deleting it could prevent you from easily restoring your system in case of major issues. Before deleting, make sure you have alternative recovery options and that all data on the partition is backed up to avoid any potential problems. -
Q3: How can I delete an OEM partition safely?
To delete an OEM partition safely, use reliable tools such as DiskPart or Partition Expert, and follow detailed, step-by-step guides to avoid mistakes. Ensure you have a full backup of your system and any important data before proceeding. This precaution minimizes the risk of data loss and ensures you have a recovery plan in place if something goes wrong.


