
 TL;DR:
To safeguard cPanel emails, you can compress the server's directory via File Manager for migrations, export mailboxes as MBOX files for local access, or restore lost data by extracting backup archives directly into your domain's mail folder.
● The File Manager method compresses the /mail directory using formats like .zip or .tar.gz, which is ideal for server-to-server restorations, while the Horde webmail Export function downloads mailboxes in standard MBOX format for reading on local email clients.
● To restore emails from a manual backup archive, you must upload and extract the file within File Manager, then manually move the specific account folders back into the /home/cpanel-username/mail/your-domain-name.com/ path to regenerate the data.
● Using the third-party tool Wondershare UBackit offers automated scheduling and password protection, but it carries a strict prerequisite: it cannot directly back up Webmail accounts and requires you to first connect your cPanel email to Microsoft Outlook.
Ask AI for a summary
 ChatGPT
 Perplexity
 Gemini
 Claude
 Grok
Grok
Losing important emails can be devastating, whether it's due to accidental deletion, server failure, or a hacking attempt. That's why it's important to have an effective backup and restore plan in place. cPanel, a popular web hosting control panel, offers a variety of options for backing up and restoring emails. This post will demonstrate the step-by-step process to back up and restore email in cPanel.
Why It's Important To Backup and Restore Email In cPanel
It’s important to backup and restores email in cPanel for several reasons:
- Unlike other email services where email data is stored on the cloud or the client's computer, cPanel email is stored on the server. Your email data could be lost if a server fails or hardware malfunctions. Regular backups ensure you have a copy of your email data that can be restored in case of such an event.
- In cPanel, your email accounts are tied to your website domain. If you lose your website data, you also lose your email data. Regular backups of your website and email data ensure you can restore both in case of data loss.
- cPanel provides a built-in backup tool to easily back up and restore your email data. You can set up a backup schedule and choose where to store your backups, making it a straightforward process.
- You must transfer your email data to migrate your website to a new server. A cPanel backup ensures you can easily migrate your email accounts to the new server.
How To Backup Emails To cPanel
Data backup is a main consideration for any user who receives important email messages. It is also true of cPanel mailboxes. It is essential to back up cPanel emails, whether to archive old messages, save emails for future use, or recover them on different servers. You will learn how to recover emails from cPanel using the File Manager and export the built-in feature of your cPanel in the sections below.
While it is possible to use cPanel's built-in backup Wizard to create a full cPanel backup file, it is unnecessary. Using other features, you can back up only the necessary emails and mailboxes. Follow the step-by-step guidelines for each method listed below:
#1: Backup cPanel Via File Manager
Here are the steps to backup cPanel emails via file manager:
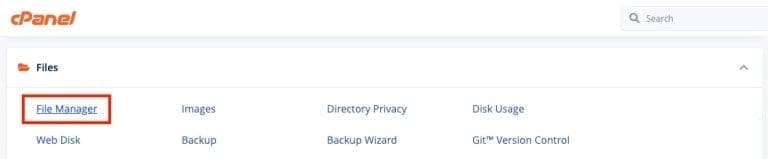
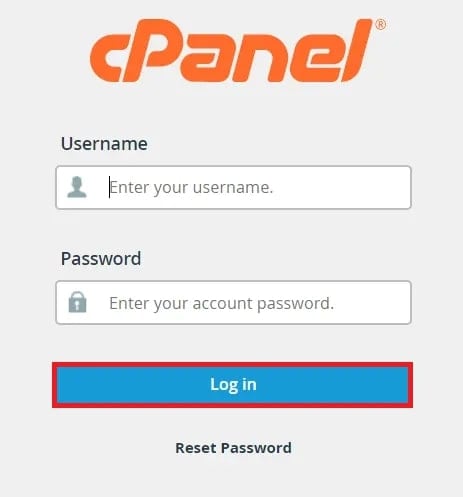
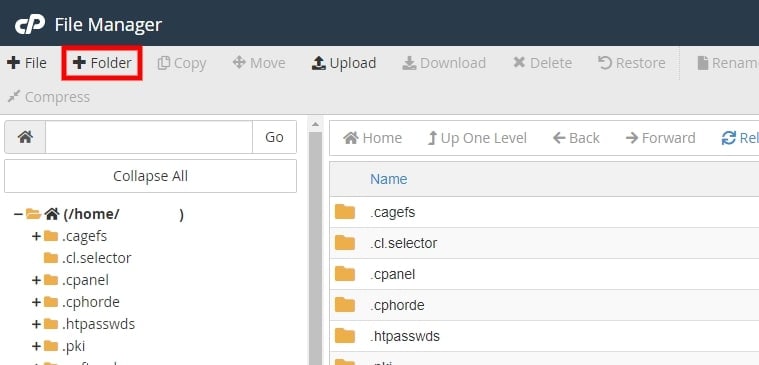
Step 1. Log in to your cPanel account and navigate to the File Manager option.
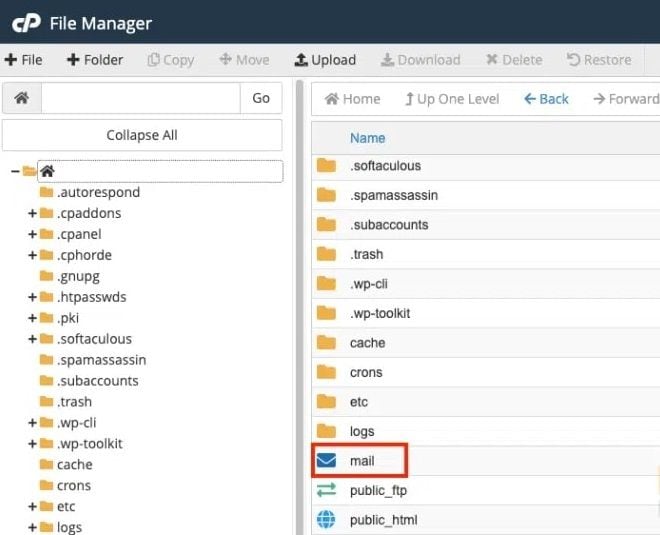
Step 2. Go to the folder where your email data is stored. Email data is stored in the "/mail" directory by default.
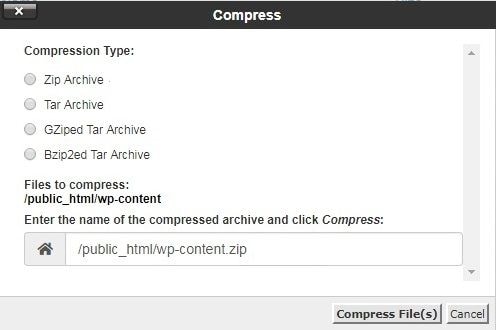
Step 3. Now, right-click on this Mail folder and choose Compress. In the corresponding window, you will see the following types:
- “.zip” is a standard compression format used in Windows and Mac.
- “.tar” encloses your backup file without compressing it.
- “.gz” compresses the mail files using the gzip algorithm. It is commonly found in Linux systems.
- “.tar.bz2” is a better compression standard than “.tar.gz” but is a little slower.
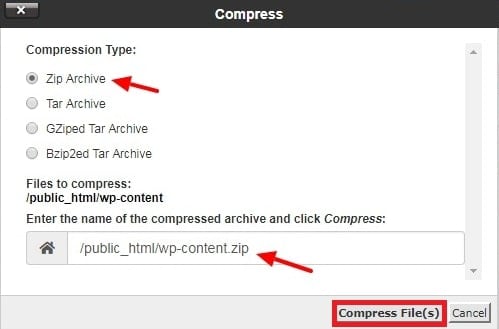
Choose any of the compression formats provided based on your needs.
Note: All cPanel email accounts' information and data are stored in the Mall folder. To backup emails from a cPanel account, open the Mail folder and compress the folder with the same name as your account.
Step 4. If you want to restore data later, leave the name alone. To begin the compression process, click the Compress File(s) button. Wait for the compression process to complete. This procedure may take some time, depending on the size of your email data.
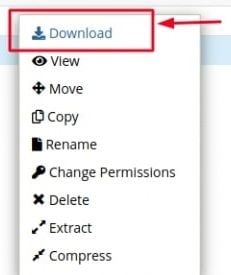
Step 5. Once the compression process is complete, you will see a new compressed file stored on the server of your hosting account. So, please right-click on the compressed file (e.g., email.zip archive file) and choose Download to save it to your local computer.
Done! You have successfully backed up your cPanel emails via file manager. Remember to store your backup files in a safe place, such as an external hard drive or cloud storage service, to ensure you can access them if needed.
#2: Backup cPanel through Export options
The backup files created by File Manager are in their original format and are only useful if you want to restore data to another server. However, if you want to access cPanel emails on your local system, you must export emails from cPanel using the Export feature. It saves the emails in the standard MBOX format, which popular free email clients support. As a result, the emails are easily readable on your machine.
The following are the steps to take:
Step 1. Access your cPanel account.
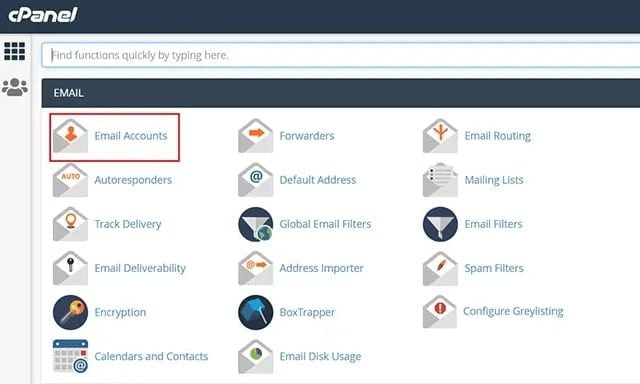
Step 2. Locate the Emails tab and select the Email Accounts option.
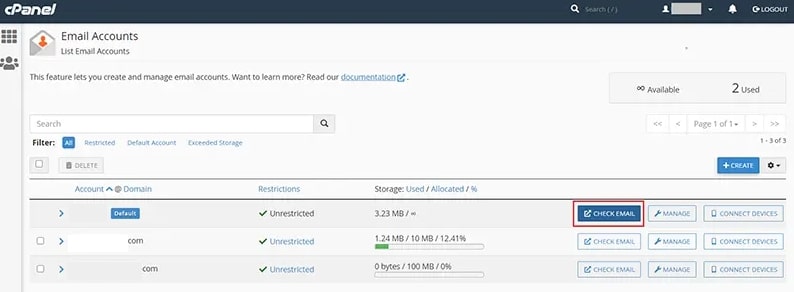
Step 3. Select the Check Email button for the email account from which you want to back up cPanel emails.
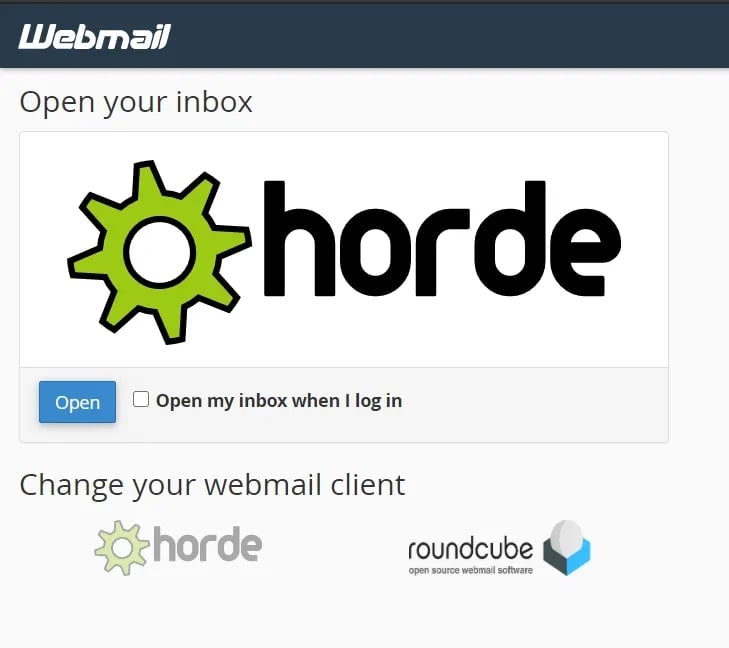
Step 4. To open the webmail interface for viewing emails, click Horde and then the Open button.
Step 5. Select the Export option after right-clicking on each mailbox.
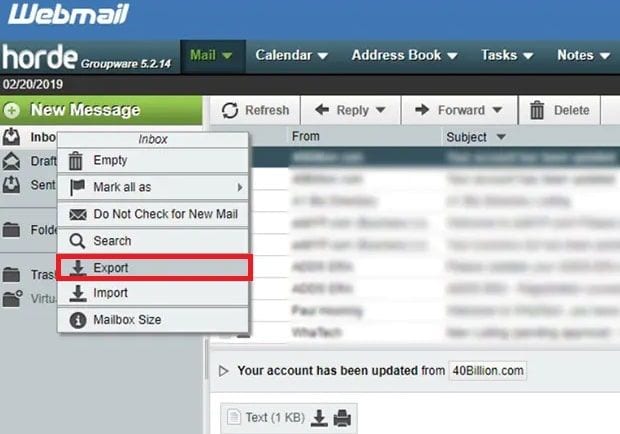
Step 6. Choose one of the download options and press the OK button.

The backup file has been successfully downloaded to your computer.
How To Restore Emails In cPanel
Restoring emails to cPanel is an important task to ensure that you have access to all your important emails in case of accidental deletion, server issues, or other events that may cause email data loss. Fortunately, cPanel provides several methods to restore your email data, including via cPanel file manager and cPanel backup. This section will explore these two methods in detail, outlining step-by-step instructions to help you restore your email data successfully.
#1: Recover cPanel Deleted Emails Via Trash In File Manager
If you accidentally delete an email and want to restore it, you can use the cPanel trash feature to recover deleted emails. Below are the steps to recover deleted emails via cPanel Trash:
Step 1. If you accidentally delete emails, navigate to the View Trash option at the top of the File Manager.

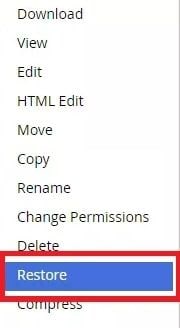
Step 2. When you view the contents of the Trash directory, you will be able to select any currently present files, as well as a new option called Restore.

Step 3. Right-click on the file you want to recover and select Restore.
Step 4. Confirm the restore actions by clicking Restore File(s).
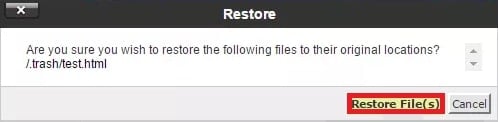
Done! The selected file will be restored to its original location.
#2: Restore Erased Emails From A cPanel Backup
If you've made a backup of your cPanel account, you can easily recover deleted emails. The following are the steps for restoring deleted emails from a cPanel backup:
Step 1. Create a new folder anywhere in cPanel File Manager.
Step 2. In the top menu, select Upload.

Step 3. When the archive has finished uploading, please select it and click Extract in the top menu.

Step 4. There are several folders in the extracted file. Navigate to the following location within the folder you made: /home/cpanel-username/mail/your-domain-name.com/
Highlight the following items, depending on what you want to restore:
- To get email data for all accounts, browse all folders within "your-domain-name.com"
- To receive emails for one account, use the folder with your "email username," i.e., username@your-domain-name.com.
Step 5. In the top menu, select Move. Now navigate to the actual file path, not the extracted folder. Move the files there and test the webmail software to see if emails are regenerated.

Alternative Methods For Backup And Restore
While cPanel provides built-in tools to back up and restore email data, third-party tools can provide additional features and functionality. These tools may offer more advanced backup options, automated backup scheduling, and cloud-based storage solutions. This section will explore the best alternative method for backing up and restoring email using a third-party tool.
One third-party backup and restore tool that we highly recommend is Wondershare UBackit. This powerful software allows you to back up and restore email data from various email clients, including Microsoft Outlook. However, it's important to note that UBackit cannot directly back up Webmail accounts, so you must log in to your email account through Outlook to use this tool.
To know more about Wondershare UBackit, here are some of its notable features:
- UBackit lets users set a schedule to automatically back up data daily, weekly, monthly, or even continuously, eliminating the hassle of forgetting to back up.
- Password-protecting your backups adds another layer of security, keeping your data private if it is stolen, lost, or compromised.
- Back up and recover your disk or photos, videos, audio files, documents, and programs with simple steps.
In addition to the methods outlined above, it is also a good idea to back up emails to external storage for added protection. This method allows you to store email data outside the server, protecting it from server crashes or other issues. Also, using the best email backup software, users can guarantee their emails are secure and safe from all data loss scenarios.
Backup cPanel Emails Using Wondershare UBackit
Download Wondershare Ubackit on your PC and adhere to the following instructions to back up your emails using UBackit.
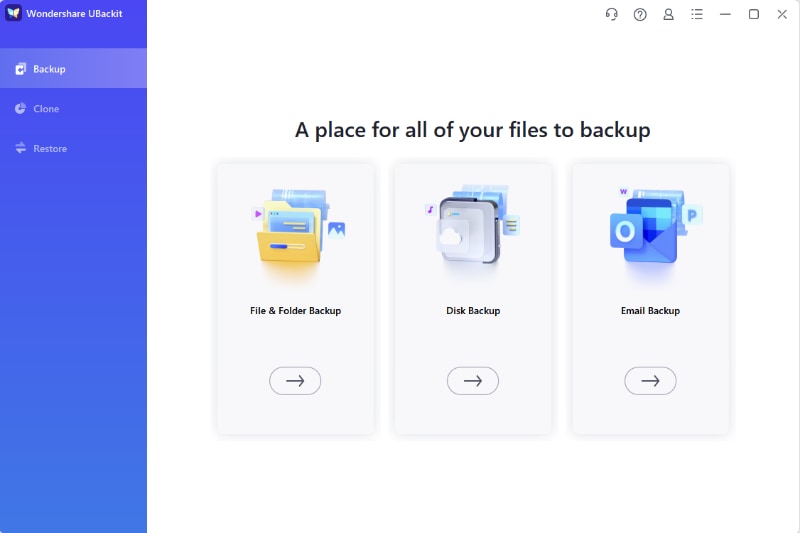
Step1 Select Backup Option
To begin, log in to your cPanel account to Outlook. After logging in, open Wondershare UBackit. Go to the Backup option. You can see three choices: File and Folder Backup, Disk Backup, and Email Backup. Since we want to back up emails, choose Email Backup.
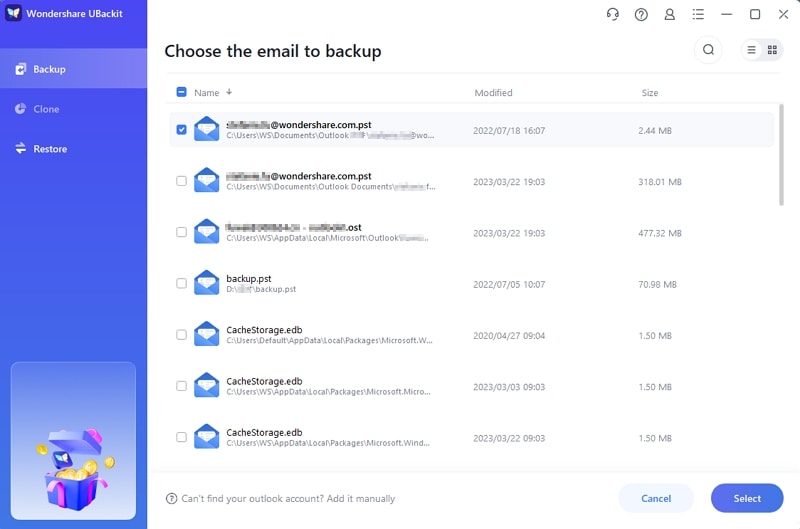
Step2 Choose Backup Source and Destination
The emails will then be shown on your screen. Select the cPanel emails you want to back up.
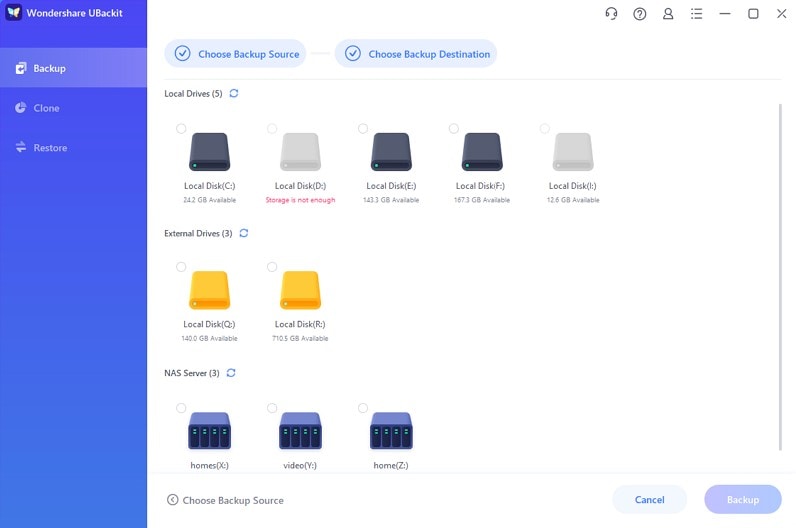
After selecting the cPanel emails you want to backup, you can specify where the backup should be saved. It can be on a local drive, NAS server, or any other external source (such as a connected hard drive).
Step3 Complete The Email Backup Process
Click the Backup button and wait for UBackit to create a backup on the specified drive. Because it may take a few minutes, you should wait and not close the application.
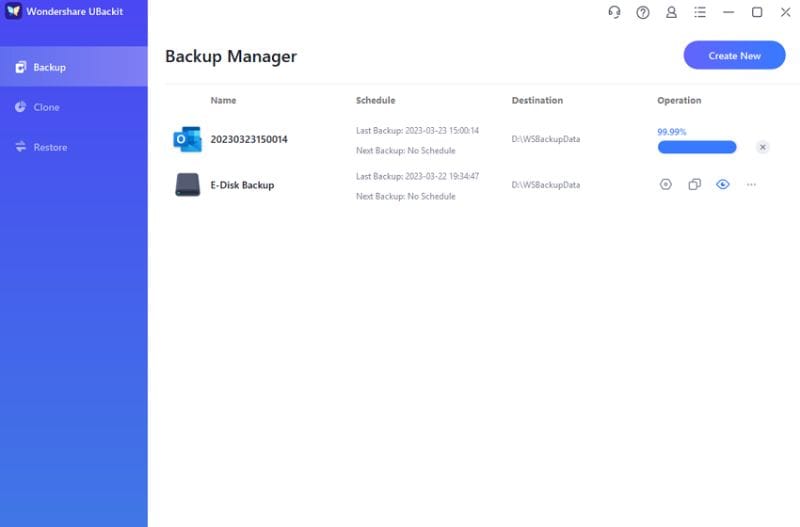
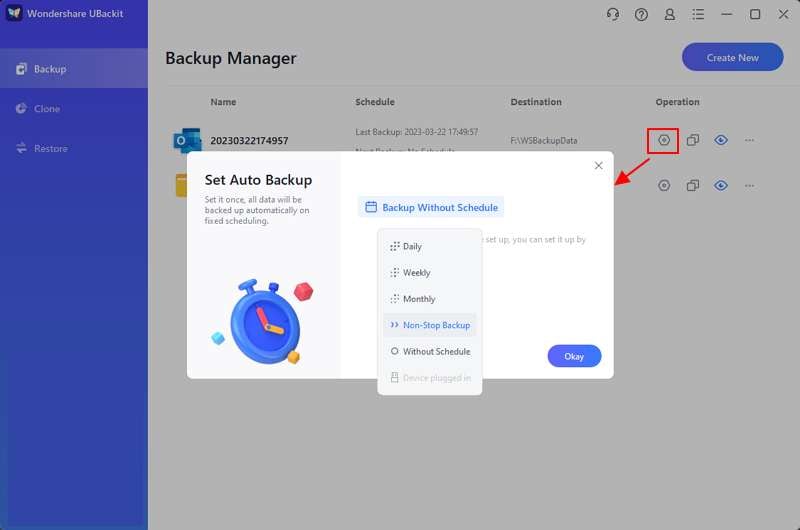
With UBackit, you can also easily schedule automatic backups of your cPanel emails daily, weekly, monthly, or even continuously, eliminating the hassle of forgetting to backup.
Restore Emails Using Wondershare UBackit
It is inconvenient to lose important data such as emails. But don't worry, Wondershare UBackit has your back! The software enables you to restore the entire backup or select specific files to restore. You can also check the status of any existing backups of your data stored on UBackit.
Perform the following steps to restore your emails using UBackit:
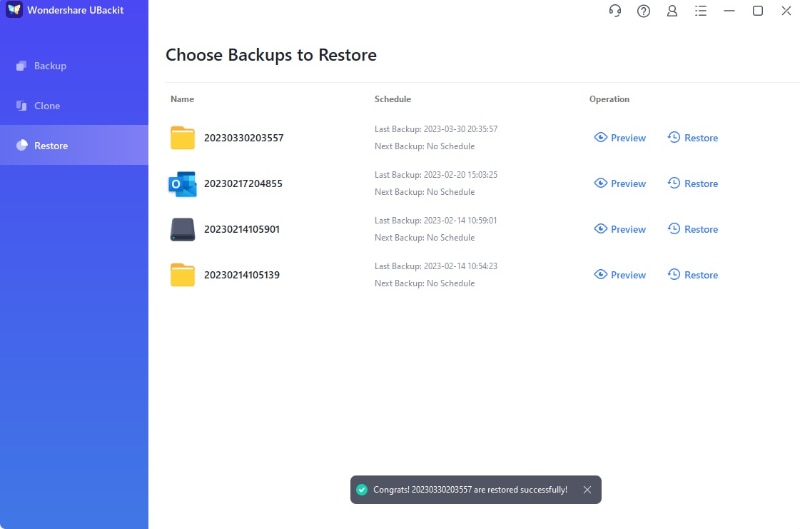
Step1 Select the Restore Option
Download and install Wondershare UBackit. Then, go to the Restore option.

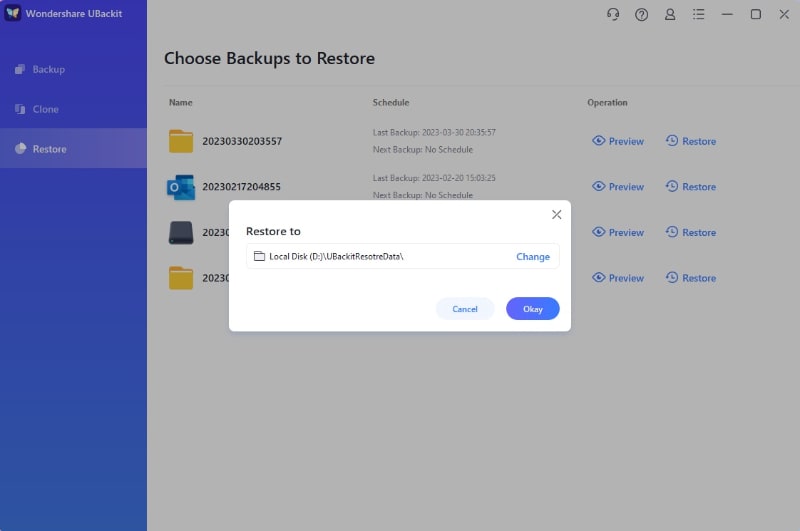
Step2 Choose Restore Location
Click all the backups you want to restore and specify where they should be saved. Then, tap the Okay button.
Step3 Complete The Email Restoration Process
On the screen, you can see the status of the restoration process. Wait for UBackit to restore your emails on the specified drive, and do not close the application because it may take a few minutes.
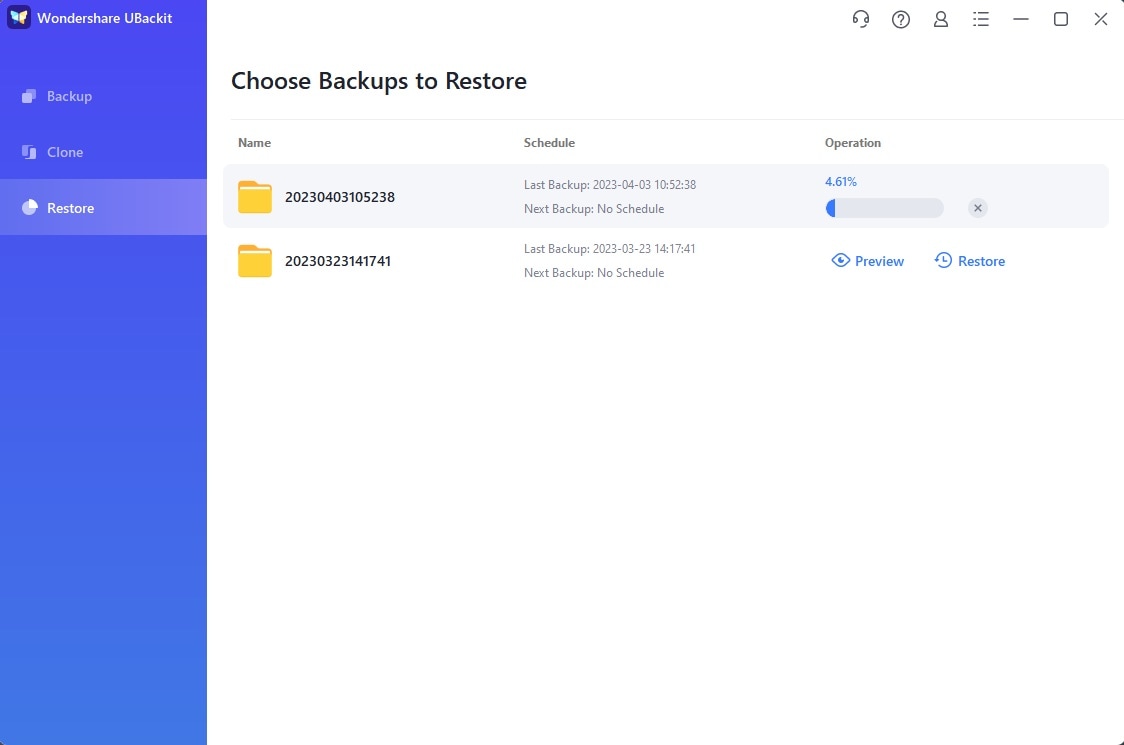
When the backup process is complete, UBackit will notify you with the message, ”Congrats! Restore successfully!”.
Conclusion
Backing up and restoring emails is essential for website owners who use cPanel as their hosting control panel. Following the steps outlined in this article, website owners can rest assured that their email data is safe and easily restored when needed. If you want a more convenient way to back up and restore your emails, try Wondershare UBackit!


