
 TL;DR:
You can securely back up Gmail to a Synology NAS to bypass Google's 15 GB storage limit using the native Synology MailPlus app or third-party Windows software like Wondershare UBackit and AOMEI Backupper Professional.
● Synology MailPlus provides a free, native backup method that can automatically delete fetched emails from Google's servers to instantly free up space, but it requires manually configuring a local mail system, LAN ports, and POP3/IMAP settings in both the NAS and Gmail.
● Wondershare UBackit and AOMEI Backupper Professional bypass the complex server configuration of MailPlus but strictly require you to connect your Gmail account to Microsoft Outlook on Windows first, as neither tool supports direct webmail backups.
● For users choosing the third-party route, Wondershare UBackit is the more affordable choice for scheduling daily, weekly, or monthly NAS backups, while AOMEI Backupper Professional offers a similar Outlook-dependent workflow but includes advanced incremental, differential, and real-time backup schedules at a higher cost.
Ask AI for a summary
 ChatGPT
 Perplexity
 Gemini
 Claude
 Grok
Grok
Are you slowly running out of free storage on your Google account? The 15 GB allotment for Google Drive, Gmail, and Google Photos proves insufficient after using these services daily for years.
What if you primarily rely on Gmail for business correspondence and reach your free quota? Instead of buying more storage, you can leverage a device you already use – Synology NAS – to back up your emails and make more room for incoming and outgoing messages.
You can back up Gmail to Synology NAS using three methods. The following guide covers all the Synology Gmail backup steps and addresses the benefits of backing up Gmail to this secure, cost-efficient storage device.
Benefits of Backing Up Gmail to Synology NAS
A Synology backup for Gmail provides several benefits, including:
- Freeing up Gmail storage – You don’t need to worry about exceeding the 15 GB storage limit and paying for a quota upgrade to avoid disrupting your email communications. Most Synology NAS devices let you store 16–108 TB of data. You can back up your old (or all) Gmail emails and delete them from Gmail to make more space.
- Keeping emails in a secure, centralized location – Synology NAS devices provide excellent security, including industry-standard encryption, firewalls, malware and spam prevention, and multi-factor authentication. They can keep your sensitive data safe.
- Seamlessly restoring Gmail data – Malware in emails, computer bugs, and hardware damage are only some potential causes of corrupted email files. Saving them on your Synology NAS device will prevent data loss.
Now that you know why you should back up Gmail to Synology, it’s time to learn how to do it. These are the best methods to use.
Method 1. Backup Gmail to Synology NAS Using Synology MailPlus
Synology MailPlus is an enterprise solution for storing email from external servers supporting POP3 (Post Office Protocol 3), SMTP (Simple Mail Transfer Protocol), and IMAP (Internet Message Access Protocol) – such as Gmail and Outlook. Besides a browser-based email client, it provides a mail server supporting multiple domains, allowing custom mailbox sizes, and streamlining email administration.
Here’s how to back up Gmail to Synology NAS using MailPlus:
- Launch Package Center on your Synology NAS.
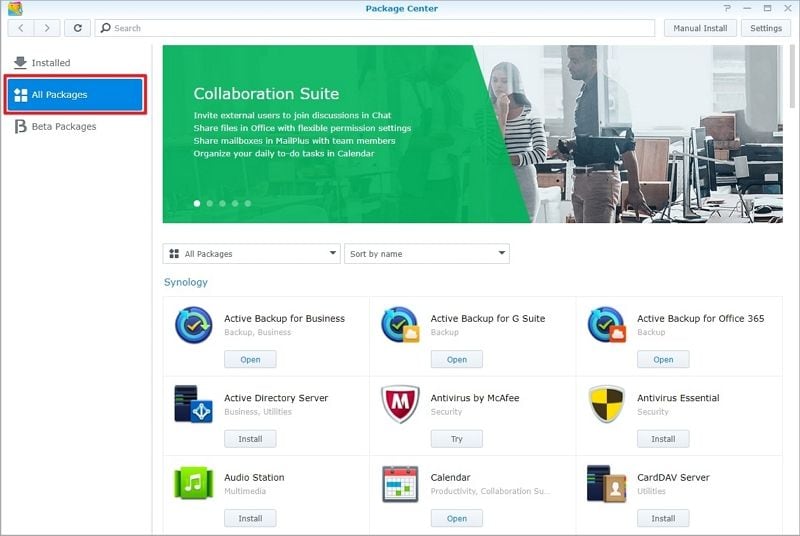
- Install Synology MailPlus and Synology MailPlus Server.
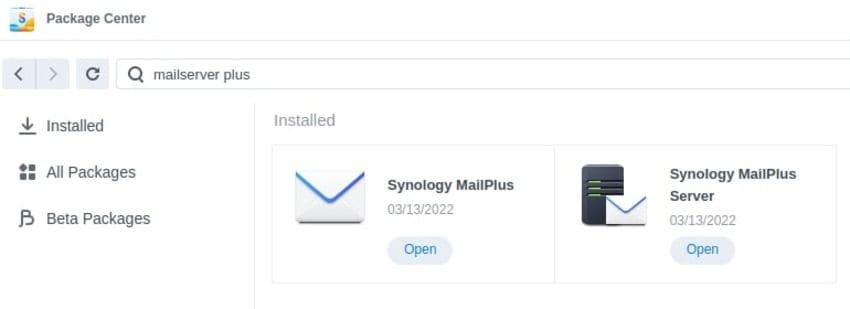
- Click Open under Synology MailPlus Server.
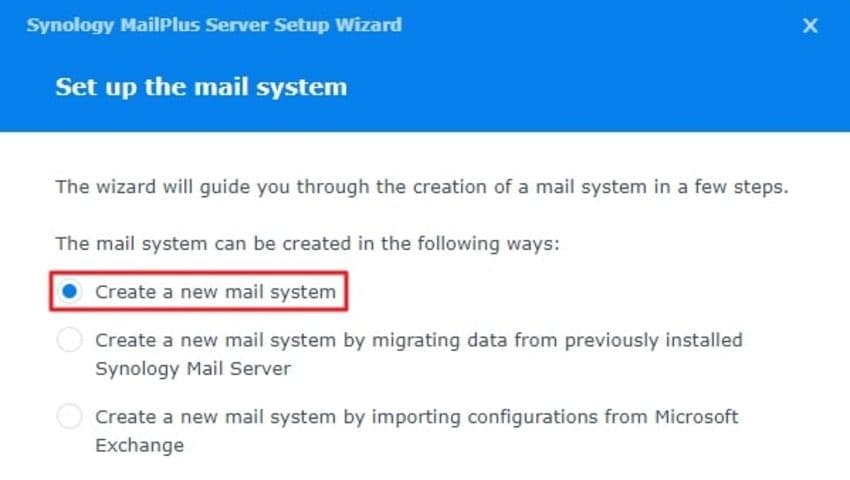
- Click Create a new mail system in the setup wizard.
- Specify the account type, LAN port, domain name, and volume to configure the new mail system and finish setting it up.
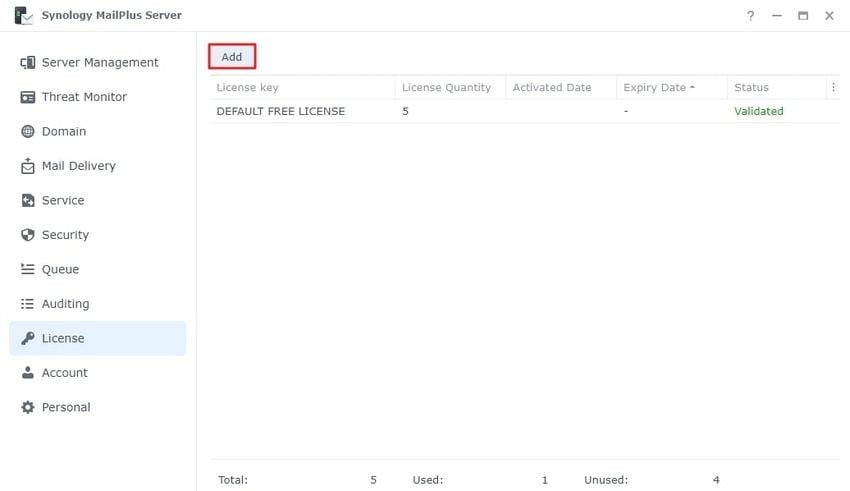
- Launch Synology MailPlus Server and go to License > Add if you need more licenses than the default five.
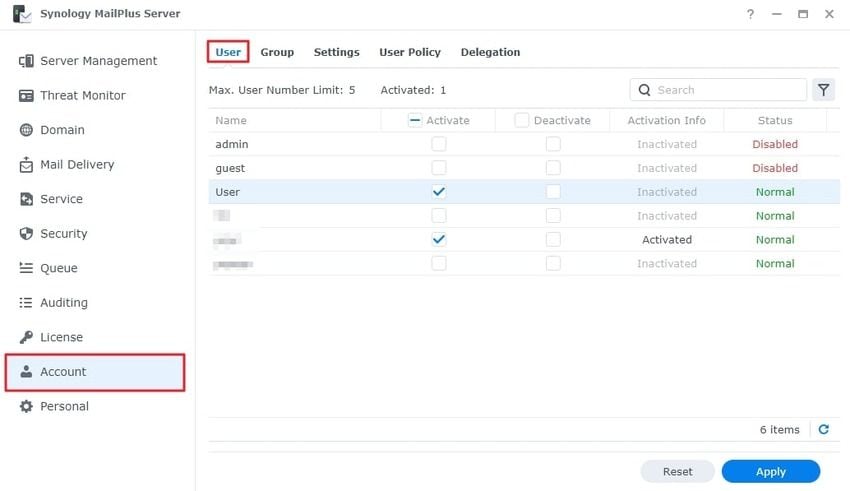
- Go to Account > User to activate the desired user(s) (tick their corresponding checkboxes) and click Apply.
- Go to Service > Protocol > IMAP/POP3, tick all the checkboxes to configure ports, and click Apply. This setting will enable the MailPlus Server to access emails from external clients.

- Launch Gmail and go to Settings > See all settings to configure POP3 and enable the MailPlus Server to access your emails.
- Go to Forwarding and POP/IMAP and click Enable POP for mail that arrives from now on.
- Launch the MailPlus webmail client to connect your Gmail account and enable POP3 fetching.
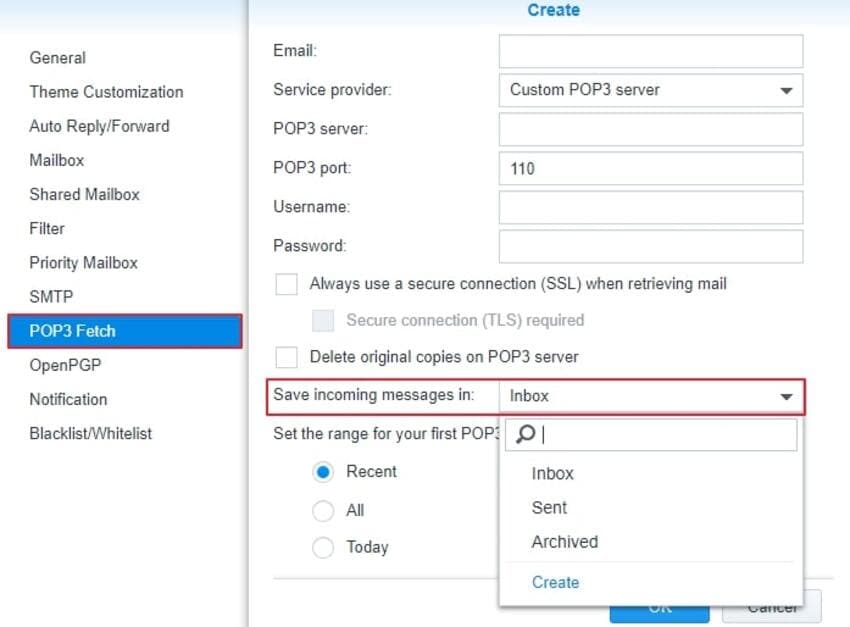
- Go to Account > Settings > POP3 Fetch > Add. Specify the necessary information in all the designated fields and tick the Always use a secure connection (SSL) when retrieving mail checkbox. Ticking the Delete original copies on the POP3 server checkbox will remove emails from your Gmail account. Choose where to save incoming emails, select the range for the initial fetching (Recent, All, or Today), and click OK twice.
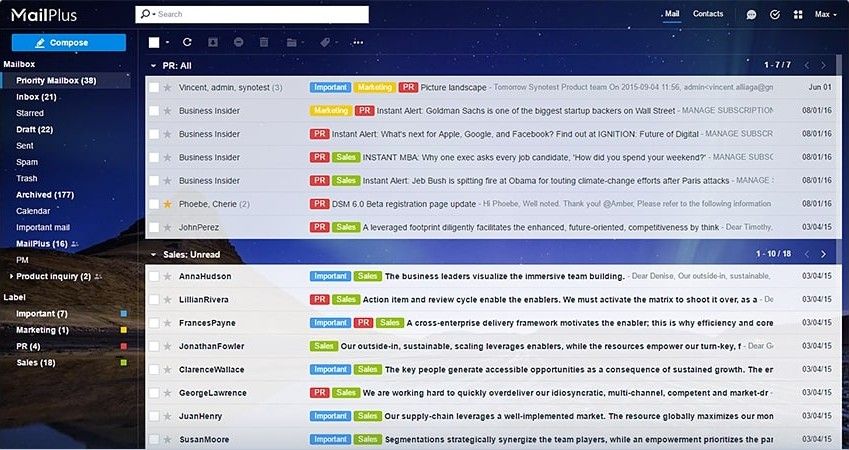
- Once the backup completes, you can access all your selected Gmail emails via the MailPlus mail client.
Backing up Gmail to Synology using MailPlus is slightly complex, but these steps should help you do it without a hitch. However, the following methods are faster and more convenient.
Method 2. Backup Gmail to Synology NAS With Wondershare UBackit
Wondershare UBackit is a backup manager for Windows for seamlessly backing up emails, files, disks, partitions, and NAS devices. Additionally, it supports disk cloning and lets you schedule and encrypt daily, weekly, monthly, or ongoing backups.
However, UBackit doesn’t back up webmail – you must add your Gmail account to Outlook before using UBackit’s Email Backup feature. Here’s how to do it:
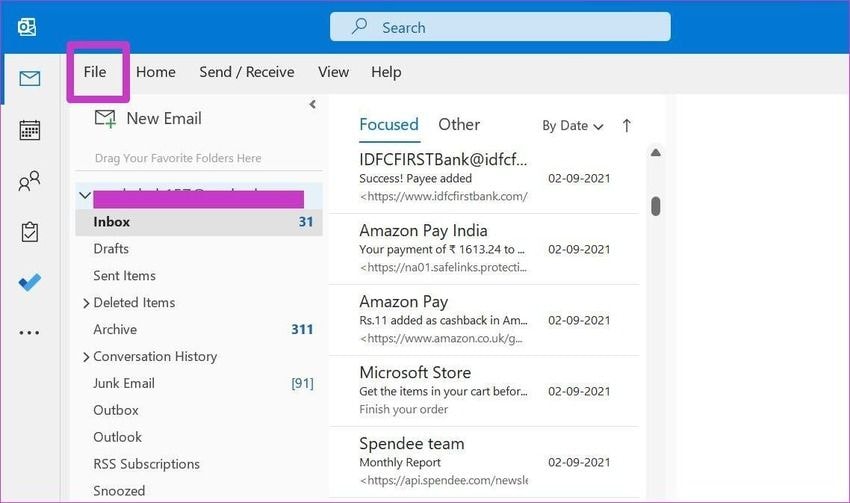
- Launch Outlook and go to File.
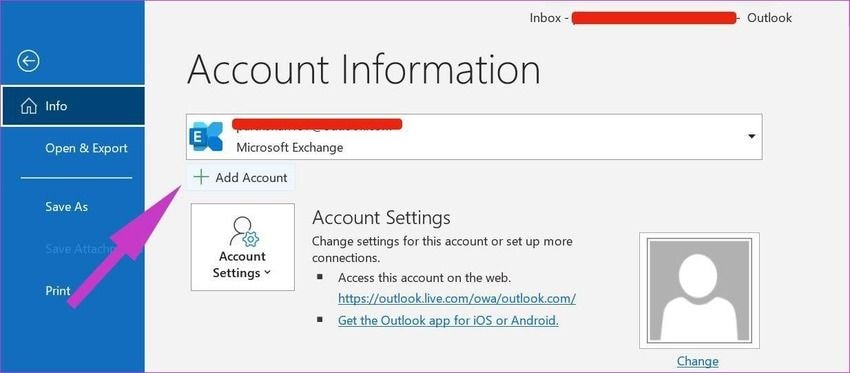
- Click Add Account to add your Gmail credentials.
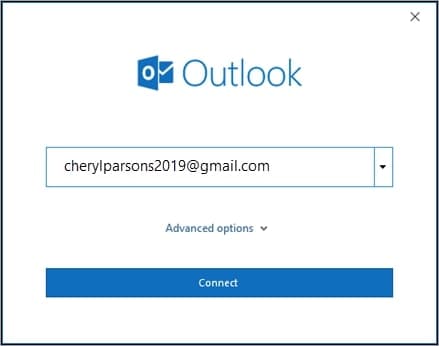
- Type your Gmail email address and hit Connect.
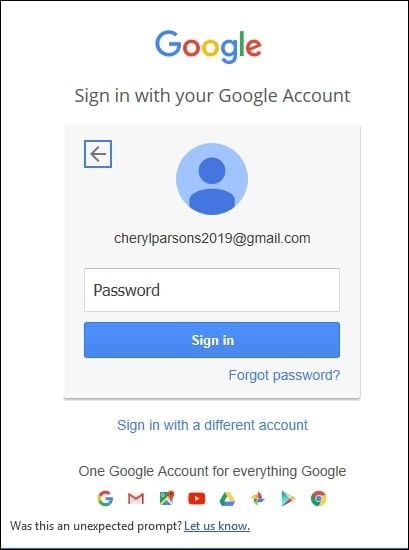
- Provide your password in the dialog box and click Sign in.
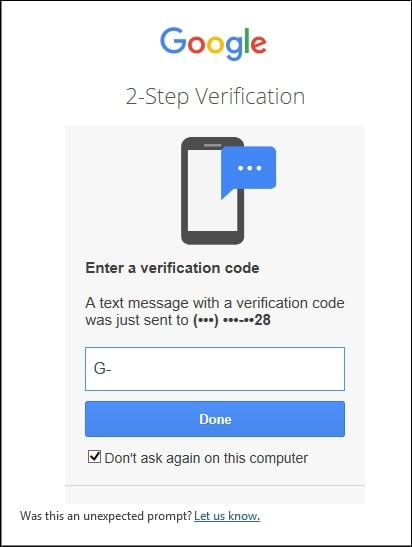
- Enter the verification code Google will send on your mobile if you’ve enabled 2FA (two-factor authentication) and click Done.
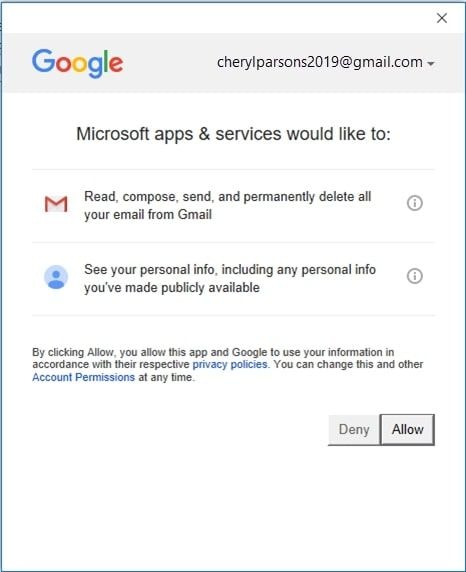
- Click Allow in the following dialog box to agree with Google’s privacy policies.
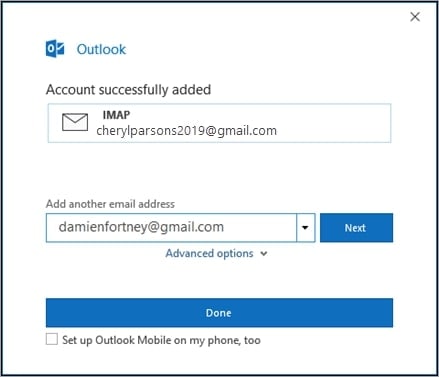
- Once Outlook connects with your Gmail, click Done or Next to add another email account.
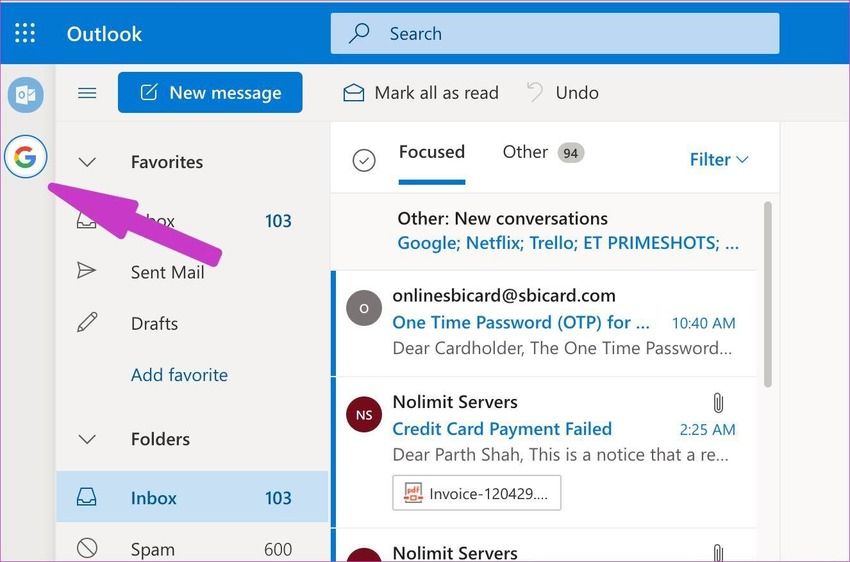
- Access your messages on Gmail anytime by clicking the Gmail icon in Outlook’s left sidebar.
After logging into your Gmail account in Outlook, use Wondershare UBackit for a Synology mail backup. Here’s a step-by-step guide:
- Download and install UBackit from Wondershare’s official website.
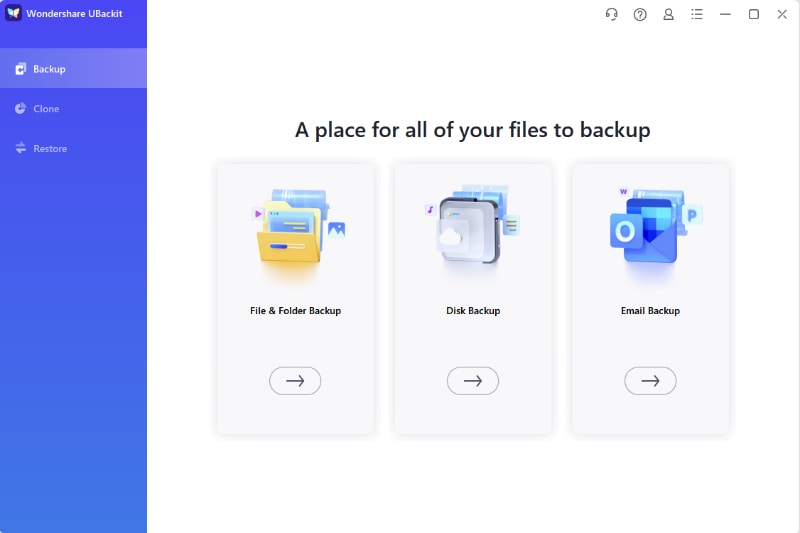
- Launch the program, and head to Backup > Email Backup.
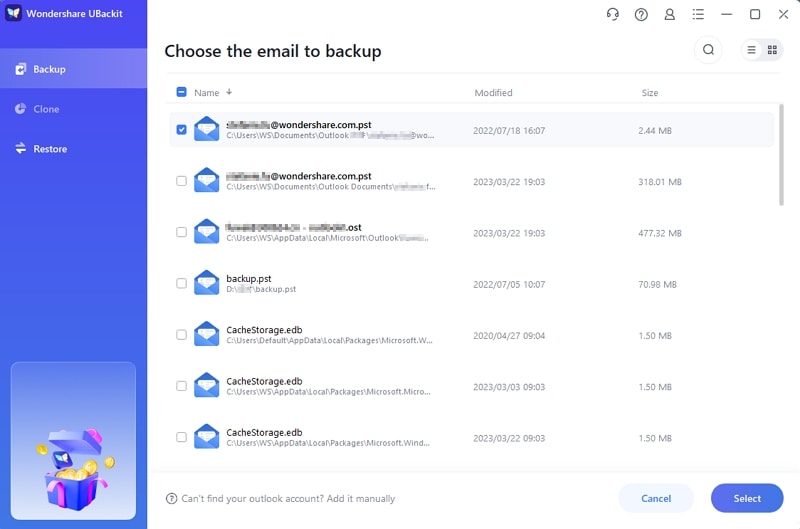
- Once the mailboxes from your Outlook appear (including the connected Gmail emails), tick the corresponding checkboxes and click Select.
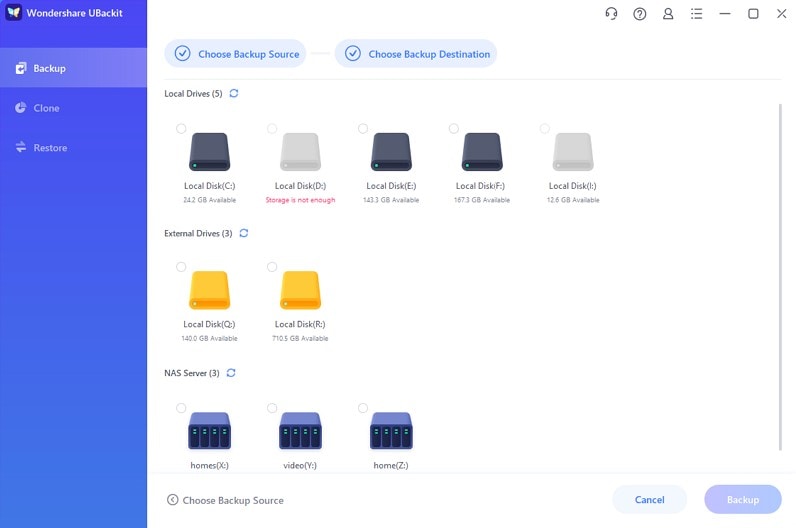
- Choose the desired backup destination. Your Synology NAS that mapped to your computer will appear among the available devices. Click it and hit the Backup button.
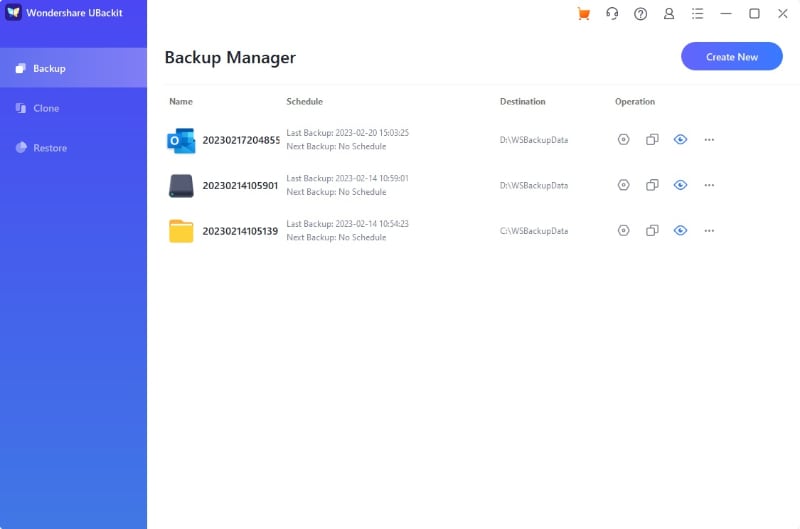
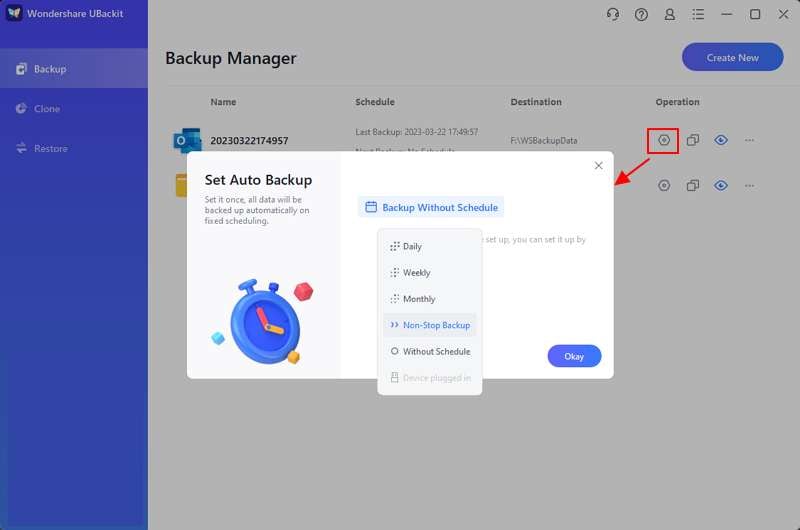
- Once UBackit finishes the process, you can name the new folder and schedule automatic backups.
Using the intuitive Wondershare UBackit is the most straightforward way to back up Gmail to Synology NAS. It may require connecting Gmail to Outlook, but that’s also a walk in the park.
Method 3. Backup Gmail to Synology NAS AOMEI Backupper Professional
AOMEI Backupper Professional (available on Windows) works similarly to UBackit, letting you back up files, disks, partitions, and emails, perform disk and partition cloning, and schedule incremental, differential, and real-time backups. However, it also supports system backups and provides cloud storage.
Like UBackit, AOMEI Backupper doesn’t back up webmail, so follow the steps from the second method above to connect your Gmail account to Outlook. Afterward, you can back up Gmail to Synology with AOMEI Backupper Professional:
- Download and install AOMEI Backupper Professional on your computer.
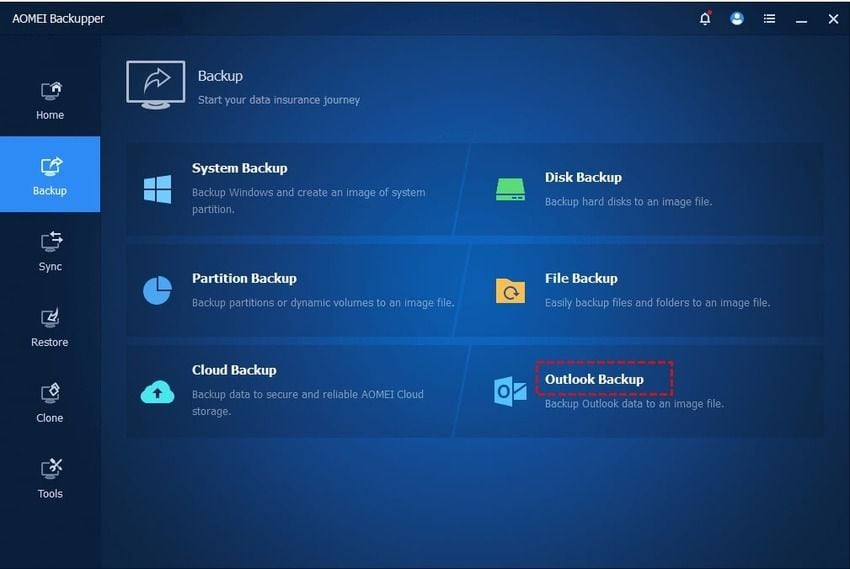
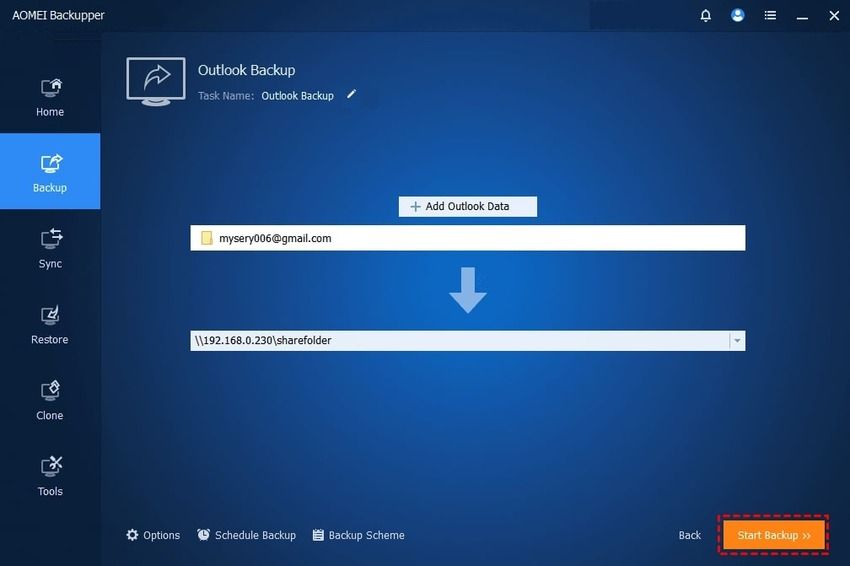
- Launch the program and go to Backup > Outlook Backup. Don’t let the Outlook part confuse you because your Gmail messages will be there after logging into your Gmail in Outlook.
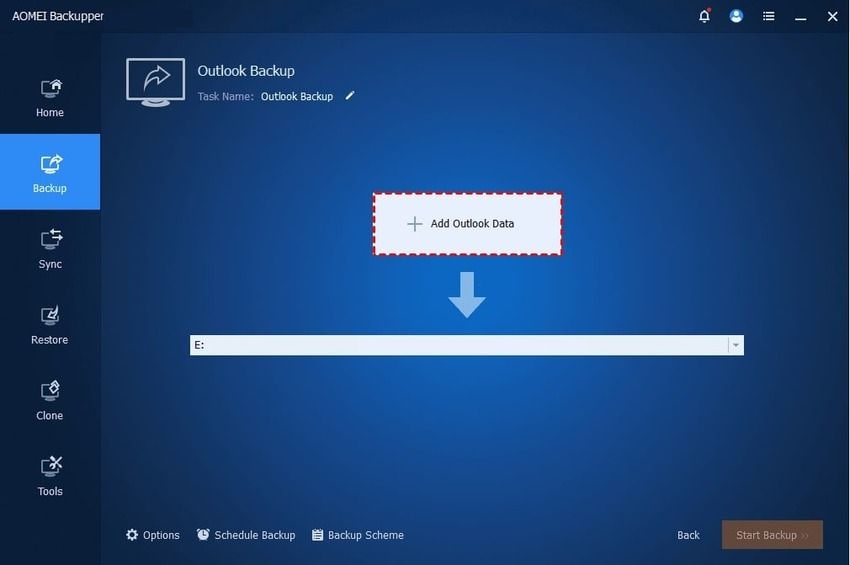
- Click Add Outlook Data, find your connected Gmail account, select it, and hit OK.
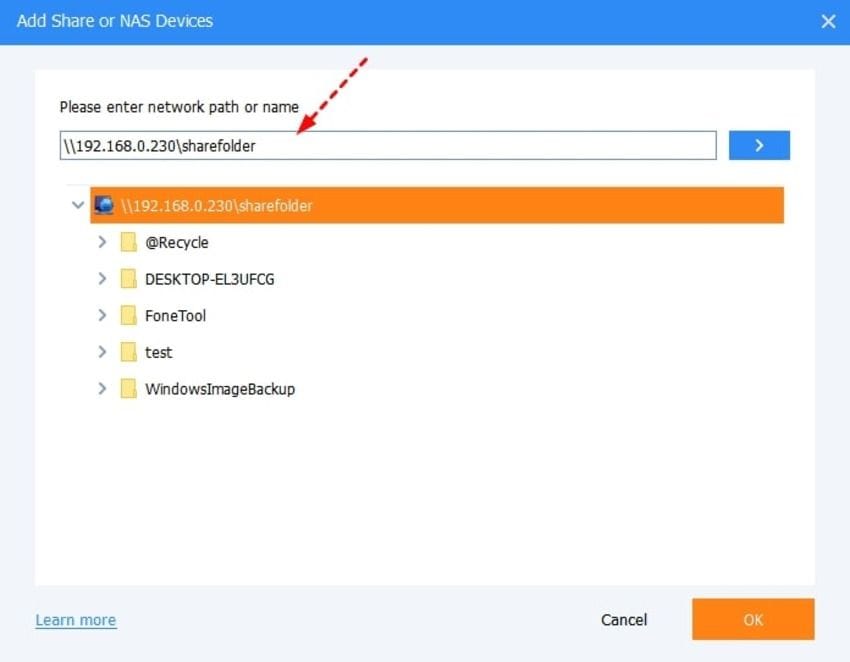
- Choose the backup destination by selecting Add Share or NAS Devices.
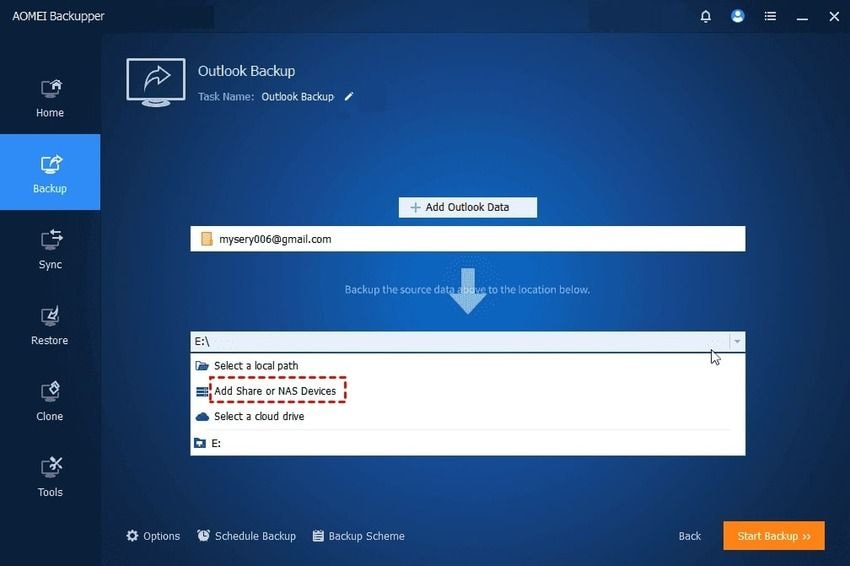
- Enter your Synology NAS device’s network path in the specified field, choose the folder for backing up your Gmail messages, and click OK.
- Click Schedule Backup to set incremental or differential backups (you can do it later) and hit Start Backup to initiate the process.
Backing up Gmail to Synology is straightforward with AOMEI Backupper, but UBackit is more affordable. We recommend taking each for a free spin to see how they suit your needs.
Conclusion
Backing up Gmail to Synology NAS is ideal for freeing up your Google account’s storage, avoiding upgrade costs, and saving messages in a secure location. However, some Synology email backup methods are better than others.
Synology MailPlus may be free, but its complexity isn’t its strongest suit. Wondershare UBackit and AOMEI Backupper Professional are faster and more convenient, but UBackit has a more affordable price tag. Leverage their free trials to see them in action and make an informed decision.


