
 TL;DR:
Configure incremental backups on your Synology NAS to save storage space and processing time by exclusively saving file changes made since the previous backup rather than duplicating entire files.
● Synology Hyper Backup is the built-in application that utilizes block-level incremental backups by default for DSM 6.0 and later, requiring you to enable backup rotation to limit the maximum number of stored versions.
● Glacier Backup functions as a Synology add-on package for off-site storage, which strictly requires an existing Amazon Glacier account along with its Access Key and Secret Key to establish automated backup schedules.
● Wondershare UBackit serves as a third-party software option offering a 30-day free trial, with the specific prerequisite that your Synology NAS device must be mounted directly to your computer before configuring the backup destination.
Ask AI for a summary
 ChatGPT
 Perplexity
 Gemini
 Claude
 Grok
Grok
Are you using a Synology NAS device but need help determining which backup method is the best? Even though full and differential backups serve the purpose just fine, we suggest trying incremental backups.
You’re still not sure what they are and how to perform them? Don’t worry. In this article, you’ll learn what a Synology incremental backup is and what the benefits of using it are.
We’ve created a step-by-step guide on three simple incremental backup methods. They include using a third-party backup tool, Synology Hyper Backup, and Glacier Backup. With our help, you can choose the one that suits you best for incremental backups on your Synology NAS.
Table of Content
What Is a Synology Incremental Backup?
Synology NAS is an external storage device that helps you with necessary backups, among other functions it offers. One of those backup options is an incremental backup. A Synology incremental backup refers to the type of backup where you only back up the changes in your data since the last backup.

Therefore, if you’ve edited or changed some files after one incremental backup, the next backup will save only the changes and not the whole file again.
Besides incremental backups, you can also do differential. Differential backups save all the changes instead of complete data, just like incremental backups. The difference between differential and incremental backups is that the former copies all the changes after the last full backup, while the latter documents all the changes after the previous incremental backup.
Therefore, incremental backups take less time to finish than differential ones. Moreover, they don’t clone files but save all the changes into the original backed-up file.
On the other hand, differential backups save the last backup as a separate file, so when you want to restore the file, you need to recover the complete data and the previous differential backup file.
Benefits of Incremental Backups
Since they save changes into the original backed-up file, incremental backups have several benefits over full and differential backups.

One of the essential advantages of incremental backups is faster backup time. Backing up only the changes since the last backup saves time, and the backup process is much quicker than with a full backup.
Another crucial benefit of incremental backups is saving storage space. Since these backups only save the changes since the last backup, they require less storage space than both full and differential backups. Moreover, the recovery process is much easier as you restore individual edited files. Since they’re all in one place, the recovery process is a breeze.
Lastly, incremental backups put less strain on system resources. Backing up only the changes since the last incremental backup and no cloned files puts significantly less pressure on the processor, memory, and hard disk. Therefore, incremental backup is a reliable way to store and back up your data in the short and long run.
Ways You Can Do an Incremental Backup on a Synology NAS
There are several ways to do an incremental backup on Synology NAS. The three methods below work seamlessly for incremental backups but differ in some features, functionalities, and backup locations. Therefore, you should choose the one that best suits your needs and use it for Synology incremental backups. Now, let’s jump to the guides to help you pick your favorite.
Way 1. Perform Synology Incremental Backup Using Wondershare Ubackit

One way to do an incremental backup on your Synology NAS is to use a third-party backup tool. Numerous backup tools can help you with Synology incremental backups, offering more advanced backup features, scheduled backups, and much more. We suggest using the Wondershare UBackit for the incremental backup on your Synology NAS.
Wondershare UBackit offers many features, such as file backups, partition backups, and internal and external disk backups. Furthermore, it offers encrypted, real-time, scheduled, and incremental backups for your Synology NAS. The steps for a Synology incremental backup using UBackit are pretty simple:
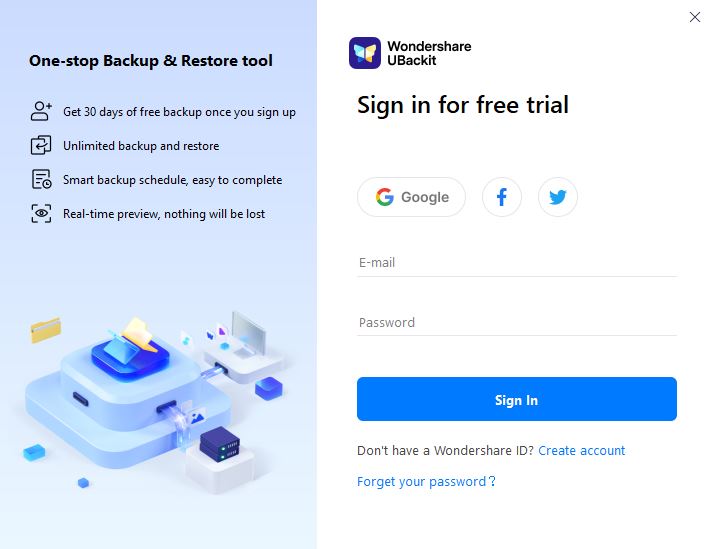
- Launch Wondershare Ubackit and create a free trial account. You can use Ubackit for 30-days entirely free.
- Click Backup from the left navigation panel. Then choose File & Folder Backup, Disk Backup, or Email Backup according to your needs. Here we choose to back up files and folders as an example.

- Choose a backup source. That’s where the files you want to back up are. You can choose from PC local drives, external storage devices like USB drive, or Synology NAS devices that have been mounted to your computer. Select files or folders you want to back up and click Select.
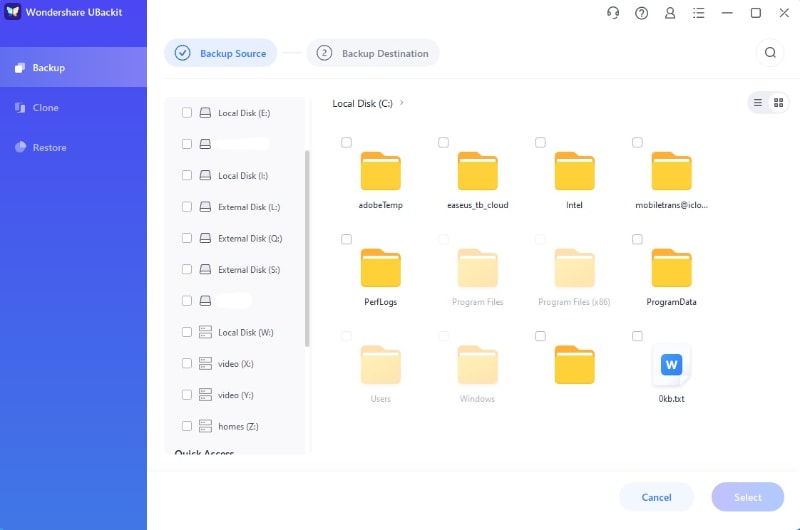
- Next, choose the backup destination. Here, you choose your Synology NAS device that is mounted to your computer.

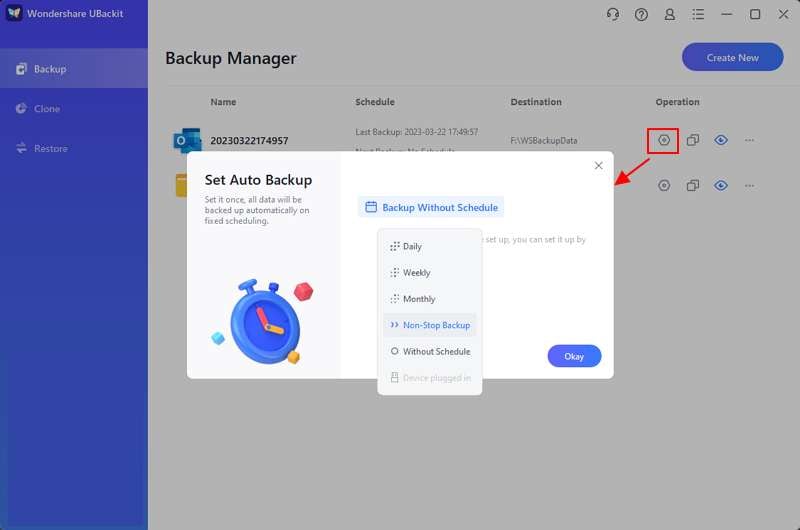
- Wait for the first full backup to complete. Once the backup finishes, you have the option to schedule an auto backup that will only save changes in the backup source to the selected Synology NAS. Then, you can restore the file to the desired version once you encounter data loss.
You’re done. Using Wondershare UBackit is straightforward since it offers a user-friendly, clean interface and just a few simple steps for the Synology NAS incremental backup process.
Way 2. Perform Synology Incremental Backup Using Hyper Backup
Hyper Backup is another easy way to do an incremental backup on your Synology NAS. It’s a built-in application of Synology that allows users to back up their data to a Synology NAS device, a remote server, or an external cloud. It offers block-level incremental backups, which back up only modified data or changes to a file, saving significant storage.
The block-level incremental backup has been a default backup option since the DSM 6.0 version. The steps for doing an incremental backup using Hyper Backup are straightforward to follow:
- Download and install Synology Hyper Backup from the Package Center. Then launch it.
- Click the + button, then click Data Backup Task.

- Choose a desired destination for your backup and click Next. You have the option to choose from a variety of storage solutions including local folders & USB drives, remote NAS, Synology C2, file servers, and cloud services.

- Select Create Backup Task and choose your Synology NAS.
- Next, choose the source data you need to back up and click Next.
- Set the backup settings according to your needs.

- Check Enable backup rotation to set the maximum incremental backups the device can store. Click Apply.

- Perform the incremental backup to or from Synology NAS task immediately.
The first time you back up, it will do a full backup, creating a copy of all the files you need to back up. After that, every other incremental backup will only back up the changes since the last backup.
Way 3. Perform Synology Incremental Backup Using Glacier Backup
Glacier Backup is one of the add-on packages of Synology NAS. Therefore, you can download it from your Synology NAS’s Package Center. However, you need to create an Amazon Glacier account before downloading it. Glacier Backup offers cheap data storage to back up files and save space on your Synology NAS.
This add-on package helps your Synology NAS with additional space and a contingency plan to avoid losing data. It offers many backup options, such as editing, canceling, deleting, managing backup tasks, and restoring data quickly and without complications. The steps for incremental backups are very straightforward:
- Launch Glacier Backup after installing it from Synology Package Center.
- Go to the Backup section, click Action, then click Create.

- Name the backup task and click Next.
- Next, type in the Access Key and Secret Key – the login information for your Amazon Glacier account.

- Select the data you want to back up.
- Set up a backup schedule so the system can perform auto backups in the future.

Again, the first backup you start will be the full backup, so it’ll back up entire files and take a moment or two. However, after you schedule the backup, every next incremental backup will only store the changes that happened since the last backup.
Conclusion
Synology NAS is a perfect solution for storing data and having regular backups. However, we recommend incremental backups to save storage on your NAS device. Incremental backups allow you to back up only the changes since the last backup, saving you storage space and time.
The benefits of incremental backups, as opposed to full and differential backups, are manifold. They offer faster backup time, require less storage space, ensure an easy recovery process, put less strain on the system, and many more.
You can perform incremental backups on your Synology NAS in several ways, including using a built-in Hyper Backup option, an add-on Glacier Backup package, and a third-party backup tool such as Wondershare UBackit. All three options work perfectly for incremental backups, so it’s up to you to decide which method best suits your backup needs.


