Gmail is one of the world's most popular and most-used platforms. Its work suite enables users to save files more efficiently via email. For a few reasons, understanding how to back up Gmail Emails with attachments is essential. This post will discuss how to back up Gmail emails with attachments.
Since protecting sensitive data has become mandatory, a few methods exist for doing so as efficiently as possible. We have 3 of the best ways to assist you in creating a backup of your Gmail messages. Each of these methods has been tried and tested. So let us go through them and figure out how to take a backup of email with attachments.
Way 1. Backup Gmail Emails With Attachments Using Google Takeout
Using Google Takeout to create backups of Gmail emails with attachments is the most effective way to avoid data loss. Google Takeout aids in the backup of data from Google platforms such as Gmail. However, this process may take some time if your data is large.
Here's a step-by-step guide to using Google Takeout to backup Gmail messages:
- Step 1: In your browser, navigate to the official Google Takeout page. To begin, you must first be logged in to your Google account. You will see Google Takeout on the screen if you are already signed in.

- Step 2: Scroll down the list of data backup options. You will see several data sources via Google account here. Navigate to the Select data to include section.

- Step 3:Select everything you require, such as Google Drive data, emails, etc. Once you've scrolled down, click Next Step. Then, under File type & size, select .zip as the file type. Select the smallest file size under file size.

- Step 4:Choose one to export. Then press the Create export button. You're done.

- Step 5: It will begin the process of creating your zip file, and it may take a minute or two before you receive the link to download your data. Remember that it will take a few minutes, so be patient and check your Inbox for the download link for the archive file.

Related Article >>:
Way 2. Backup Gmail Emails With Attachments to a Hard Drive Using MS Outlook
Microsoft Outlook is the most popular desktop-based email software. If you have installed it on your PC and logged your Gmail into it, backing up Emails with attachments would be easier than Google Takeout. You can follow the steps below to backup Gmail emails to a hard drive in Outlook:
- Step 1: ILaunch the Microsoft Outlook application. From the File menu, select Add Account.

- Step 2: Submit your Gmail account information and click Next.

- Step 3: After you've set up your Gmail account, go to the Open and Export menu.

- Step 4: Click Export to a file.

- Step 5: Select the mailbox folders you want to download and set the target location in the next window.

- Step 5: Click Finished and MS Outlook will export Gmail with attachments to your hard drive.
This method of backing up Gmail emails to an external hard drive is helpful. Unfortunately, it also had some drawbacks. It is time-consuming and may take up to 1 to 2 days for email sync, and no email filtering option is available. Try the last method below if you want a more convenient and quick way to back up Gmail with attachments.
Way 3. Backup Gmail Emails with Attachments Using Third Party Tool
There is another option that can save you from all of this trouble – using professional third-party email backup software. This method will save you time and valuable Gmail emails and attachments. One of the highly recommended ones is Wondershare UBackit. You can use this software to log in to your Gmail account in Outlook and backup Gmail emails with attachments automatically. What makes it superior to all of the preceding options? Here's what I mean:
- You can use Ubackit to back up your Gmail emails with attachments (while logged into the Outlook client) to a local PC hard drive, external hard disk, NAS, or USB flash drive.
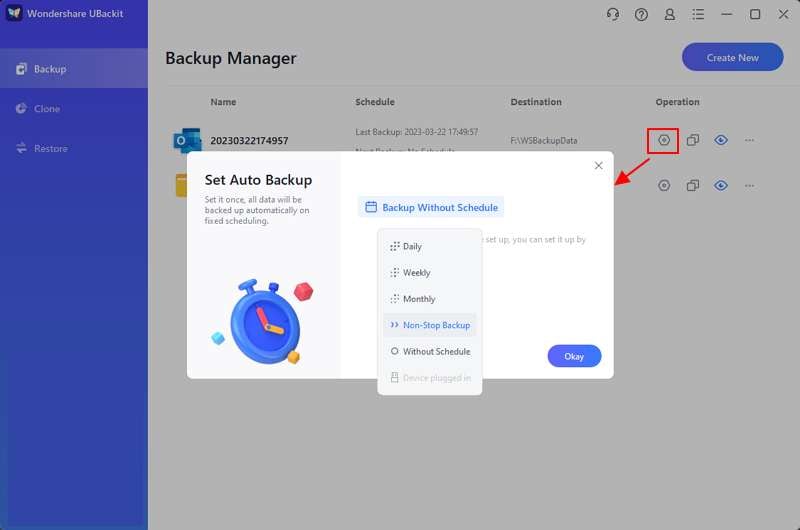
- Ubackit supports auto-backup. You can back up your Gmail account daily, weekly, monthly, or continuously.
- If you are concerned about data leakage, you can protect your backups with a password.
- One month of fully free data backup and recovery is given.
That is why you require this tool to assist you in saving your Gmail emails with attachments, as it will create a comprehensive MS Outlook backup with your Gmail emails. So, log your Gmail into MS Outlook and then use this tool to save your files without having to save them individually. The detailed steps for backing up Outlook emails with attachments are as follows.
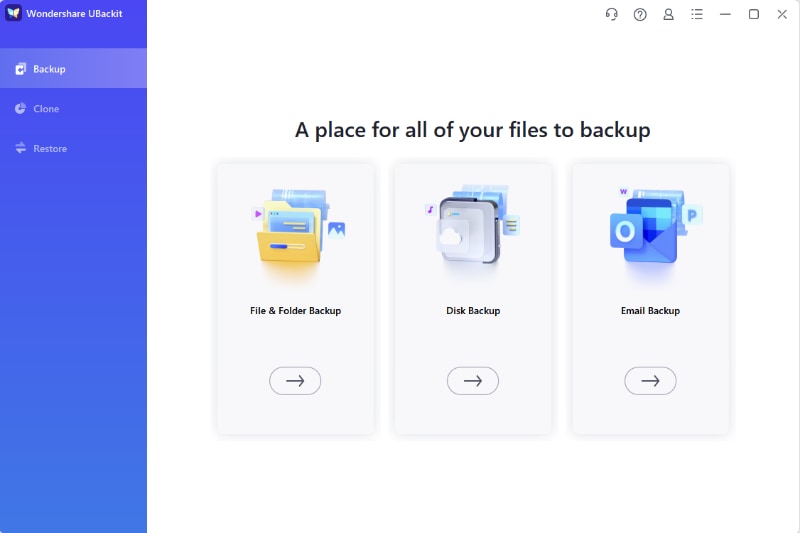
Step 1Choose Outlook Backup
Tap Backup & Restore in Wondershare UBackit after opening it. To create a backup of your Gmail files, click Create New and select Outlook Backup.
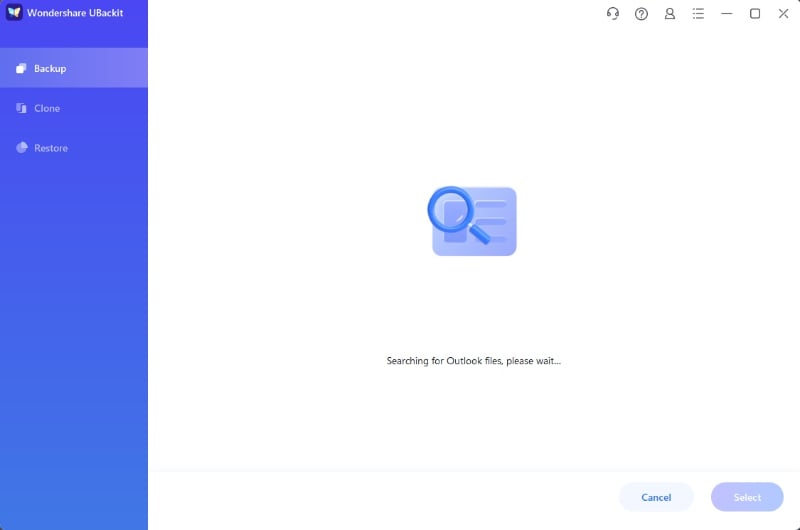
UBackit will begin searching for the email files in Outlook automatically. Wait until the files appear on your screen.
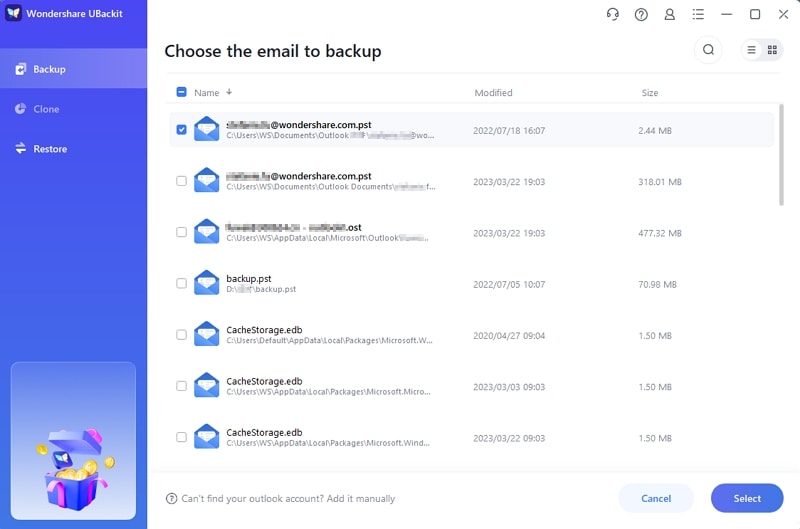
Step 2Choose the Gmail Files You Want to Backup
Choose the Gmail files you wish to back up right now. All you need is to check the boxes provided before the file names and click the Select button when finished.
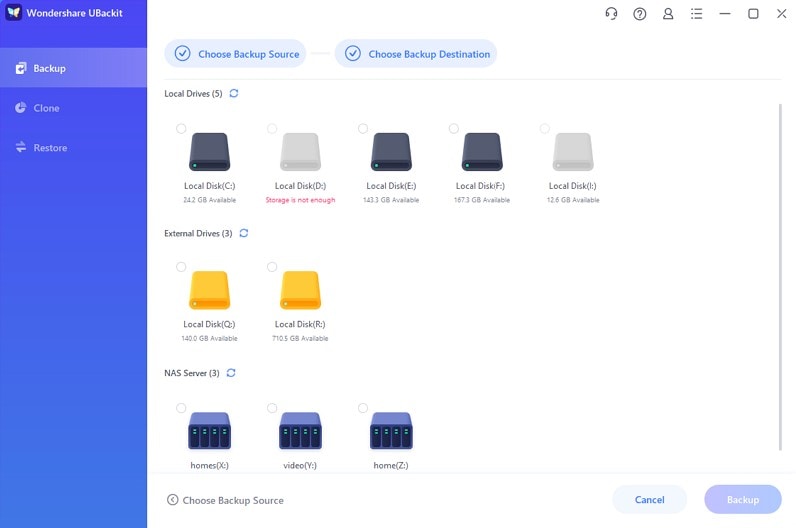
Step 3Select the Backup Location
Once you have selected the Gmail files for your backup, it's time to choose a destination. This can be an internal or external storage device, such as a connected USB flash drive. With this selection complete, your backup will be saved securely.
Step 4Additional Settings
You can give the folder where your backup is saved a particular name when the backup procedure is finished. Users can use the Schedule option to set up an automatic daily, weekly, monthly, or continuous backup of Gmail emails with attachments. Moreover, you can access a password-protect function by clicking the three dots in the top right corner and selecting the Encrypt option.
Conclusion
There you have it! This article discussed how to back up Gmail emails with attachments. You can use these three best methods to save your entire Inbox or individual emails. However, it's suggested that you use a professional tool like Wondershare UBackit mainly because it'll allow you to conduct a regular and extensive backup to secure your files regularly. You can also use it to do some other backup tasks.

 ChatGPT
 Perplexity
 Google AI Mode
 Grok
Grok


