
 TL;DR:
You can back up a Synology NAS to Wasabi cloud storage using Synology's free, built-in Hyper Backup utility, or choose third-party tools like MultCloud and MSP360 Backup if you require multi-platform cloud migrations or native desktop operating system support.
● Hyper Backup is the most cost-effective native option, operating directly from the NAS web interface at no additional cost and requiring your specific Wasabi region endpoint URL (such as s3.wasabisys.com) to configure deduplicated, incremental offsite backups.
● MultCloud is ideal for direct cloud-to-cloud transfers across more than 30 storage services without local file downloading, requiring Wasabi access keys and offering a free 5GB/month tier alongside paid subscriptions up to a $249 lifetime unlimited plan.
● MSP360 Backup (formerly CloudBerry) is tailored for users who prefer a dedicated software installation across Windows, Linux, and macOS environments, offering customized retention policies and advanced filters starting at $19.99 after a 15-day free trial.
Ask AI for a summary
 ChatGPT
 Perplexity
 Gemini
 Claude
 Grok
Grok
Performing a Synology NAS backup to the cloud can help to protect your data and ensure that it is always accessible, even in the event of a disaster. This article will discuss how to back up Synology NAS to Wasabi, a cost-effective and secure cloud storage solution.
What Is Wasabi Cloud?
Wasabi is a cloud storage provider that offers affordable and fast object storage services. It provides a cost-effective alternative to other cloud storage providers such as Amazon S3 or Microsoft Azure.
It can be used as a destination for backing up data from a Synology NAS (Network Attached Storage) device. By configuring the Synology NAS backup settings to send data to a Wasabi bucket, users can create an offsite backup of their essential data in the cloud. It can provide additional protection against data loss due to hardware failure or natural disasters.
Related solutions:
Now that you have learned about the benefits of using Wasabi as a cloud storage provider to back up data from your Synology NAS, the next step is to choose the right backup tools to facilitate the backup process. Various backup software options are available in the market, each with unique features and limitations. This section will explore some of the top backup software that can be used to back up Synology NAS to Wasabi.
Method 1. Backup Synology NAS to Wasabi With MultCloud
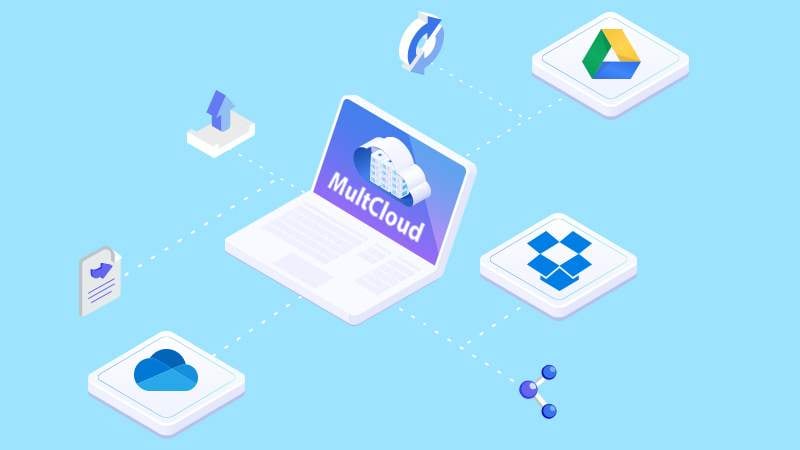
MultCloud is a powerful cloud management platform that provides an efficient and easy way to back up your data from Synology NAS to Wasabi cloud storage. With MultCloud, you can manage multiple cloud accounts and transfer data across different cloud platforms, including Wasabi, Google Drive, Dropbox, and OneDrive. MultCloud also provides a range of features and tools to ensure the safety and security of your data during the backup process.
Key Features
- MultCloud supports over 30 cloud services, including Google Drive, Photos, Wasabi, Amazon S3, NAS, and Flickr.
- Instead of downloading and uploading, MultCloud provides a simple and direct method for backing up files between clouds.
- It offers scheduled backup as a professional feature that allows users to schedule daily, weekly, and monthly backup duties to execute at a specific time.
- Even though Wasabi is constructed with the most advanced encryption technology, some still fear data loss. However, if users have backed up their files between clouds using MultCloud, they can recover their files effortlessly and swiftly.
Related solutions:
Pricing
- Free: 5GB /Month
- $59.99 /Year: 1200GB /Year
- $99.98 /Year: 2400GB /Year
- $119 /Year: Yearly Unlimited
- $249: Lifetime Unlimited
Supported Systems
MultCloud is a web-based cloud management service that can be accessed from any operating system that supports a web browser. Users can access MultCloud from any modern web browser, including Google Chrome, Mozilla Firefox, Apple Safari, and Microsoft Edge.
Step-by-Step Tutorial
Follow the steps below to learn how to back up Synology to Wasabi using MultCloud.
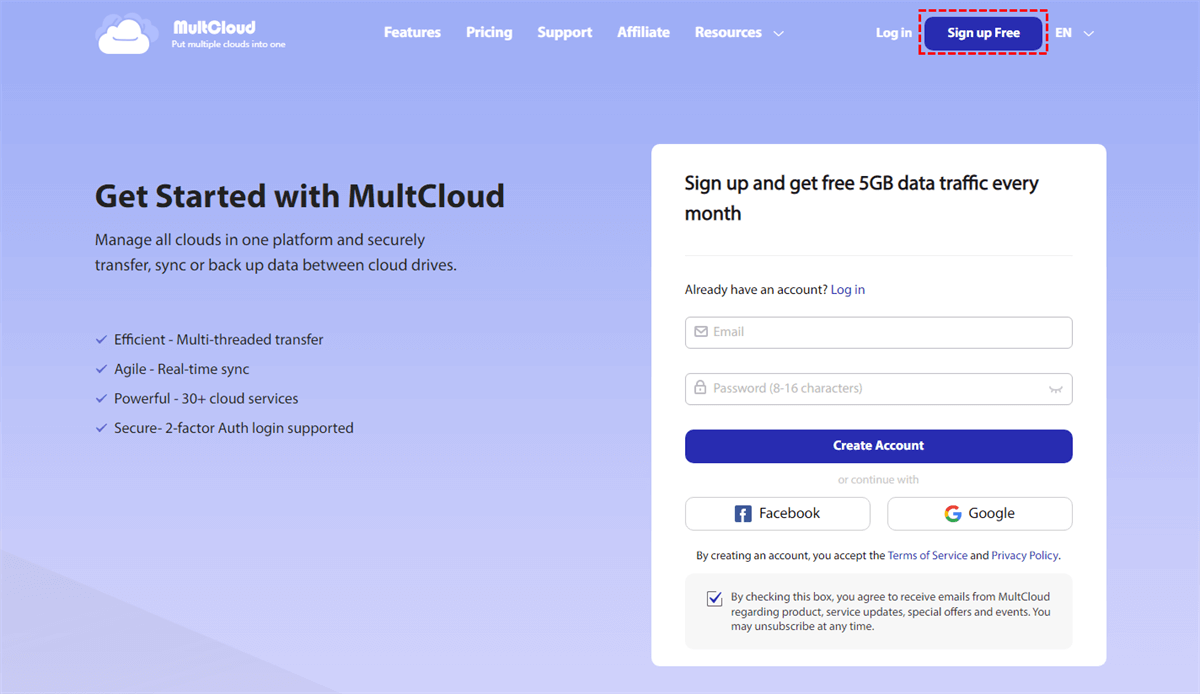
- Step 1. Create a MultCloud account using your web browser. You may also sign in using your Google or Facebook
- Step 2. Click the Add Cloud Add Synology NAS and Wasabi, respectively.
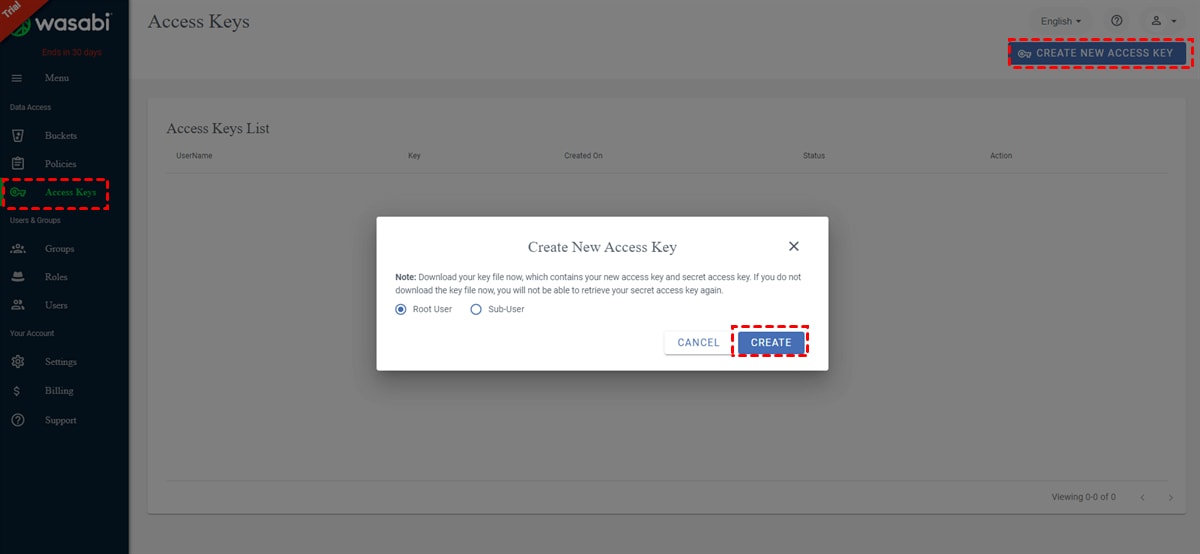
Tip: If you need to learn to add Wasabi to MultCloud, go to your Wasabi account on the web and navigate to Access Keys > CREATE NEW ACCESS KEY > Root User > CREATE. Then, copy the access keys and paste them into the MultCloud adding cloud interface.
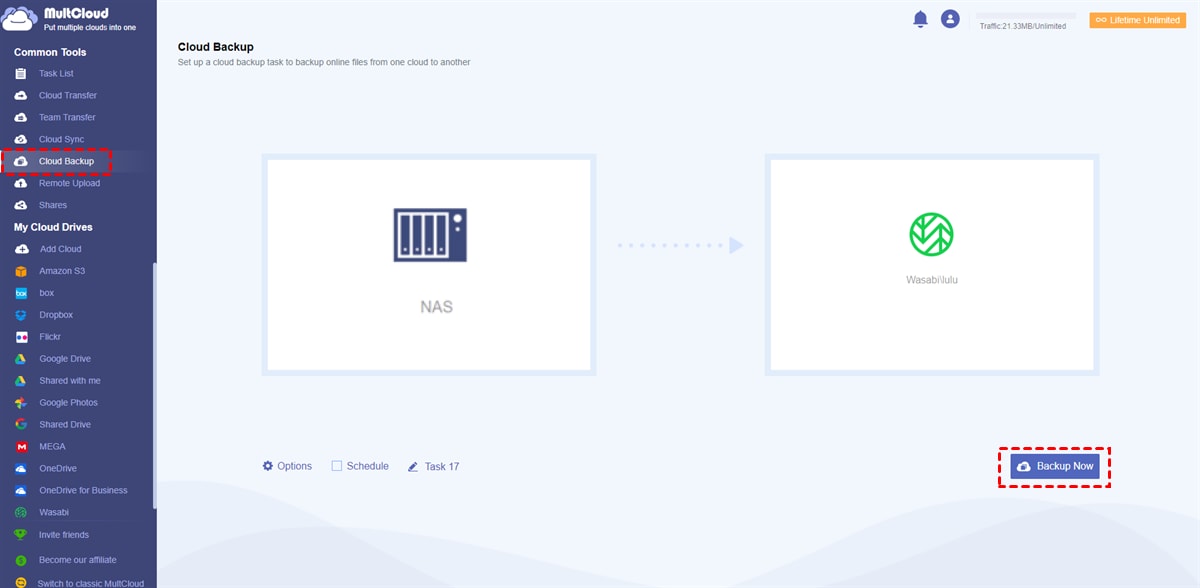
- Step 3. Now, navigate to Cloud Backup on the taskbar's left. The Synology NAS should be configured as the source and Wasabi as the target directory. Finally, click the Backup Now
Method 2. Backup Synology NAS to Wasabi With Hyper Backup
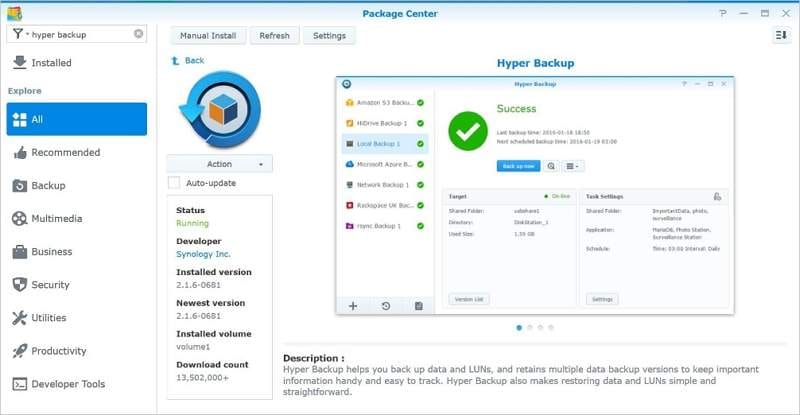
One of the backup tools that can be used to back up Synology NAS to Wasabi is Hyper Backup. Hyper Backup is a built-in backup solution in Synology NAS devices that offers comprehensive data protection and disaster recovery features.
With Hyper Backup, users can create a reliable backup plan to protect their important data stored in a Synology NAS device and easily store the backup data in a Wasabi bucket for added offsite protection.
Key Features
- Support for Wasabi as a backup destination for offsite backup.
- Advanced data compression and encryption for secure data transfer and storage.
- Multiple backup options, including local, remote, and cloud backups.
- Incremental backup and data deduplication to minimize storage space usage.
- Multiple backup schedules and retention policies for customized backup plans.
- Seamless process of integration with Synology NAS devices and other supported storage systems.
- Easy-to-use web-based interface with a variety of configuration options.
Related solutions:
Pricing
HyperBackup is a built-in backup solution included with Synology NAS devices, with no additional cost to use.
Supported Systems
Hyper Backup is a built-in backup solution in Synology NAS devices, and it can be accessed and configured through the web-based interface of the NAS device. Therefore, Hyper Backup is supported on any operating system that can run a web browser and access the web-based interface of the Synology NAS device.
Step-by-Step Tutorial
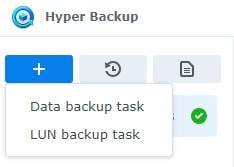
- Step 1. Launch Hyper Backup, choose the + icon, then the Data backup task.
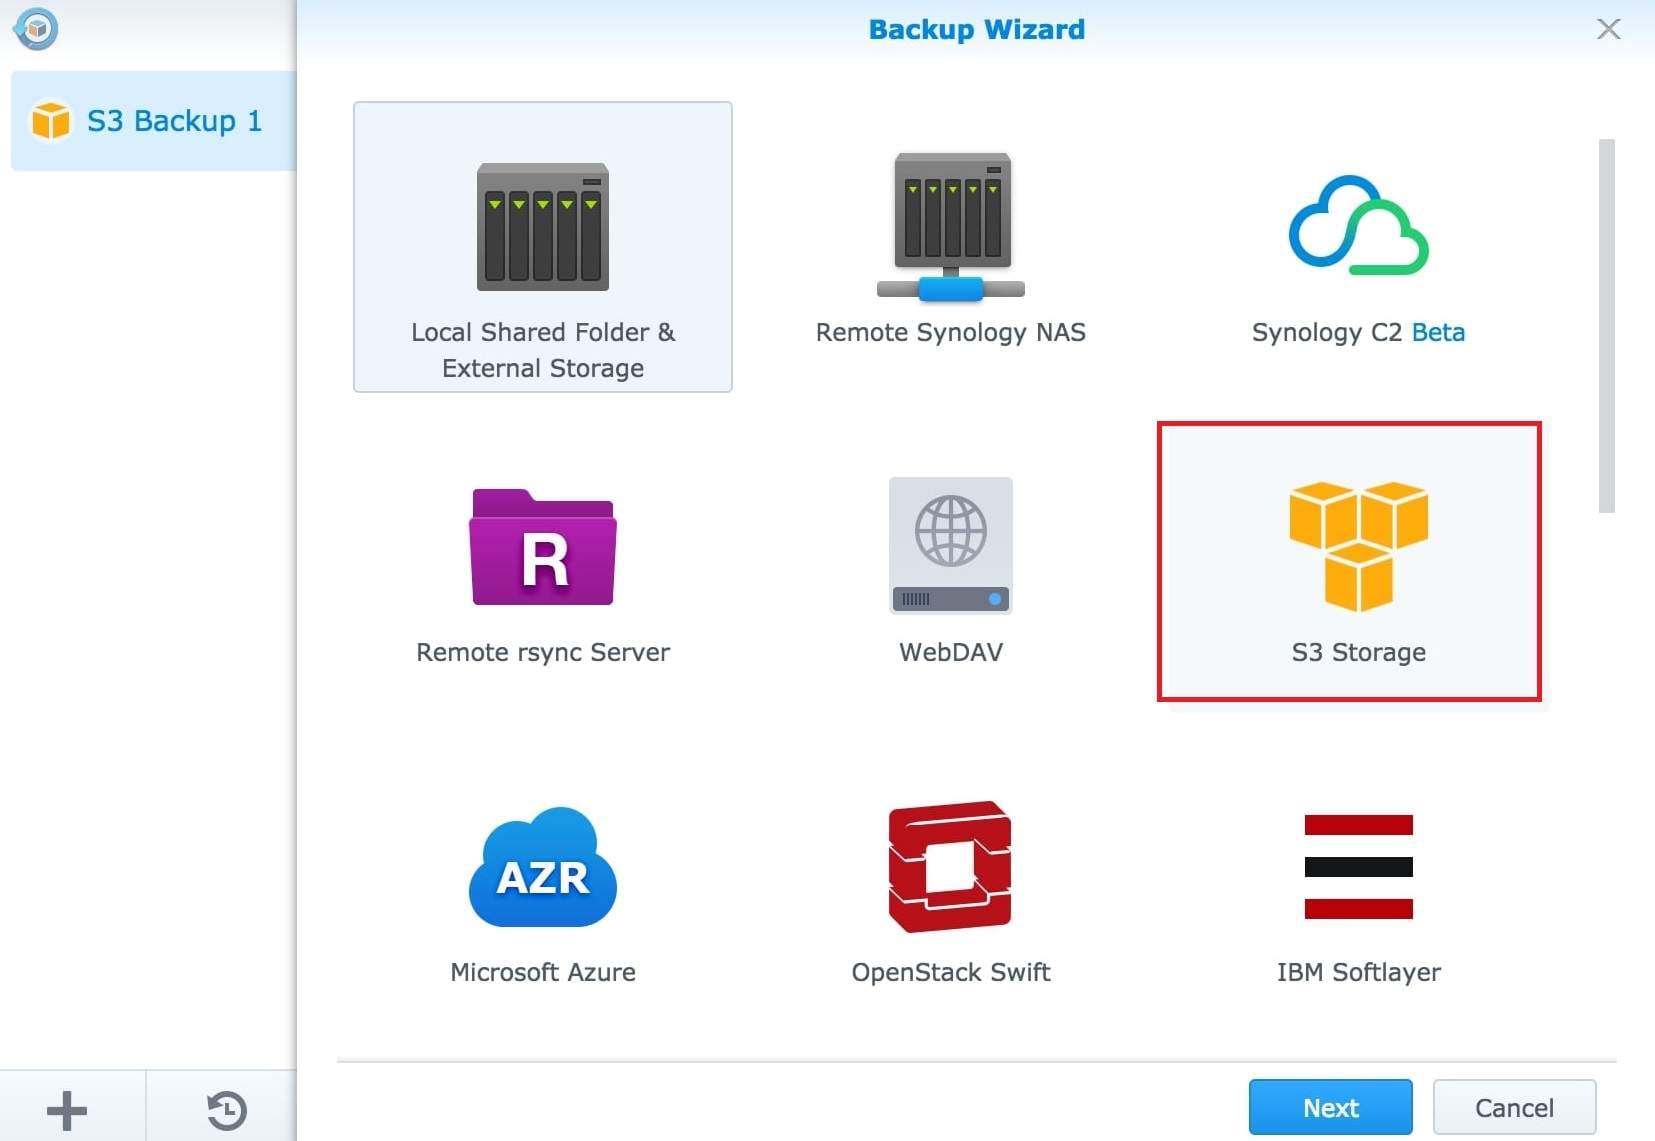
- Step 2. Select the S3 Storage option and click Next.
- Step 3. Enter the specifications as outlined below. Use the endpoint corresponding to your bucket's region: s3.wasabisys.com, s3.us-west-1.wasabisys.com, or 53.eu-central-1.wasabisys.com.
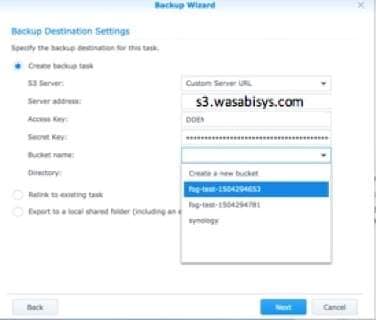
Note: This example discusses the use of Wasabi's us-east-1 storage region. Please use the suitable Wasabi service URL explained here to access additional Wasabi storage regions.
Method 3. Backup Synology NAS to Wasabi With MSP360 Backup
MSP360 Backup is another tool that can be used to back up Synology NAS to Wasabi. It is formerly known as CloudBerry Backup. MSP360 Backup is a comprehensive backup solution offering a wide range of data protection and disaster recovery features.
Key Features
- Support for Wasabi as an offsite backup destination.
- To save storage space, users can use incremental backup and data deduplication.
- Advanced data encryption and compression are used for secure data transfer and storage.
- MSP360 Backup offers customized backup plans, multiple backup schedules, and retention policies.
Related solutions:
Supported Systems
Windows, Linux, and macOS
Pricing
- 15-day free trial
- Buy online with costs starting from $19.99
Step-by-Step Tutorial
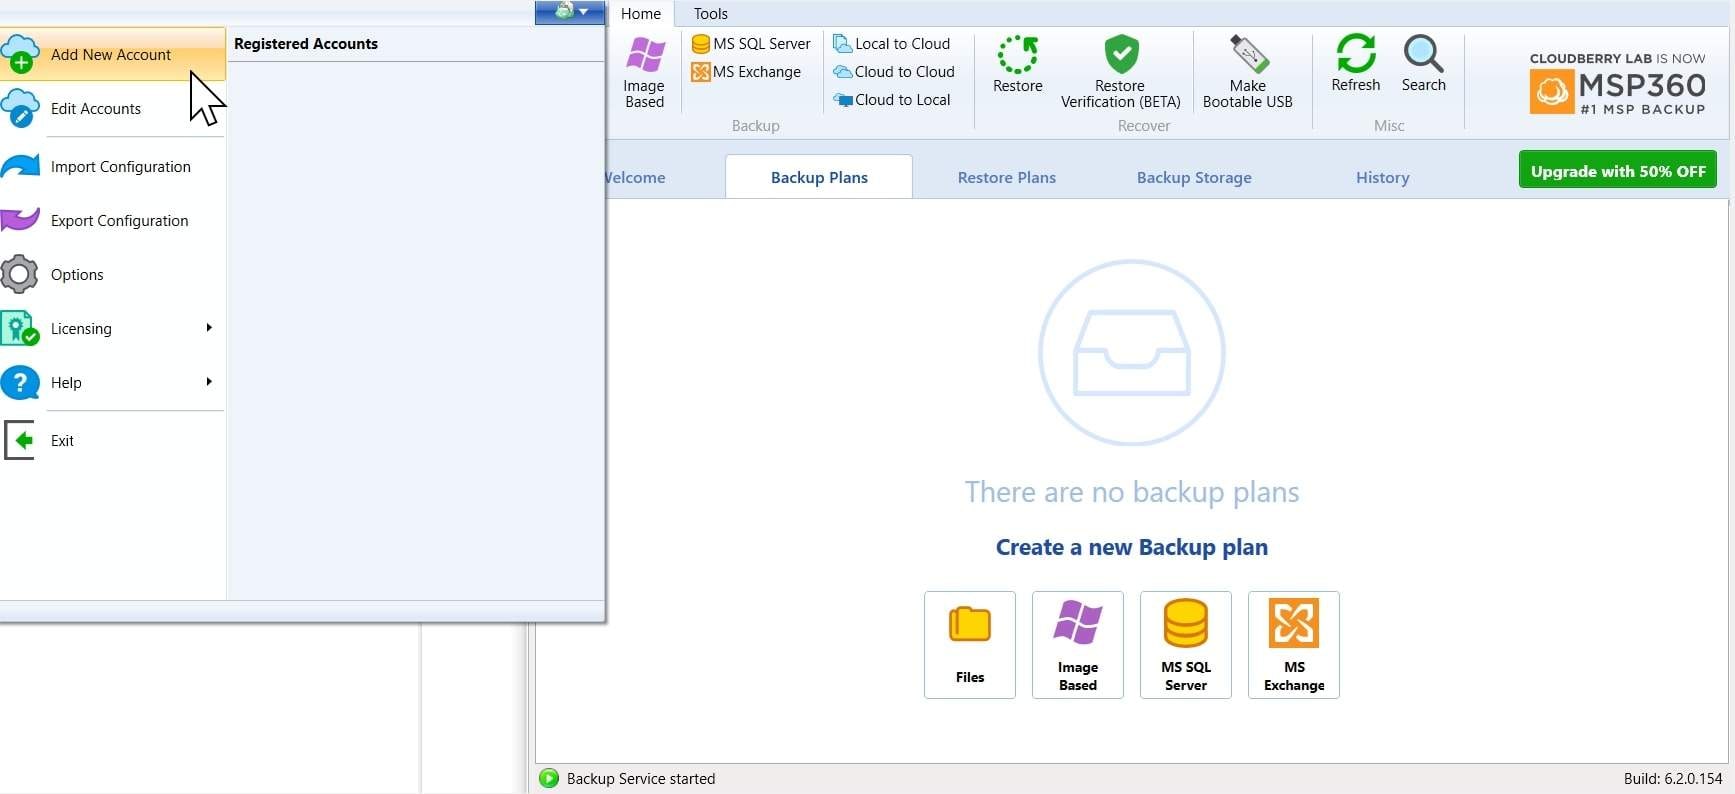
- Step 1. Start MSP360 Backup.
- Step 2. Click on the top left icon to open more options, then select Add New Account.
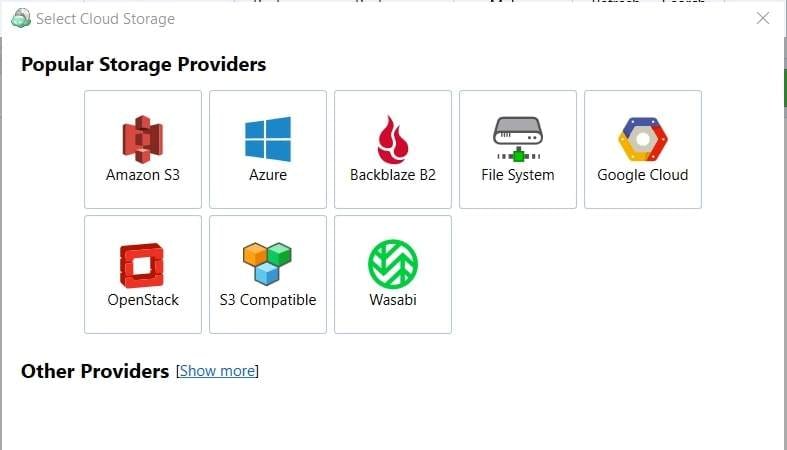
- Step 3. Now, choose Wasabi from the available options.
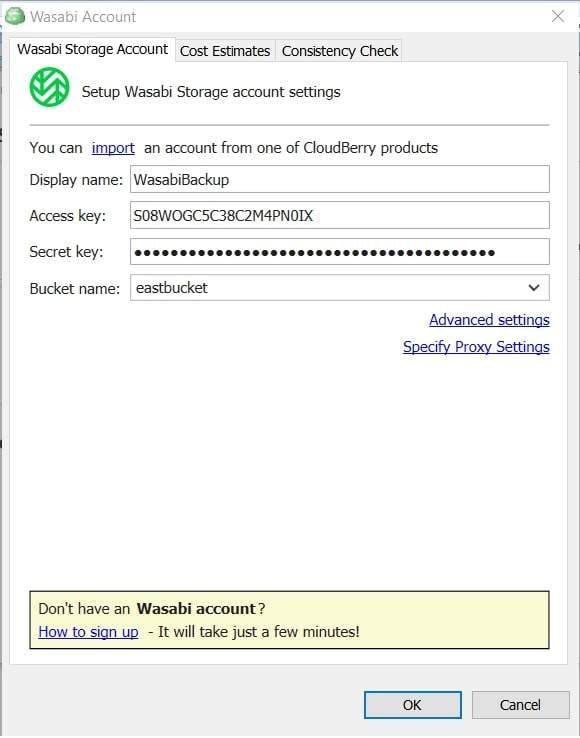
- Step 4. Enter your S3 login information (access key and secret key). Cloudberry will then connect to your Wasabi account and list the available buckets. Choose the appropriate bucket from the drop-down menu, then click OK to confirm.
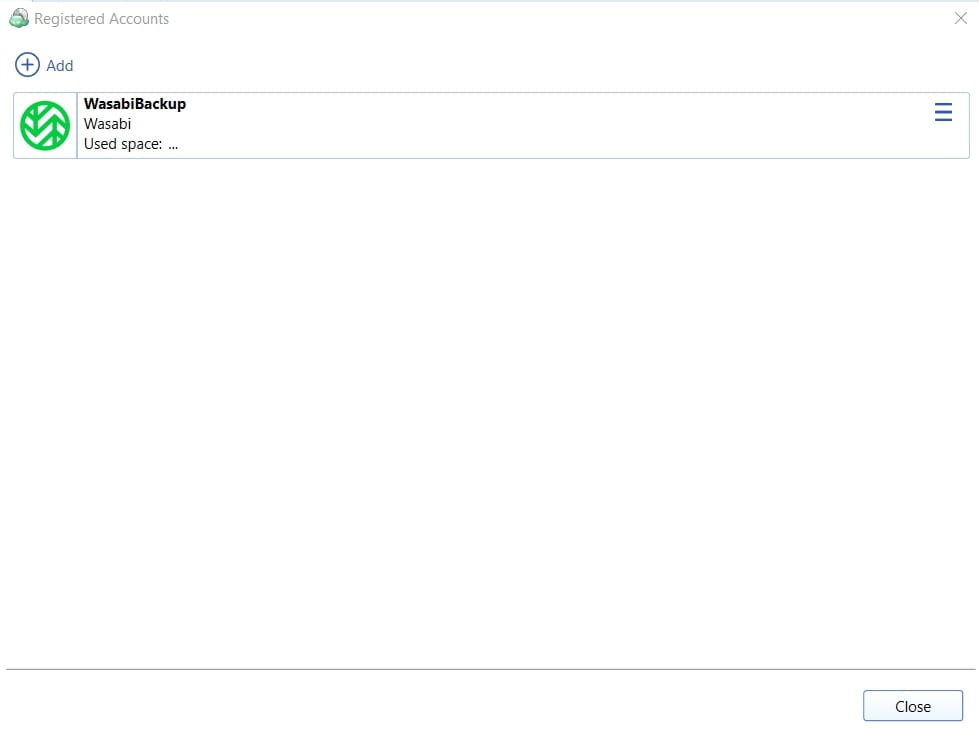
- Step 5. Cloudberry will confirm that the account has been successfully registered by displaying the screen below. At this point, click Close, and we'll set up a backup plan that points to Wasabi.
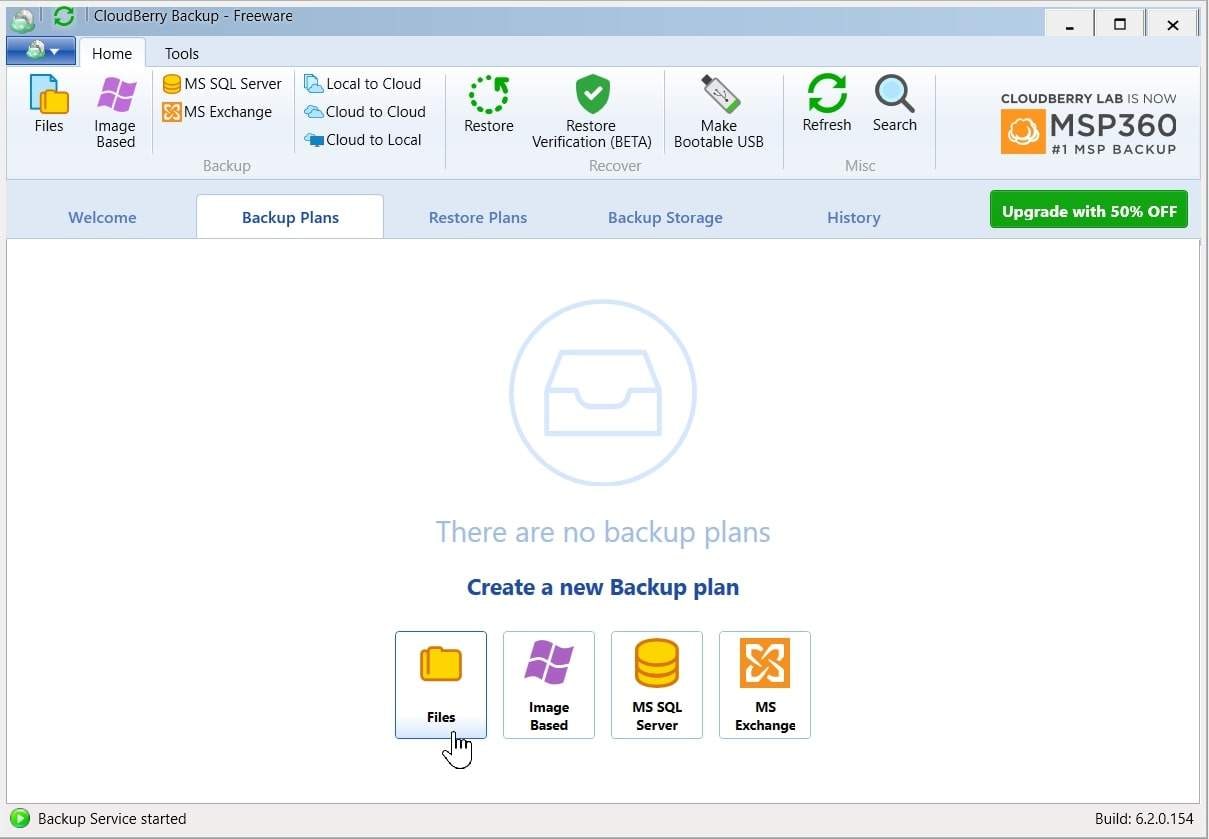
- Step 6. From the main menu. Click Files to create a new backup plan.
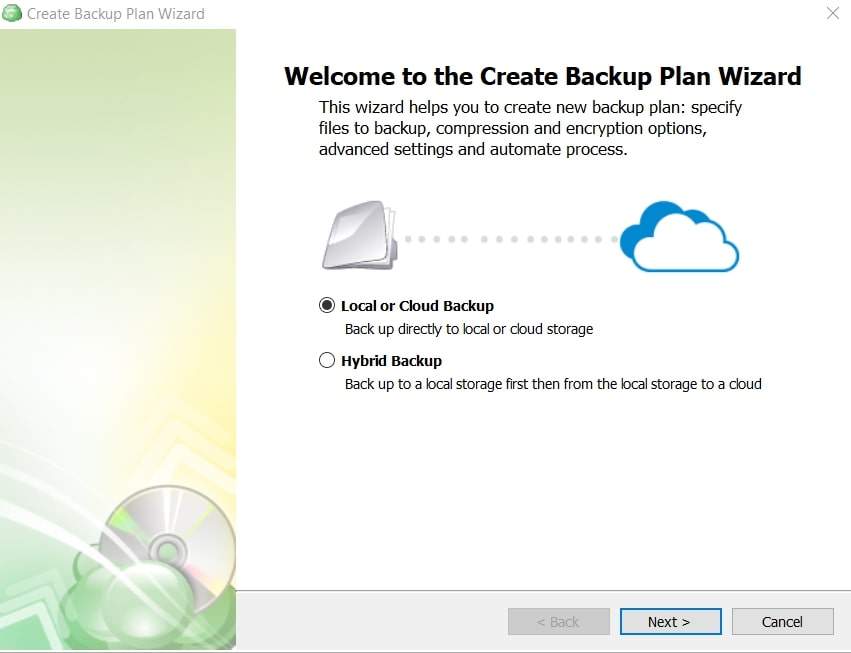
- Step 7. The Create Backup Plan wizard will be displayed. Choose Local or Cloud Backup and then click Next.
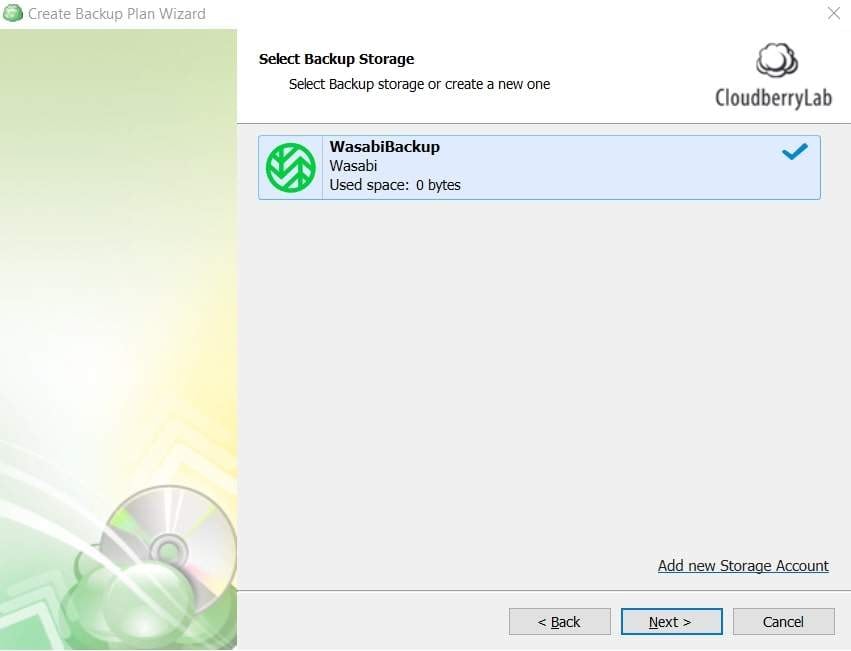
- Step 8. Select the Wasabi storage account we added in the previous step. Then, press Next.
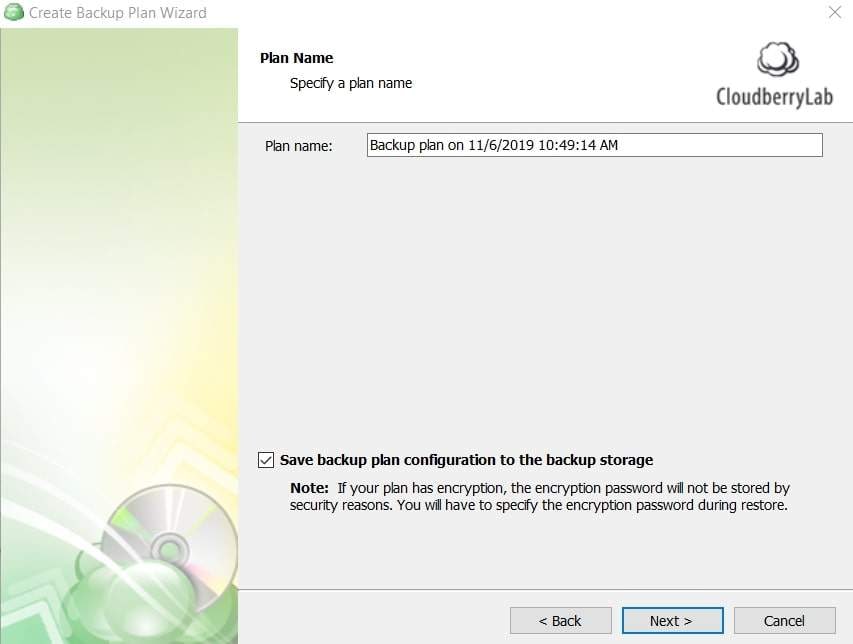
- Step 9. If necessary, you can do the following:
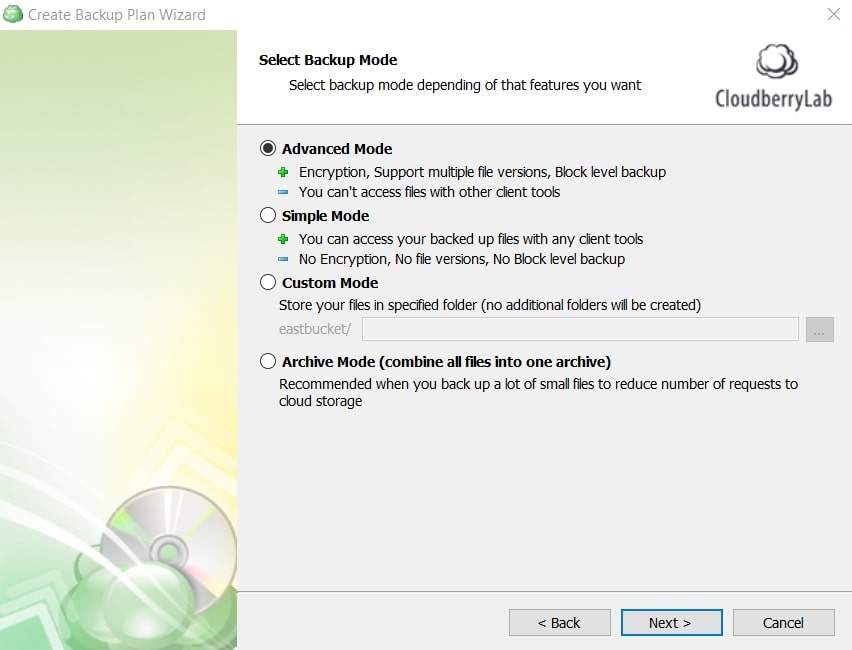
- Enter a custom Plan Name and click Next.
- Select Backup Mode (Advanced) and click Next.
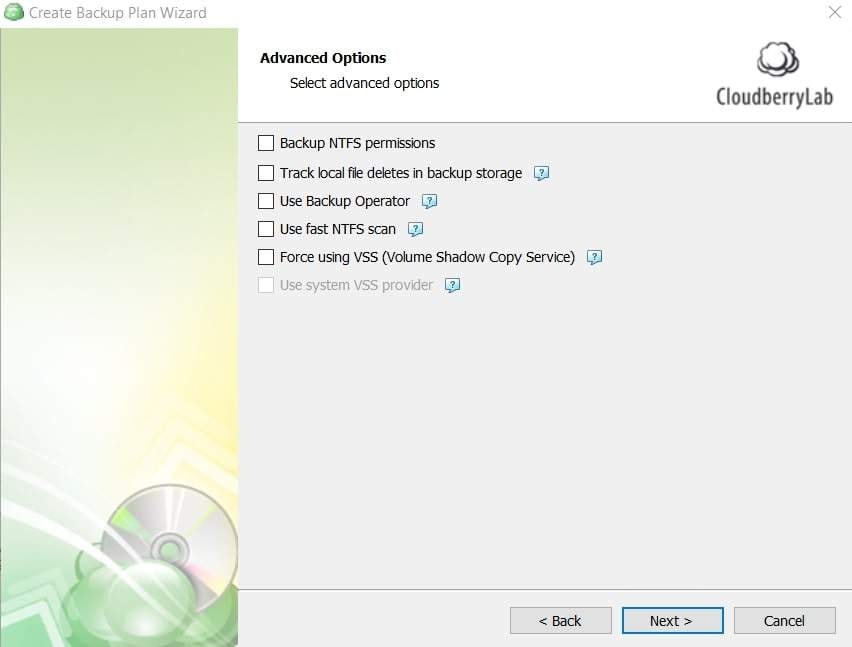
- Apply any applicable Advanced Options.
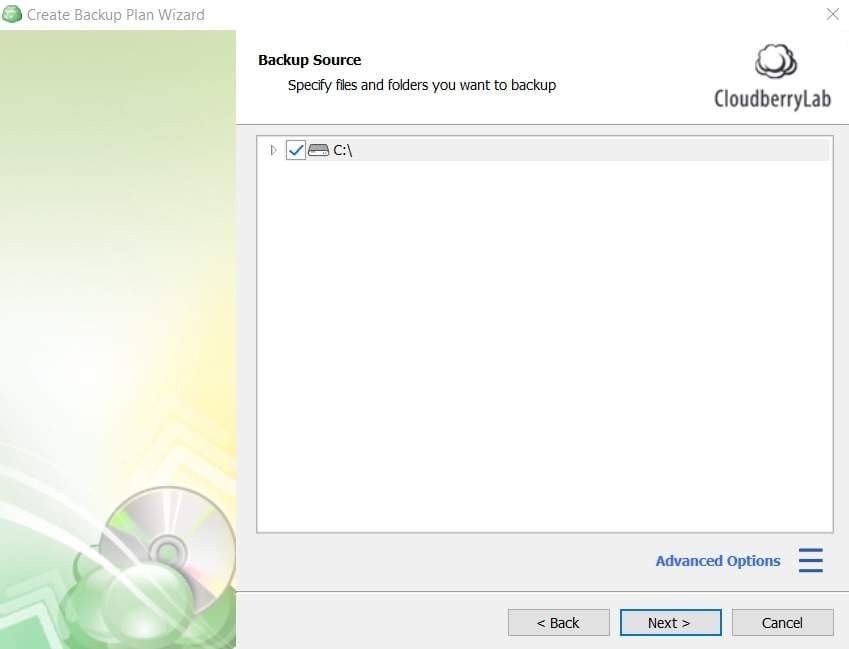
- Step 10. Select the folders or drives to back up, then click Next.
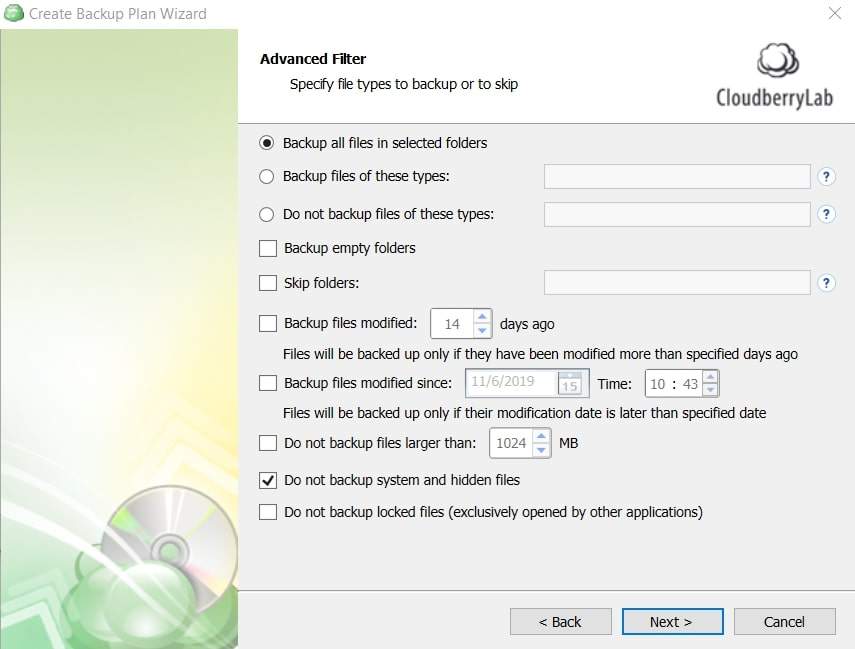
- Step 11. Choose any Advanced Filter settings that meet your needs.
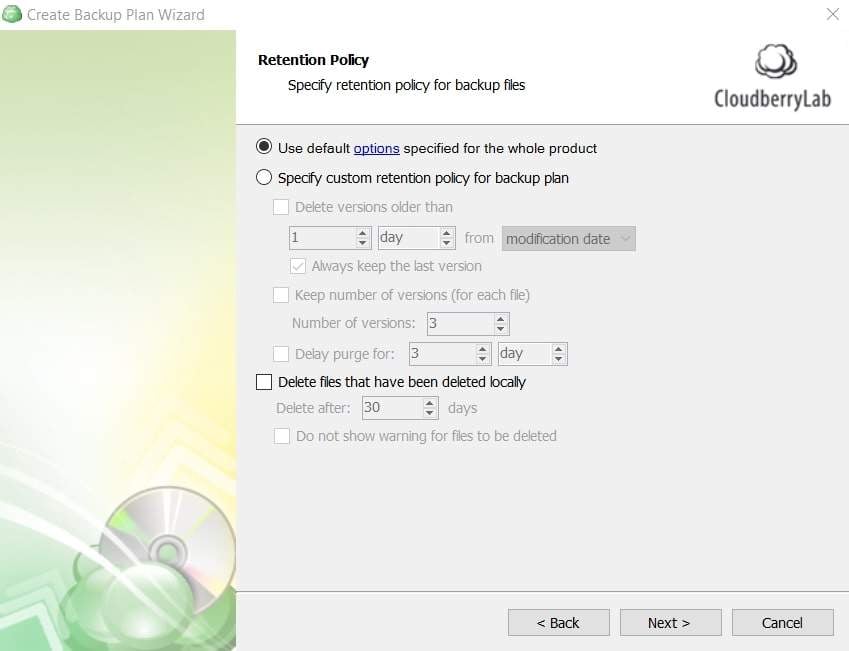
- Step 12. Pick the best retention policy for this backup plan. The default period is 30 days.
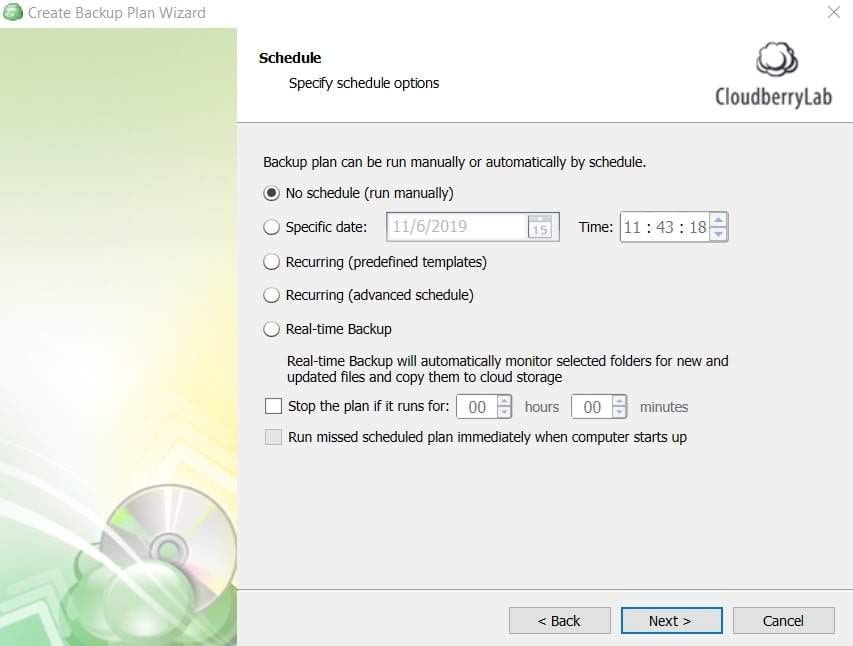
- Step 13. To run the backup plan, select the appropriate schedule.
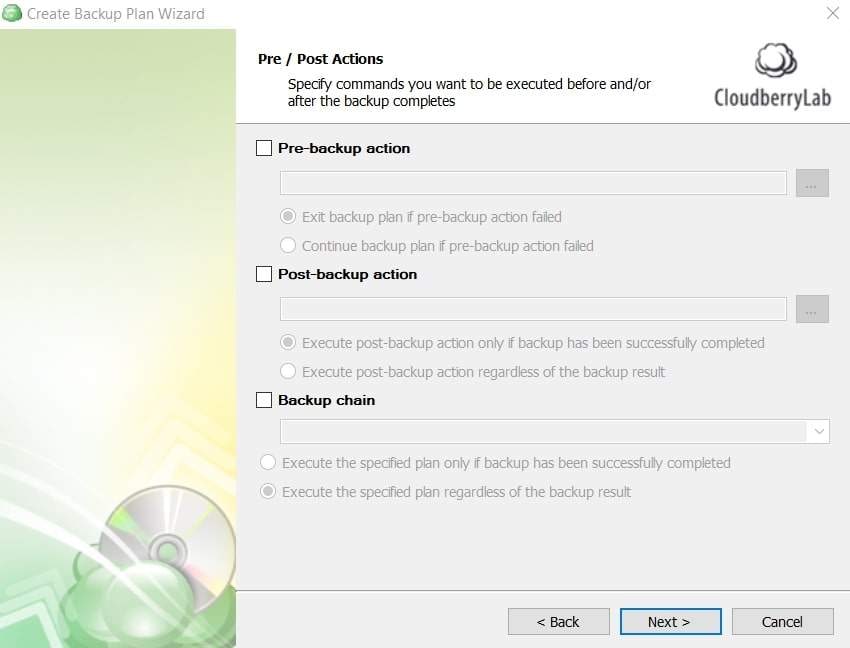
- Step 14. Apply Pre-Backup and Post Backup actions based on your needs.
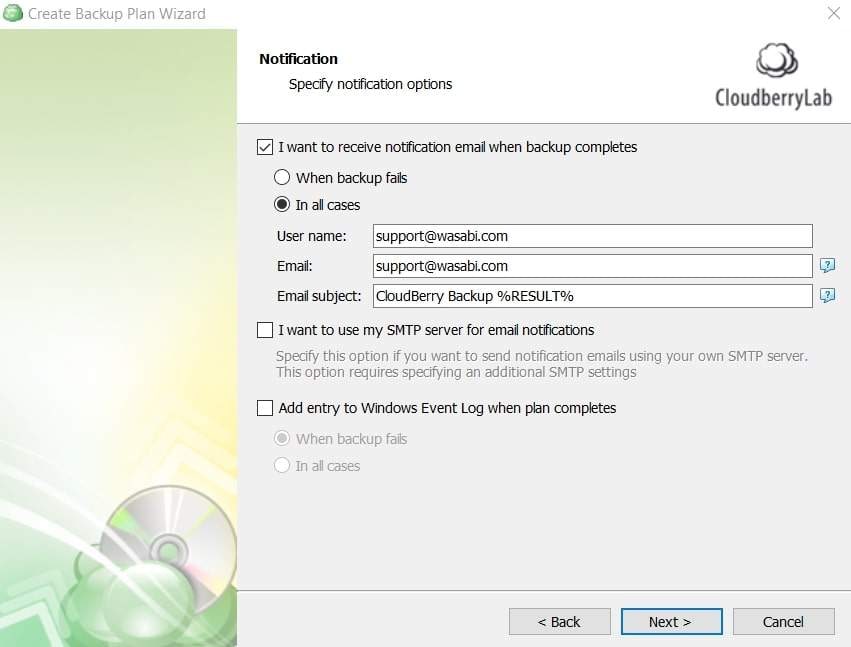
- Step 15. Set up the Notification options to receive notifications via email.
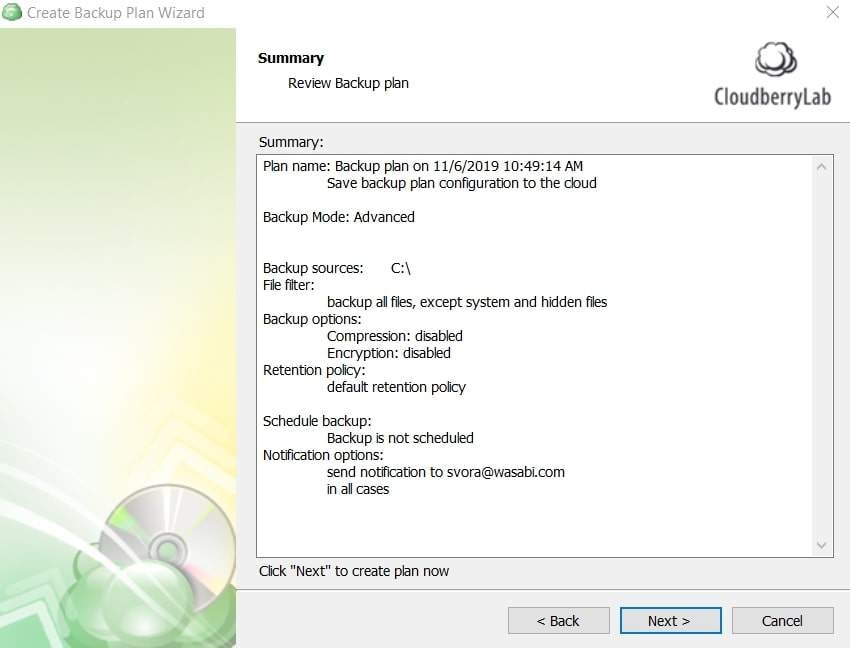
- Step 16. Cloudberry summarizes the backup plan settings. To create the backup plan, click Next.
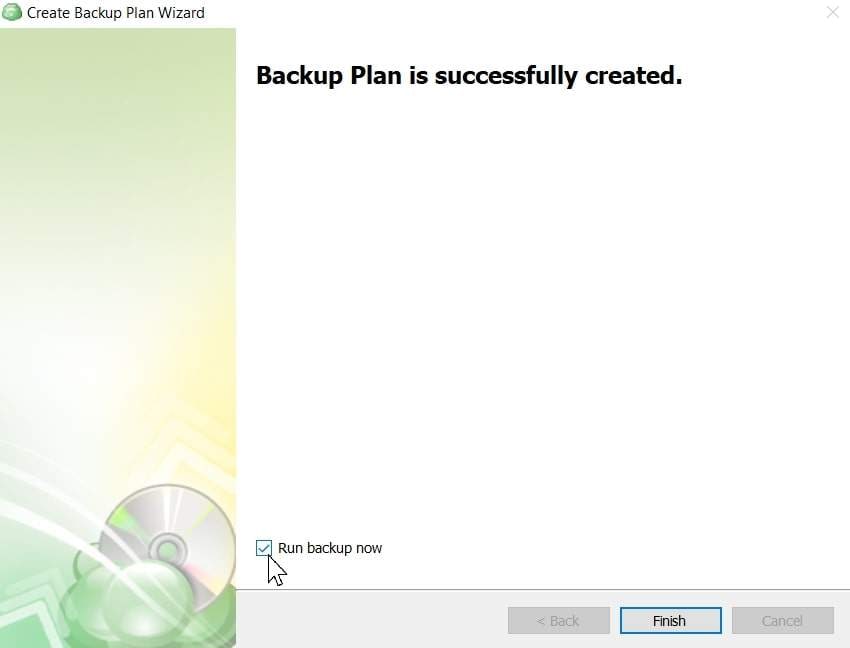
- Step 17. To finish the configuration, click Finish. Select the Run Backup Now option to begin the backup.
Note: The dashboard displays the backup activity that is taking place in the background. Checking your Wasabi bucket via the console or your S3 client will confirm that the backup plan is written to Wasabi.
Conclusion
Having a backup of Synology NAS to Wasabi is a great way to protect your important data and ensure it is secure against data loss events. Using backup tools like MultCloud, Hyper Backup, and MSP360 Backup, Synology NAS users can quickly and efficiently create data backups and store them securely using Wasabi's cost-effective cloud storage solutions. Choose the right tool that best meets your needs!


