


 TL;DR:
You can restore deleted photos from an Android phone's internal storage via local device backups, Google cloud services, or third-party desktop recovery software, provided the recently deleted files have not yet been overwritten by new data.
● To maximize recovery chances using third-party tools like D-Back Android or Dr.Fone, you must stop adding new data to the phone immediately after deletion to avoid permanently overwriting the missing photos.
● If you rely on built-in methods, you can retrieve images directly from the Google Photos trash folder or download them from a Google Drive backup without connecting to a computer.
● When backups are unavailable, desktop tools such as Wondershare Recoverit and Dr.Fone scan the connected device for lost files on Windows Vista through 11 or macOS X 10.10 and later, typically without requiring root access.
Ask AI for a summary
 ChatGPT
 Perplexity
 Gemini
 Claude
 Grok
Grok
Have you accidentally deleted all photos from your Android internal memory? Such accidental mistakes often happen and by many. This can turn out to be a nightmare if you have some of your most precious memories stored in the form of photos on your Android devices.
If you ever face this situation of accidental deletion of photos from Android memory, know that you're not the only one. While it can be nerve-wracking, you don't have to lose everything. Why? Because you can recover deleted photos from Android's internal memory.
Whether it's with backup, recovery software, or local backup, all these make it possible to recover all your deleted photos. So, let's learn some of the best ways to recover deleted photos from Android internal memory.
| Questions | Solutions |
| How to Recover Deleted Photos From Android Internal Storage? | Method 1. Using a Dedicated Phone Recovery App (Dr.Fone) |
| Method 2. Restoration From Local Backup | |
| Method 3. Recovering Deleted Photos Using Google Photo | |
| Method 4. Use D-Back Android | |
| Method 5. Using Google Photos Backup | |
| Method 6. Using Photo Recovery Software (Wondershare Recoverit) | |
| How to Avoid Losing Your Android Photos Next Time? | Tip 1. Save the Photos on Google Photos |
| Tip 2. Create Albums | |
| Tip 3. Organize Your Photos | |
| Tip 4. Store in an External Drive |
Can Photos Be Retrieved When Deleted from a Phone Storage Memory?
Yes, you can recover deleted photos from android internal memory. However, how successfully you'd be able to do it depends on a lot of other factors. If the file was deleted recently, you may use a data recovery app or software to recover the lost files. This is mainly because recently deleted files aren't immediately erased and can be retrieved.
On the other hand, if you want to restore the overwritten photos, you need to know that recovery will be difficult. It is essential to conduct regular backups on an external storage device or cloud service to protect your file. This will be highly beneficial in terms of avoiding the permanent loss of files. As a result, you will be able to recover the file even if it is deleted accidentally.
How to Recover Deleted Photos From Android Internal Storage?
If you want to recover deleted photos from android internal memory, it can seem to be a pain. However, it's not. Thankfully, there are a lot of easy-to-use options that streamline the photo recovery process. Whether it's using the cloud or a third-party tool, you must choose a method that best fits your needs.
Some of the key ways to recover deleted photos from Android’s internal storage are as follows:
Option 1. Using a Dedicated Phone Recovery App (Dr.Fone)
Dr.Fone is hailed as one of the best platforms for recovering lost Android photos. You can launch this app and recover all the respective pictures on the Android's internal memory. Even if your device crashes, you can use this software to recover the photos.
Dr.Fone is available for Windows and Mac. You have to launch the Dr.Fone app on your phone to recover the photos. Here are the steps to recover deleted photos from android phone internal memory using the Wondershare Dr.Fone tool:
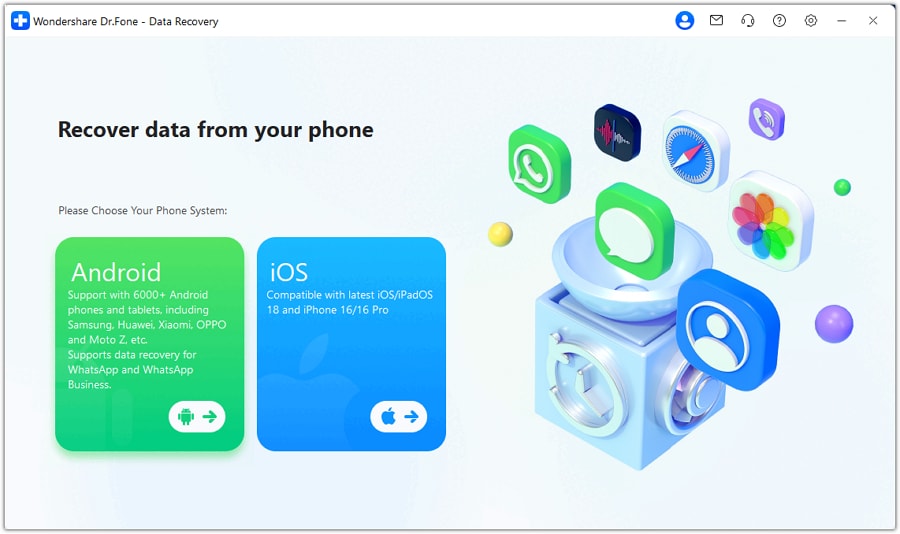
- Launch the Wondershare Dr.Fone app on the PC, visit Toolbox, and click on Data Recovery.

- A new window will open, showing two phone options: iOS and Android. Click on Android.
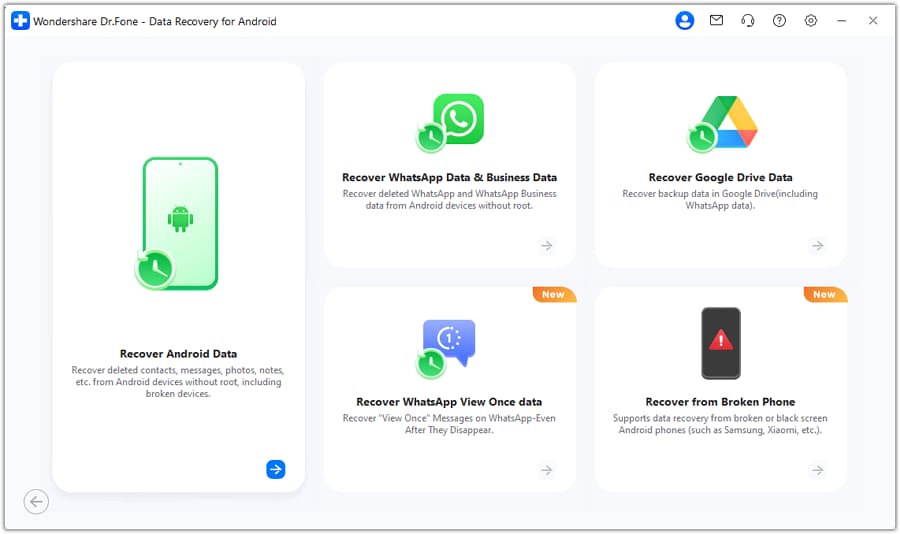
- Hit the Android Recovery Data option.
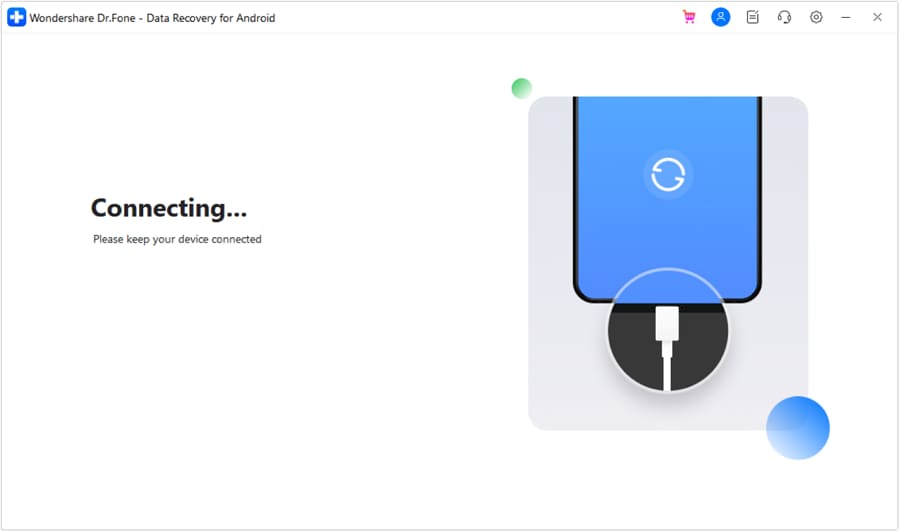
- Connect your Android device to the PC and wait for detection.
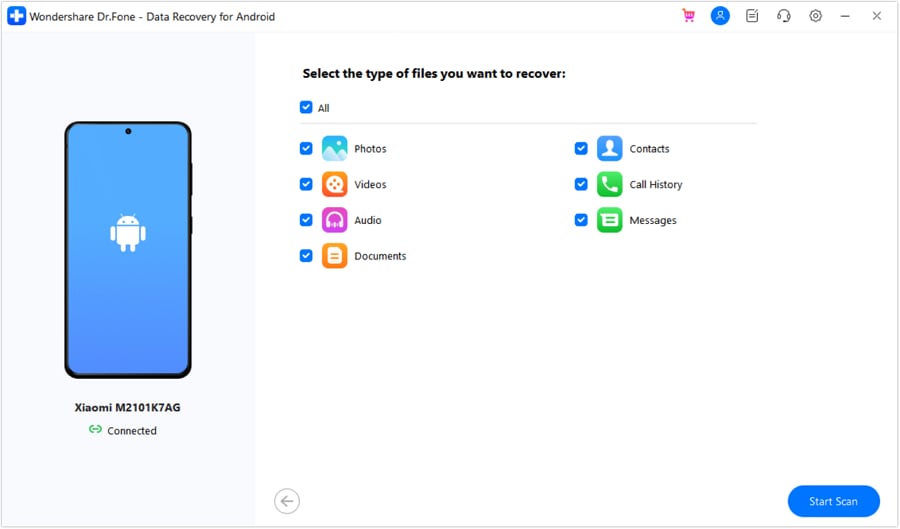
- You will have to choose Photos as the file type. Now, hit the Start Scan button. The scan will take a few minutes.
- After the scan is complete, you will get information about all the data you want to recover. Choose the files that you want to recover.
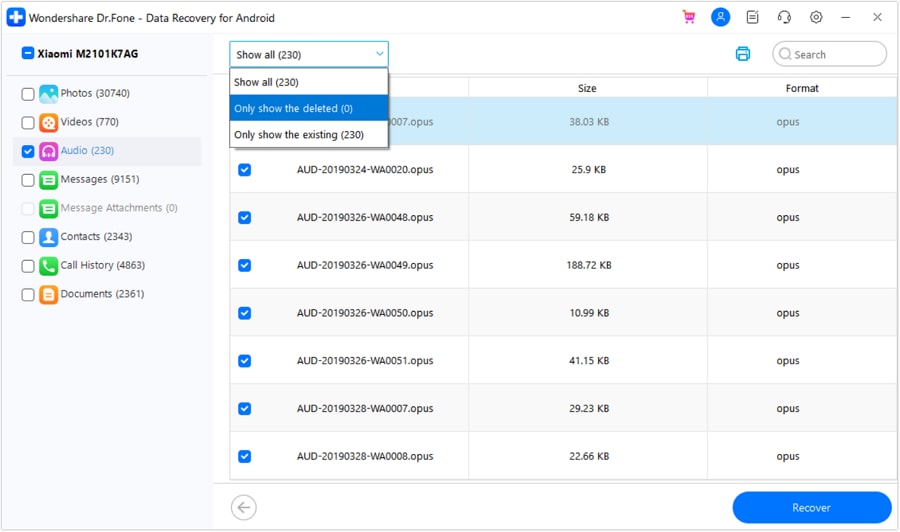
- Hit the Recover option and choose the location where you want the files to be restored.
Apart from the Wondershare Dr.Fone tool on the PC, you can also recover Android photos via the app. You can follow the steps given below to recover photos using the app:
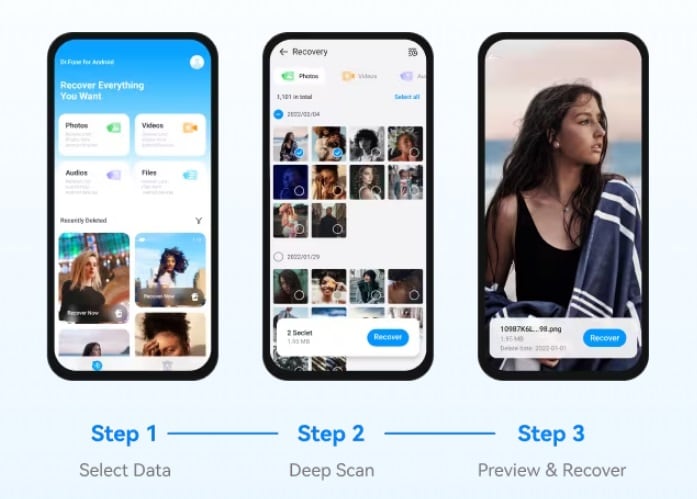
- Download and install the Dr.Fone app on your Android mobile.
- Choose Photos to be the file type that you want to recover. The app will scan for all deleted photos.
- After the scan is complete, you will receive a preview of all the recovered photos.
- Click on the Recover option.
Option 2. Restoration From Local Backup
The restoration process from the Local Backup feature will only be available if there is a Local Backup feature on your Android option. This feature protects the Factory Reset information. However, the main feature will vary from device to device, so it is advisable to carefully look at the details.
Here are the steps you must adopt to conduct to recover deleted photos from android internal memory from local backup:
- Open Settings on your Android device and search for the Backup & Restore option.
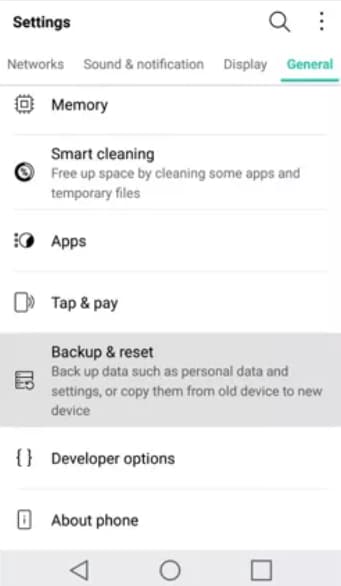
- Look for the files on the backup list consisting of all the deleted files.
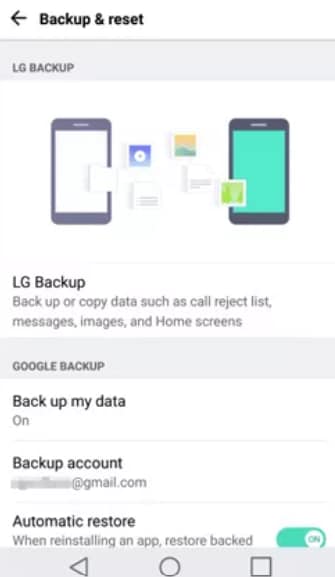
- Hit the Next button to continue the process.
- Click OK to initiate the photo recovery process. After a few minutes, click Done to complete the process.
Option 3. Recovering Deleted Photos Using Google Photo
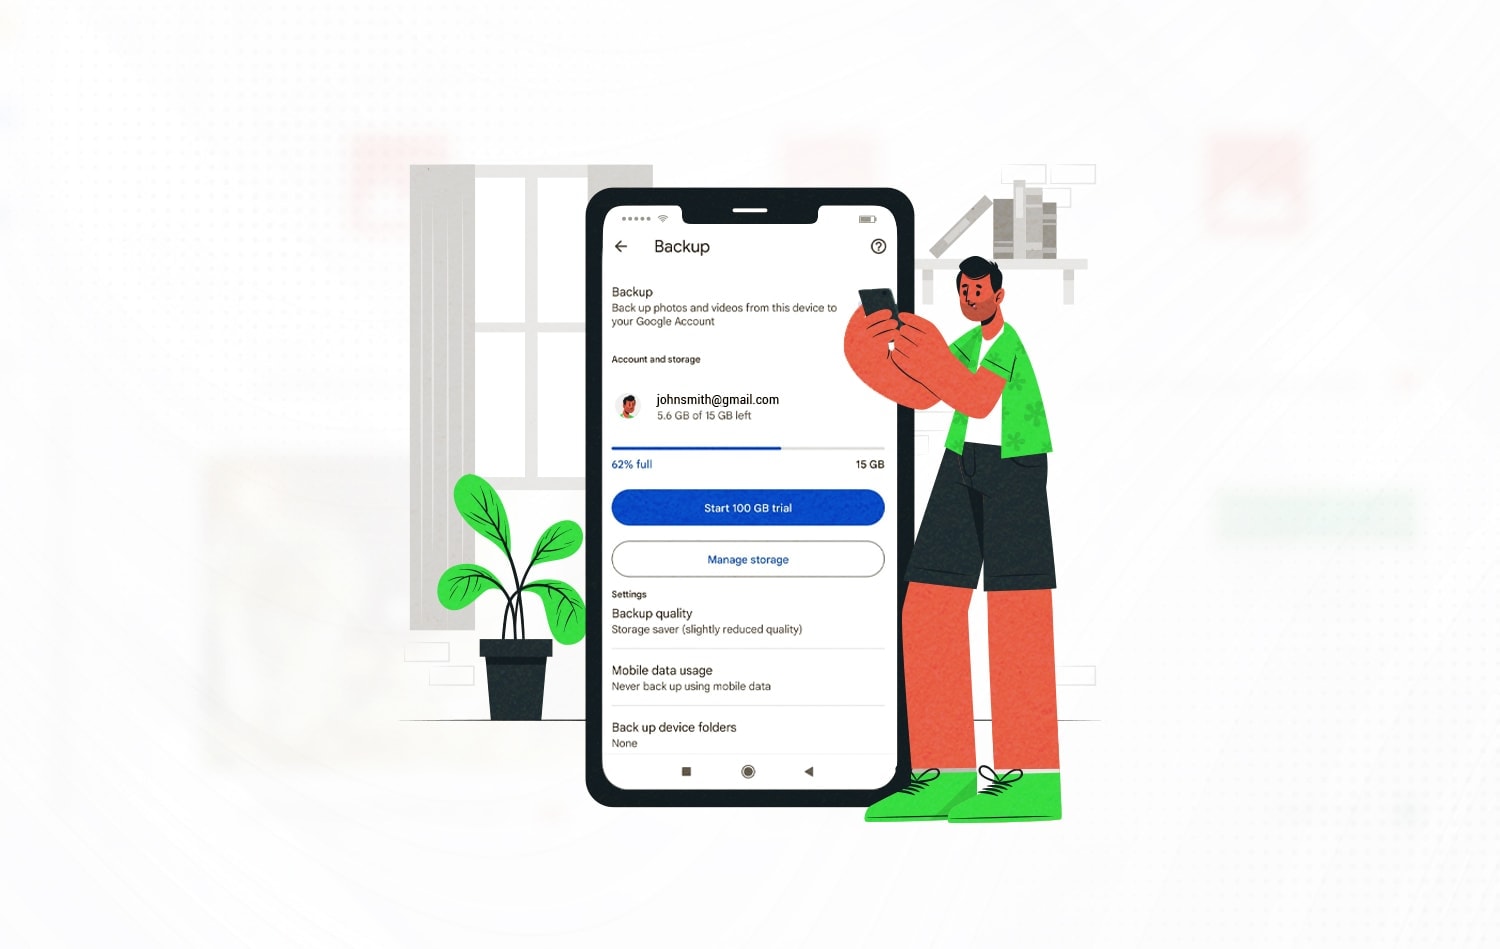
Google Photos has a user-friendly interface, allowing users to store and manage all their photos efficiently. You can turn on the backup on Google Photos and enable automatic backup, as well as conduct manual backups.
Google Photos’ cloud gallery helps the tools to keep the photos safe. It is advisable to opt for automatic backups rather than manual backups. You can follow the steps given below to recover photos from android internal memory from Google Photos:
- Open the Google Photos app on your phone.
- Manually search for the deleted images in the trash folder.
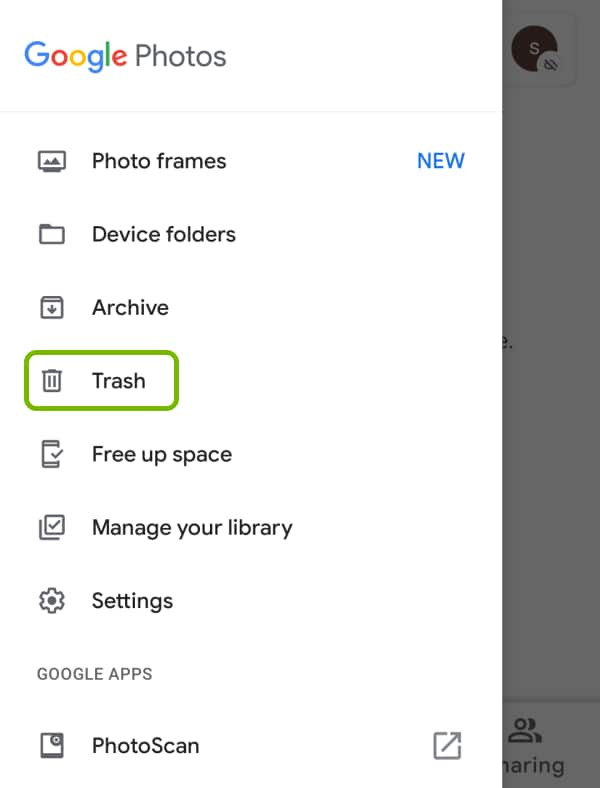
- Open the photo that you want to restore.
- Click on the menu icon at the corner of the screen. You will see a download button; click on it. The deleted photo will be downloaded to your system.
Option 4. Use D-Back Android
If you are looking for high-speed data recovery, you can rely on the D-Back Android tool. It selectively extracts days from Google Drive Backup, thereby allowing you to preview and export the data. This method does not require rooting the phone.
D-Back Android is completely safe to use for Android photo recovery. You can recover all the lost data on your PC. D-Back Android is available for Windows download. Here are the steps you must follow to recover deleted photos from android internal memory using D-Back Android software:
- Install and launch the D-Back Android software on your PC.
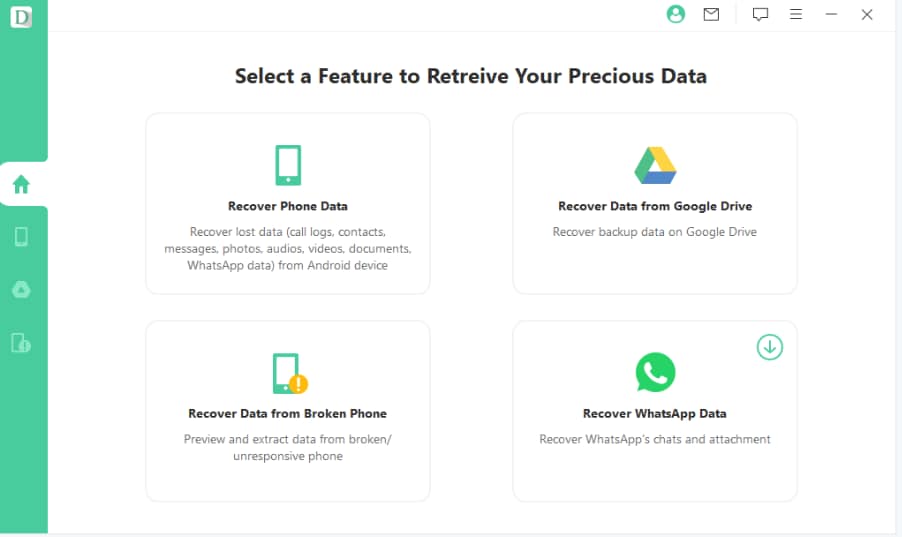
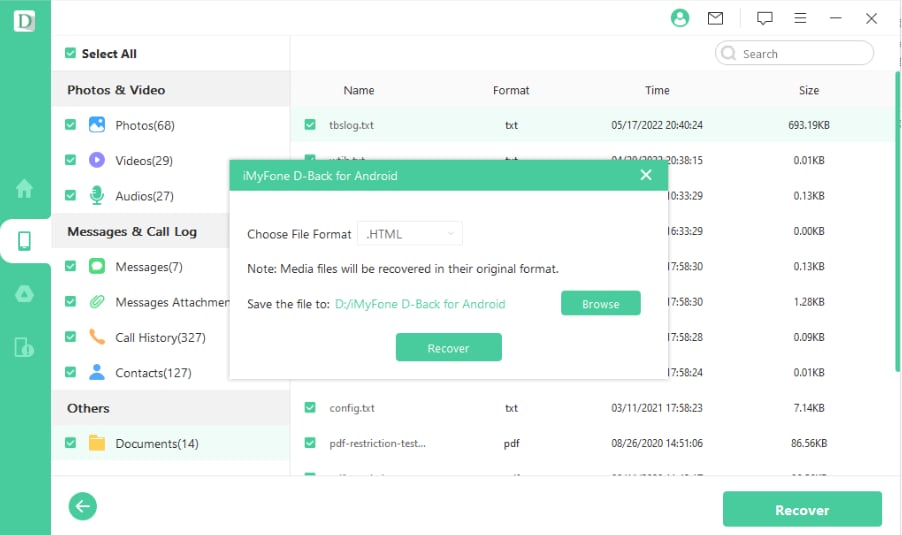
- Connect the phone to your PC. Once the device is detected, select the deleted or lost files to be scanned.
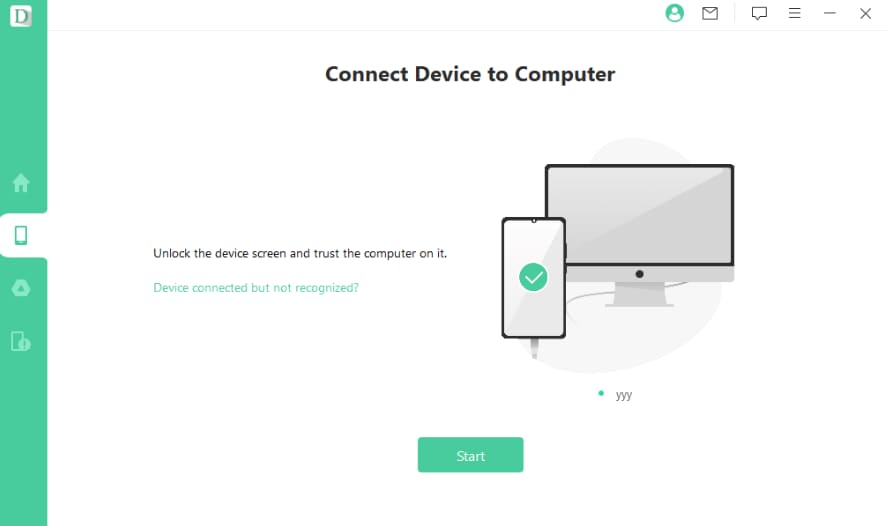
- All the photos will be available for preview. Select the files and click on Recover. Then, choose the location where you want to restore the file, and the files will be restored there.
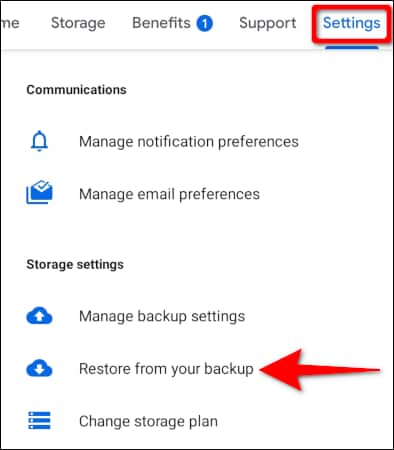
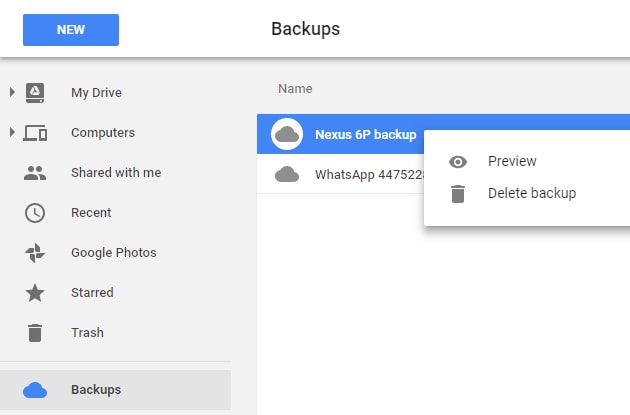
Option 5. Using Google Photos Backup
Google Photos backups are available on Google Drive. This is one of the easiest ways to ensure all photos are available. If the Photos are backed up on Google Drive, you will not have to worry about them.
Google Drive is a cloud software. Therefore, you will not have to worry about the photos being deleted from your device. The backup will always be available. Here are the steps to recover the photos using Google Photos backup:
- Launch the Google Drive app on the phone.
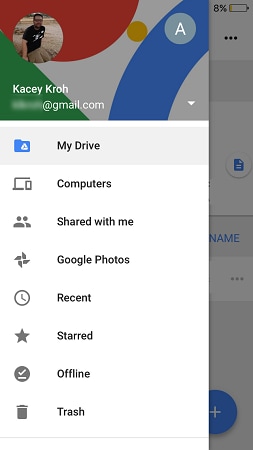
- On the top left corner of the screen, you will come across three horizontal lines. Click on the lines.
- Scroll below to find the Backup option.

- Select all the photos to be recovered.
- Once you select the photos, click on the three vertical dots.
- Scroll through the available options and click on Download. All the respective pictures will appear on the screen.
Option 6. Using Photo Recovery Software (Wondershare Recoverit)
Wondershare Recoverit should be your go-to tool for recovering deleted photos from Android internal memory. It is free data recovery software for android phone internal memory that you must install on your device. The Wondershare Recoverit software is available for Mac and Windows.
If you're recovering your Android internal memory photos, you must launch the Wondershare Recoverit software on your device. Then, you must connect your Android phone to your PC via a cable to check compatibility.
If the device is compatible, launch the Wondershare Recoverit software and initiate the Android photo recovery process. Here are the steps you need to follow to recover deleted photos from Android internal storage:
- Open the Wondershare Recoverit software on your PC. On the homepage, click on the External Devices option.

- Hit the Scan button to initiate the scanning process. Scanning your Android SD card will take a few minutes. So, be patient about it.

- After the scanning is complete, you will need to preview and recover photos from android internal memory that you want to recover. Select the location where you want to recover the photos and click on the Recover button.

How to Avoid Losing Your Android Photos Next Time?
Having an Android phone requires extra care. You need to safeguard your photos so that you don't lose them. Knowing where your photos are is important for a better overall user experience.
Here are some of the key ways through which you can avoid losing your Android photos the next time:
Save the Photos on Google Photos
Even if you have a gallery on your phone, you must consider saving the photos on Google Photos. Google Photos is one of the best tools for acting as a backup gallery for all your photos.
You can either turn on the automatic backup or back up the photos manually. Turning on the backup ensures that the photos are backed up easily. All you need to do is sign up your device into your account.
Create Albums
If you want to prevent photos from being deleted from your Android device, create albums. These albums will also be a great way to manage all your phones. You must not rely on the automatically created albums but also create your own.
Creating separate albums for different memories acts as an additional layer. As a result, you will be able to save your photos. However, make sure that you aren't mixing all the photos together. Otherwise, it won't be easy to detect and get those fixed.
Organize Your Photos
Decluttering your device is extremely crucial. Your Android devices will need to be regularly cleaned. Once the photos start piling up one after another, they will take up too much space on your phone. Therefore, you must organize the photos according to what you need and what you don't.
In order to organize the photos, you will need to delete the photos you don't want. Decluttering the photos will make it easier to access all the information. You will need to scroll through countless photos, so be mindful of what you're deleting.
Store in an External Drive
A great way to avoid losing your Android device’s photos is to store them in an external drive. The external drive contributes to a better performance. When you're backing up these images, it is advisable that you choose one with a higher storage capacity.
Collect all the photos and transfer them to the external drive. However, make sure to edit the external drive properly to avoid the risk of it getting corrupted. Choose a high-quality, robust external drive that will last a long time. Also, keep checking the drive frequently to avoid virus attacks.
Conclusion
A reliable tool can play an important role in recovering all the files. If the backup isn't available, it is advisable to use third-party software. However, make sure to compare all the tools before you make the right choice.
It is advisable to choose an Android photo recovery software that fits your needs. You may consider checking the features of each to make the right choice. So, compare them all and select a tool that seems to restore files easily.
FAQ
-
1. Do I need root to get more lost photos from the Android phone's internal memory?
No, you don't always have to root your phone to prevent the photos from being lost from the Android phone's internal memory. While trying to recover the data, ensure you aren't overloading it with more data. This paves the risk of overwritten data, thereby leading to permanent loss. -
2. Can permanently deleted files be recovered?
Yes, permanently deleted files can be easily recovered. If you have a backup of all the files on your Google Drive account, you can restore the data within a few minutes. However, third-party software should be considered for recovering permanently deleted files. -
3. How many kinds of data types can it restore?
Often, all data from Android devices can be wiped off. Therefore, in these situations, you must analyze what types of data can be restored. Some of the common types of data that can be restored include images, audio, videos, PDFs, and other files. However, the capacity of the device must be checked before making a decision.


