


 TL;DR:
You can create a Windows 11 bootable USB using an 8 GB or larger flash drive via Microsoft's Media Creation Tool, the open-source Rufus utility, or the built-in Command Prompt.
● Microsoft's Media Creation Tool automates the ISO download and formatting process for standard upgrades, whereas Rufus is an installation-free, faster alternative that requires a pre-downloaded Windows 11 ISO and allows custom partition configurations.
● The Command Prompt method utilizes the Diskpart tool to manually format the drive to NTFS and copy mounted ISO files, serving as the essential workaround when the graphical interface is unresponsive or the system is operating in Safe Mode.
● Because reinstalling the operating system can result in data loss, Wondershare Recoverit can be utilized to scan the hard disk and retrieve critical files if the computer fails to boot prior to the new installation.
Ask AI for a summary
 ChatGPT
 Perplexity
 Gemini
 Claude
 Grok
Grok
Whether you want a fresh start on your PC or to perform an upgrade, it’s always good to have a Win 11 bootable USB drive handy. It is one of the most convenient methods to reinstall Windows 11 to speed up the PC and troubleshoot system issues. Wondering how to make Windows 11 Bootable USB without any expert guidance?
This comprehensive tutorial has mapped out the three practical methods to create a bootable flash drive installer for Windows 11.
In this article
How to Create Windows 11 Bootable USB in Three Methods?
Whether you're embarking on a fresh installation or seeking a reliable recovery option, a Windows 11 bootable USB is a valuable tool in your arsenal. Therefore, we will explore into three distinct methods for creating a Windows 11 bootable USB.
Each method brings its own set of advantages and characteristics, catering to a variety of preferences and skill levels. Whether you prioritize simplicity, customization, or technical finesse, these methods ensure that you can confidently create a bootable USB tailored to your needs.
Preparation:
- A working computer: You'll use this computer to create the Windows 11 bootable USB.
- USB drive: Make sure you have a USB drive with enough storage space (at least 8 GB) to accommodate the Windows 11 installation files.
Method 1: Create Windows 11 Bootable USB with Media Creation Tool
First of all, you can use the Media Creation Tool to create a bootable flash drive for Windows 11. As a Microsoft utility, Media Creations Tool is a remarkable choice to upgrade your current PC to Windows 11 or to create a USB or DVD and install Windows 11 on a different PC.
This option becomes even more vital in case something malfunctions on your computer. You can easily download the tool from the official website for Windows in-place repair, upgrade, or a custom installation.
Scroll down and walk through the steps to make a Win 11 bootable USB using the Media Creation Tool. Here’s how:
- Launch Microsoft’s Download Windows 11 page and tap Download Now from the Create Windows 11 Installation Media section.
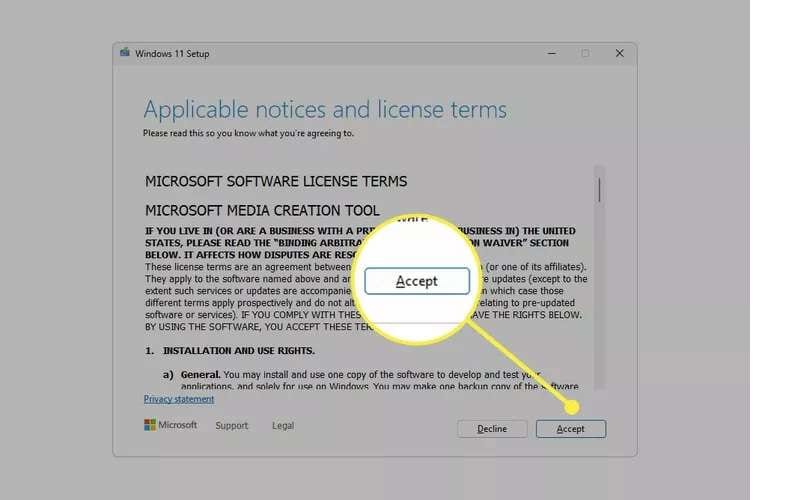
- Open the executable file and click Accept to continue.
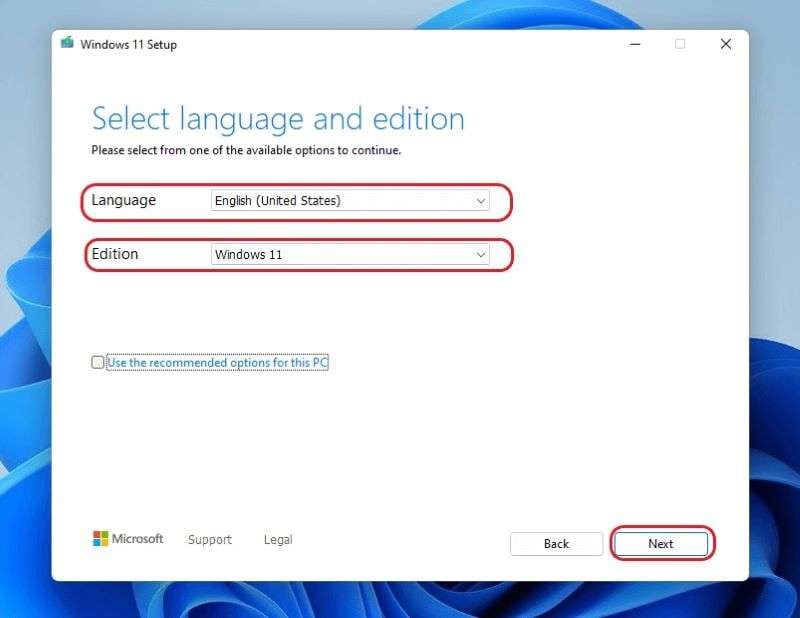
- Select your preferred language from the drop-down menu under the Language tab, and press Next.
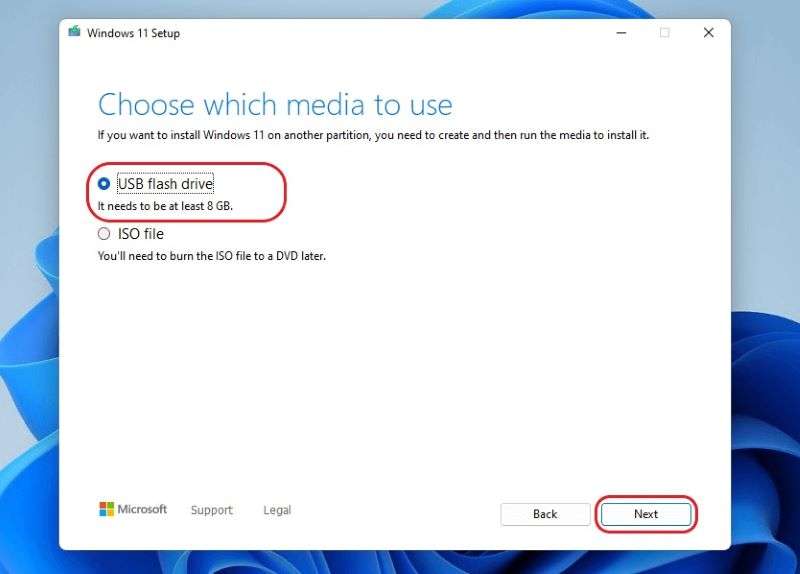
- Choose USB flash drive and click Next.
- Pick the device from the list and tap Next Finish.
- Wait for a few seconds until the setup completes. Tap Finish on the final screen, and your bootable USB drive is ready to use.
Method 2: Create Windows 11 Bootable USB with Rufus
The second best tool you can resort to is Rufus. It is an open-source utility that helps create and format bootable flash drives, including memory sticks and USB keys or pen drives. The best thing about Rufus is that it doesn’t require any installation. All you have to do is double-click on its executable file to get started. This application is lightning-fast and is compatible with more than 40 ISOs.
Follow the instructions below and create Windows 11 bootable USB with Rufus:
- Launch the official Rufus site and get the utility from the Download section.

- Open Downloads on your PC and launch Rufus by double-clicking the executable file.
- Select Application Settings at the bottom.

- Set the Check for Updates section at Daily. Tap Close.

- Relaunch Rufus and expand the drop-down list under the Device section to choose your USB. Navigate to the Boot Selection and select the downloaded ISO file. Click Select.

- A new window will appear where you must locate the Windows 11 ISO file. Select and tap Open.
- Choose Standard Windows 11 Installation under the Image Options tab.

- Set the Partition Scheme and Target System as default and write a name for your USB drive under the Volume Label section.

- Keep all other options as default and tick the checkboxes against Quick Format and Create Extended Label and Icon Files options.
- Tap Start and initiate the creation process.
Method 3: Create Windows 11 Bootable USB with Command Prompt
Last but not least, you can also use the Command Prompt to create a Windows 11 bootable USB. It is a default command line interpreter application available in most Windows OS and is used to execute entered commands.
Command Prompt can be exceptionally useful when you boot in Safe Mode or if the GUI interface isn’t working. Moreover, the best thing about the CMD is that it offers superior automation through scripting.
You can use the Diskpart command to make the Win 11 USB installer. This command interpreter helps you manage your computer drives, including volumes, virtual hard disks, and partitions.
Here’s the guideline about how to create a bootable Windows 11 USB via Diskpart command prompt:
- Open the search bar and type cmd to launch Command Prompt.
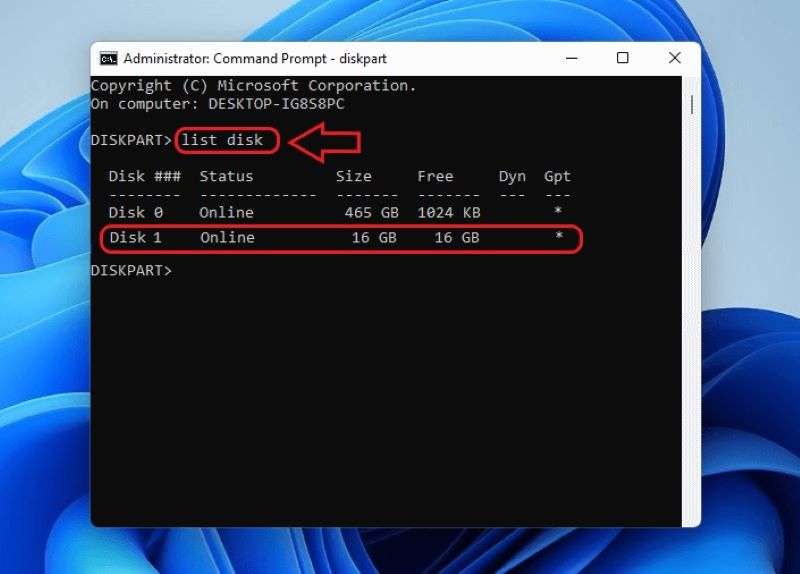
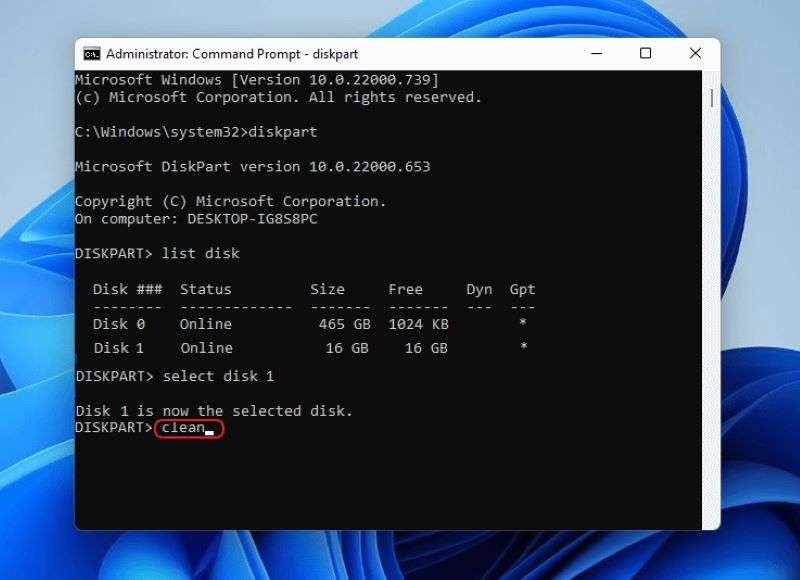
- Write diskpart and tap Enter.

- Type list disk to list the USB drive and press Enter.
- Use the command select disk 1 (replace 1 with the USB’s number in the list) to select the USB drive. Hit Enter.

- Format the USB drive by entering the command clean. Press Enter and continue.
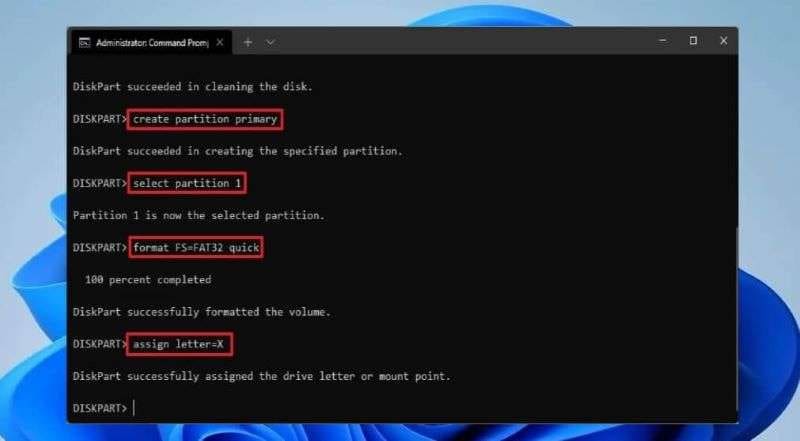
- Once your USB is formatted, enter the following commands one by one and hit Enter after each. The commands are as follows:
Create partition primary
List par
Active
Selection partition 1
Format FS=NTFS label=”bootableUSB” quick override
Assign letter=X
exit
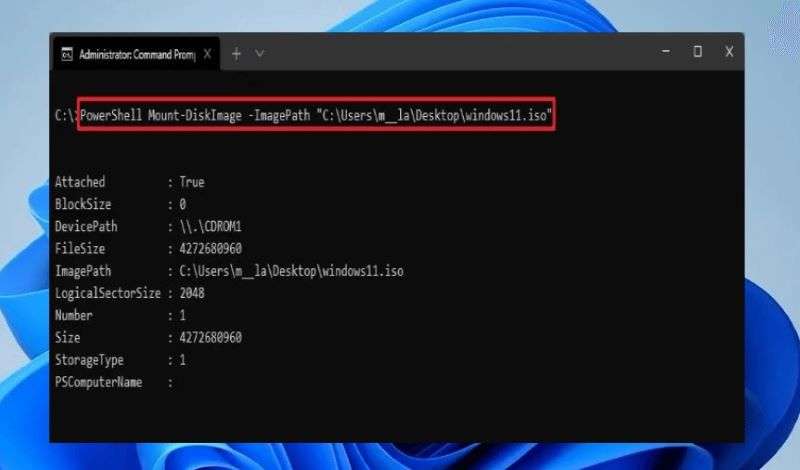
- Type PowerShell Mount-DiskImage -ImagePath “C:\path\to\Windows11.iso to mount the ISO file. Press Enter.
- Write the following commands individually, including diskpart, list volume, exit, and press Enter after each.
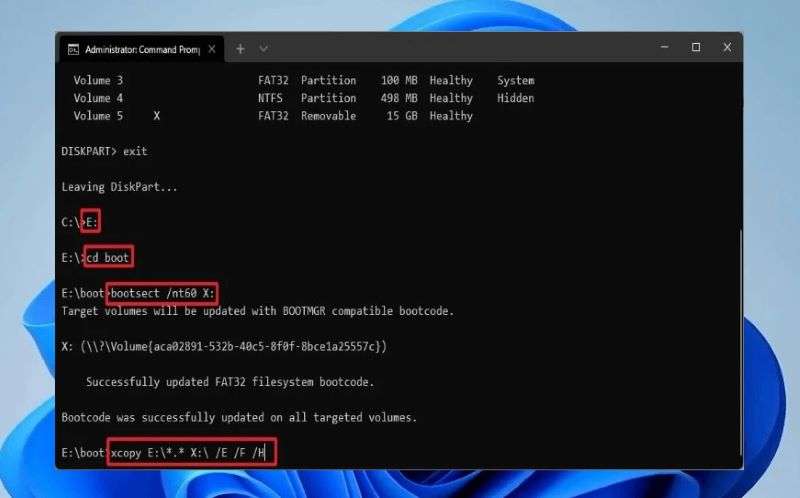
- Again, insert the following commands one by one. Press Enter after each, and your Windows 11 bootable USB is ready. These are:
E:
cd boot
bootsect /nt60 X:. xcopy E:\*.* X:\ /E /F /H.
Video Tutorial on How to Create a Bootable USB Drive for Windows 11?
How to Save Your Critical Data if Your Windows 11 Computer Failes to Boot?
Lose all your important files when Windows 11 failed to boot? Fret not. Recoverit can help you recover all your lost and deleted files in a few taps.
This user-friendly tool supports 1000+ data types and formats and can recover files from 500+ scenarios.
How about losing your vital data even after booting your computer? Recoverit still has its way out.
Here’s a step-by-step text guide for you:
- Select a Location
Launch Wondershare Recoverit on your PC and select Hard Drives and Locations on the left. Choose a hard disk under the Hard Disk Drives section and or Desktop under the Quick Access tab. Click Start to initiate the scanning process.

- Scan the Location
As soon as you click the Start button, the tool instantly begins an all-around scanning to locate the lost or deleted files.

Moreover, it shows real-time results on the screen, so you can pinpoint files during the process. Toggle between different filters, including File Type, Time, File Size, and All Files, and the program will start showing results accordingly. Besides, you can suspend the scanning temporarily by clicking the pause button and then continue the process using the play button.

- Preview and Recover Files
Once the scanning ends, you can preview the recovered files using the Preview option. If you are satisfied with the results, click Recover and retrieve the lost data back on your PC.

Conclusion
A Windows 11 bootable USB drive is a must-have for each Windows PC user, even if it’s just for emergencies. So pick any of these three methods above and make the creation a breeze to handle. Given the fact that reinstalling Windows 11 can sometimes result in data loss, it’s recommended to use Recoverit and retrieve your critical data in three easy steps. Don’t hesitate and have a shot at it!


