SD cards are useful for storing data. To ensure they run smoothly, it's essential to clear SD cards regularly. Erasing an SD card frees up space and prepares it for new data.
Clearing a SD card can fix errors and improve performance. It also helps if you need to use the card for a different purpose. Knowing how to erase a SD card properly is very useful. In this guide, we will discuss different methods to clear SD cards on Windows, Mac, and phones.
We will also cover how to recover data if you lose it during the process. This includes methods to recover formatted SD cards and recover erased files from SD cards. Let’s get started on how to efficiently clear and erase SD cards.
In this article
Part 1: Why Clear SD Card? How It Helps?
Clearing an SD card is a crucial maintenance step that ensures it remains efficient and reliable. Over time, SD cards accumulate files, some of which may be unnecessary or corrupted. Regularly erasing these files frees up valuable space, enhances the card's performance, and reduces the risk of data loss or errors.
Whether you use your SD card for photos, videos, or important documents, understanding why and how to clear it helps maintain its longevity and functionality. In the next section, we'll explore the specific benefits of clearing a SD card.
- Frees up space for new data
- Removes unnecessary files
- Fixes errors and corruption
- Improves card performance
- Prepares card for new use
- Helps organize data
- Reduces risk of data loss
- Increases card’s lifespan
You may be also interested in: How to Fix XQD Card Not Showing Up on PC?
Part 2: Methods to Erase a SD Card on Windows
Erasing a SD card on Windows is a straightforward process, and there are multiple methods to achieve this. Whether you prefer using the familiar Windows Explorer, the more detailed Disk Management tool, or the powerful Command Prompt with Diskpart, Windows provides versatile options to clear your SD card efficiently. Each method has its own steps and benefits, allowing you to choose the one that best suits your comfort level and needs.
Let’s explore these methods in detail to help you wipe and erase your SD card effectively on a Windows computer.
Method 1: Use Windows Explorer to Wipe a SD Card
Wiping a SD card in Windows Explorer is simple and efficient. This method uses the built-in file management tool in Windows. It is user-friendly and doesn't require extra software. You can quickly format your SD card and remove all files. This prepares the card for new data.
Here are the steps:
- Insert the SD card into your computer. Open Windows Explorer. Right-click on the SD card icon. Select Format from the menu.

- Choose the file system you want. Click Start to begin formatting.
Method 2: Erase SD Card in Disk Management
Erasing a SD card using Disk Management is another effective method. This method provides more control and options. It allows you to format and erase your SD card completely. This method is ideal if you need a bit more detail and precision. Follow these steps to erase a SD card:
- Insert the SD card into your computer. Open Disk Management from the Control Panel. Find the SD card.

- Right-click on the SD card. Select Format and follow the prompts. Confirm to erase the SD card.
Method 3: Use Diskpart in Command Prompt
Using Diskpart in Command Prompt to clean a SD card is a powerful method. It is more advanced but very effective. You can completely erase the SD card using simple commands.
This method is ideal for those comfortable with command-line tools. Here are the steps to use Diskpart in Command Prompt to clean your SD card.
To clean a SD card using Diskpart in Command Prompt:
- Insert the SD card into your computer. Open Command Prompt as an administrator.
- Type diskpart and press Enter. Type list disk. Find the SD card number.

- Type select disk X (Ensure to substitute X with the SD card number). Then, type clean and press Enter.
Part 3: Erasing a SD Card on Mac: Simple Methods
Erasing an SD card on a Mac is easy with built-in tools. Use Disk Utility for a simple and effective method. If you prefer command-line tools, MacOS Terminal is also an option.
Both methods ensure the SD card is completely erased and ready for new data. Here’s how to erase a SD card on a Mac:
Method 1: Using Disk Utility
Using Disk Utility on a Mac to erase a SD card is straightforward and efficient. As a built-in macOS tool, Disk Utility provides an intuitive interface for managing drives. This method is accessible to everyone, making it easy to quickly erase and prepare your SD card for new data.
Here are the steps to erase a SD card:
Follow these steps:
- Insert the SD card into your Mac. Open Disk Utility from the Applications folder. Select the SD card in the sidebar. Click Erase at the top.

- Choose a format. Click Erase to confirm.
Method 2: Using MacOS Terminal
Using MacOS Terminal to erase a SD card is powerful and precise. Terminal provides direct access to many system functions. This method is for those who like command-line tools. It allows complete control over the erasing process. Here are the steps to erase a SD card using MacOS Terminal.
To erase a SD card using Terminal:
- Insert the SD card into your Mac. Open Terminal from Applications.
- Type diskutil list to find the SD card.

- Type diskutil eraseDisk HFS+ Erased SDCard diskX (replace X with the identifier).
Part 4: How to Erase a SD Card on Phone
Erasing a SD card on a phone is straightforward and convenient. Most smartphones have built-in options to format or erase SD cards. This method is easy and accessible, making it suitable for everyday use. By following a few simple steps, you can quickly clear your SD card and free up space for new data. Here’s how to erase a SD card on your phone.
To erase a SD card on your phone:
- Insert the SD card into your phone. Go to Settings. Select Storage. Tap on the SD card.

- Choose Format SD Card option. Confirm to erase the SD card.
Part 5: Lost Data After Formatting the SD Card? Use Recoverit Tool
If you lose data after formatting your SD card, Recoverit can help you recover it. Recoverit is a reliable tool that specializes in recovering data from formatted SD cards. Whether you have lost important documents, photos, or other files, Recoverit can assist in retrieving them. It can recover erased files from SD cards and even bring back erased photos from SD cards.
The software is user-friendly and highly effective. It provides a straightforward process to scan and recover lost data. With Recoverit, you can rest assured that your valuable data isn't lost forever, even after formatting your SD card. Follow the steps to use Recoverit, and you will have your files back in no time. This tool makes data recovery accessible and efficient for everyone.
Try Recoverit to Recover Lost Data
Security Verified. Over 7,302,189 people have downloaded it.
To recover data using Recoverit:
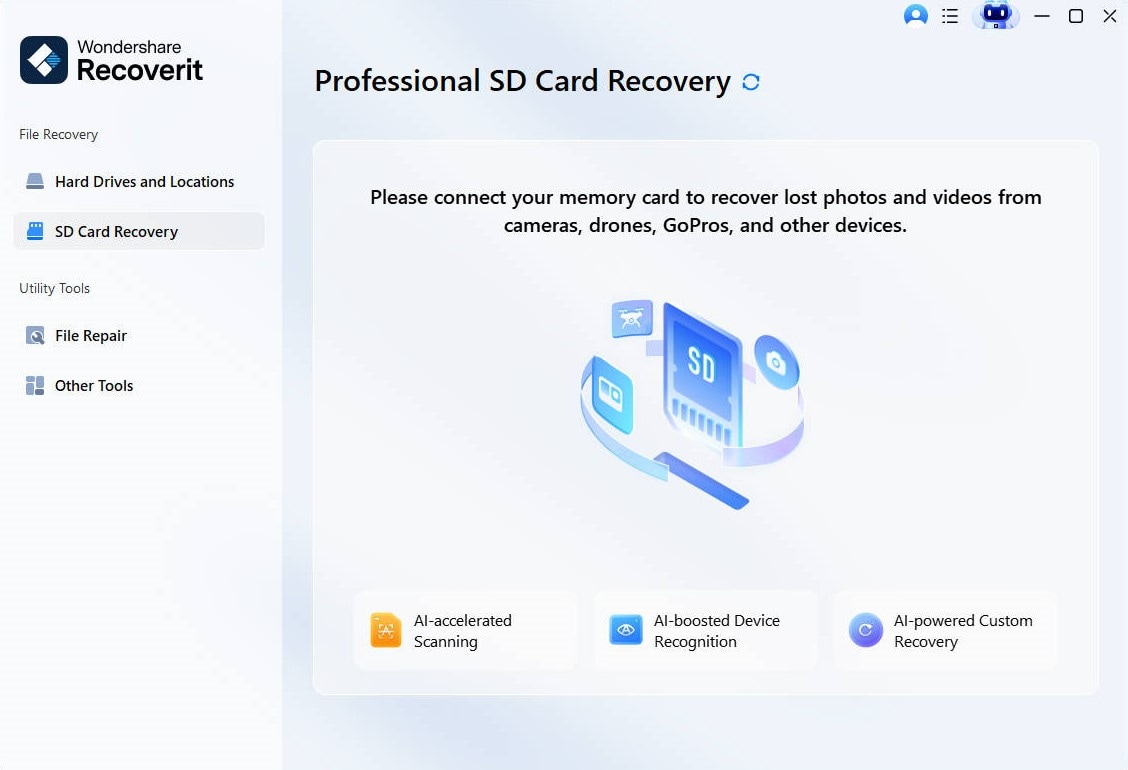
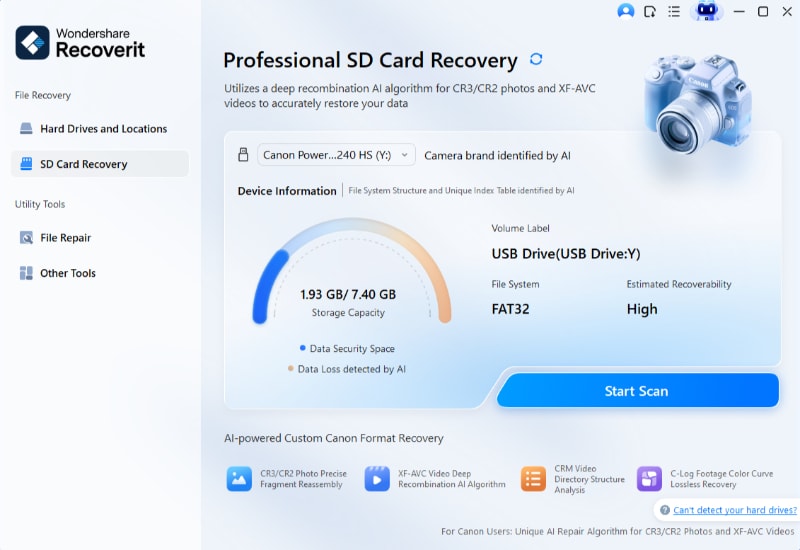
- Click the download link above to download and install Recoverit on your computer. It is compatible on both Windows and macOS. Connect the SD card to your computer. Launch Recoverit and select the SD card.

- Click Scan to scan for lost files.

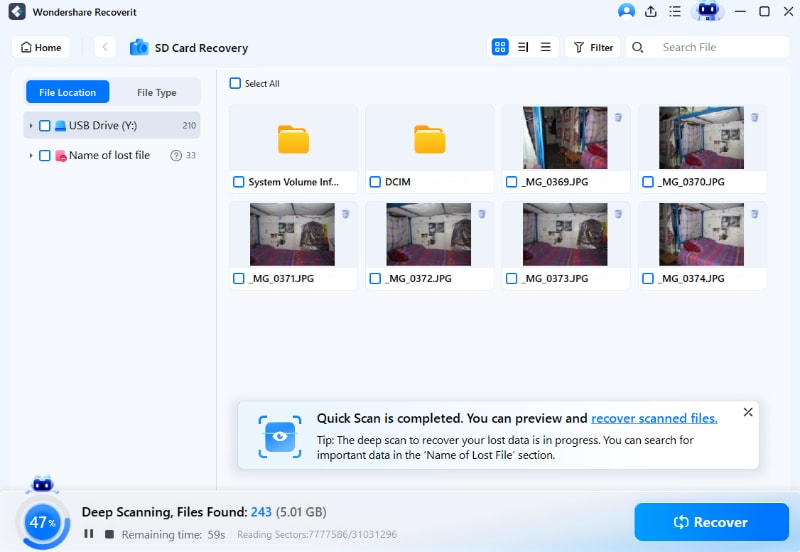
- Wait for the scanning process.

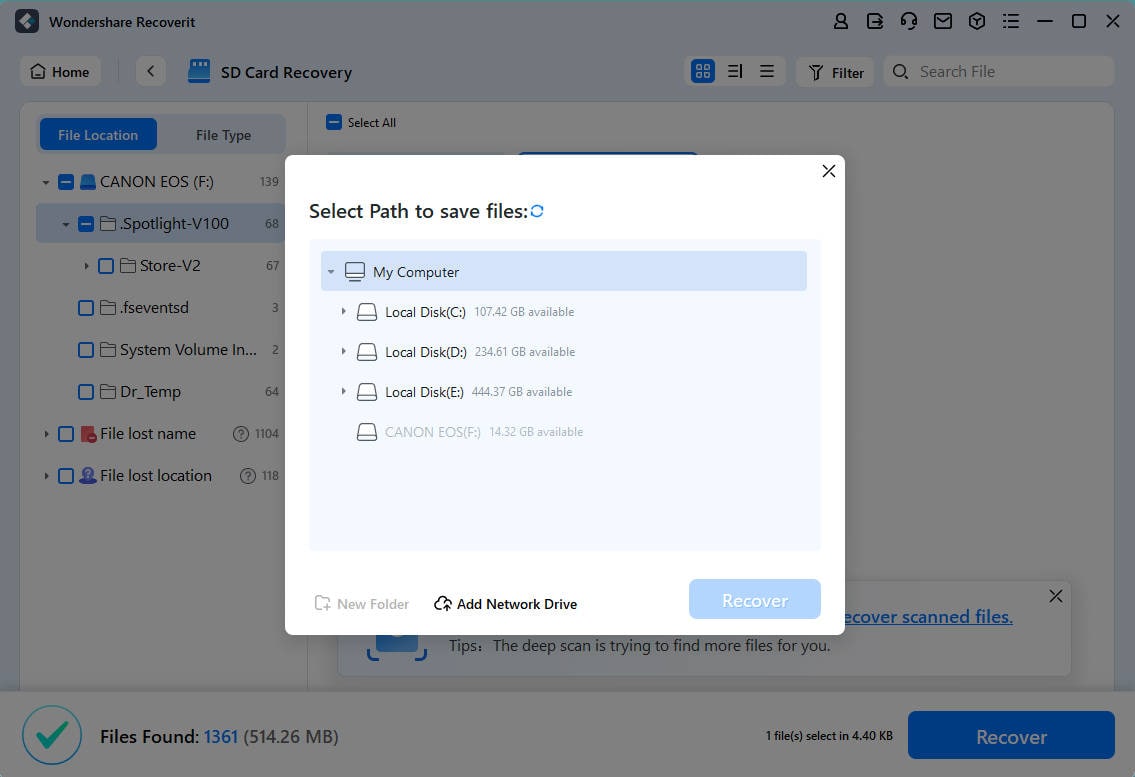
- Preview and select the files you want to recover. Click Recover to save the recovered files.

Related Video >>: How to Recover Data From SD Card?
Part 6: Tips to Recover Formatted SD Card
Recovering a formatted SD card can be crucial. Here are some tips to help you through the process:
- Stop Using the SD Card: The moment you realize data is lost, stop using the card. Continued use can overwrite the data, making recovery impossible.
- Use Reliable Recovery Software: Opt for trusted recovery tools like Recoverit. They are designed to recover various file types from formatted SD cards.
- Save Recovered Files Elsewhere: Avoid saving recovered files back onto the SD card. Instead, choose a different location, like your computer’s hard drive, to prevent data corruption.
- Regularly Back Up Data: Make it a habit to back up your SD card data frequently. This ensures that even if data loss happens, you have a recent backup.
- Check Card Health: Regularly check the health of your SD card. Use tools that can detect errors or potential failures. This can prevent data loss in the future.
- Stay Calm: Panic can lead to hasty decisions. Approach the recovery process calmly and follow the steps methodically for the best results.
- Seek Professional Help if Needed: If recovery tools do not work, consider seeking help from data recovery professionals. They have advanced tools and techniques to retrieve lost data.
Following these tips can greatly increase the chances of recovering your important files from a formatted SD card.
Conclusion
Clearing an SD card is vital for keeping it in good condition. Regularly erasing unnecessary files helps maintain the card's performance. Whether you are using Windows, Mac, or a phone, the methods to clear an SD card are straightforward. Each device provides simple steps to format and wipe the SD card effectively.
If you lose data during this process, there are reliable recovery tools available. Software like Recoverit can help retrieve lost files, making data recovery easier. It is always a good idea to back up your data regularly. This prevents data loss and keeps your information safe. Following these steps will ensure that your SD card is always ready for use. Efficiently managing and recovering data from SD cards ensures they perform well and remain reliable.
FAQ
-
How do I clear an SD card on Windows?
Clearing an SD card on Windows can be done using different methods. You can use Windows Explorer, Disk Management, or Diskpart in Command Prompt. Each method provides a step-by-step approach to format and erase the SD card efficiently. -
Can I recover data after erasing an SD card?
Yes, you can recover data after erasing an SD card using recovery tools. Reliable software like Recoverit can help you retrieve lost files. It can recover various types of data, including documents and photos, even after the card has been formatted. -
How do I erase an SD card on a phone?
To erase an SD card on a phone, you need to go to the Settings menu. Then, select Storage and choose the SD card. You will find an option to format or erase the card. This method quickly clears the SD card, preparing it for new data.


 ChatGPT
 Perplexity
 Google AI Mode
 Grok
Grok


